The Best Fluffy Pancakes recipe you will fall in love with. Full of tips and tricks to help you make the best pancakes.
Creating should feel like a deep, rhythmic exhale, not a frantic treasure hunt through a mountain of half-finished projects and loose supplies. We have all experienced the initial surge of inspiration, only to have it evaporate the moment we realize our workspace is buried under a layer. When your physical environment is chaotic, your mental process mirrors that mess, turning a potential hobby into a source of anxiety. It is impossible to produce your best work when your primary struggle is simply finding the scissors you used ten minutes ago. Implementing a functional craft room layout is the first step toward reclaiming your focus.
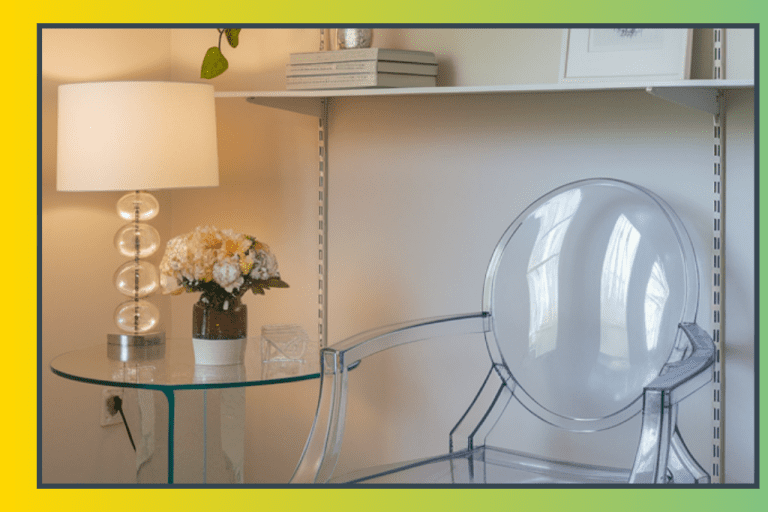
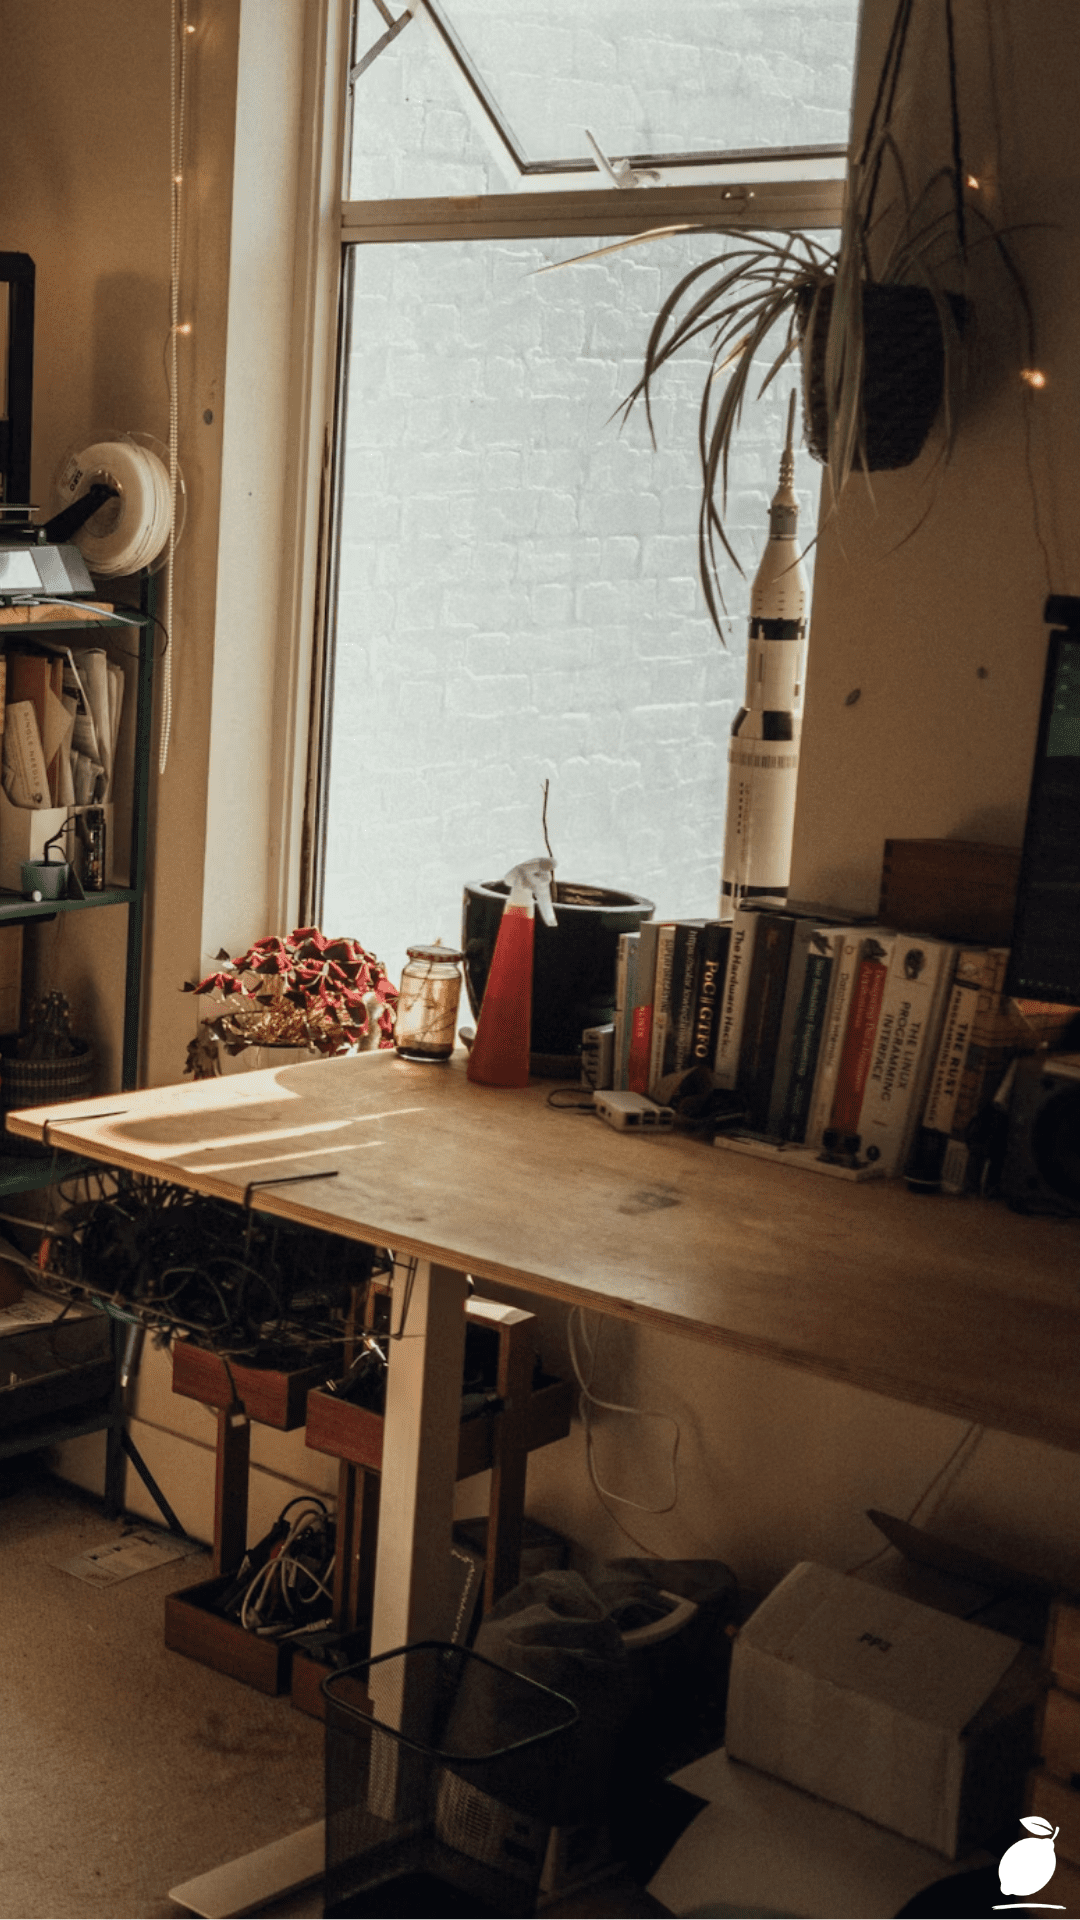
Imagine instead stepping into a sun-drenched corner where the air feels light, and your tools are exactly where they belong. Picture a clean wooden desk framed by natural light, a curated green shelf holding your specialized equipment, and a chair waiting for your next session. This is the Easy Peasy approach to a creative sanctuary, a space that balances industrial utility with cozy, lived-in warmth. By shifting your focus from volume to intentionality in your craft room layout, you turn your room into a partner in your creative process rather than a hurdle you have to overcome.
At Easy Peasy Life Matter, we believe your workspace is the foundation of your creative output. Minimalism does not mean having nothing; it means having only what serves, arranged in a way that minimizes friction. When you strip away the unnecessary, you leave room for the ideas that actually matter. It is time to stop apologizing for your mess and start designing a studio that fosters focus and authentic joy through a refined craft room layout.
The Craft Room Layout Setup
Step 1: Prep the Workspace
Begin by clearing the slate. Remove every item from your shelves and drawers. If you have not used an item in the last year, it does not belong in your primary setup. Focus on your high-traffic zones, your main desk, and your secondary equipment station. Position your desk where the light naturally falls; a view of the outdoors or proximity to a window acts as a mental reset button during long sessions. Use neutral beige or light tones on your walls to keep the space feeling expansive, allowing the vibrant green of your plants to provide the only necessary splash of color.
Step 2: The Logic of the Craft
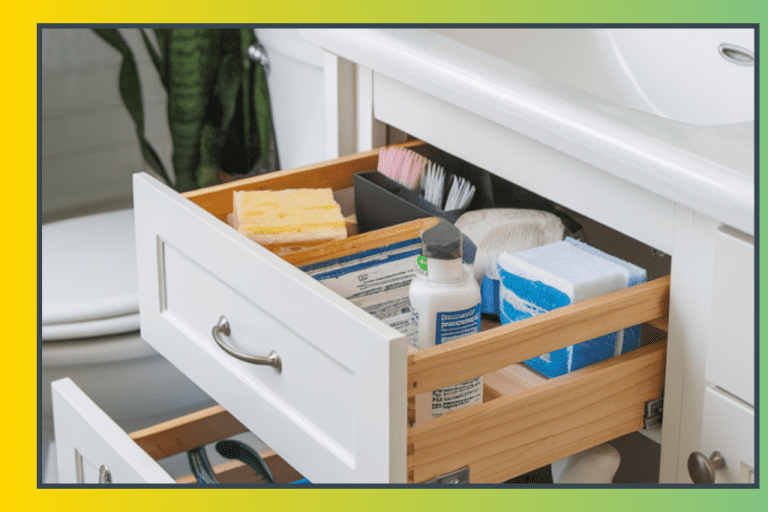
Organize your supplies by frequency of use. Items you touch daily, like cutting mats, glue, or specialized markers, should be within arm’s reach on the desk surface or in an immediately accessible drawer. Secondary tools, such as the 3D printer, bulk boxes, or reference books, belong on your vertical storage units. Use your green metal shelving as a dedicated hub for heavier equipment. By grouping items into labeled, aesthetic containers, you eliminate the visual noise that usually accompanies a cluttered craft room layout. Every tool must have a home, and that home must be logical.
Step 3: The Clean-Up System
A craft room layout is only as good as the habit that maintains it. Adopt a reset policy: at the end of every session, spend exactly five minutes putting tools back to their designated homes. Wipe down your desk, return books to the shelf, and clear your workspace for tomorrow. By treating the reset as part of the creative process rather than a separate chore, you ensure your sanctuary is always ready for the next flash of inspiration. This consistency transforms the room from a workshop into a professional studio.
The Secrets to Craft Room Layout

Pro-Tips for a Professional Finish
- Utilize Verticality: When floor space is limited, move up. Floor-to-ceiling shelving units prevent your room from feeling cramped and provide a cleaner sightline craft room layout.
- Soften the Industrial: Balance cold equipment, like a printer or metal shelving, with warm, organic elements. A beige upholstered armchair, a few large monstera plants, and natural wood surfaces create a space that feels inviting rather than strictly utilitarian.
- Batch Your Storage: Do not scatter supplies. Store similar tools in identical containers to create visual uniformity. This simplicity is the hallmark of a professional craft room layout.
3 Common Mistakes That Ruin the Aesthetic
- Overstuffing Shelves: Resist the urge to fill every gap. Leaving intentional negative space on your shelves makes the entire room feel curated and high-end.
- Poor Lighting Choices: Harsh, overhead lighting creates fatigue. Always supplement with warm, localized light at your desk to reduce shadows and keep the vibe cozy.
- Ignoring Ergonomics: A beautiful space that hurts your back is a failed space. Ensure your chair height and desk height work in harmony, preventing fatigue that would otherwise cut your creative time short.
Why Creative Space Matters
Your environment is an extension of your nervous system. When you work in a cluttered, disorganized space, your brain is forced to process the visual chaos, which drains the cognitive energy you should be directing toward your craft room layout. Conversely, a refined craft room layout provides a sense of psychological safety. It signals to your brain that it is time to focus, lowering your cortisol levels and allowing you to enter a flow state more quickly.
Organization is a form of self-care. By treating your creative space with respect, you are essentially telling yourself that your hobby is not just a diversion, but a meaningful pillar of your identity. A tidy room leads to a tidy mind, clearing away the mental fog and allowing you to achieve the deep, reflective work that makes creative life so fulfilling.
FAQ
How do I store small supplies without creating a mess?
Invest in modular, transparent, or uniformly colored storage boxes that fit your shelving dimensions. Labeling is non-negotiable; if a box does not have a label, it becomes a magnet for loose clutter.
What are the must-have tools for a beginner?
Start small. Focus on high-quality basics: a reliable cutting mat, a sharp utility knife, a set of precision scissors, and an ergonomic workspace chair. Do not buy specialized equipment until your process demands it.
How do I keep my space feeling cozy and professional?
Focus on the balance of textures. Combine hard, industrial surfaces like metal and plastic with soft, warm textures like wood, fabric, and greenery. This contrast provides the lived-in, creative aesthetic that makes long hours in the studio feel refreshing rather than draining.