
The kitchen table is covered in a rainbow of dye stains that somehow made it onto the ceiling fan, the dog’s paws, and your favorite mug, all in the span of about ten minutes. You had a vision of a cute, colorful fall craft, maybe something you saw in a fifteen-second video, but nobody warned you that liquid watercolor moves faster than a toddler with a full dropper in each hand. Your youngest is proudly holding up something that looks less like a turkey and more like a Rorschach test, coffee filter turkey, and you’re doing math in your head about how long bleach takes to lift dye out of grout.
If this sounds familiar, take a breath; you are absolutely not alone. Kids’ crafts have a reputation for chaos because most tutorials skip the one thing that actually prevents it: a clear, contained system for the messy part. Liquid dyes, droppers, and small hands are a genuinely wonderful combination for learning fine motor control and color mixing, but only when there’s a simple structure keeping the fun contained instead of spreading across the counter.
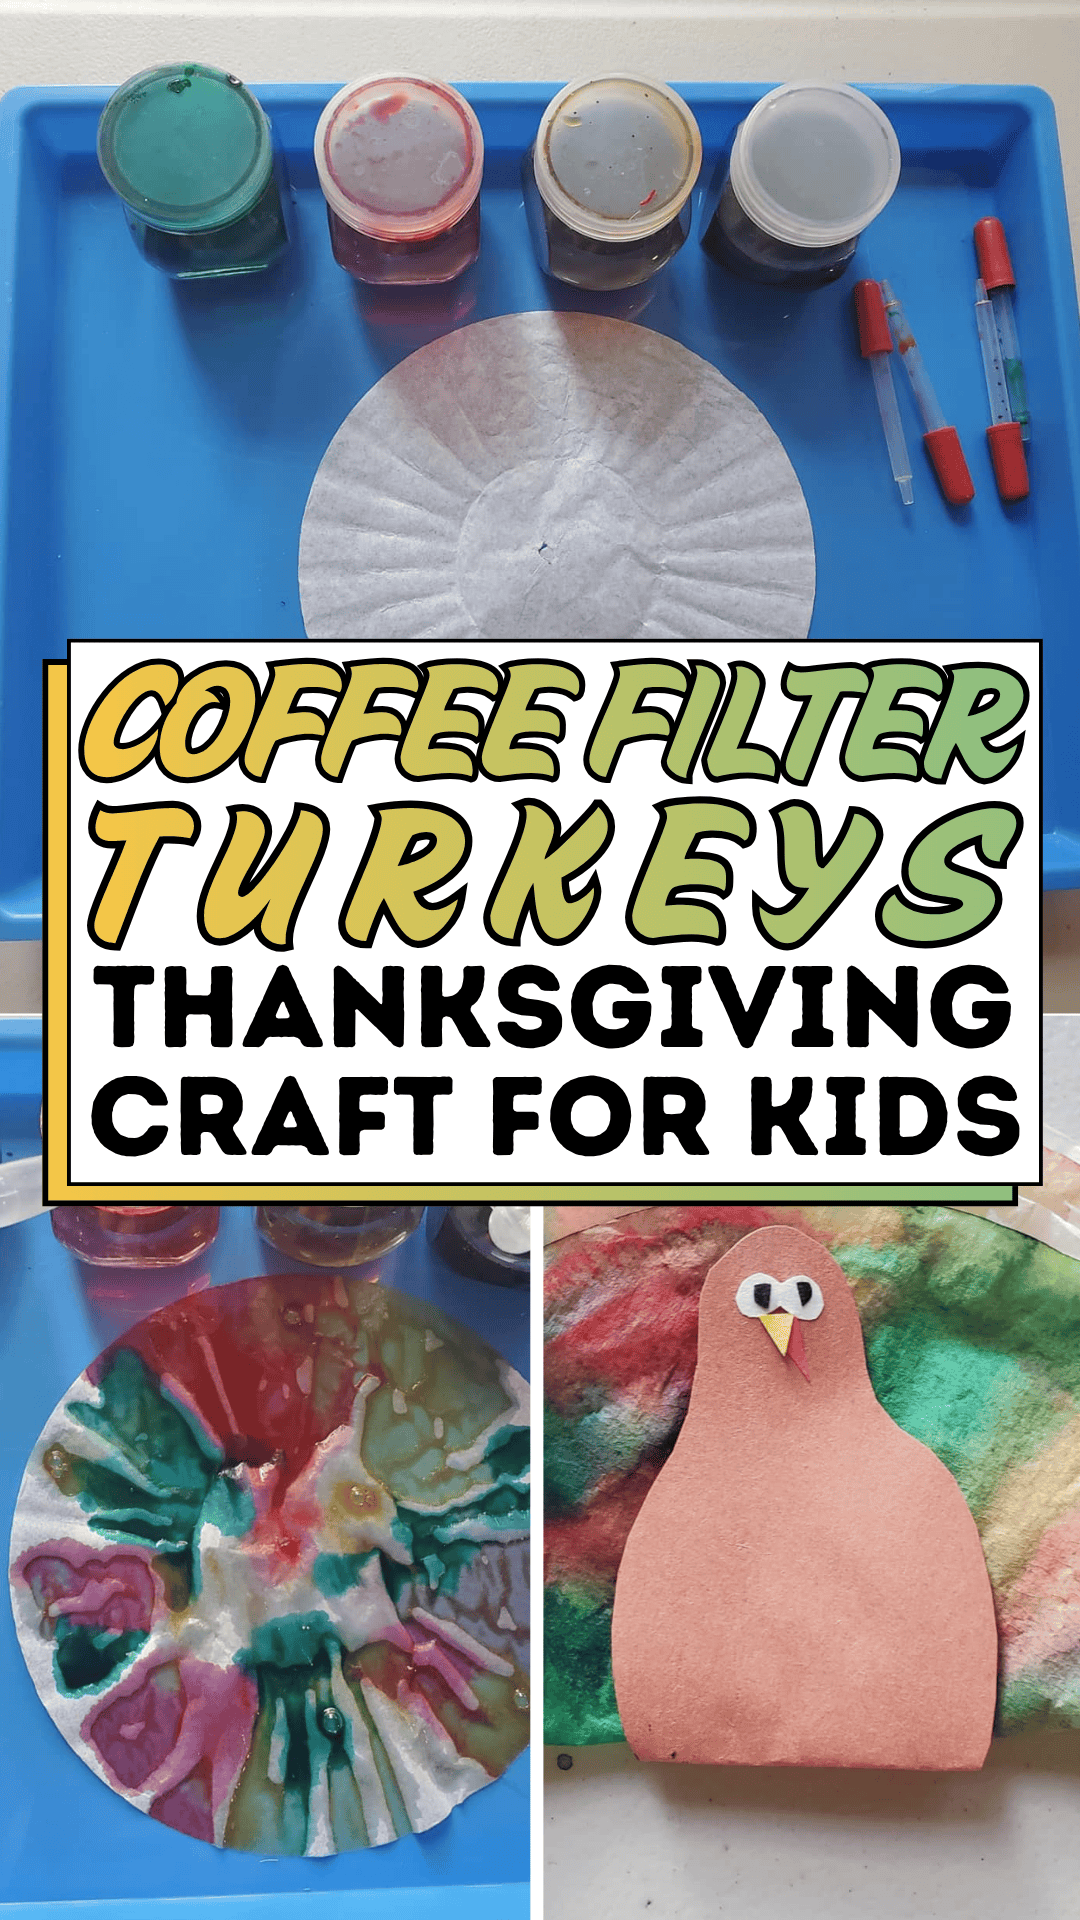
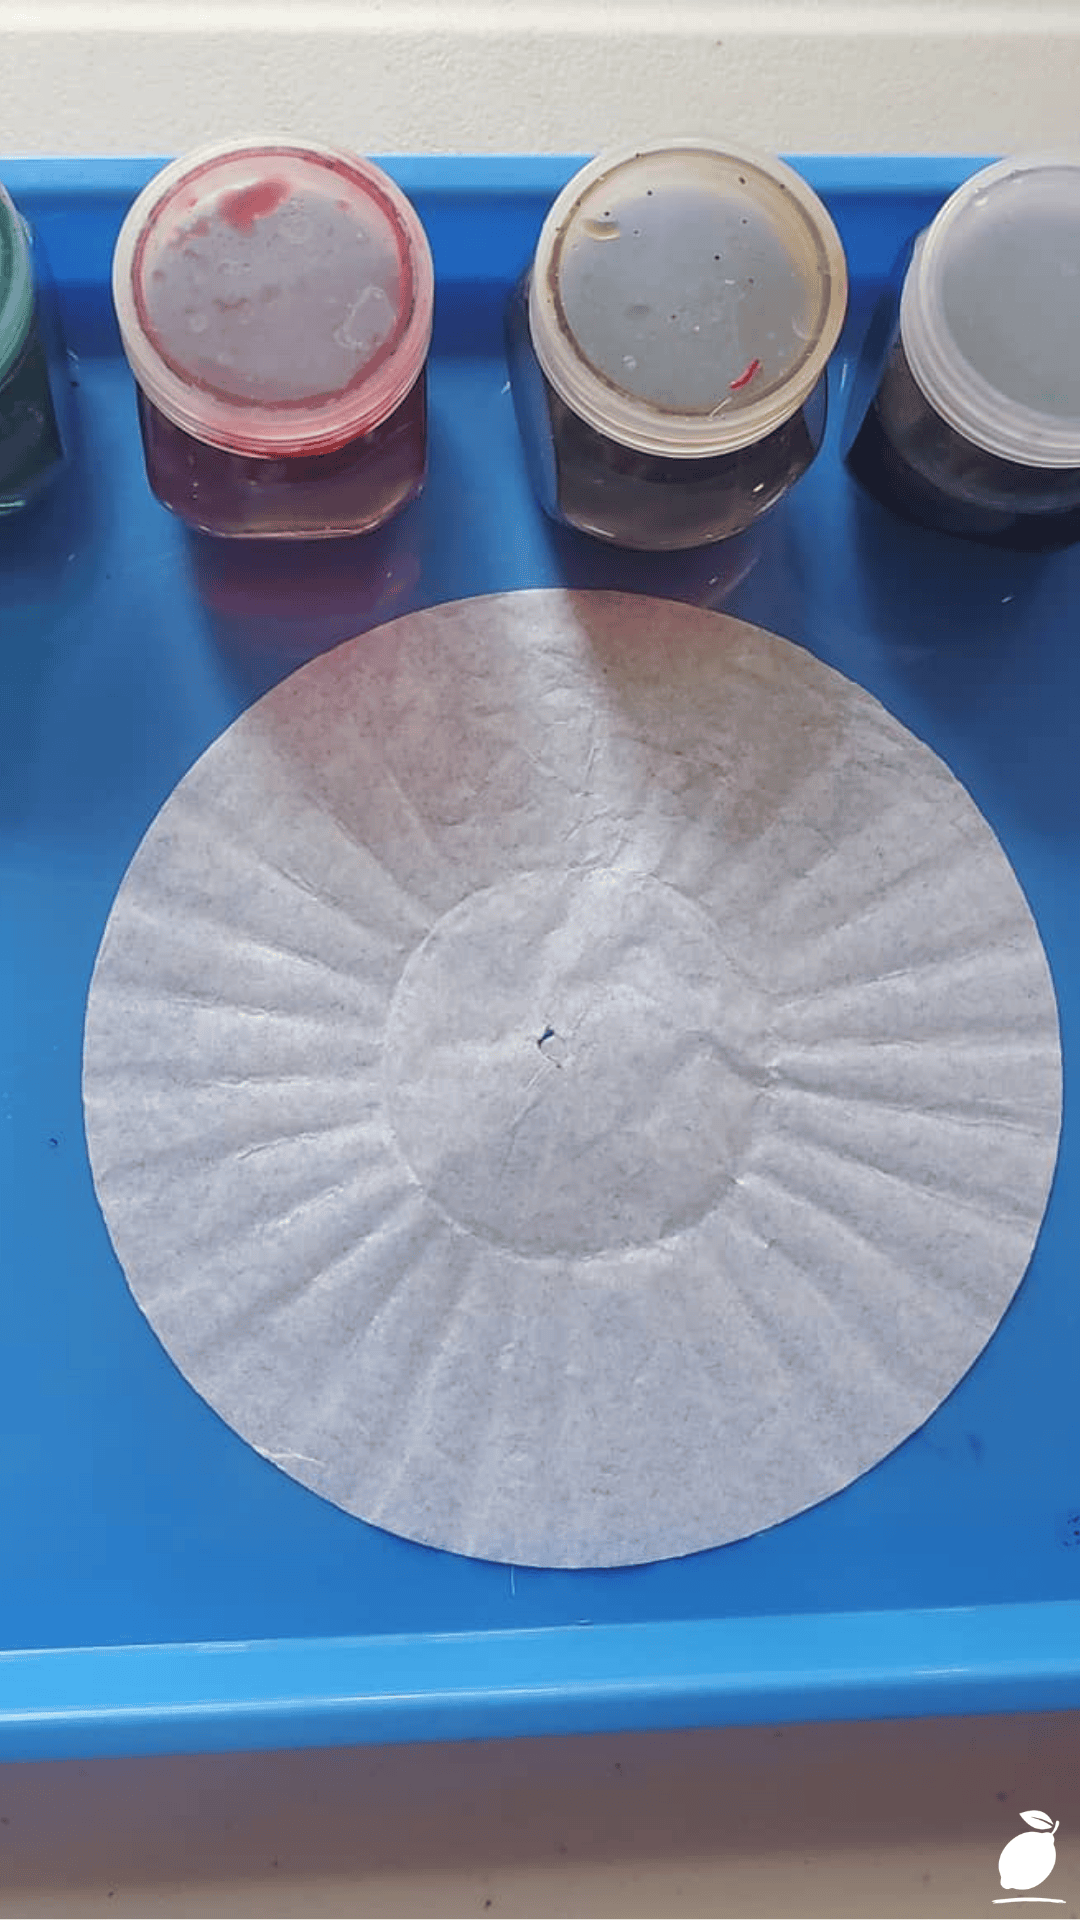
That’s exactly what a properly set-up craft station looks like: a neat blue tray holding everything in one place, a pleated coffee filter waiting in the center, small jars of colorful liquid lined up and ready, droppers within easy reach. Nothing chaotic, nothing overwhelming, just calm, organized materials set up to make the mess containable and the outcome genuinely beautiful. This coffee filter turkey Thanksgiving craft for kids takes that same calm setup and turns it into one of the most colorful, satisfying fall projects your family will make all season.
The Coffee Filter Turkey Blueprint
A coffee filter turkey is one of the simplest, most rewarding fall crafts you can do with kids, because the “hard part” the dyeing is actually the fun part, and everything else is just assembly.
Step 1: Set Up Your Tray Station
Line a shallow tray with a few paper towels to catch drips, then set out your coffee filters, small jars of diluted liquid watercolor or food coloring, and droppers. Keeping everything contained on one tray is the single biggest step toward a mess-free coffee filter turkey session.
Step 2: Prep the Coffee Filters
Flatten each coffee filter out fully so the pleats spread this shape evenly; this is what creates the fanned “feathers” once your coffee filter turkey is finished. One filter per bird works well, though older kids may enjoy layering two for extra color depth.
Step 3: Dye the Filters with Droppers
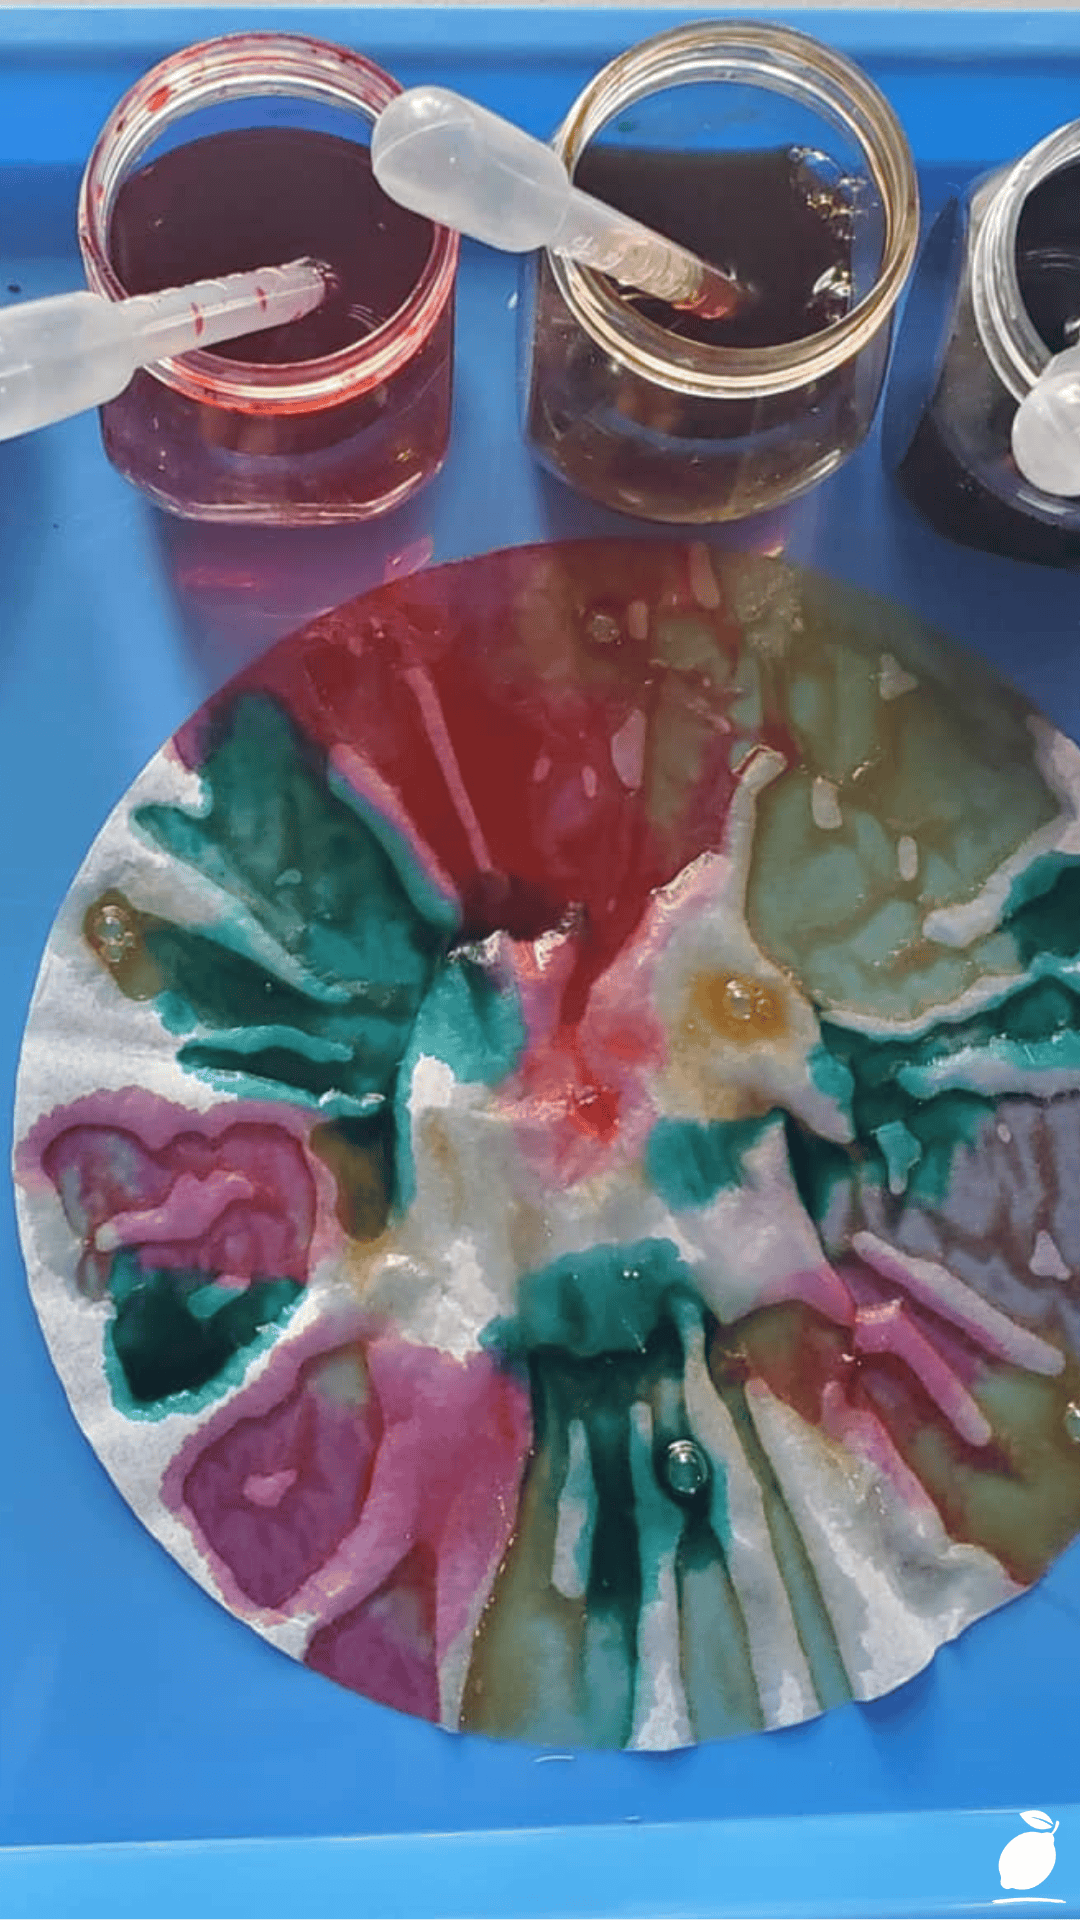
Let kids use the droppers to add small drops of colored liquid around the filter, working from the center outward. The color will bloom and spread naturally across the pleats, which is exactly the effect that gives a coffee filter turkey its signature watercolor look.
Step 4: Let the Filters Dry Completely
Lay the dyed filters flat on a paper towel or drying rack and let them dry fully, usually one to two hours. Rushing this step is the most common reason a coffee filter turkey ends up smudged instead of vibrant, so resist the urge to move on early.
Step 5: Shape the Body
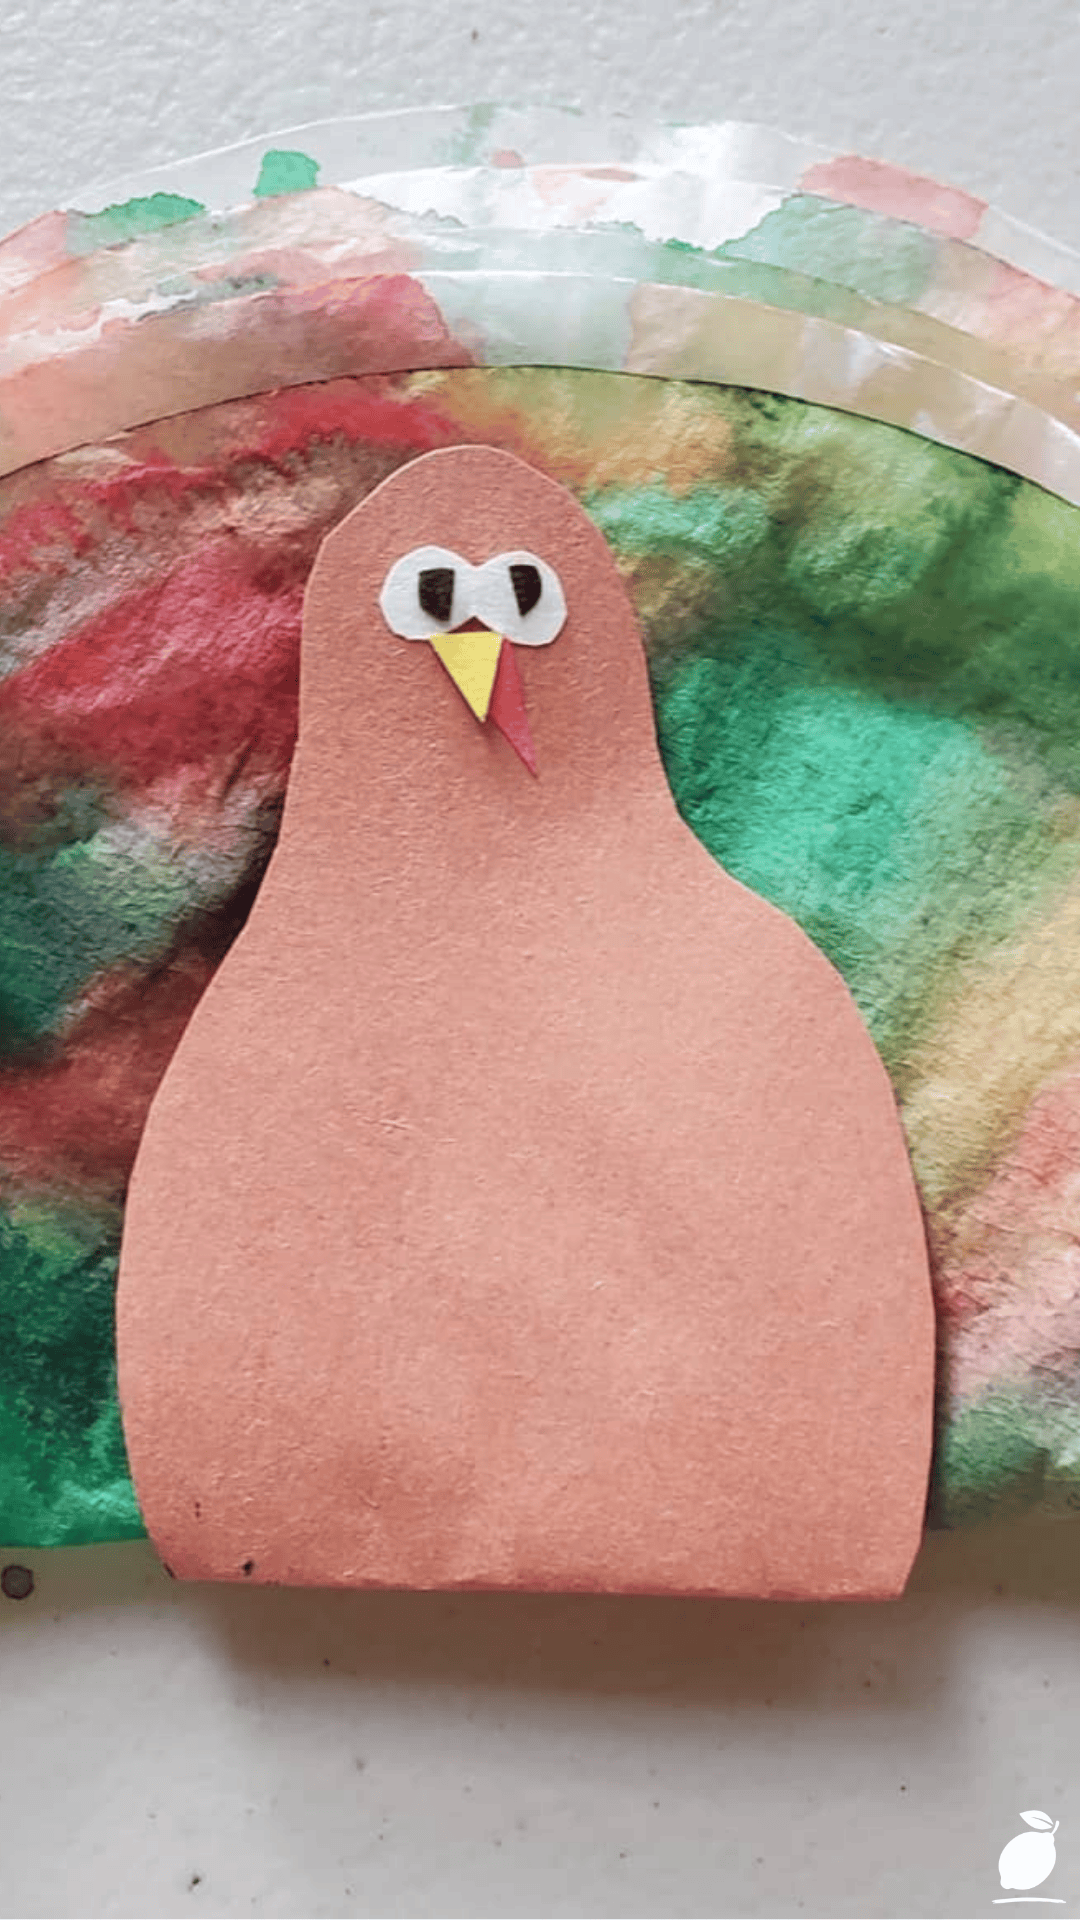
Once dry, cut a small oval or egg shape from brown construction paper for the turkey’s body, and glue on a small triangle beak and red wattle. This becomes the base your dyed filter attaches to.
Step 6: Attach the Filter as Feathers
Gather the dried coffee filter slightly at the center, like a small fan, and glue it behind the brown paper body so it spreads out like tail feathers. This step is where your coffee filter turkey really comes together visually.
Step 7: Add Final Details
Glue on googly eyes and let kids add any extra flair: feet, a tiny hat, or a name tag to finish off their coffee filter turkey and make it their own.
Expert Secrets for Success
Pro-Tips for a Better Result
Dilute your dye ahead of time. Watered-down liquid watercolor spreads more gently across the filter and gives a softer, more even coffee filter turkey without oversaturating the paper.
Work over a tray, not directly on the table. Keeping all supplies contained on a single tray, as shown in the setup photo, is the easiest way to prevent staining and keep the whole coffee filter turkey process calm.
Use fewer colors for a cleaner look. Two or three colors per filter tend to blend more beautifully than four or five, which can muddy together into brown.
Let kids control their own dropper. Giving each child their own dropper and jar avoids squabbling over turns and lets every coffee filter turkey reflect that child’s own color choices.
Common Mistakes to Avoid
Skipping the drying time. Assembling a coffee filter turkey while the filter is still wet causes colors to smear and the paper to tear easily.
Using full-strength dye. Undiluted liquid watercolor can oversaturate the filter, leading to muddy colors and longer drying times than necessary.
Forgetting the paper towel underlay. Without a protective layer beneath the tray, dye can bleed through and stain the table underneath.
Overloading the dropper. Too much liquid at once causes colors to run off the filter entirely rather than spreading in the pretty, controlled bloom pattern that makes a coffee filter turkey look so charming.
Why The Coffee Filter Turkey Matters
A coffee filter turkey is a small, simple craft, but what it offers a family goes well beyond the finished decoration. Watching color slowly bloom across a plain white filter is genuinely mesmerizing; for kids and parents alike, it’s a rare kind of screen-free activity that naturally slows everyone down and holds attention without any extra effort.
There’s something quietly restorative about a craft session that goes smoothly. When the mess is contained, and the process is simple, what’s left is just the good part: bright colors, small hands focused intently, a finished project everyone’s proud of. A coffee filter turkey, made together at the kitchen table, becomes one of those small, low-stakes moments of connection that add up to real family peace, especially during a busy holiday season.
At Easy Peasy Life Matters, this is exactly the kind of project we love sharing: simple, well-organized crafts that turn ordinary afternoons into calm, joyful memories, without requiring a big cleanup or a long list of supplies.
FAQ
What age group is the coffee filter turkey craft best for?
This craft works well for kids as young as three with supervision, and independently for kids around six and up. Younger children may need help controlling dropper pressure to avoid oversaturating the filter.
Can I use food coloring instead of liquid watercolor for my coffee filter turkey?
Yes. Food coloring diluted with a little water works well as a substitute and produces similarly vibrant results, though liquid watercolor tends to blend slightly more smoothly across the filter.
How long does it take to make a coffee filter turkey from start to finish?
Active crafting time is usually about twenty minutes, plus one to two hours of drying time before assembly. Most families find it works well to dye the filters in the morning and assemble the finished turkeys later the same day.
Will the dye stain hands or clothes?
Liquid watercolors and food coloring can temporarily stain skin, though it typically washes off within a day or two. An old shirt or craft smock is a smart precaution when making a coffee filter turkey.
Can this craft be scaled up for a classroom or larger group?
Yes. Prepping trays with pre-diluted colors and pre-cut turkey bodies ahead of time makes it easy to run a coffee filter turkey activity for a full classroom or larger group of kids efficiently.







