
Your hands are covered in dry, cracking clay dust, there’s a lump of gray sludge stuck under your fingernails, and the “cute little bowl” you were attempting has collapsed into something closer to a deflated balloon. You watched three tutorials, bought a beginner clay kit that promised “no experience necessary,” and somehow still ended up with uneven walls, a caved-in bottom, and a mild sense of defeat sitting next to a pile of clay scraps on the table. Pottery looked so calming in the videos. In real life, it’s mostly just wet hands and quiet frustration.
This is one of the most common creative letdowns out there, not because pottery is actually hard, but because most beginners skip the one technique that makes everything else click: the humble pinch pot. It’s the oldest, simplest hand-building method in ceramics, and yet most people jump straight to shapes and glazes without ever slowing down to master the basic pinch, which is exactly why so many first attempts end up lopsided or fragile.
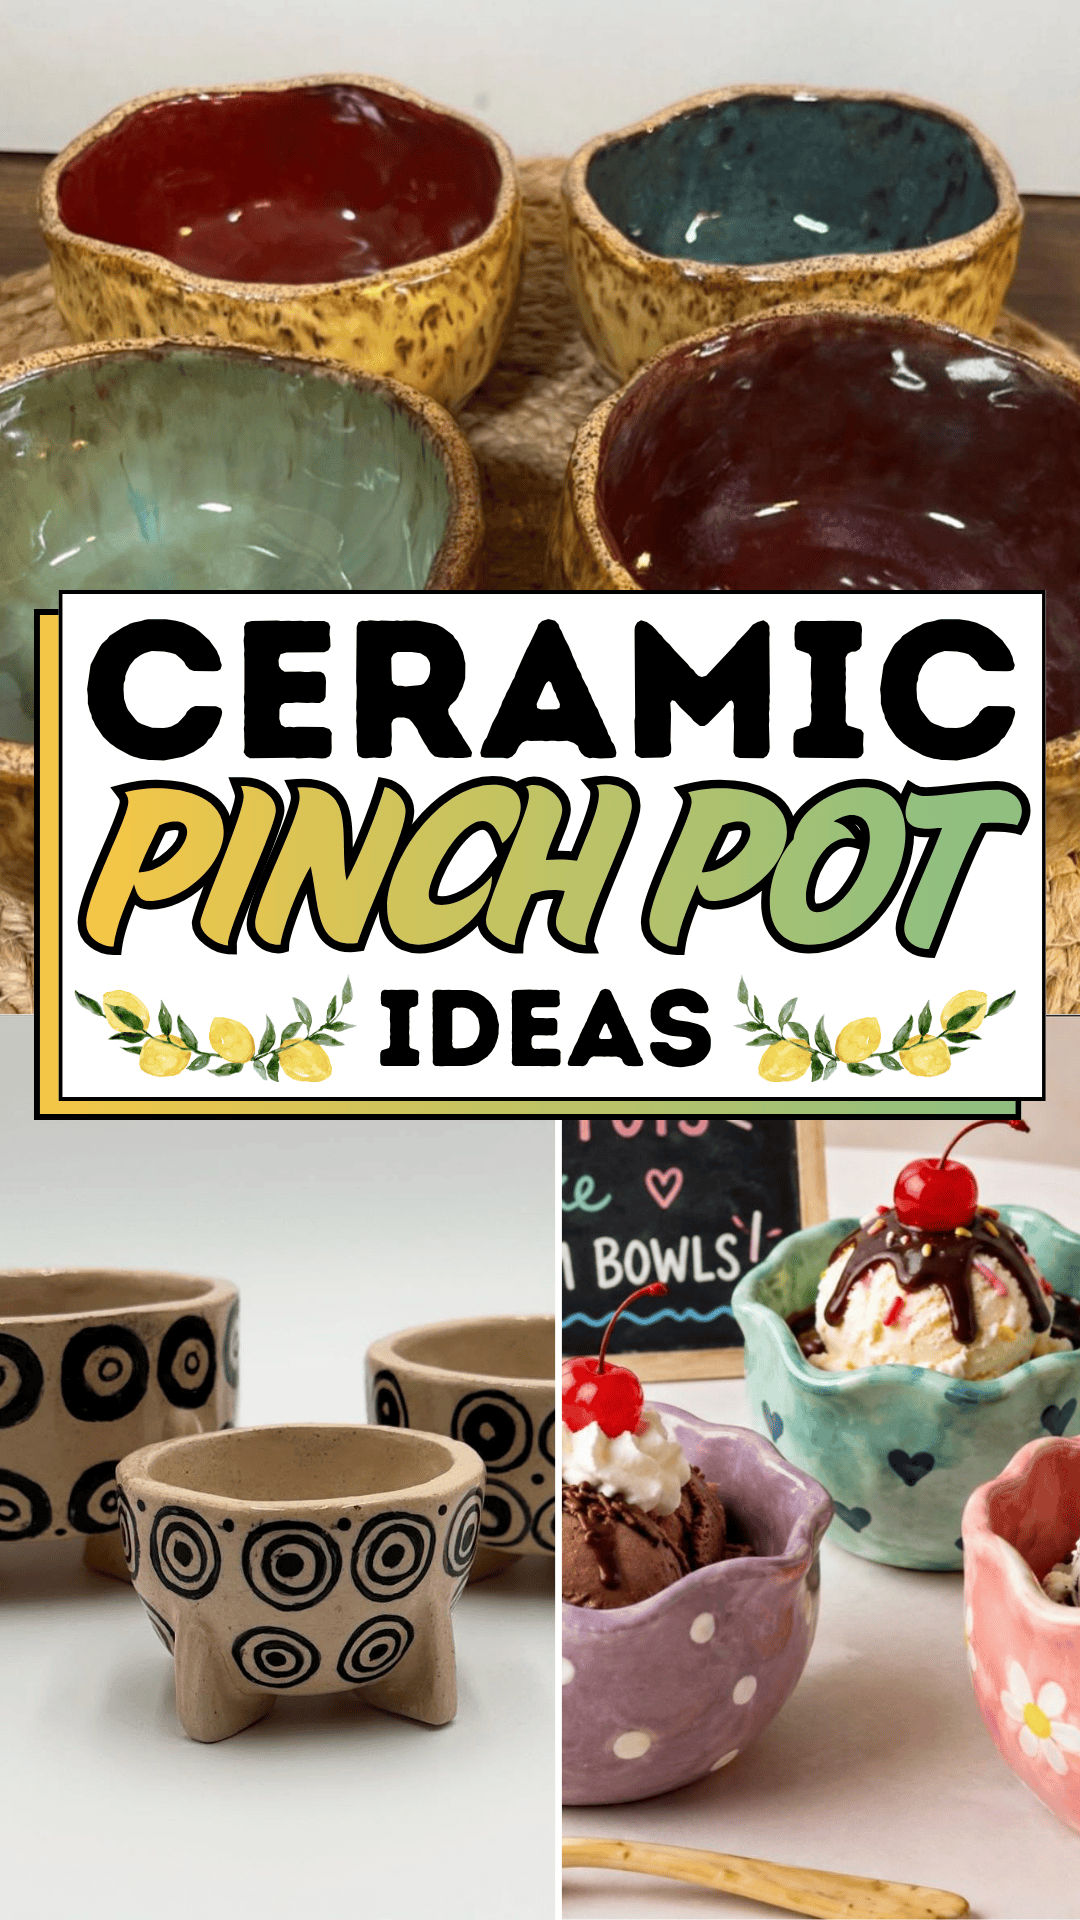
Now picture the alternative: a small trio of ceramic pinch pot bowls, each one perched on delicate little feet, hand-painted with clean, repeating circles in confident black against warm clay-colored walls. Simple in form, striking in detail, and clearly made with patience rather than rushed technique. That’s the entire promise of this guide: a clear, step-by-step path from a shapeless lump of clay to a finished, beautiful ceramic pinch pot you’ll actually be proud to display.
The Ceramic Pinch Pot Blueprint

Making a ceramic pinch pot doesn’t require a wheel, a studio, or years of practice just clay, patience, and a sequence that respects how the technique actually works.
Step 1: Prepare Your Clay
Start with a ball of clay about the size of a tangerine and wedge it briefly, kneading it gently to remove air bubbles before you begin shaping your ceramic pinch pot. Air bubbles left inside the clay can cause cracking or even breakage later during firing.
Step 2: Form the Starting Ball
Roll the clay between your palms until it’s a smooth, even sphere with no cracks on the surface. A well-formed starting ball is the foundation every good ceramic pinch pot depends on, so take your time here rather than rushing to the next step.
Step 3: Create the Center Opening
Push your thumb slowly into the center of the ball, stopping about half an inch from the bottom. This creates the hollow interior your ceramic pinch pot needs, and leaving that base thickness prevents the pot from cracking or collapsing later.
Step 4: Pinch the Walls Evenly
Working around the opening in a slow, rotating motion, gently pinch the clay between your thumb and fingers, gradually thinning and raising the walls. Consistency matters more than speed here; uneven pinching is the most common reason a ceramic pinch pot ends up lopsided.
Step 5: Shape and Smooth
Once your walls reach an even thickness, use your fingers or a small rib tool to smooth the interior and exterior surfaces, refining the shape into a rounded bowl, oval vessel, or any form you like. This is where your ceramic pinch pot really starts to take on its final personality.
Step 6: Add Feet or Embellishments
For a pedestal-style look, attach three small coils or clay balls to the underside as feet, scoring and moistening both surfaces before pressing them into place so they bond securely to your ceramic pinch pot.
Step 7: Let It Dry Slowly
Allow your finished piece to air dry slowly, covered loosely with plastic for the first day to prevent cracking, then uncovered until it reaches a fully dry, “bone dry” state, usually several days depending on thickness. Rushing this stage is one of the fastest ways to ruin an otherwise beautiful ceramic pinch pot.
Step 8: Fire and Decorate
Once bone dry, your ceramic pinch pot is ready for a bisque fire at a studio or with a home kiln. After bisque firing, hand-paint your design clean, repeating circles like the trio pictured above are a beautifully simple pattern for beginners, then apply a clear glaze and complete a final glaze fire.
Expert Secrets for Success
Pro-Tips for a Better Result
Keep a bowl of water nearby, not a soaking wet hand. Dip your fingers lightly rather than dunking them, since overly wet clay becomes slippery and harder to control while shaping a ceramic pinch pot.
Rotate the piece constantly. Turning your ceramic pinch pot in your palm as you pinch, rather than reaching around a stationary piece, keeps wall thickness far more even.
Check thickness with a gentle squeeze. Periodically pinch the wall lightly between two fingers to feel for thin spots before they become fragile weak points.
Paint in small, confident strokes. Clean geometric patterns, like repeating circles, read best on a ceramic pinch pot when painted with steady, deliberate strokes rather than rushed ones.
Make a small batch, not just one. Shaping two or three pinch pots in one sitting, in varying sizes like the nesting trio pictured above, gives you a cohesive, styled set rather than a single stray piece.
Common Mistakes to Avoid
Pinching too fast. Rushing the wall-thinning process is the single most common reason a ceramic pinch pot ends up uneven or cracked.
Leaving the base too thin. An overly thin bottom is fragile and prone to cracking both during drying and firing.
Skipping the slow-dry cover step. Letting a ceramic pinch pot dry too quickly, especially in a warm or sunny spot, often causes surface cracks that can’t be repaired.
Forgetting to score and slip attachments. Feet or handles added without scoring and moistening the contact points often detach cleanly during drying or firing.
Overworking the clay. Excessive smoothing or reshaping can weaken the clay’s structure. Once your ceramic pinch pot reaches a good shape, know when to stop.
Why the Ceramic Pinch Pot Matters
There’s a reason hand-building with clay has stayed popular for thousands of years, long after faster methods became available: the slow, repetitive motion of pinching clay is genuinely calming. Making a ceramic pinch pot forces your hands to move at the pace of the material, not the pace of your to-do list, and that shift alone can turn a stressful afternoon into a quietly restorative one.
There’s also real satisfaction in finishing something imperfect and useful with your own two hands. A ceramic pinch pot doesn’t need to be symmetrical or store-bought smooth to be beautiful; in fact, the slight variations are usually what make it feel personal. That small, tangible sense of accomplishment tends to ripple outward, leaving people a little calmer and more present with their family for the rest of the day.
At Easy Peasy Life Matters, that’s exactly the kind of project we love championing: simple, hands-on activities that offer real mental clarity, not just a finished product. A ceramic pinch pot sitting on your shelf isn’t just a piece of pottery; it’s a small, physical reminder of a slow, focused afternoon well spent.
FAQ
Do I need a pottery wheel to make a ceramic pinch pot?
No. A ceramic pinch pot is entirely hand-built, using just your fingers and thumbs to shape the clay, which makes it one of the most accessible pottery techniques for complete beginners.
What type of clay is best for a ceramic pinch pot?
Stoneware or earthenware clay both work well for beginners. Choose a clay body that matches the firing equipment available to you, whether that’s a home kiln or a local pottery studio.
How long does it take for a ceramic pinch pot to fully dry?
Drying time varies with thickness and humidity, but most pinch pots take three to seven days to reach a fully dry, bone-dry state ready for bisque firing.
Can I make a ceramic pinch pot without access to a kiln?
Yes, air-dry clay is a good alternative if you don’t have kiln access, though it won’t be food-safe or as durable as a properly fired ceramic pinch pot. It’s a great option for purely decorative pieces.
What’s the easiest design to paint on a finished ceramic pinch pot?
Simple, repeating geometric patterns like the black circles shown on the nesting trio above are ideal for beginners, since they don’t require freehand drawing skill and still create a bold, modern look on a finished ceramic pinch pot.







