
For two summers straight, our backyard was basically a graveyard for good intentions. A patchy stretch of dirt where grass refused to grow, a rusting fire pit ring nobody used, and a folding table that stayed folded because setting it up on the uneven ground meant every drink tipped over within ten minutes. We’d talk about hosting a bonfire, then quietly cancel it in our heads before we even said it out loud, because the yard just wasn’t a place you wanted to sit in for longer than it took to grab something off the grill.
I think most homeowners have some version of that same tired corner of the space that had potential once, got half-started, and then just sat there collecting excuses. Mine was the back third of the yard, past the patio door, where the ground sloped just enough to make furniture wobble and just enough grass had died that it looked neglected no matter how much we mowed around it. Every fix felt too big to start on a random Saturday, so nothing ever got fixed.
What finally changed things wasn’t a total yard overhaul. It was a single, contained project: a circular stone patio, built as a proper gathering spot, ringed with sturdy Adirondack chairs and a mulched border with a few simple shrubs. No more wobbling table. No more dead grass patch. Just a clean, level, genuinely inviting space that finally matched the backyard I’d been picturing all along. If your yard has that same stuck, unfinished corner, these stone patio ideas are exactly the fix that worked for me.
The Stone Patio Blueprint
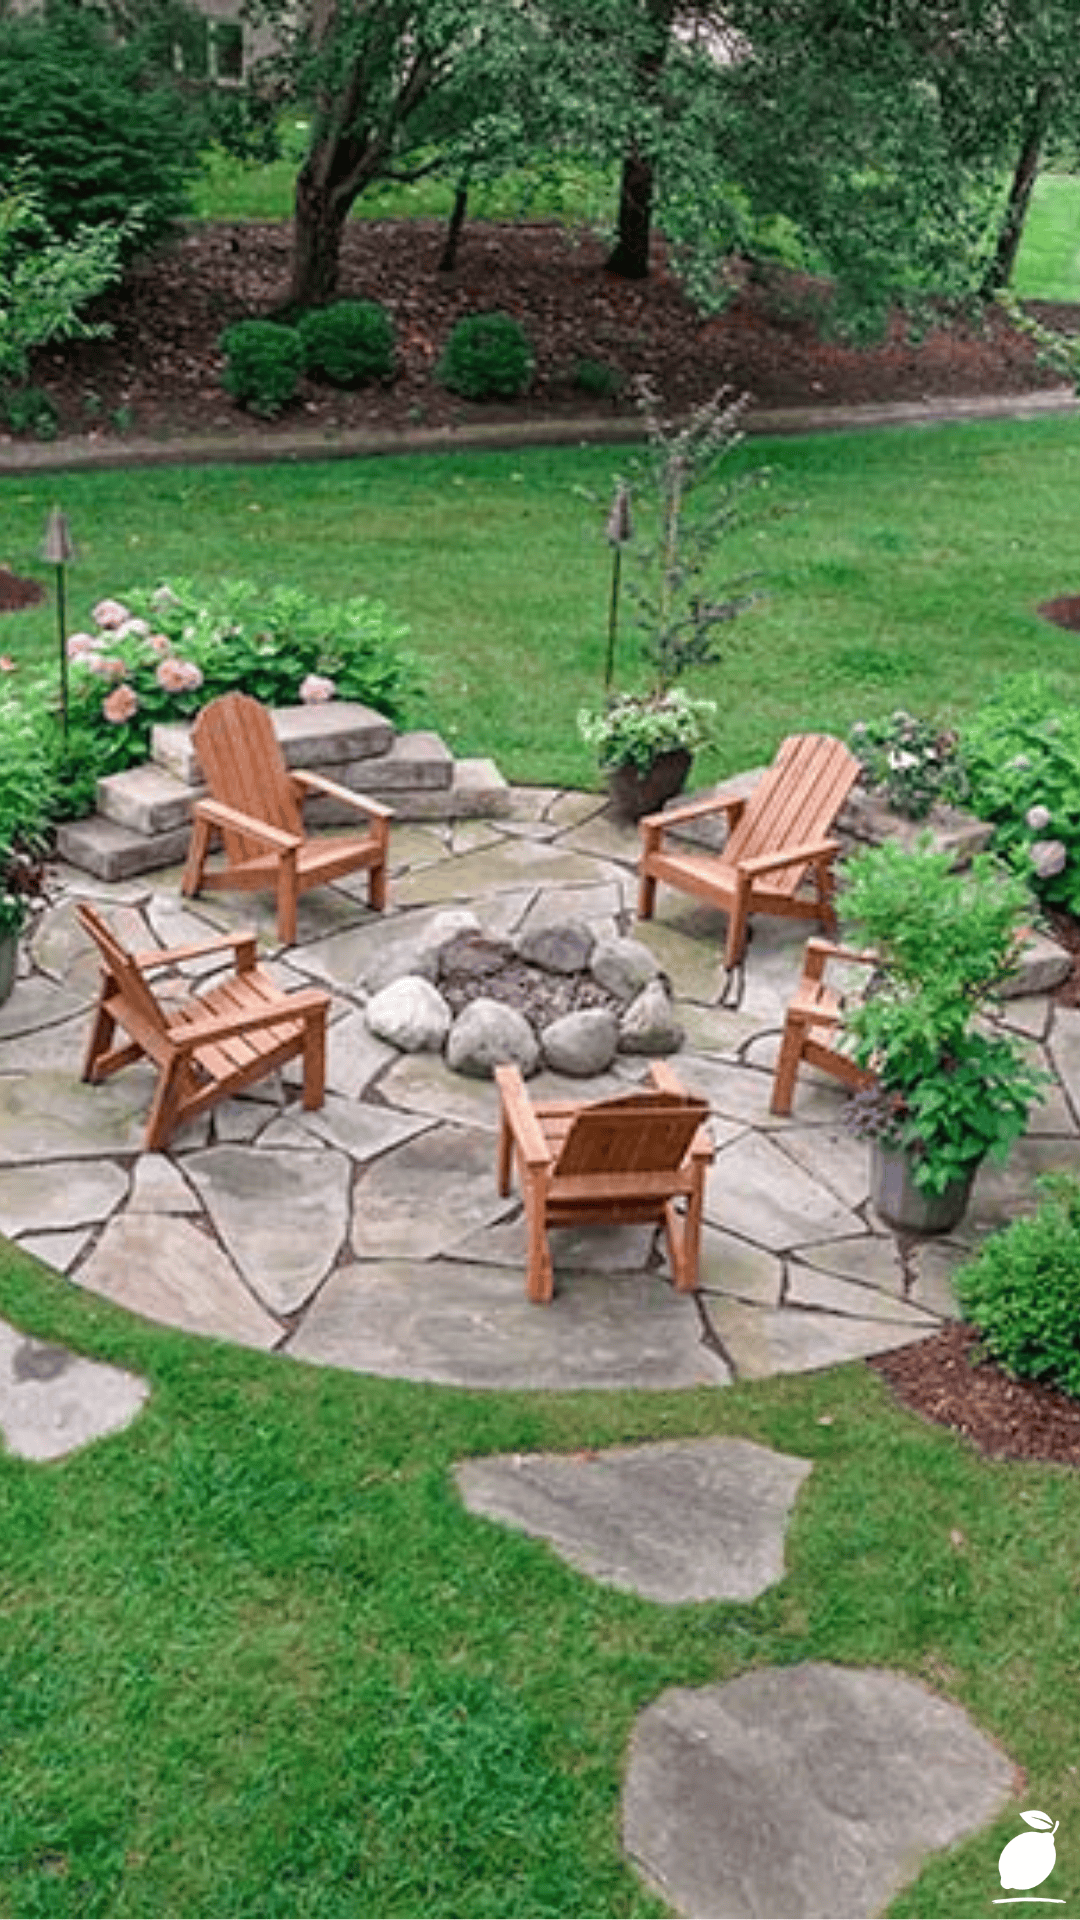
Building a circular stone patio is a weekend-to-weeklong project depending on size, but it follows a clear, manageable sequence that any reasonably handy homeowner can tackle.
Step 1: Choose Your Location and Size
Walk your yard and pick a spot that’s relatively level, gets good use out of existing views or shade, and sits a comfortable distance from your house. Mark out the diameter of your planned stone patio with a rope or garden hose so you can visualize the space before digging anything.
Step 2: Excavate the Area
Remove grass and topsoil within your marked circle to a depth of about six to eight inches, which allows room for a base layer plus your paver thickness. This excavation step is the foundation of a stable, long-lasting stone patio, so take the time to get it even.
Step 3: Add and Compact a Gravel Base
Fill the excavated area with a few inches of crushed gravel, compacting it firmly in layers using a hand tamper or plate compactor. A properly compacted base prevents shifting and settling, which is one of the most common long-term problems with a poorly built stone patio.
Step 4: Add a Sand Leveling Layer
Spread an inch or two of coarse sand over the compacted gravel and screed it flat using a straight board. This thin leveling layer is what allows your stone pavers to sit evenly and consistently across the entire patio.
Step 5: Lay the Stone Pavers
Starting from the center and working outward, place your irregular gray stone pavers snugly together, adjusting the sand bed as needed to keep each piece level. This is the most time-intensive step of the whole project, but it’s also where your stone patio really starts to take shape.
Step 6: Fill the Joints
Sweep polymeric sand or fine gravel into the gaps between pavers, then lightly water it to help it settle and lock the stones in place. This joint-filling step stabilizes the entire stone patio and helps prevent weeds from creeping up between the stones.
Step 7: Build the Border and Pathway
Edge the patio with a mulched garden bed and add a curved stone pathway leading to it, using the same or complementary paver style for visual continuity. This finishing touch is what turns a simple stone patio into a fully designed outdoor space.
Step 8: Add Furniture and Final Touches
Arrange durable outdoor seating, like a semi-circle of Adirondack chairs, facing a central fire pit or focal point, then fill in the border beds with low-maintenance shrubs or potted plants for a polished, finished look.
Expert Secrets for Success
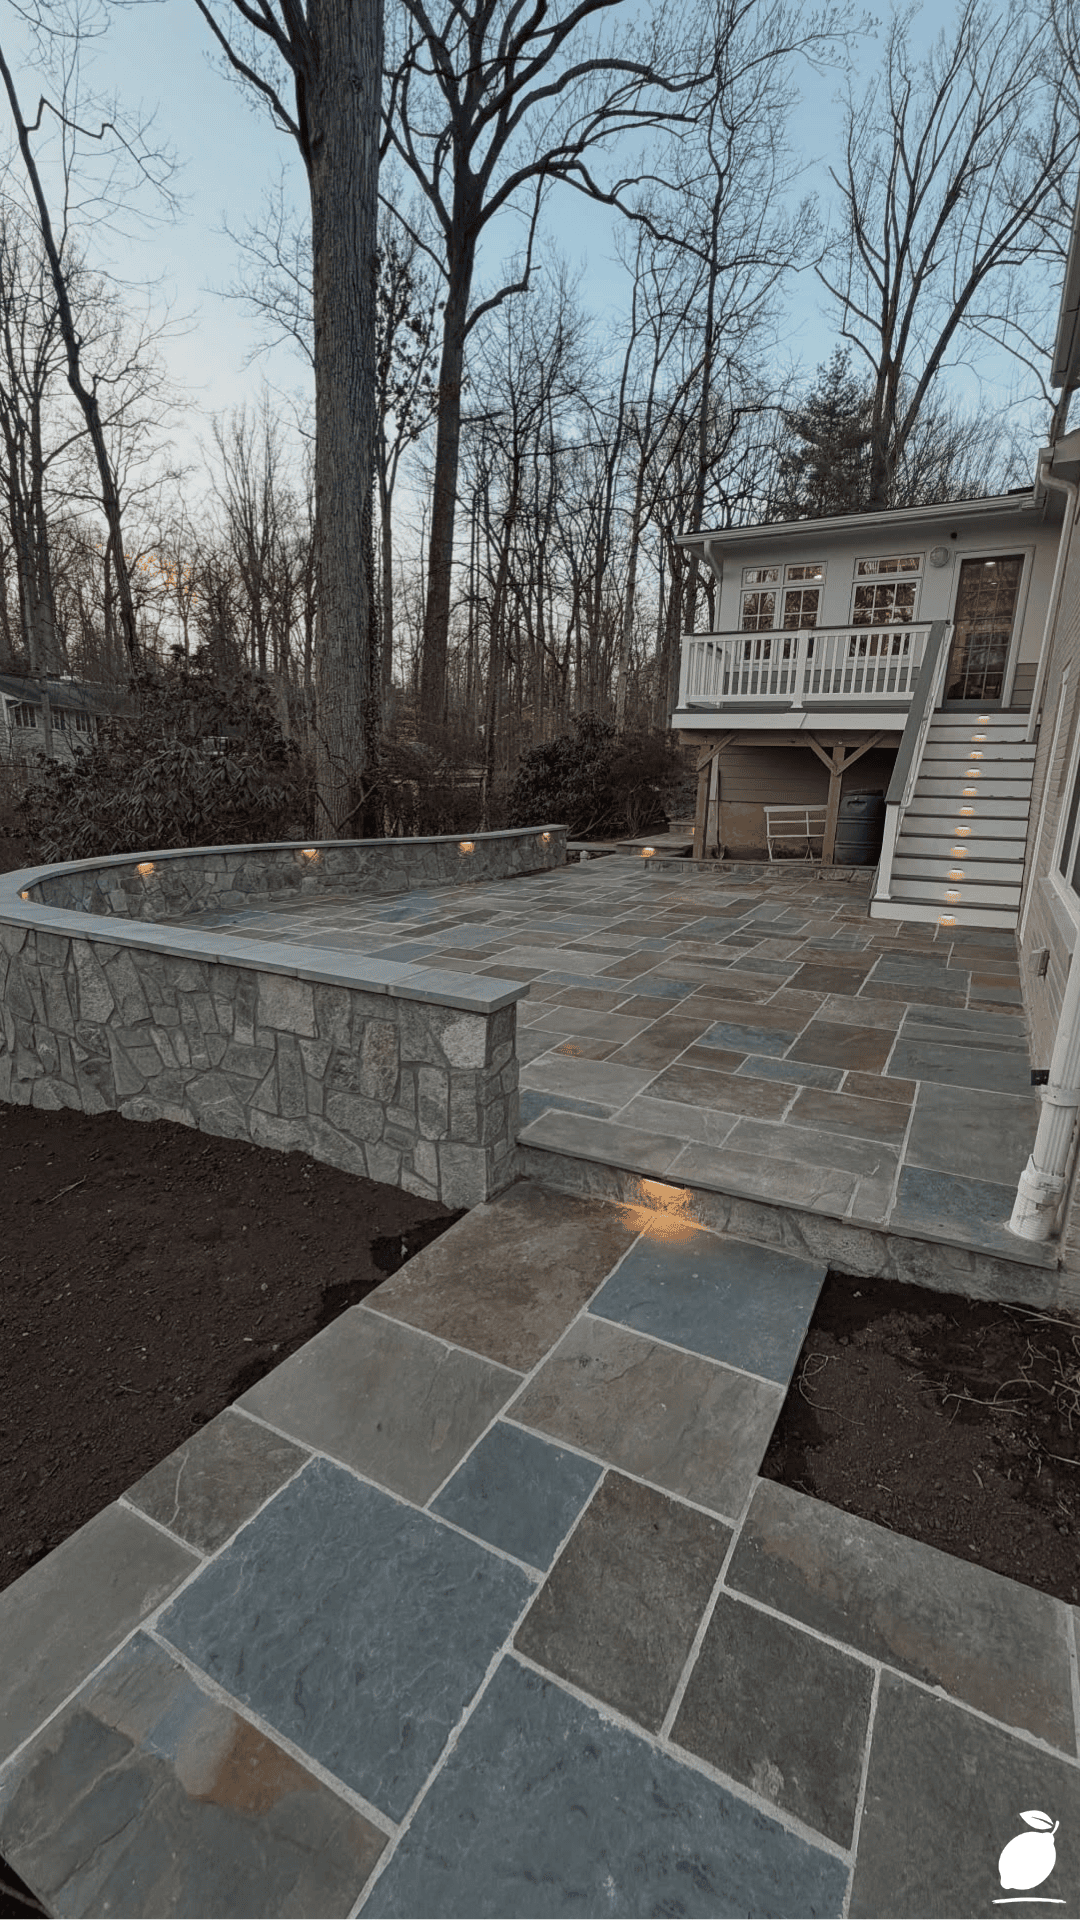
Pro-Tips for a Better Result
Check for level constantly, not just at the end. Use a level throughout the base, sand, and paver stages of your stone patio build, since small unevenness compounds quickly across a larger area.
Slightly slope the base away from your house. A gentle grade, even just an inch over several feet, keeps water from pooling on your stone patio or draining back toward your foundation.
Order 10% extra material. Irregular stone pavers often require cutting or fitting adjustments, so a small buffer of extra stone prevents a mid-project supply run.
Use polymeric sand for joints, not regular sand. It hardens slightly once activated with water, helping lock pavers in place and resist weed growth far better than loose sand alone.
Plan seating around a focal point. Arranging chairs in a semi-circle facing a fire pit or center feature, rather than scattering them randomly, makes your finished stone patio feel intentional and genuinely inviting.
Common Mistakes to Avoid
Skipping or skimping on the gravel base. A shallow or poorly compacted base is the number one reason a stone patio shifts, sinks, or develops uneven spots within a year or two.
Ignoring drainage. Building directly on flat, unsloped ground can lead to standing water after rain, which erodes the base beneath your stone patio over time.
Rushing the paver-laying step. Placing stones too quickly without checking level and spacing leads to a wobbly, uneven surface that’s frustrating to fix after the fact.
Choosing furniture that’s too heavy or too light. Oversized furniture can overwhelm a smaller stone patio, while flimsy pieces may not hold up to outdoor conditions season after season.
Forgetting the border. A stone patio without a defined edge, like a mulched bed or paver border, often looks unfinished next to the surrounding lawn, no matter how well the stonework itself turned out.
Why a Stone Patio Matters
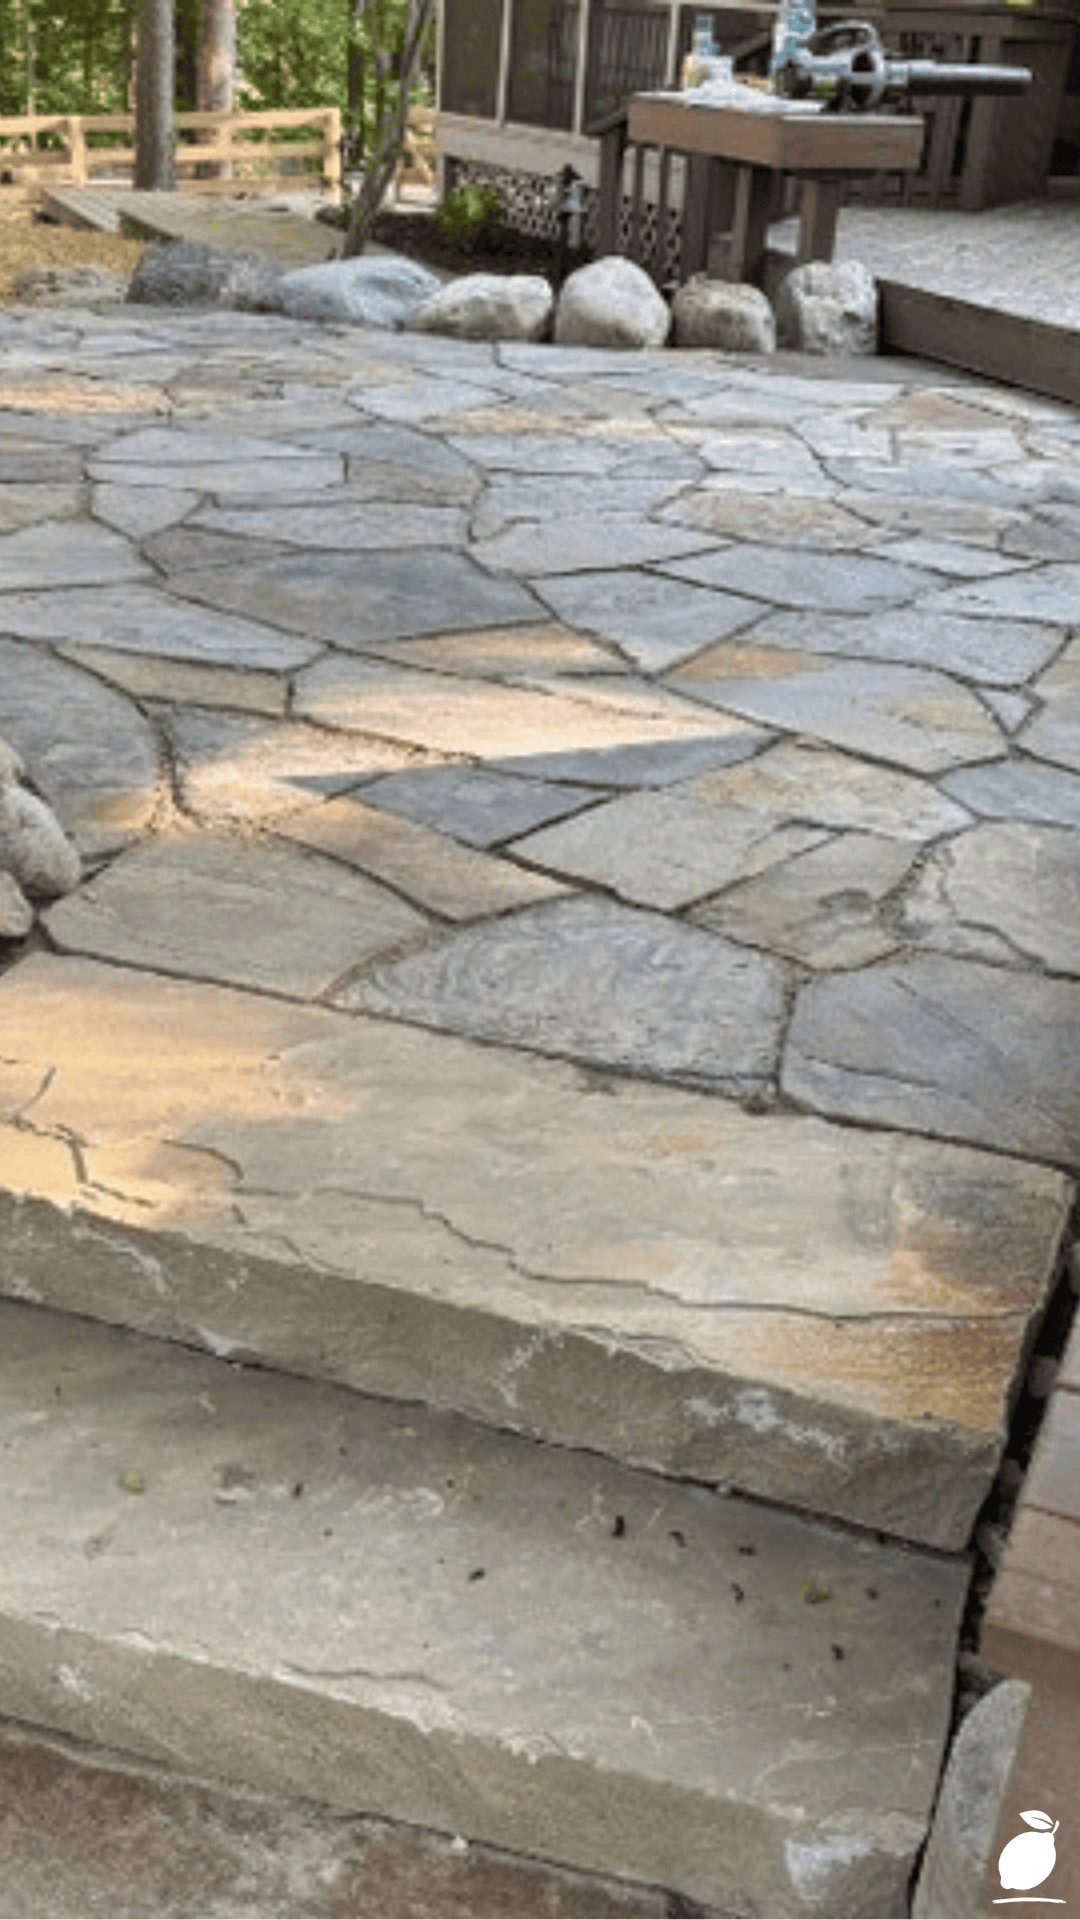
It’s easy to underestimate how much a single outdoor space can change the way a family actually uses their yard. Before our stone patio existed, the backyard was somewhere we walked past, not somewhere we sat. Once it was finished, it became the default spot for everything: morning coffee, weekend dinners, kids doing homework outside on a nice afternoon, impromptu evenings around the fire pit that never would have happened on a patchy, uneven lawn.
There’s a real connection between a well-organized outdoor space and a calmer household. A stone patio gives everyone a defined, comfortable place to gather, which takes the friction out of simply being outside together. No more dragging out folding chairs that wobble, no more hesitating to invite people over because the yard looks unfinished just an open invitation sitting right outside your back door.
At Easy Peasy Life Matters, this is exactly the kind of project we love featuring: a contained, doable weekend build that delivers an outsized return in daily peace of mind. A stone patio isn’t just a landscaping upgrade; it’s a small, lasting investment in the unhurried, together time that makes a house feel like a genuinely well-loved home.
FAQ
How much does it cost to build a stone patio?
Costs vary widely based on size and material, but a DIY stone patio using natural stone pavers typically runs between $8 and $20 per square foot including base materials, while hiring a professional can roughly double that cost.
How long does it take to build a stone patio?
A moderately sized circular stone patio, like a 12- to 15-foot-diameter space for six chairs, usually takes a motivated DIYer one to two full weekends, depending on soil conditions and experience level.
Do I need a permit to build a stone patio?
In many areas, a ground-level stone patio doesn’t require a permit, though rules vary by municipality, especially if you’re adding a fire pit or structure nearby. It’s worth a quick check with your local building department before starting.
What’s the best base material for a stone patio in a rainy climate?
A well-compacted crushed gravel base with a slight slope for drainage is essential in wetter climates, since it allows water to move through and away from your stone patio rather than pooling on the surface.
Can I build a stone patio myself, or do I need to hire a contractor?
Many homeowners successfully build a stone patio themselves with basic tools like a shovel, tamper, and level, especially for smaller or moderately sized projects. Larger, more complex patios or those requiring significant grading may benefit from professional help.







