
By late summer, my basil plant had gone from a modest little pot on the windowsill to an absolute jungle taking over half the counter. I’d planted it with good intentions back in spring, promising myself fresh pesto and caprese salads all season, and then reality happened: busy weeks, forgotten harvests, and suddenly I had more basil than I could use before it started flowering and turning bitter. I hated the idea of just letting it go to waste, but I also had no real plan for what to actually do with an overwhelming armful of leaves.
If you’ve ever grown basil, you know this exact tipping point. It goes from “a few leaves for dinner” to “an entire bush demanding attention” seemingly overnight, and most people either let a huge portion of it wilt in the fridge or watch the plant bolt and turn woody before they’ve used even half of what it offered. The plant isn’t the problem; basil is famously generous once it gets going. The missing piece is simply knowing how to actually preserve that abundance before it’s gone.
That’s exactly what solved it for me: a full, healthy basil plant, harvested at its peak and preserved the right way, turned into a stash of vibrant green flavor that lasted well past the growing season. No wilted, wasted leaves, no guilt about a thriving plant going to waste just a calm, simple system for capturing that fresh basil flavor and keeping it on hand all year. Here’s exactly how to preserve basil so nothing you grow goes to waste.
The Basil Blueprint
Preserving basil well comes down to timing, prep, and choosing the right method for how you plan to use it later. Here’s the full process, covering the most reliable preservation techniques in order.
Step 1: Harvest at the Right Time
Pick basil in the morning after any dew has dried but before the heat of the day, since this is when the leaves hold the highest concentration of essential oils and flavor. Harvest full stems just above a leaf node to encourage the plant to keep producing.
Step 2: Wash and Dry Thoroughly
Rinse the leaves gently in cool water to remove any dirt or debris, then pat them completely dry with a clean towel or use a salad spinner. Any leftover moisture at this stage can cause mold or freezer burn later, so this drying step matters more than people expect.
Step 3: Remove Damaged or Discolored Leaves
Sort through your harvest and discard any leaves that are yellowing, spotted, or bruised, since only the healthiest, most vibrant leaves are worth the effort of preserving.
Step 4: Freeze in Oil for Best Flavor Retention
Finely chop the basil and pack it into ice cube trays, topping each compartment with olive oil before freezing. This method locks in flavor exceptionally well and gives you pre-portioned cubes ready to drop straight into sauces, soups, or sautés.
Step 5: Freeze as a Puree for Larger Batches
Blend basil leaves with a small amount of olive oil into a smooth puree, then freeze flat in a zip-top bag or in ice cube trays. This approach works especially well when you’re preserving a large harvest all at once.
Step 6: Dry the Leaves for Shelf-Stable Storage
Arrange whole leaves in a single layer on a dehydrator tray or hang small bundles upside down in a warm, dry, well-ventilated spot. Dried basil won’t taste quite as vibrant as fresh or frozen, but it’s shelf-stable for many months in an airtight container.
Step 7: Make Basil-Infused Oil for Immediate Use
Blend fresh leaves with olive oil and strain through a fine cloth for a smooth, infused oil perfect for drizzling or cooking within the next couple of weeks when refrigerated.
Step 8: Store and Label Everything Properly
Whichever method you choose, label containers with the preservation date and store frozen basil for up to six months and dried basil for up to a year in a cool, dark place, so nothing gets forgotten and wasted a second time.
Expert Secrets for Success
Pro-Tips for Better Results
Harvest before flowering. Once a basil plant starts to bolt and flower, the leaves turn noticeably more bitter, so preserve your harvest before that shift happens for the best flavor.
Use oil, not water, for freezing. Freezing basil in olive oil rather than water preserves both flavor and color far better, preventing the dull, mushy texture that plain water-frozen basil often develops.
Portion before freezing. Freezing in small, single-use portions like ice cube trays saves you from thawing and refreezing a whole batch just to use a spoonful.
Keep dried basil whole until use. Crushing dried basil leaves right before cooking, rather than storing it pre-crushed, helps the flavor stay stronger for longer.
Rotate your preserved basil regularly. Using older batches first and labeling with dates keeps your basil stash fresh and prevents forgotten containers at the back of the freezer.
Common Mistakes to Avoid
Skipping the drying step before freezing. Excess moisture on unwashed or wet leaves leads to ice crystals and freezer burn, dulling both flavor and texture.
Waiting too long to harvest. Letting basil flower before preserving it results in noticeably more bitter, less flavorful leaves.
Storing dried basil in a clear, sunny spot. Light and heat degrade dried herbs quickly, so always store dried basil in an airtight, opaque container away from direct light.
Overcrowding the dehydrator or drying space. Leaves stacked too closely can trap moisture and encourage mold instead of drying evenly.
Forgetting to label frozen portions. Unlabeled basil cubes are easy to lose track of in a busy freezer, leading to waste months down the line.
Why Basil Matters
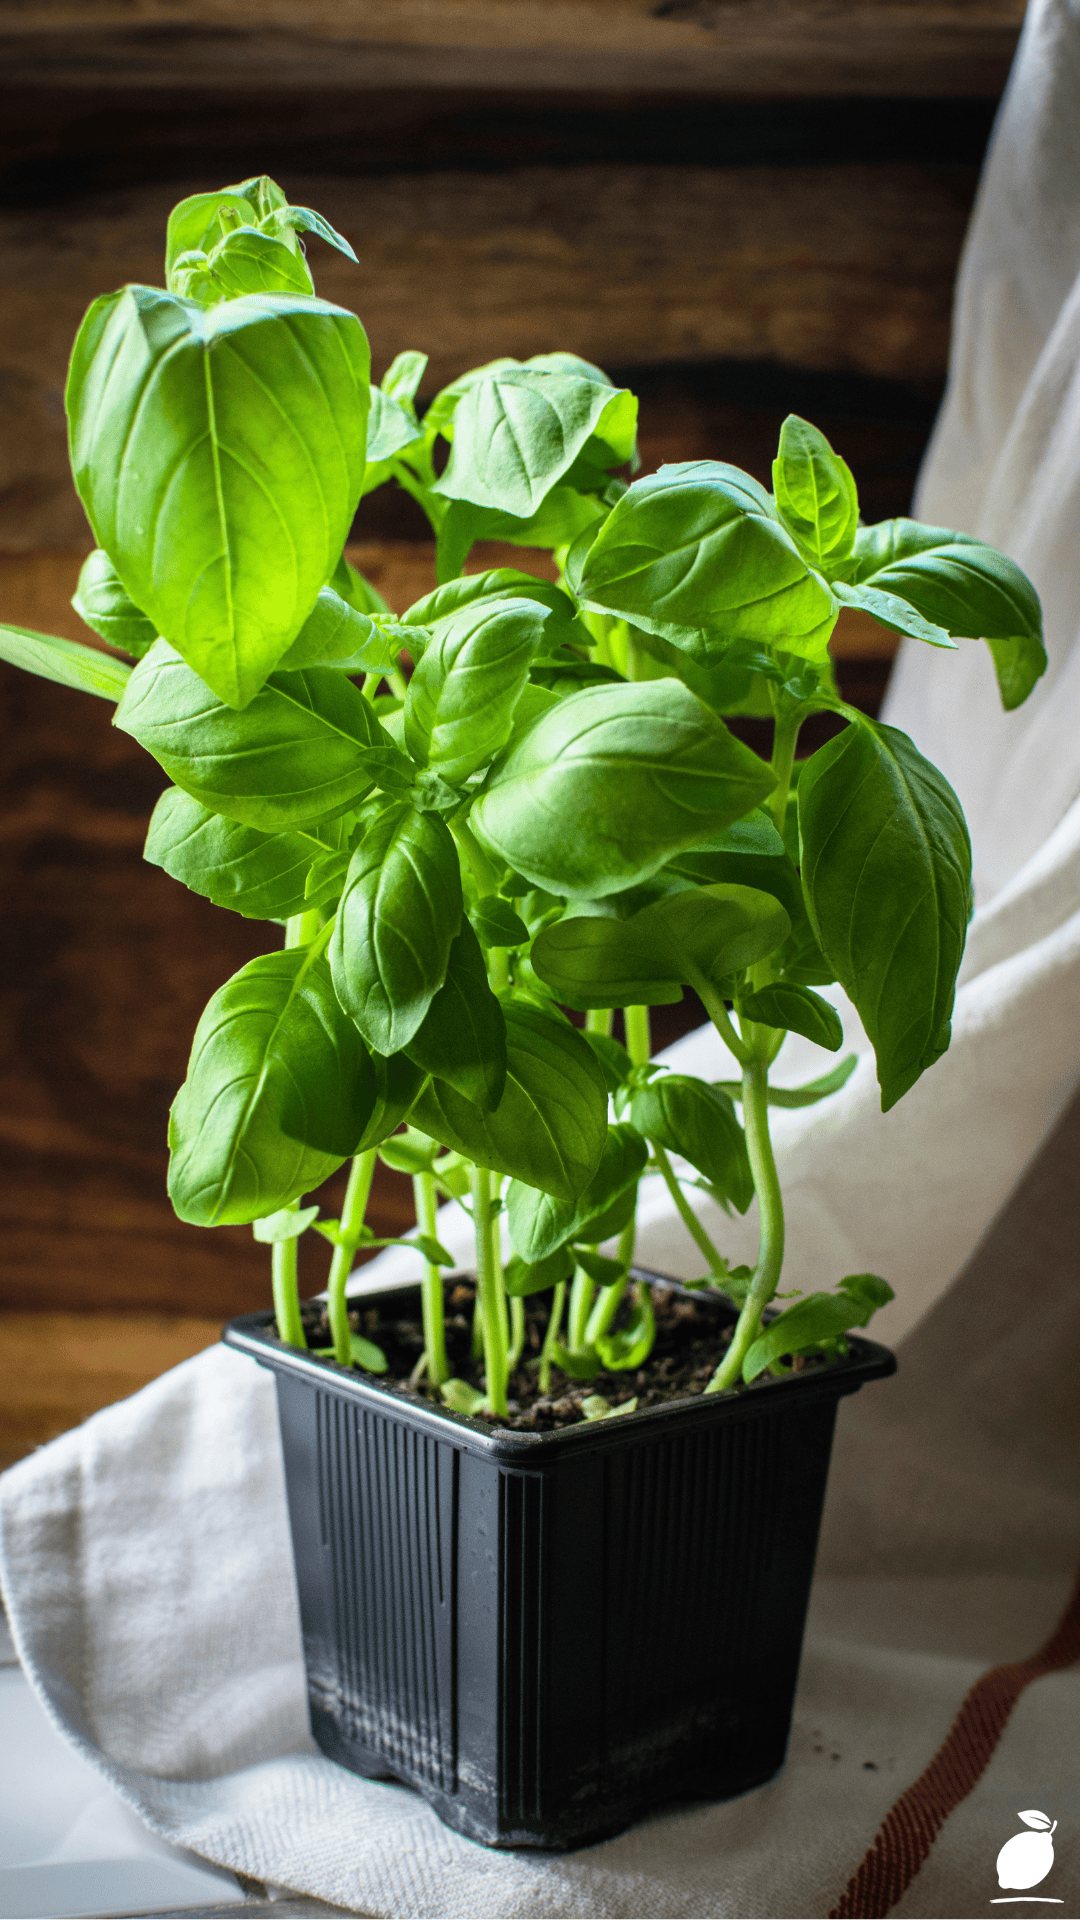
There’s something genuinely satisfying about taking a plant you nurtured from a small nursery pot into a full, bushy harvest and making sure none of that effort goes to waste. Learning how to preserve basil properly turns a fleeting seasonal ingredient into something you can enjoy for months, and that small act of resourcefulness carries a quiet sense of accomplishment every time you open the freezer and find exactly what you need.
Gardening and preserving food in this way also offer a kind of calm that’s easy to underestimate. The slow, hands-on process of harvesting, washing, and preparing basil pulls attention away from a busy schedule and into something simple and tactile. It’s a small ritual, but it adds up to a little more self-sufficiency, a little more connection to what you’re actually eating, and a little more pride in a plant you grew and used well from start to finish.
At Easy Peasy Life Matters, this is exactly the kind of small, doable win we love championing: not a massive lifestyle overhaul, just one well-executed habit that reduces waste and adds genuine satisfaction to an ordinary week. Preserving basil is proof that a little planning turns a fleeting harvest into something that keeps giving long after the growing season ends.
FAQ
What’s the best way to preserve basil for long-term storage?
Freezing basil in olive oil, either as chopped cubes or a smooth puree, generally preserves flavor and color better than drying, though dried basil offers convenient shelf-stable storage if freezer space is limited.
How long does frozen basil last?
Properly frozen basil, especially when preserved in oil, typically stays good for up to six months without significant flavor loss, though it’s best used within the first three to four months for peak taste.
Can I preserve basil without a dehydrator?
Yes, hanging small bundles of basil upside down in a warm, dry, well-ventilated area works well as a low-tech alternative to a dehydrator, though it takes longer to fully dry the leaves.
Does frozen basil taste as good as fresh basil?
Frozen basil, especially when preserved in oil, retains much of its fresh flavor and works beautifully in cooked dishes, though it loses the crisp texture needed for fresh applications like garnishes or salads.
How much basil should I harvest at once for preserving?
Harvest no more than about a third of a healthy plant at one time to allow it to keep producing new growth, and repeat the process every couple of weeks throughout the growing season for a steady, sustainable supply to preserve.







