
The dinette cushions in our camper had seen better decades. Faded, stained in places we’d rather not think too hard about, and covered in a busy floral print that felt more “estate sale find” than “cozy home away from home.” Every time we pulled out photos from a trip, I’d wince a little at how tired that upholstery looked in the background, and every time I looked into replacing it, camper cushion quotes from upholstery shops made my stomach drop. Hundreds of dollars per cushion, weeks of wait time, for cushions that already fit our camper just fine; they just looked awful.
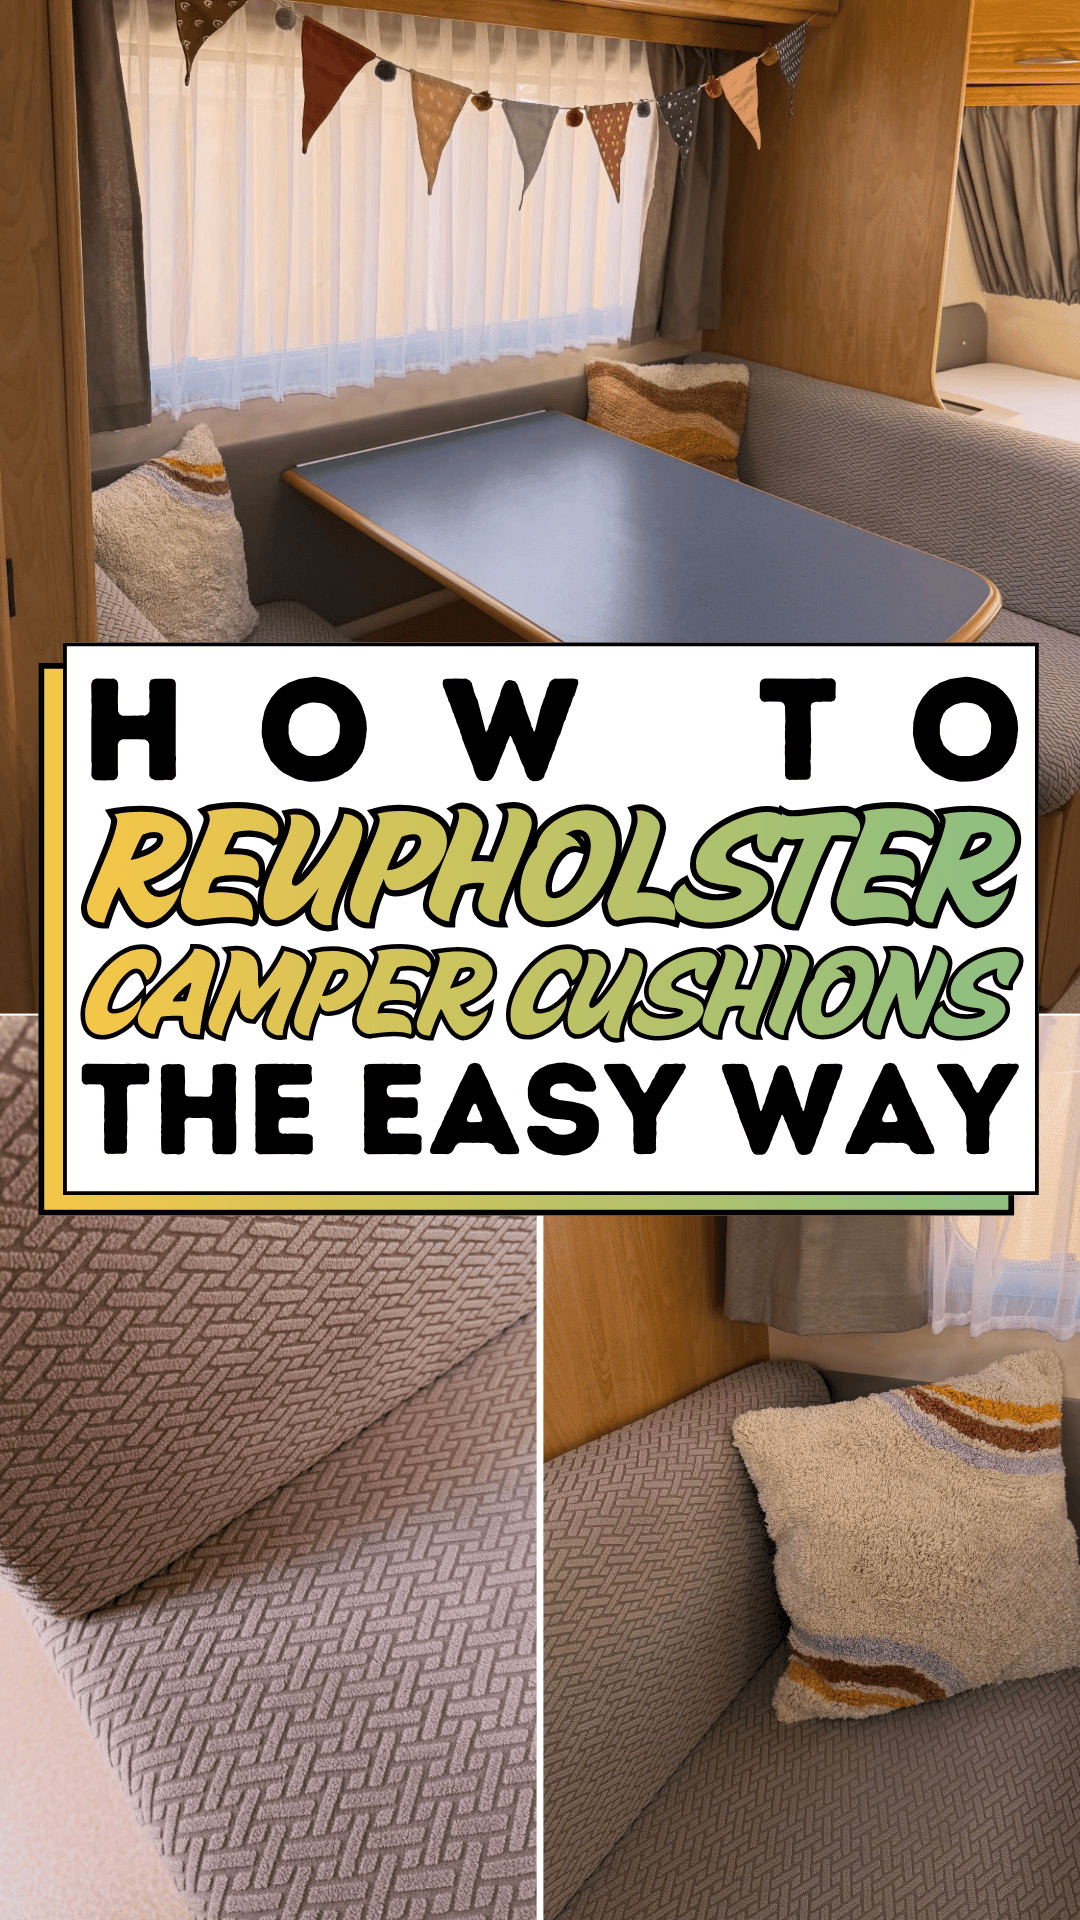
That’s the frustrating spot a lot of camper owners land in. The cushions themselves are usually structurally sound; it’s purely the fabric that’s dated, damaged, or just not your style anymore. But reupholstering sounds like a specialized skill, something you’d need a sewing degree and a professional-grade machine to attempt, so the tired old fabric just… stays, trip after trip, quietly bothering you the whole time.
What actually solved it for us was realizing camper cushions are some of the simplest upholstery projects out there: mostly flat panels and straight seams, nothing like the curved, tufted furniture that intimidates most beginners. A textured, warm-toned chevron fabric transformed our dinette from dated to genuinely inviting, and the whole project took a single weekend. Here’s exactly how to reupholster camper cushions the easy way, no professional experience required.
The Camper Cushion Blueprint
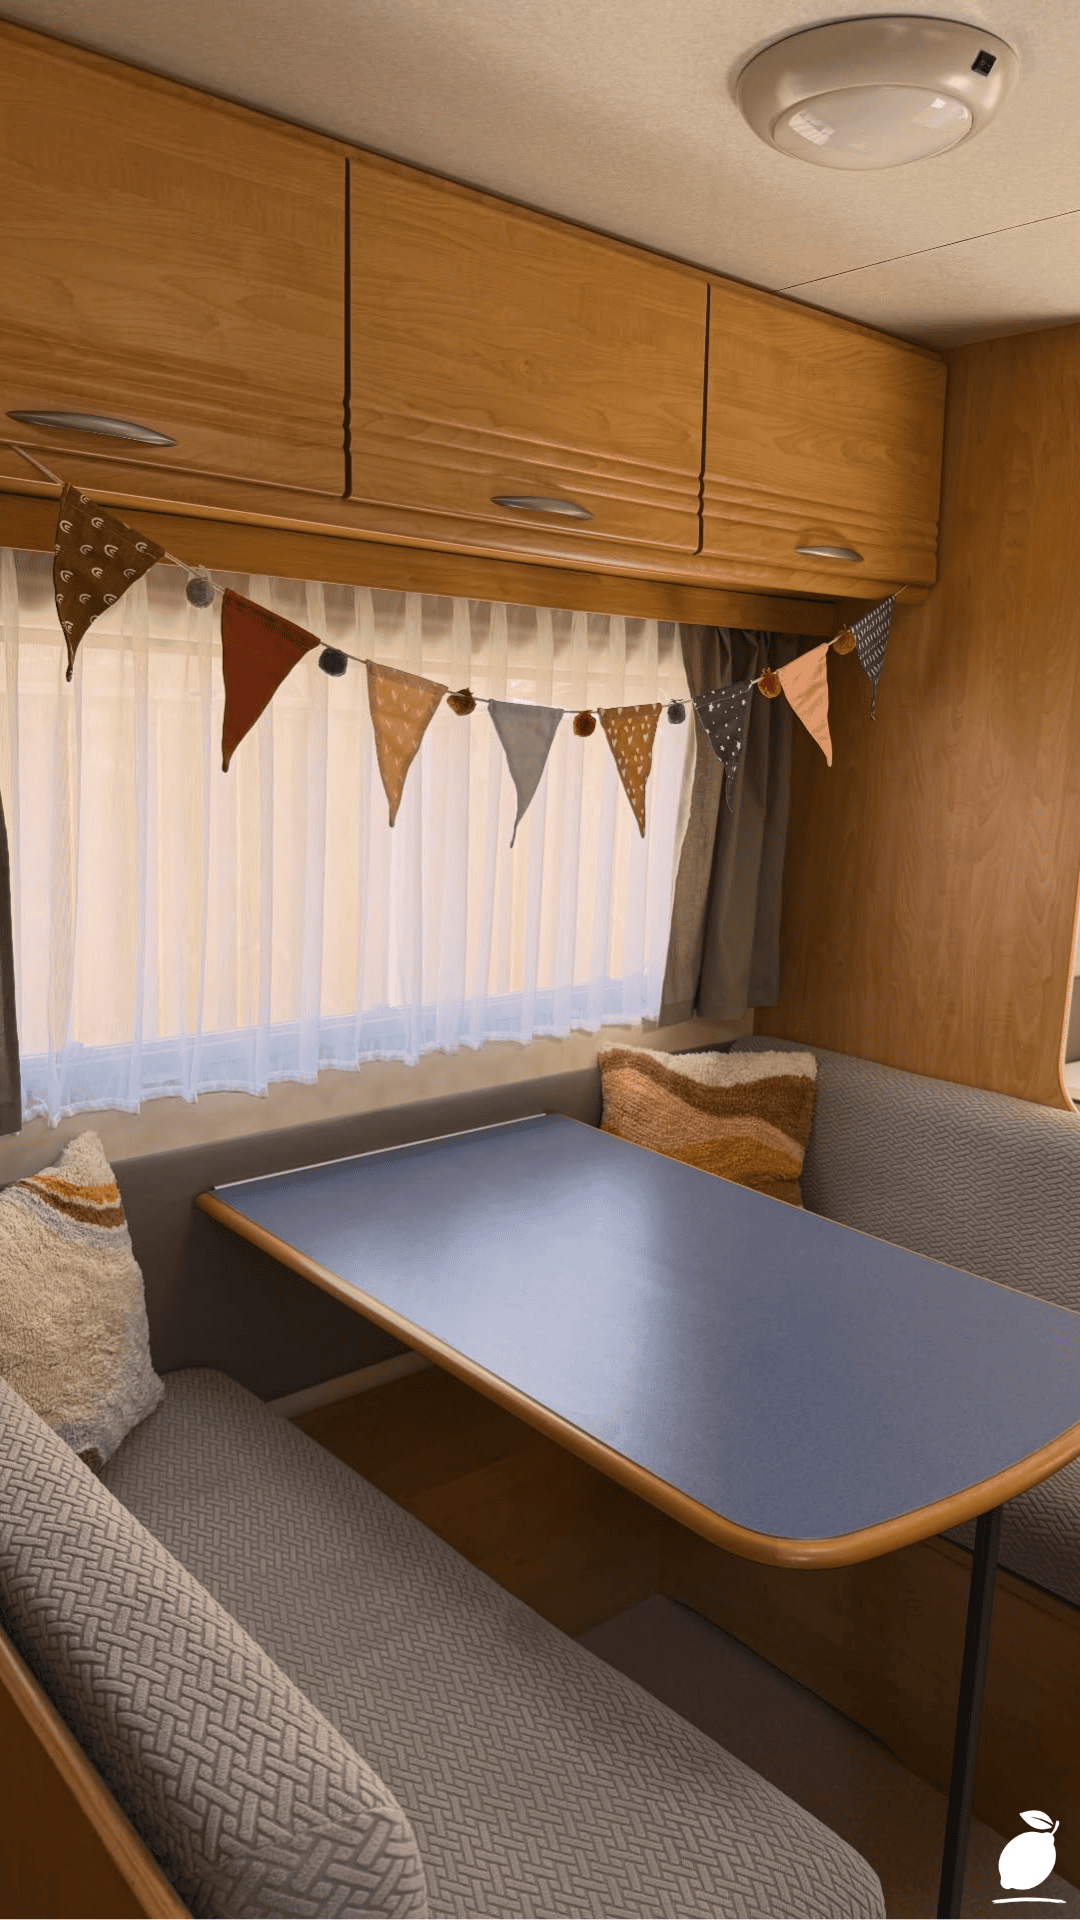
Reupholstering camper cushions is a manageable project even for a first-time DIYer, since most cushions are simple foam shapes wrapped in a removable or sewn cover. Here’s the full process.
Step 1: Remove and Assess Your Cushions
Take the cushions out of the camper and inspect the foam underneath the existing fabric. Healthy, intact foam means you can move straight to reupholstering; foam that’s crumbling or compressed may need replacing alongside your camper cushion fabric.
Step 2: Disassemble the Existing Cover
Carefully unpick seams or remove staples from the old cover, keeping each panel piece intact to use as a pattern template. This step saves significant time, since your existing camper cushion cover becomes the blueprint for cutting new fabric.
Step 3: Choose Your New Fabric
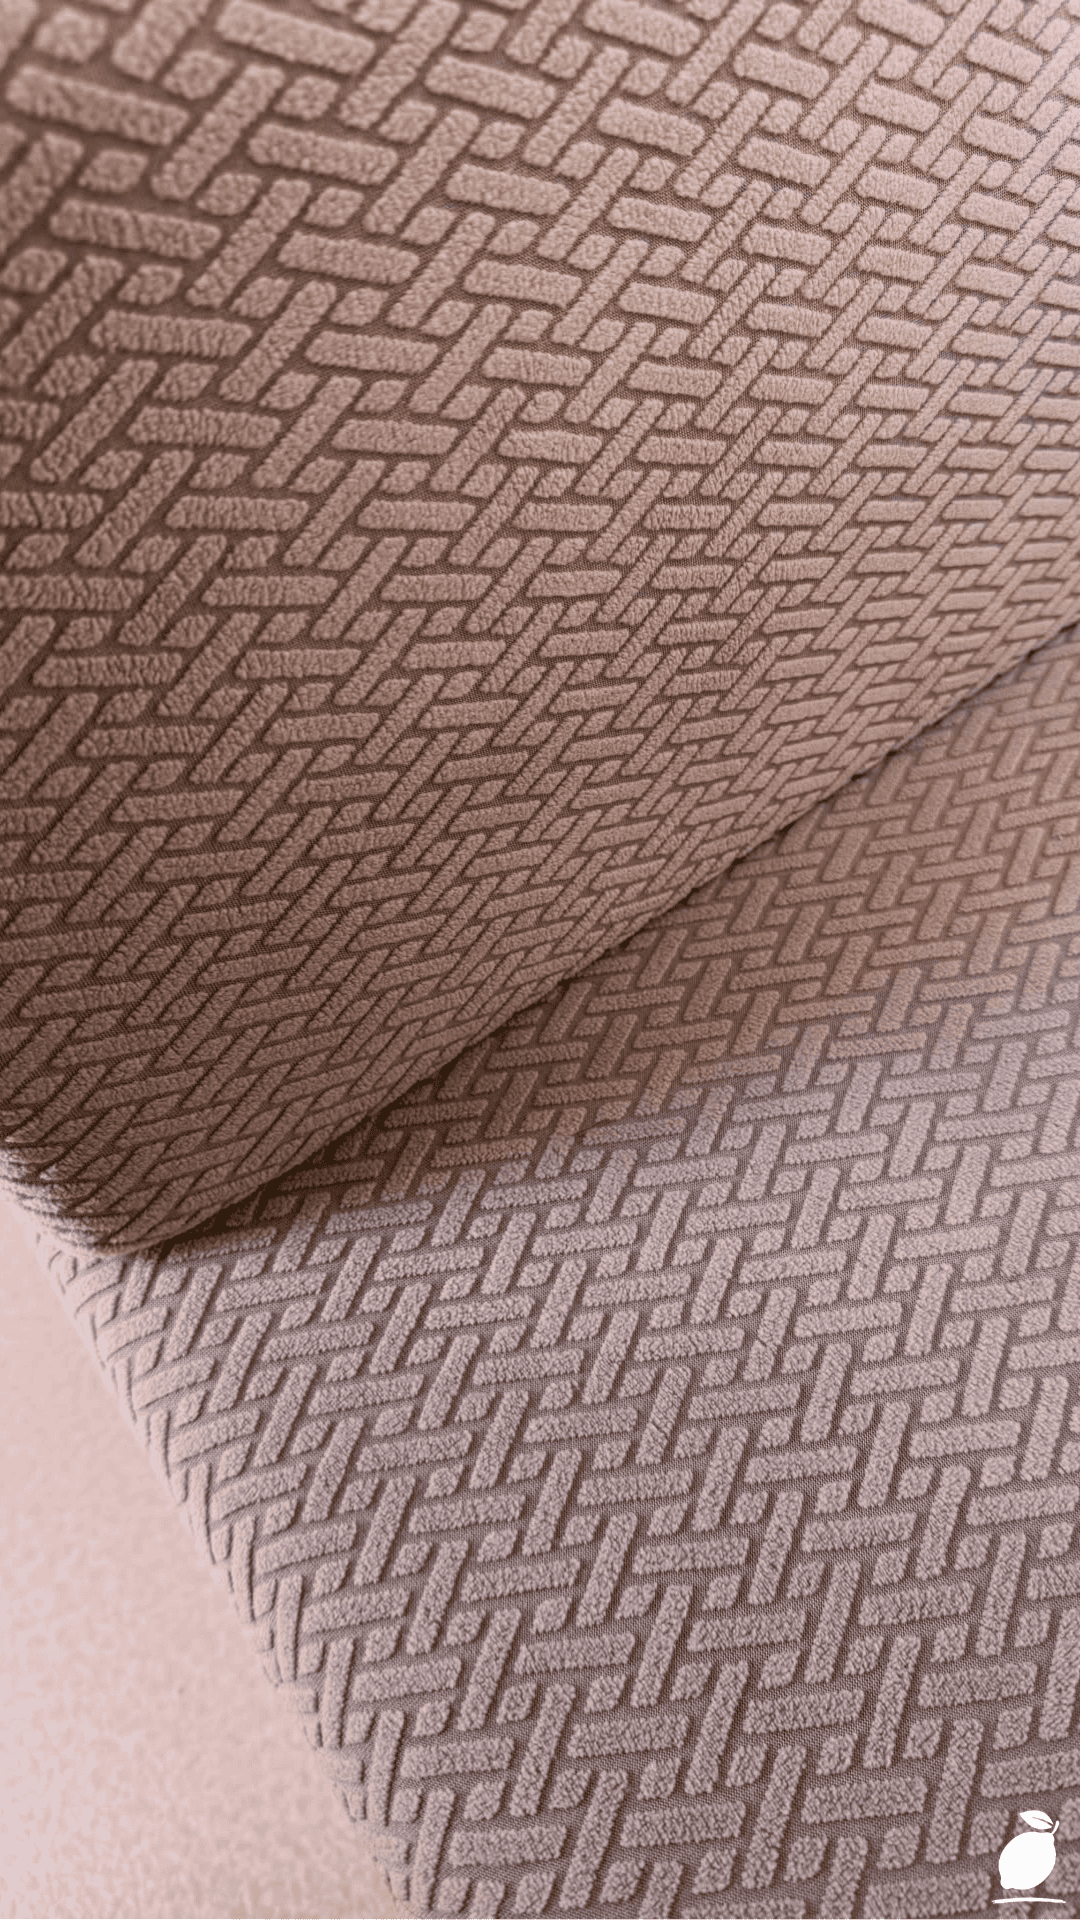
Select a durable, easy-to-clean upholstery fabric suited to camper life, such as a textured woven pattern that hides everyday wear well. A subtle, tonal design like a chevron or herringbone pattern reads as upscale while still forgiving minor stains between cleanings.
Step 4: Cut Fabric Panels Using Your Templates
Lay your old fabric pieces flat as templates over your new fabric, adding a half-inch seam allowance around each edge, then cut all panels needed for each camper cushion.
Step 5: Pin and Sew the New Cover
Pin panels right sides together, following the same seam layout as the original cover, and sew using a heavy-duty needle suited for upholstery-weight fabric. Leave one seam open for inserting the foam.
Step 6: Insert the Foam and Close the Seam
Slide the foam insert into the newly sewn cover, working it into the corners fully, then hand-stitch or machine-sew the final seam closed for a clean, finished edge.
Step 7: Add Closures if Needed
If your original camper cushion covers used zippers or Velcro for removable cleaning access, install matching closures into your new cover for the same practical functionality.
Step 8: Steam and Fit Check
Lightly steam the finished cover to relax any wrinkles from sewing, then place it back into your camper to confirm a snug, proper fit before your next trip.
Expert Secrets for Success
Pro-Tips for a Better Result
Save your old covers as templates, even if damaged. Even a stained or torn original cover gives you the exact pattern pieces needed for a properly fitted camper cushion.
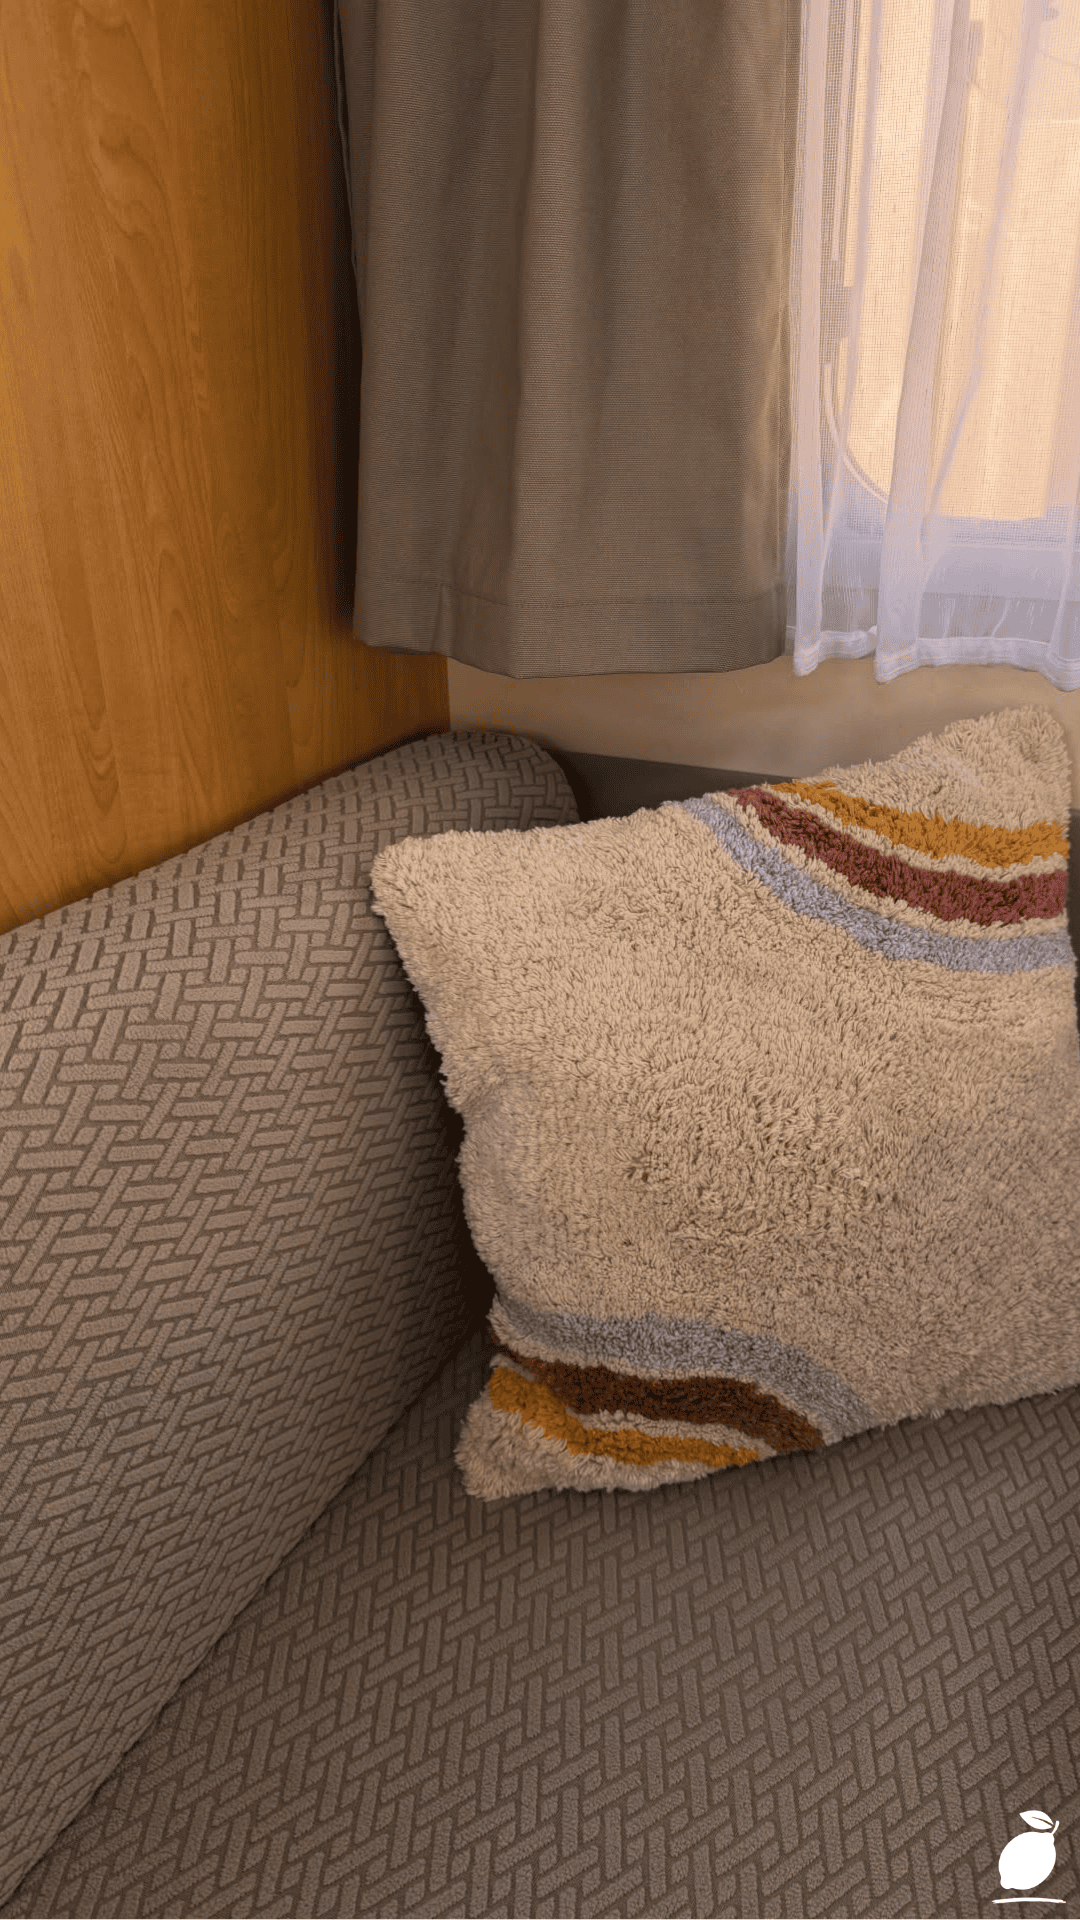
Choose fabric with some texture or pattern. A subtle textured print, like a chevron or herringbone weave, hides minor wear and daily use far better than a solid, smooth fabric.
Use upholstery-weight thread and needles. Standard sewing thread and needles often aren’t strong enough for the heavier fabric typically used on camper cushions, leading to seams that fail prematurely.
Add closures for easy future cleaning. Building in a zipper or Velcro opening now saves significant time on future cleaning or re-covering projects down the road.
Batch cut all panels before sewing anything. Cutting every piece for all your camper cushions at once, rather than one cushion at a time, keeps the whole project moving efficiently.
Common Mistakes to Avoid
Skipping the foam inspection. Reupholstering over deteriorated foam wastes fabric and effort, since the cushion will still feel uncomfortable underneath the new cover.
Choosing fabric that’s too lightweight. Standard home decor fabric often isn’t durable enough for the daily wear a camper cushion experiences on the road.
Ignoring seam allowance. Cutting panels without extra fabric for seams results in a cover that’s too tight to fit properly over the foam insert.
Rushing the pattern transfer step. Skipping careful pinning and measuring when using old covers as templates often leads to a poorly fitted final camper cushion cover.
Forgetting to test fit before finishing all seams. Checking the fit before fully closing every seam allows for adjustments without needing to unpick a completely finished cover.
Why Camper Cushion Matters
There’s a real shift in how a space feels once tired, dated fabric gets replaced with something fresh and intentional. Our dinette used to be the one spot in the camper I tried to keep out of photos; now it’s genuinely one of my favorite corners, warm and textured and finally reflecting the kind of trips we actually want to remember.
Small, contained DIY projects like this one offer real satisfaction beyond the finished product. Successfully tackling a task that once felt intimidating and realizing it was far more manageable than expected builds genuine confidence. That sense of accomplishment tends to carry into how calm and capable you feel about other unfinished projects around the camper or home.
At Easy Peasy Life Matters, this is exactly the kind of transformation we love supporting: a weekend-sized project that changes how an entire space feels without requiring professional help or a big budget. Reupholstering camper cushions is proof that a little patience and the right process can turn a tired, embarrassing corner into somewhere you’re genuinely proud to sit.
FAQ
How much fabric do I need to reupholster camper cushions?
Most standard dinette cushion sets require 4 to 8 yards of fabric, depending on cushion size and quantity, though measuring your specific cushions and adding extra for seam allowance is the most accurate approach.
What type of fabric works best for camper cushions?
Durable, tightly woven upholstery fabric, ideally stain-resistant or treated for easy cleaning, holds up best to the wear and tear of regular camper use compared to lighter-weight decorative fabrics.
Do I need a special sewing machine to reupholster camper cushions?
A standard home sewing machine can typically handle camper cushion fabric as long as it’s fitted with a heavy-duty needle, though very thick fabrics may benefit from a machine rated for upholstery work.
Can I reupholster camper cushions without removing the old cover first?
It’s generally easier and more accurate to remove the old cover and use it as a pattern template, since this ensures your new cover matches the original’s exact shape and fit.
How long does it take to reupholster a full set of camper cushions?
Most motivated DIYers can complete a full set of camper cushions in a single weekend, though the exact timeline depends on the number of cushions and your prior sewing experience.







