
There’s a specific kind of frustration that comes from scrubbing the same scuff mark on the wall for the third time this month, watching it barely fade no matter how hard you press or which spray cleaner you reach for. Between crayon streaks near the baseboards, grimy fingerprints around the light switches, and a coffee mug ring that’s apparently permanent now, it starts to feel like your house is quietly winning the battle against your best cleaning efforts.
If that sounds familiar, you’re definitely not alone. Most everyday grime scuffs, marker, grease, soap scum doesn’t respond well to standard sponges or all-purpose sprays, because it’s not really a “wipe it away” kind of mess. It needs gentle abrasion, something that can physically lift residue off a surface without scratching it, and most people simply don’t have the right tool or the right eraser hack in their cleaning caddy for that specific job.
That’s exactly where a simple melamine foam eraser sponge comes in: the same soft, textured, slightly wavy white foam pictured mid-scrub, held with barely any pressure at all. No harsh chemicals, no elbow grease, just gentle friction that lifts grime a regular sponge can’t touch. These eraser hacks will blow your mind because they solve so many of those “why won’t this come off” moments around the house with one inexpensive little sponge and the right eraser hack for each surface.
What Makes an Eraser Hack So Effective
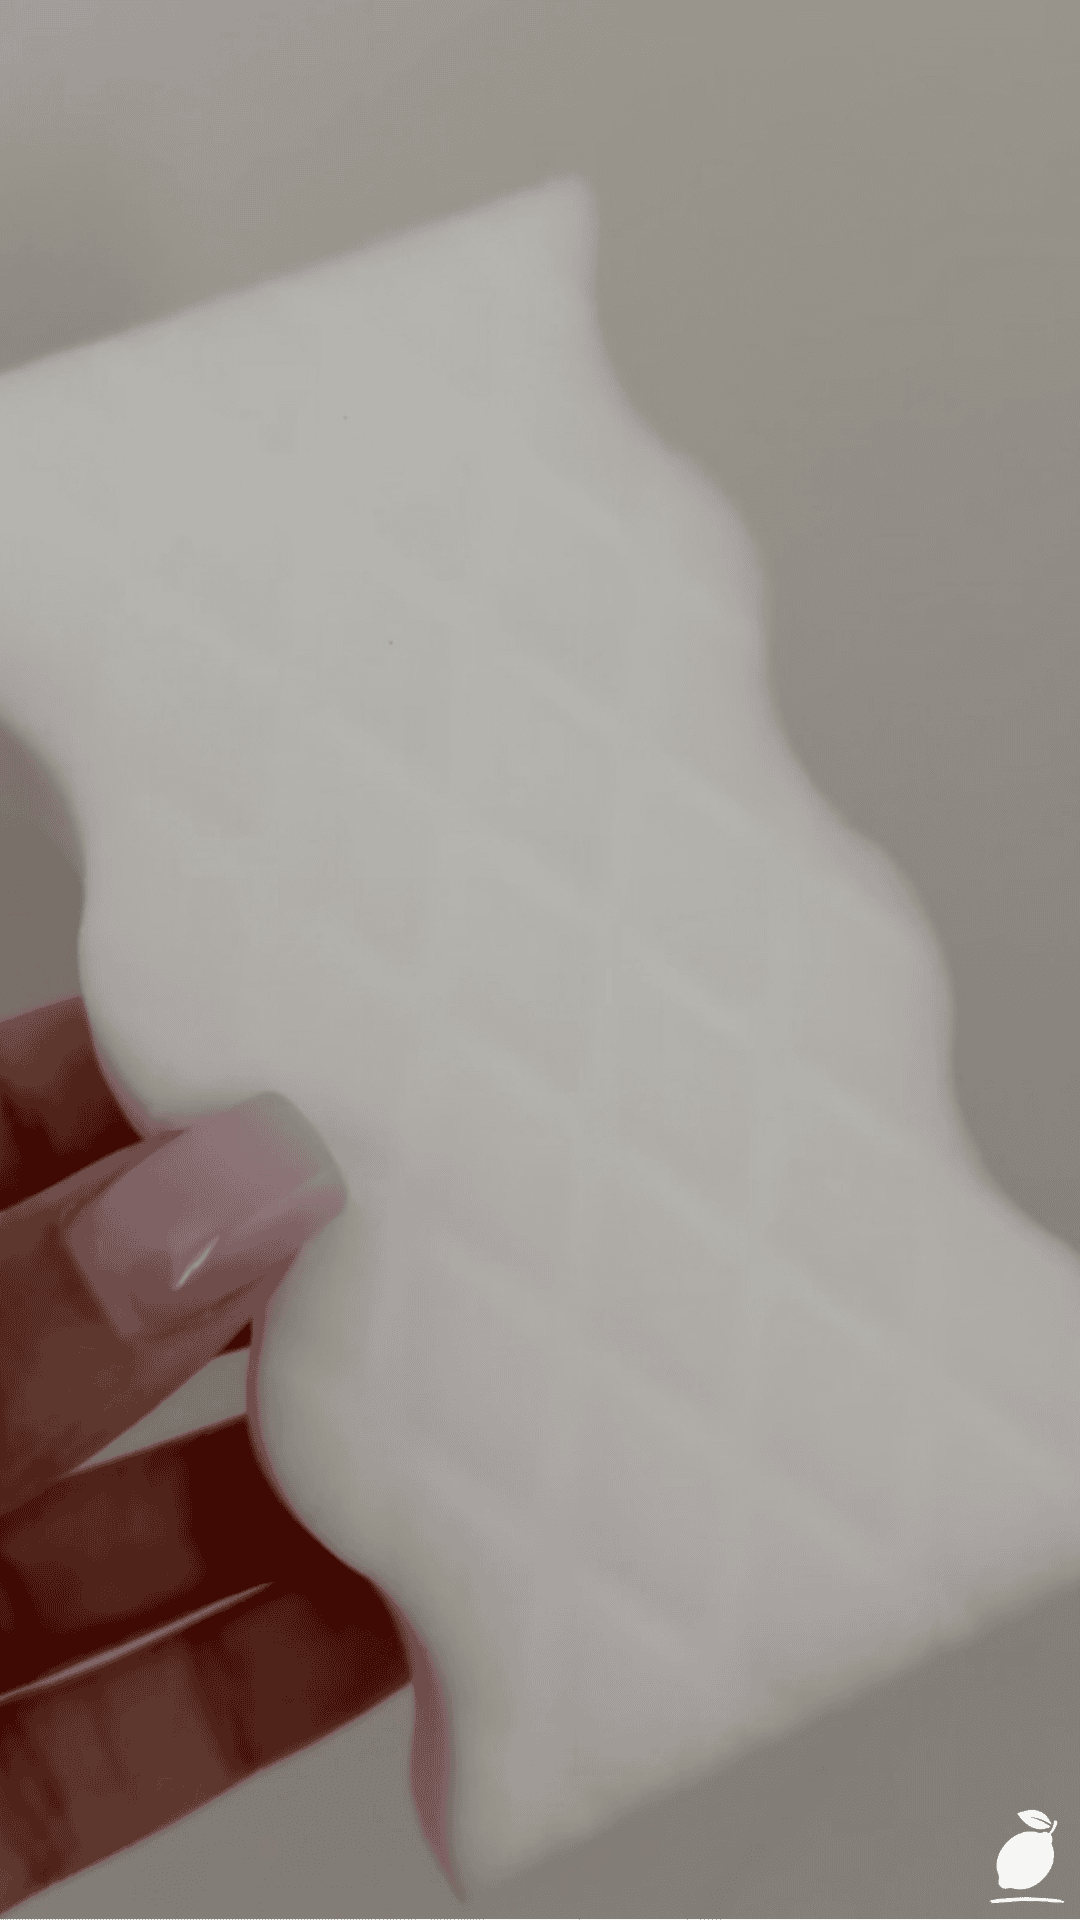
Before diving into the step-by-step process, it helps to understand why this particular cleaning trick works so well. A melamine foam sponge is made of an extremely fine, rigid microfiber structure that acts almost like ultra-soft sandpaper at a microscopic level. Add water, and that structure turns into a gentle abrasive tool capable of lifting stuck-on residue that no amount of soap or spray cleaner can budge on its own. That’s the science behind every eraser hack in this guide. It’s not magic; it’s just the right physical texture doing exactly the job a standard sponge was never designed for.
The Eraser Hack Blueprint
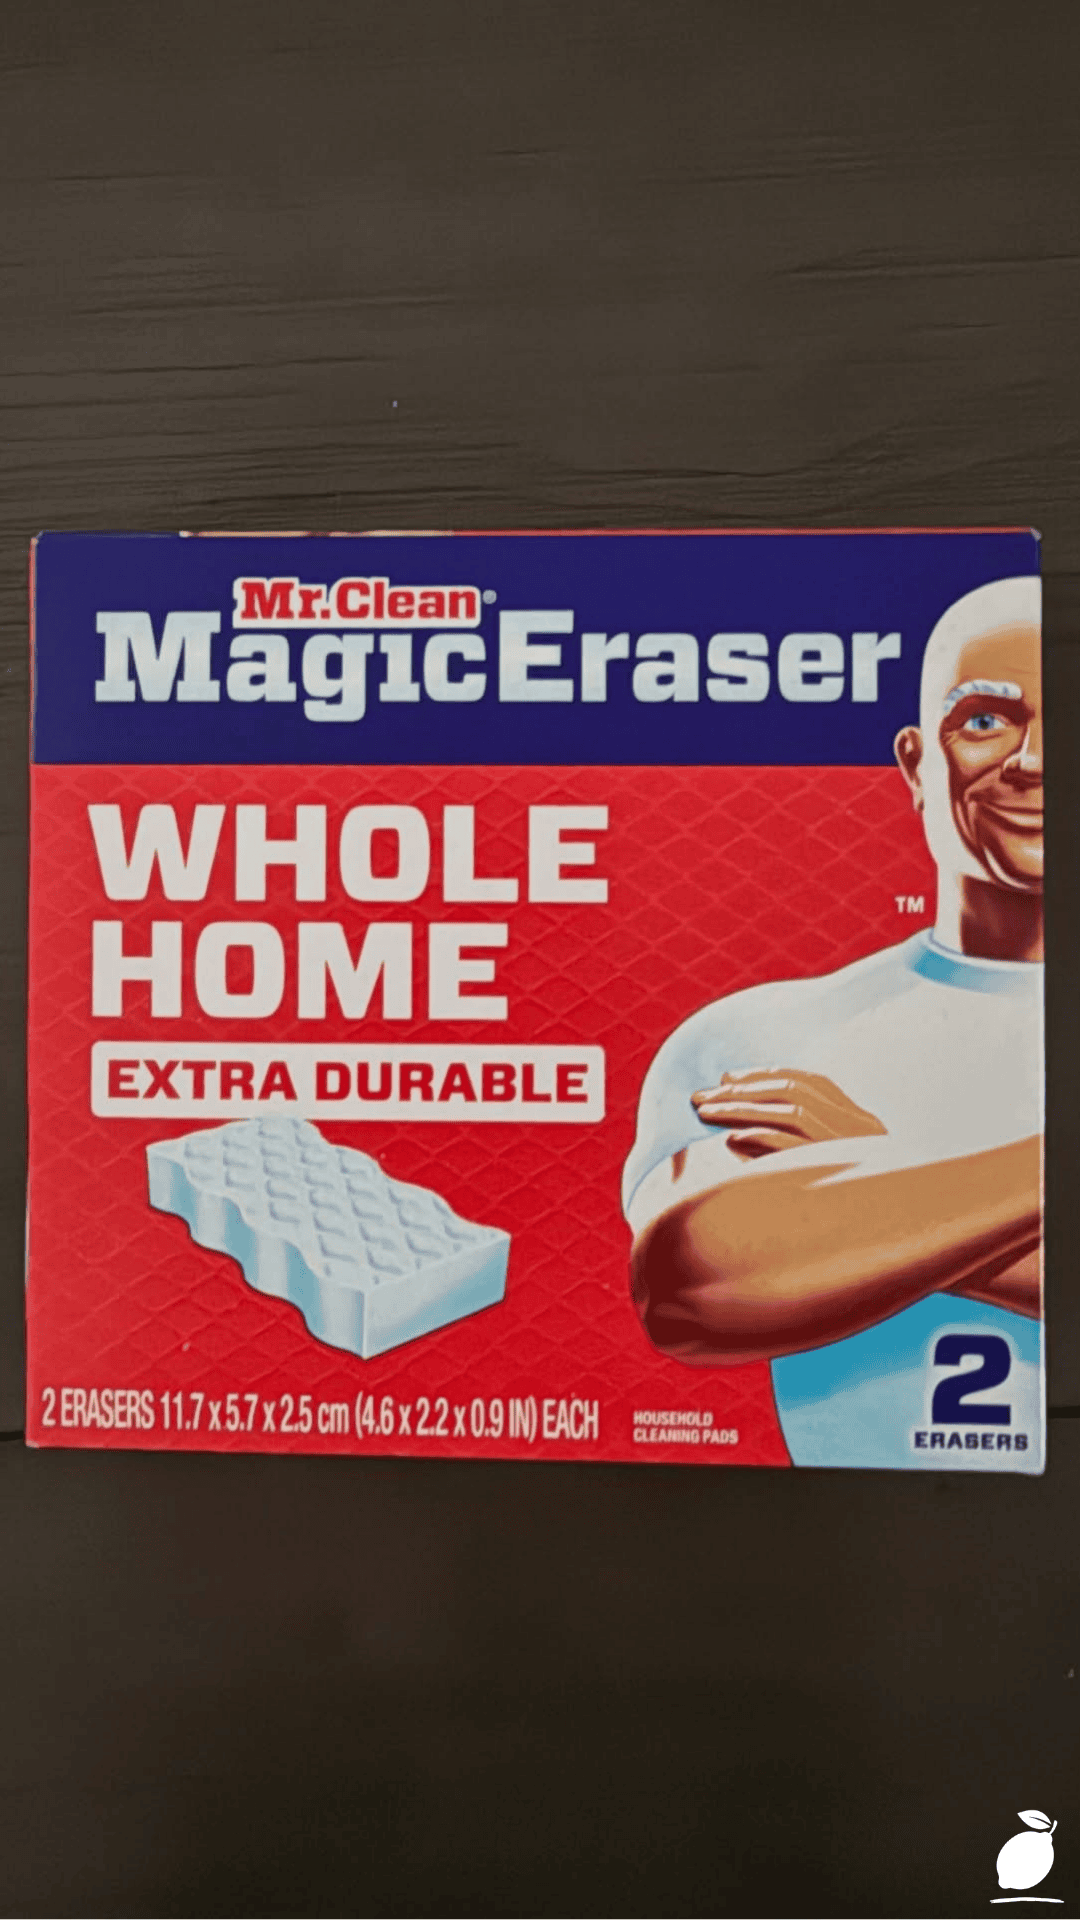
Getting the most out of a melamine foam eraser comes down to prep, technique, and knowing which surfaces it works best on. Here’s the full sequence for using this eraser hack effectively around your home.
Step 1: Choose the Right Surface
Confirm your surface is safe for a melamine eraser before starting. Most painted walls, tile, sealed countertops, and hard plastics work well, while high-gloss, waxed, or delicate finishes may scratch. This quick check prevents any accidental damage before you begin your eraser hack.
Step 2: Wet the Sponge Properly
Dampen the sponge with plain water and gently squeeze out excess moisture. This is the key step behind every successful eraser hack, since the sponge needs to be wet but not dripping to activate its micro-abrasive texture.
Step 3: Test a Small, Hidden Area First
Before tackling a visible spot, test the dampened sponge on an inconspicuous area of the surface to confirm it won’t dull the finish or remove paint unintentionally. Skipping this step is the fastest way to turn a helpful eraser hack into an accidental repair job.
Step 4: Apply Light, Even Pressure
Gently rub the stain or mark in small circular motions, letting the sponge’s texture do the work rather than pressing hard. Too much pressure is one of the most common mistakes people make with this kind of eraser hack, often leading to a dulled or worn patch on the surface.
Step 5: Rinse and Reassess
Wipe the area with a clean, damp cloth to remove any residue, then check your progress. Most marks lift within a few gentle passes; stubborn stains may need a second light application of the same eraser hack.
Step 6: Target Specific Problem Areas
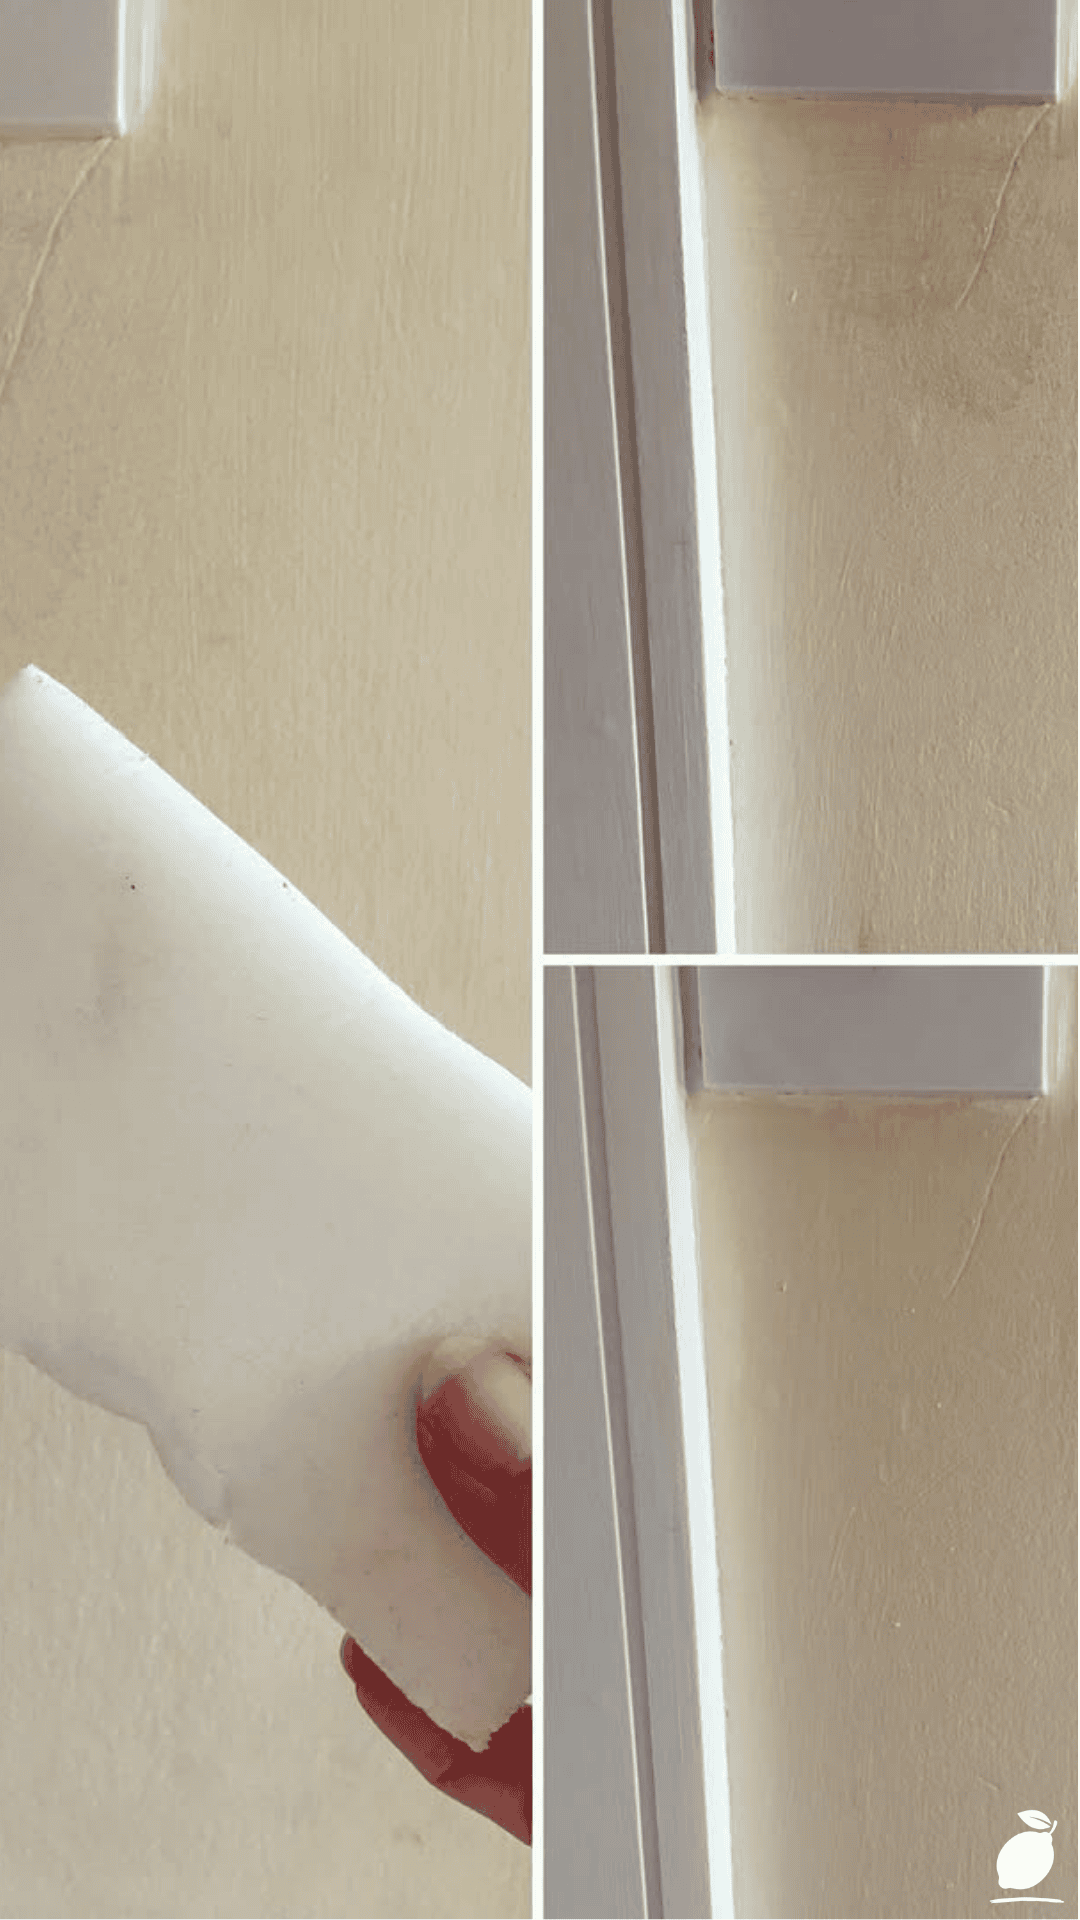
Use the same technique on common trouble spots throughout the house scuffed baseboards, grimy light switch plates, soap scum on shower doors, or crayon marks on walls repeating steps two through five for each area with the same reliable eraser hack.
Step 7: Dry and Finish the Surface
Once the mark is gone, dry the area with a clean towel to prevent any lingering moisture from affecting the surface finish, especially on painted walls.
Step 8: Store and Reuse Efficiently
Rinse the sponge thoroughly after each use and let it air dry completely before storing, since a well-maintained eraser sponge can tackle several more rounds of this eraser hack before it wears down.
Expert Secrets for Success
Pro-Tips for a Better Result
Cut the sponge into smaller pieces. Slicing a full-size eraser sponge into quarters stretches this eraser hack across several cleaning sessions and makes it easier to maneuver in tight spots.
Use it dry for extra scrubbing power on tough grime. A slightly damp, nearly dry sponge adds a bit more abrasive bite for particularly stubborn marks, though always test first on delicate surfaces.
Pair it with a mild cleaner for greasy messes. Adding a small amount of dish soap to the damp sponge boosts this eraser hack’s cleaning power on kitchen grease without needing harsh chemicals.
Keep a few pre-cut pieces near common trouble spots. Stashing small eraser sponge pieces near the kitchen sink or bathroom makes this quick eraser hack far more likely to actually get used regularly.
Wear gloves for extended cleaning sessions. The mild abrasive texture that makes this eraser hack so effective can be a little drying on skin with prolonged use.
Common Mistakes to Avoid
Using it on high-gloss or waxed surfaces without testing. These sponges can dull glossy finishes, so always test an inconspicuous spot before trying this eraser hack anywhere visible.
Scrubbing too aggressively. Excess pressure can wear through paint or finish faster than the mark itself would have faded on its own.
Skipping the rinse step. Leftover residue on a surface can attract more dust and grime, undoing some of the benefit of the eraser hack session.
Using it on natural stone without checking compatibility. Some natural stone surfaces are more porous or delicate than they appear, so confirm compatibility before trying this eraser hack on them.
Letting the sponge sit wet between uses. A soggy, unused sponge left in a puddle breaks down faster and can develop mildew, shortening how many more eraser hack sessions it can handle.
Why Eraser Hacks Matter
There’s a small but real kind of relief that comes from finally clearing a mark that’s been bothering you for weeks. A scuffed wall or a stained countertop is the kind of thing you might not consciously notice every day, but it quietly nags at you anyway, a tiny visual reminder of an unfinished task every time you walk past it, until the right eraser hack finally takes care of it.
Simple cleaning wins like this add up to something bigger than a tidy surface. There’s genuine mental clarity that comes from resolving small, nagging imperfections around the home, and that sense of order tends to spread outward, making the whole space feel a little calmer and more cared for. A house that feels genuinely clean, down to the small details, has a real effect on how relaxed everyone in it feels, and a reliable eraser hack is often the fastest route there.
At Easy Peasy Life Matters, this is exactly the kind of small, doable win we love sharing: no big renovation, no expensive tools, just a simple, effective eraser hack that solves a genuinely common household frustration. A few well-used eraser hacks are proof that sometimes the smallest fixes make the biggest difference in how a home actually feels day to day.
FAQ
What surfaces should I avoid using an eraser hack sponge on?
High-gloss finishes, waxed furniture, and some delicate natural stone surfaces can be scratched or dulled by the mild abrasive texture, so always test a small hidden area first before trying this eraser hack more broadly.
Does an eraser hack work on walls without removing paint?
It generally works well on flat and satin painted walls when used with light pressure, though glossier paint finishes are more prone to dulling and should be tested carefully before applying this eraser hack.
Can I use an eraser hack sponge on stainless steel appliances?
It’s best to avoid using this eraser hack on stainless steel, since the abrasive texture can create visible micro-scratches that dull the metal’s finish over time.
How long does one eraser hack sponge typically last?
A single sponge can usually handle several eraser hack sessions before wearing down completely, especially if cut into smaller pieces and rinsed thoroughly between uses.
Is it safe to use an eraser hack sponge around kids and pets?
Yes, when used with just water, this eraser hack is generally safe around kids and pets, though it’s still a good idea to keep any cleaning tool out of reach when not actively in use.
Can an eraser hack remove crayon and marker from walls?
Yes, this is one of the most popular uses for the technique. A damp eraser hack sponge, used with light pressure, typically lifts crayon and washable marker from painted walls surprisingly well.







