
The craft closet had become a genuine embarrassment. Ribbon spilling out of a cardboard shoebox, paint bottles rolling loose on a shelf, glitter dust settling into every corner because nothing had a lid, let alone a proper container. Every time I wanted to start a project, I spent the first fifteen minutes just hunting for supplies buried in mismatched bags and boxes, and every trip to the store for “just a few organizing bins” somehow turned into forty dollars I hadn’t planned to spend.
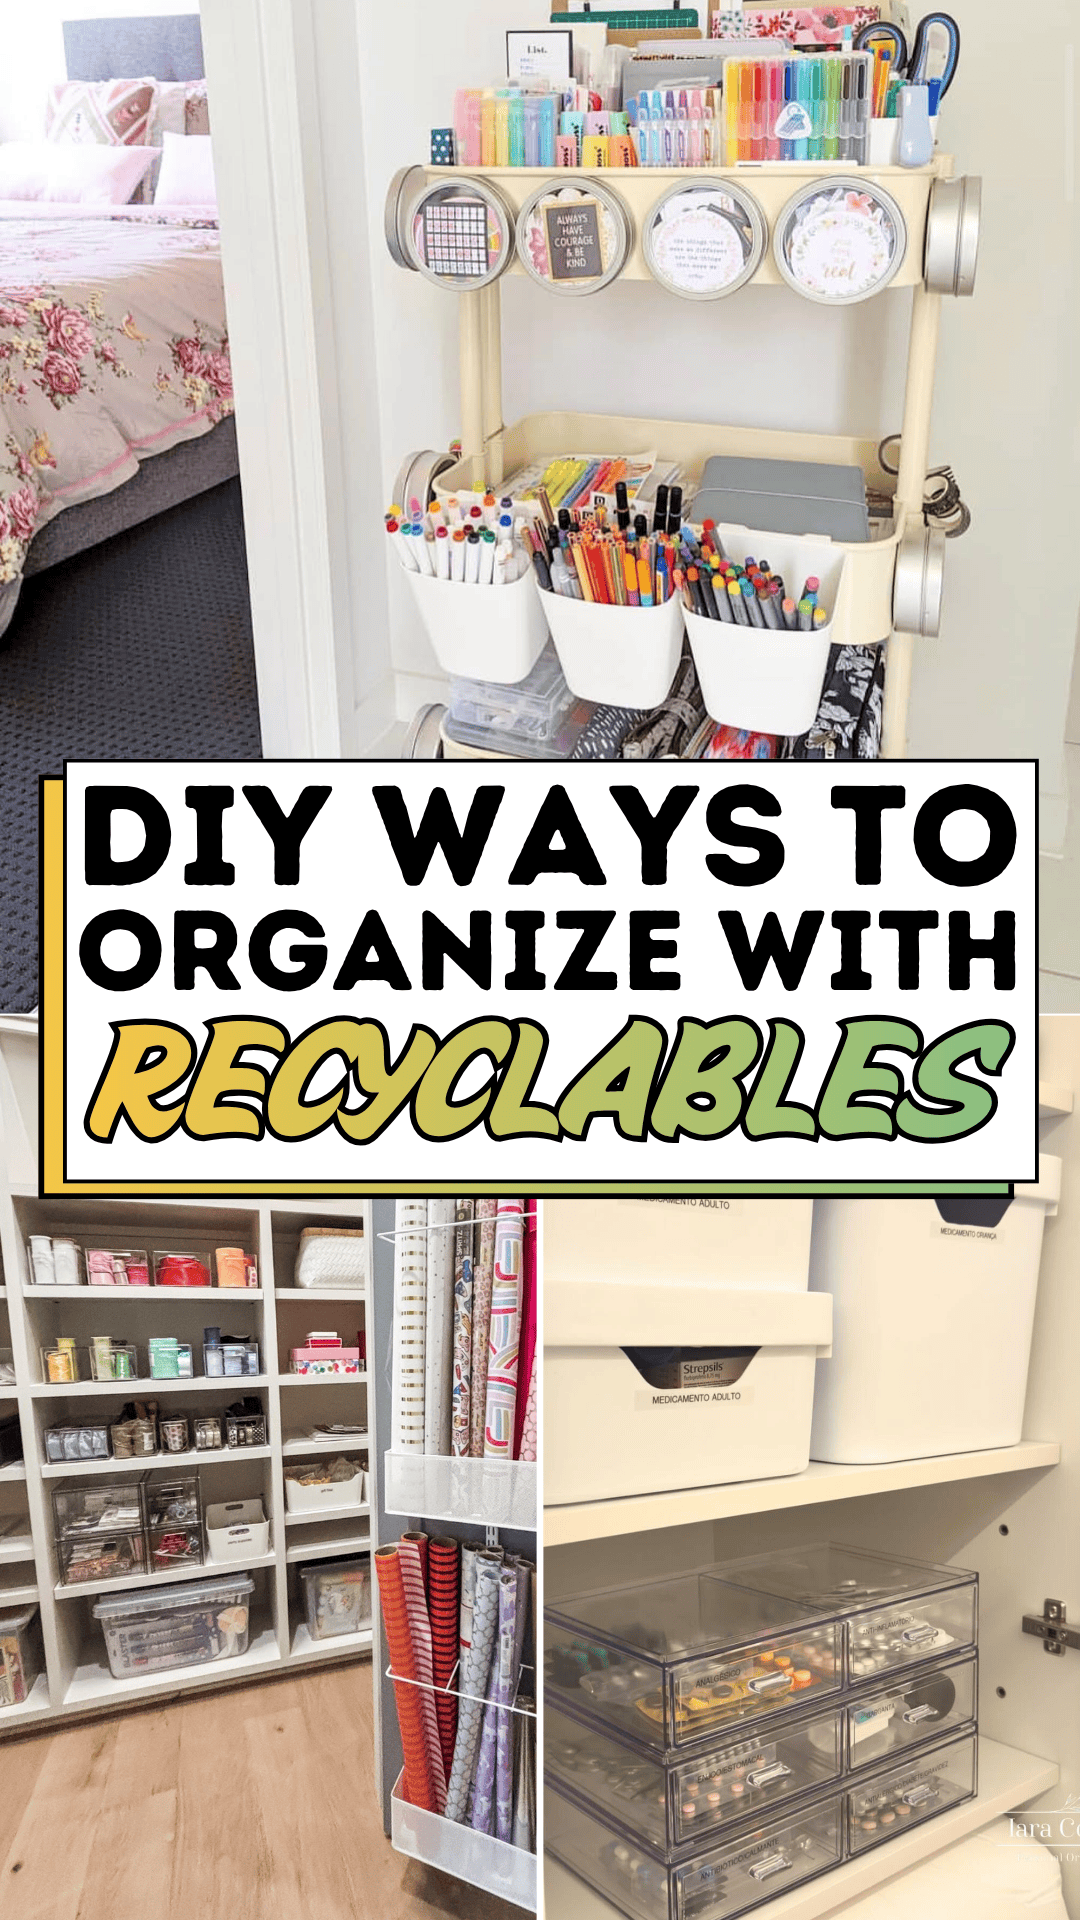
If that sounds familiar, you’re definitely not alone. Craft and household supplies are notoriously hard to store, since they come in so many odd shapes and sizes, and buying a matching set of proper containers for every category can get expensive fast. The frustrating irony is that most of us are already surrounded by perfectly good containers we just throw them straight into the recycling bin instead of seeing their organizing potential.
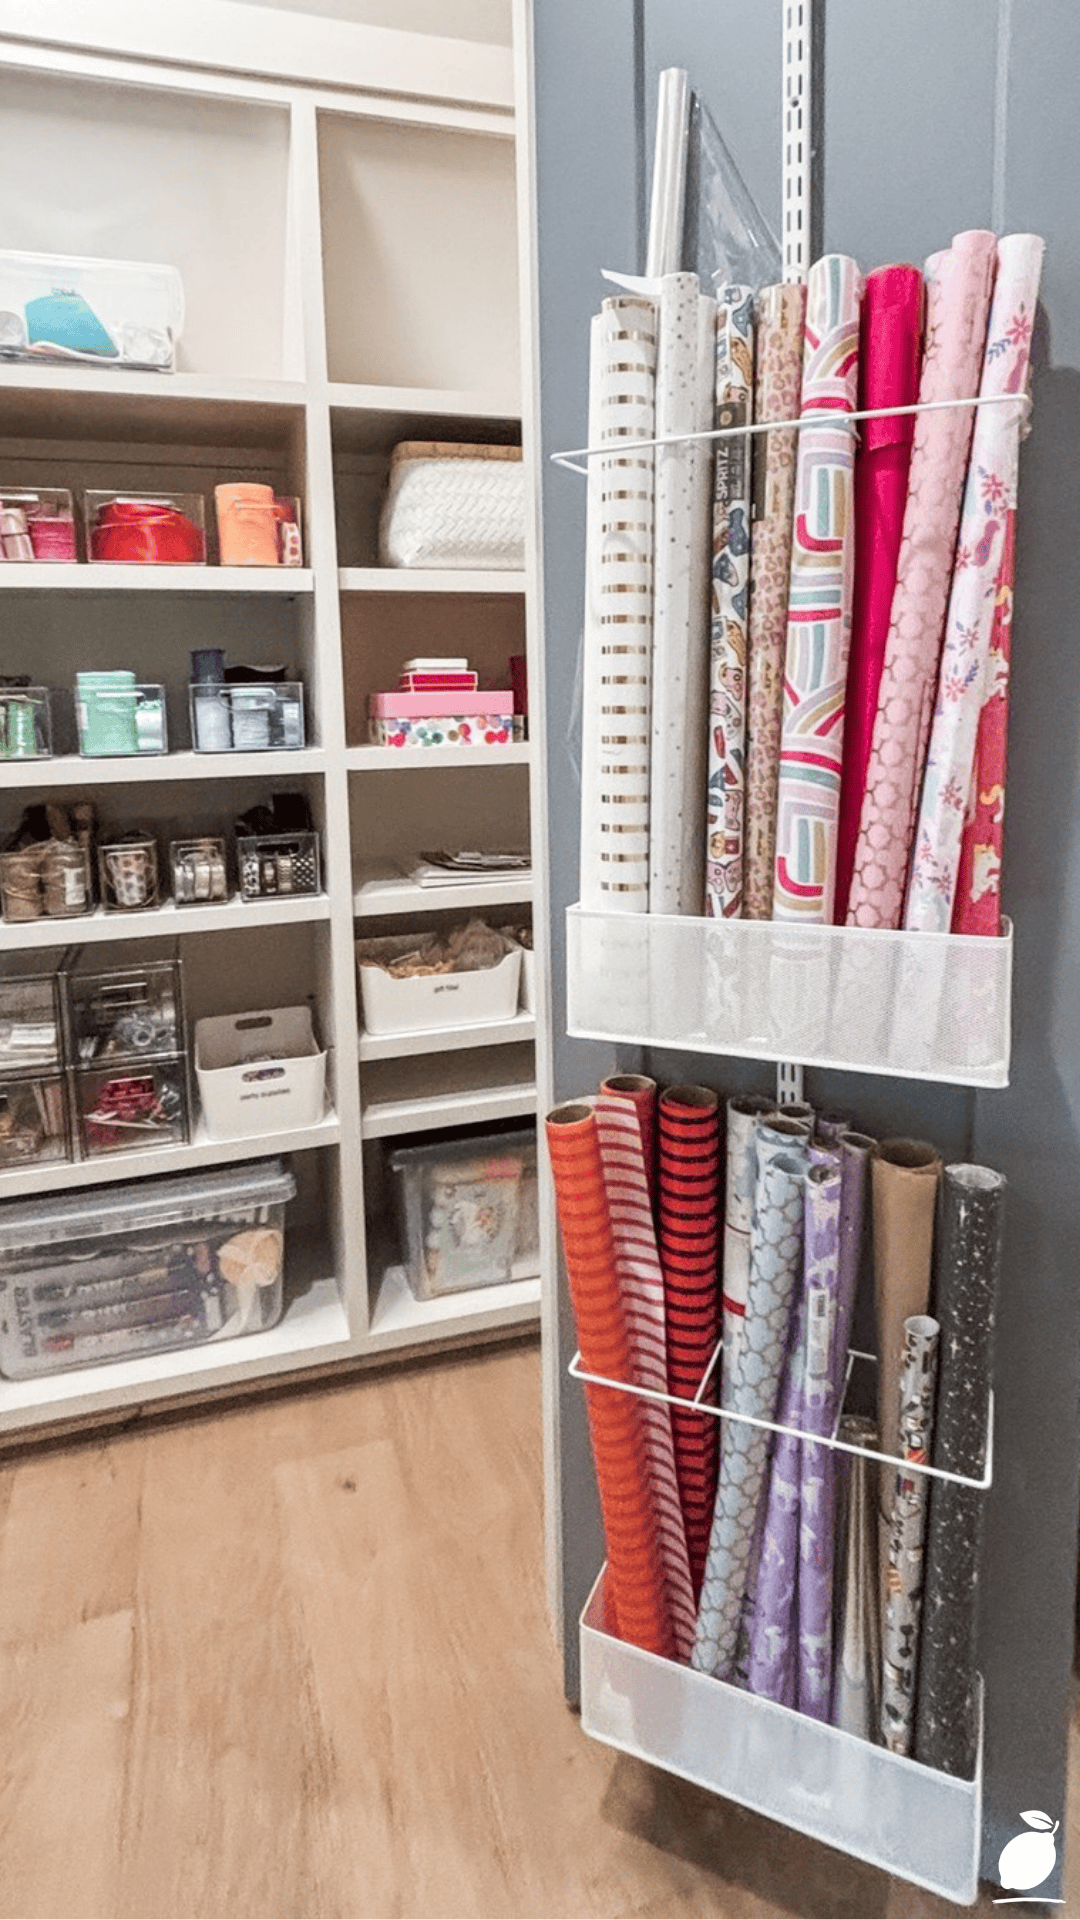
Now picture the opposite: a wall of clean, coordinated storage pastel jars holding small supplies, tidy baskets on open shelves, a wire rack neatly organizing rolls of wrapping paper. That kind of polished, professional-looking system is entirely achievable using containers you’d otherwise toss out. These DIY ways to organize with recyclables show you exactly how to transform ordinary jars, boxes, and cans into a genuinely beautiful storage solution, without spending a dime on new bins.
The Recyclable Blueprint
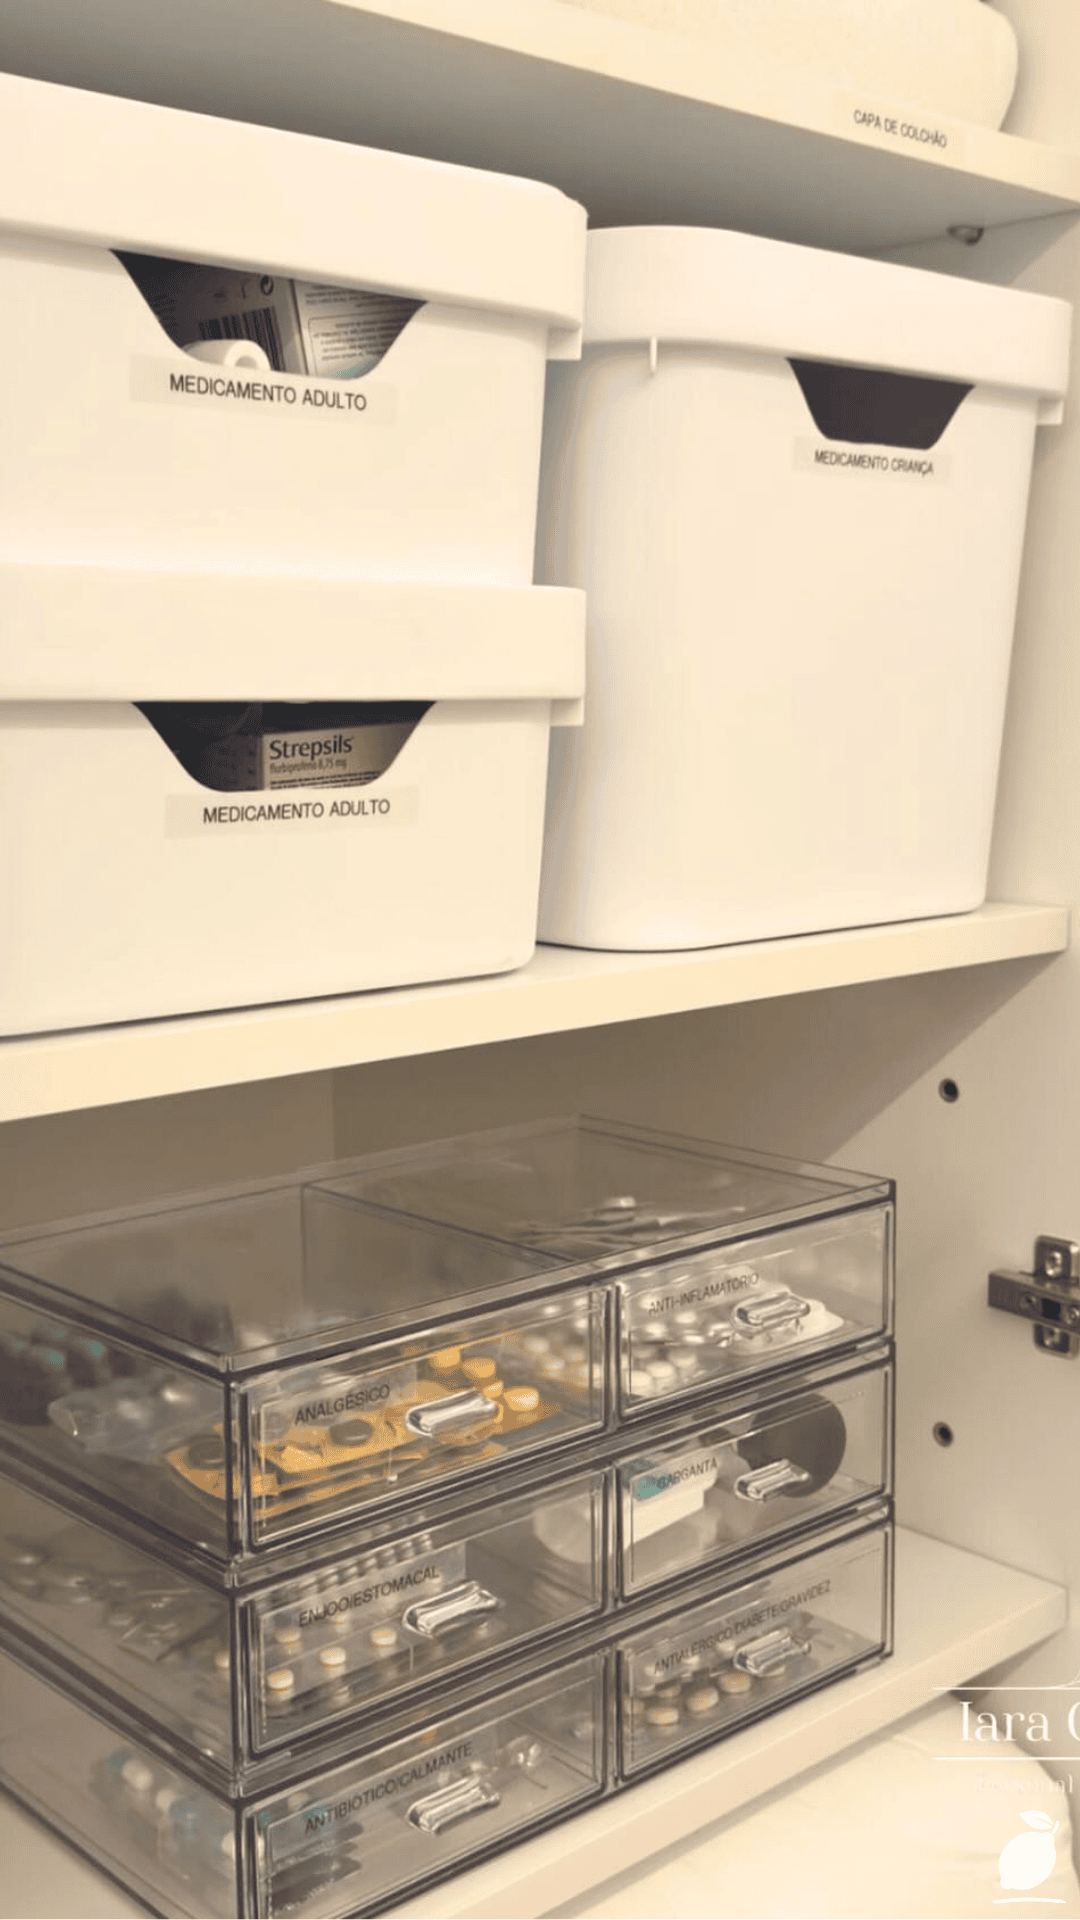
Turning everyday recyclables into functional, good-looking storage comes down to a clear sequence of cleaning, prepping, and repurposing. Here’s the full process.
Step 1: Collect and Clean Your Materials
Save glass jars, tin cans, cardboard boxes, and plastic containers as you naturally use them, giving each a thorough wash to remove labels, residue, and odors. A clean recyclable container is the foundation of any successful DIY organizing project.
Step 2: Sort by Size and Shape
Group your saved containers by size and shape, since matching similar dimensions together makes it much easier to create a cohesive, organized final display rather than a mismatched jumble.
Step 3: Choose a Cohesive Finish
Decide on a unifying treatment, like a coat of matte spray paint, a wrapped layer of fabric or paper, or simply removing labels for a clean glass look. This single step is what elevates recyclable containers from obviously repurposed to genuinely polished storage.
Step 4: Prep and Apply Your Chosen Finish
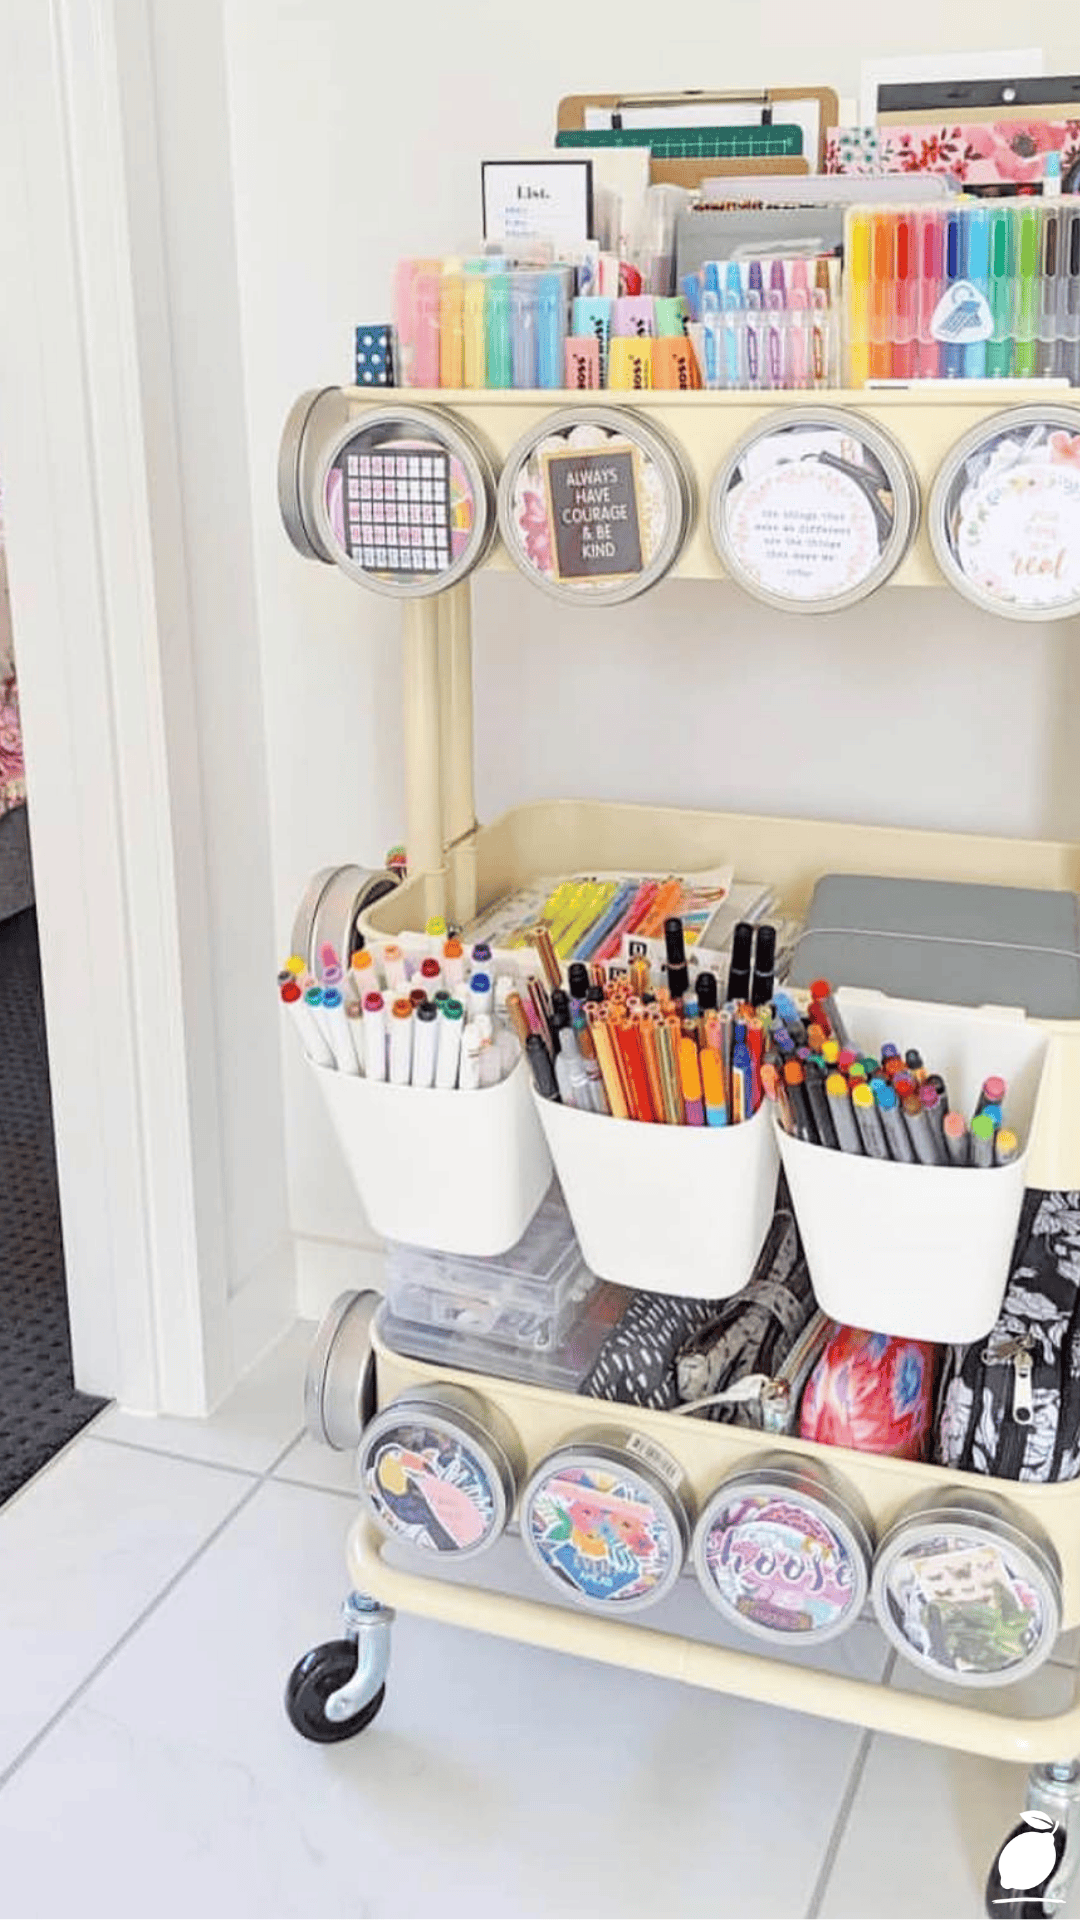
Sand any rough edges on cans, apply primer if painting, and add your chosen finish in thin, even coats. Painting or wrapping recyclable containers in a coordinated palette, like the soft pastels shown in a beautifully organized craft space, ties everything together visually.
Step 5: Add Labels for Easy Identification
Attach simple labels to each container, either handwritten, printed, or stamped, so contents are instantly identifiable without needing to open every jar or box to check.
Step 6: Assign Containers to Categories
Match your finished containers to specific supply categories, like small jars for beads or buttons, medium cans for pencils and brushes, and larger boxes for bulkier craft materials.
Step 7: Build Your Shelf or Storage Display
Arrange your finished recyclable containers on open shelving, grouping similar categories and leaving breathing room between groupings for a clean, uncluttered look.
Step 8: Maintain and Expand the System Over Time
As you naturally accumulate more jars, cans, or boxes, clean and finish them to match your existing system, allowing your recyclable storage collection to grow along with your supplies.
Expert Secrets for Success
Pro-Tips for a Better Result
Stick to one or two finish colors. Using a consistent, limited palette across all your recyclable containers, similar to the soft pastel tones in a professionally organized space, creates a cohesive look rather than a mismatched collection.
Save containers with interesting shapes for display pieces. Unique jars or tins can become standout storage pieces on an open shelf rather than being hidden away.
Use magnetic strips on metal cans. Attaching a small magnetic strip to the back of a repurposed tin lets you mount it directly to a metal surface, saving valuable shelf space.
Reinforce cardboard boxes before use. Adding a layer of fabric, contact paper, or a coat of Mod Podge strengthens cardboard containers and gives them a more finished, durable appearance.
Batch your prep work. Cleaning, painting, and labeling several containers at once, rather than one at a time, makes this recyclable organizing project far more efficient.
Common Mistakes to Avoid
Skipping proper cleaning. Leftover residue or odor in a recyclable container can affect stored items and shorten the lifespan of your finished storage piece.
Mixing too many colors and finishes. An inconsistent mix of styles across recyclable containers can look cluttered rather than intentional, even when the organizing function works well.
Using flimsy materials for heavy items. Lightweight cardboard or thin plastic containers may not hold up well under the weight of heavier craft or household supplies.
Forgetting to label containers. Without clear labeling, even a beautifully organized recyclable storage system becomes just as slow to search through as an unsorted pile.
Overcrowding shelves with too many containers. Packing too many repurposed jars and boxes into a small space can undo the clean, organized look you’re aiming for.
Why Recyclable Storage Matters
There’s real satisfaction in transforming something destined for the recycling bin into a genuinely useful, good-looking part of your home. Reusing recyclable containers for storage isn’t just a budget-friendly hack; it’s a small, tangible way to reduce waste while solving a real organizational problem at the same time.
Beyond the environmental benefit, there’s something quietly calming about a well-organized space built from your own resourcefulness. Finishing a DIY project like this offers real mental clarity, proof that a chaotic supply closet or cluttered shelf can become genuinely functional without a big budget or a trip to the store. That sense of accomplishment tends to ripple outward, making the rest of the home feel a little more intentional too.
At Easy Peasy Life Matters, this is exactly the kind of project we love supporting: practical, resourceful, and genuinely satisfying to complete. Organizing with recyclable containers proves that a calmer, more beautiful home doesn’t require new purchases, just a little creativity applied to what you already have on hand.
FAQ
What types of recyclable containers work best for organizing?
Glass jars, tin cans, and sturdy cardboard boxes are among the most versatile options, since they hold up well to cleaning, painting, and repeated use compared to flimsier plastic packaging.
How do I remove labels from recyclable jars and cans?
Soaking containers in warm, soapy water for fifteen to twenty minutes typically loosens most labels, and any remaining adhesive residue can be removed with a bit of vegetable oil or a dedicated adhesive remover.
What’s the best way to paint recyclable containers for a cohesive look?
Using a matte spray paint in one or two coordinating colors across all your containers creates the most cohesive, professional-looking result, especially when paired with simple, consistent labeling.
Can recyclable containers hold up over time compared to store-bought bins?
With proper cleaning, reinforcement, and a protective finish, many recyclable containers, especially glass and metal, hold up remarkably well and can last just as long as purchased organizing bins.
How do I keep a recyclable organizing system looking neat as it grows?
Maintaining a consistent color palette and container style as you add new pieces, along with regular labeling, keeps an expanding recyclable storage system looking intentional rather than mismatched over time.







