The Best Fluffy Pancakes recipe you will fall in love with. Full of tips and tricks to help you make the best pancakes.
Chicken Kiev is a timeless classic that combines crispy breaded chicken with a luxurious garlic and herb butter filling. In this recipe, we break down every step in detail to ensure perfect results. This comprehensive guide includes expert cooking tips, ingredient variations, and serving suggestions for an unforgettable dining experience.
What Is Chicken Kiev?
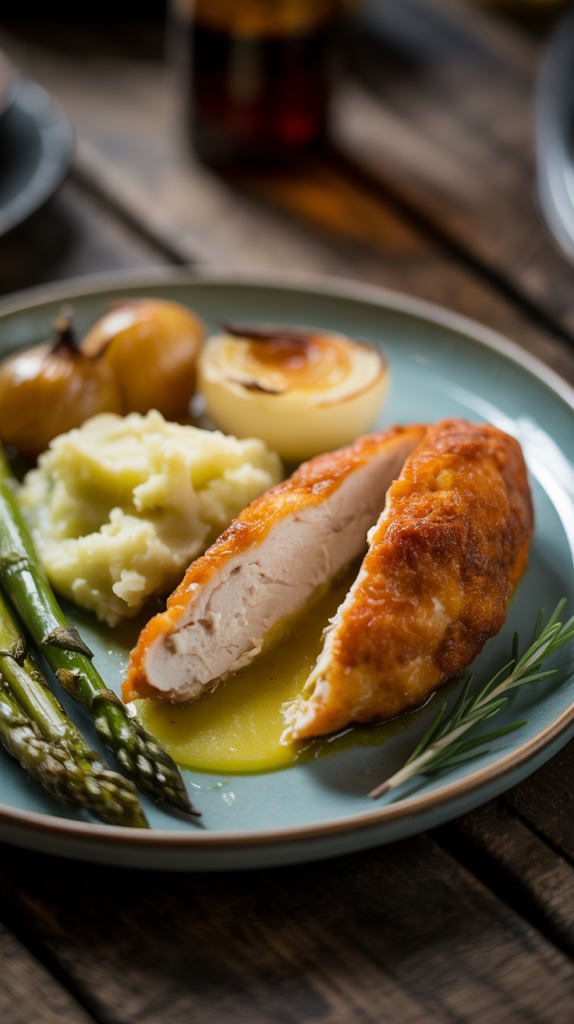
Chicken Kiev is a stuffed chicken breast dish, traditionally filled with a chilled log of garlic-herb butter, coated in breadcrumbs, and shallow or deep-fried to golden perfection. The buttery filling bursts with flavor when sliced, making it a rich and elegant entrée.
Ingredients for Classic Chicken Kiev
To ensure maximum flavor and perfect texture, source fresh ingredients and use unsalted butter for control over seasoning.
For the Herb Garlic Butter:
- 1 cup (225g) unsalted butter, softened
- 4 garlic cloves, minced
- 2 tablespoons finely chopped fresh parsley
- 1 tablespoon chopped dill (optional)
- 1 tablespoon lemon juice
- ½ teaspoon salt
- ¼ teaspoon black pepper
For the Chicken:
- 4 large boneless, skinless chicken breasts
- Salt and pepper, to taste
- ½ cup all-purpose flour
- 2 large eggs, beaten
- 1½ cups panko breadcrumbs
- 1 teaspoon paprika (optional)
- Vegetable oil, for frying
Step-by-Step Chicken Kiev Preparation Guide

Step 1: Make the Garlic Herb Butter
- Combine softened butter, garlic, herbs, lemon juice, salt, and pepper.
- Form into a log using parchment paper.
- Freeze for at least 30–45 minutes until firm.
Step 2: Prepare Chicken Breasts
- Place each chicken breast between two sheets of plastic wrap.
- Gently pound to ½ inch thickness using a meat mallet.
- Season both sides with salt and pepper.
Step 3: Fill and Roll
- Slice butter log into 4 equal portions.
- Place a butter piece in the center of each flattened breast.
- Fold in the sides and tightly roll, securing with toothpicks or kitchen twine.
- Freeze the rolled chicken for 20–30 minutes to firm up.
Step 4: Dredge and Bread
- Roll each chicken in flour.
- Dip in beaten egg.
- Coat thoroughly in seasoned breadcrumbs (add paprika for color if desired).
Step 5: Fry and Finish in Oven
- Heat 1 inch of vegetable oil to 350°F (175°C) in a deep skillet.
- Fry chicken for 2–3 minutes per side until golden brown.
- Transfer to a baking tray and bake at 375°F (190°C) for 15–18 minutes.
- Internal temperature should reach 165°F (74°C).
Cooking Tips for Foolproof Chicken Kiev
- Double-coat the chicken with egg and breadcrumbs for an extra crispy crust.
- Freezing before frying prevents the butter from leaking out.
- Use a thermometer to avoid overcooking and drying the chicken.
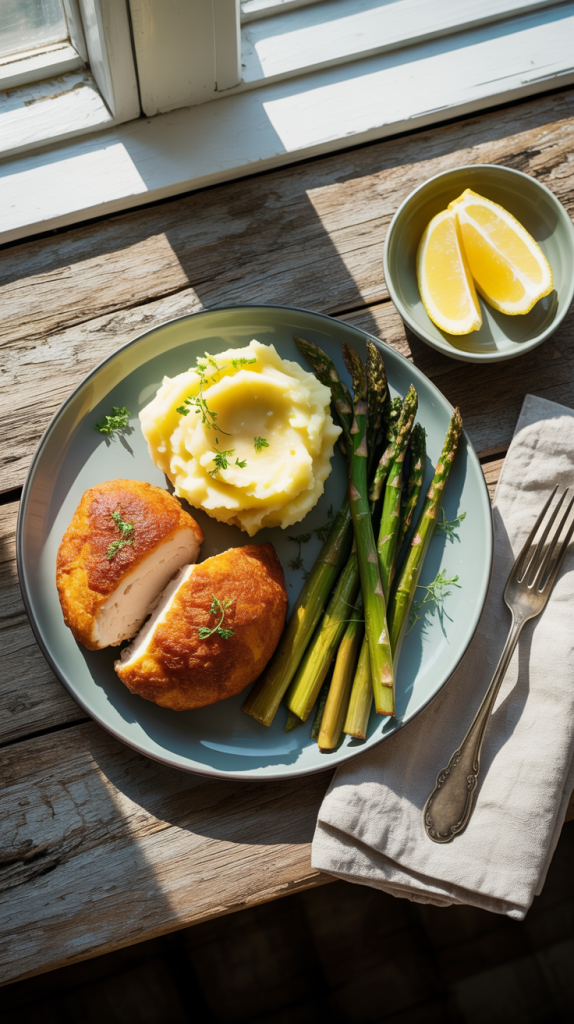
- Serve immediately after slicing to enjoy the melted butter core.
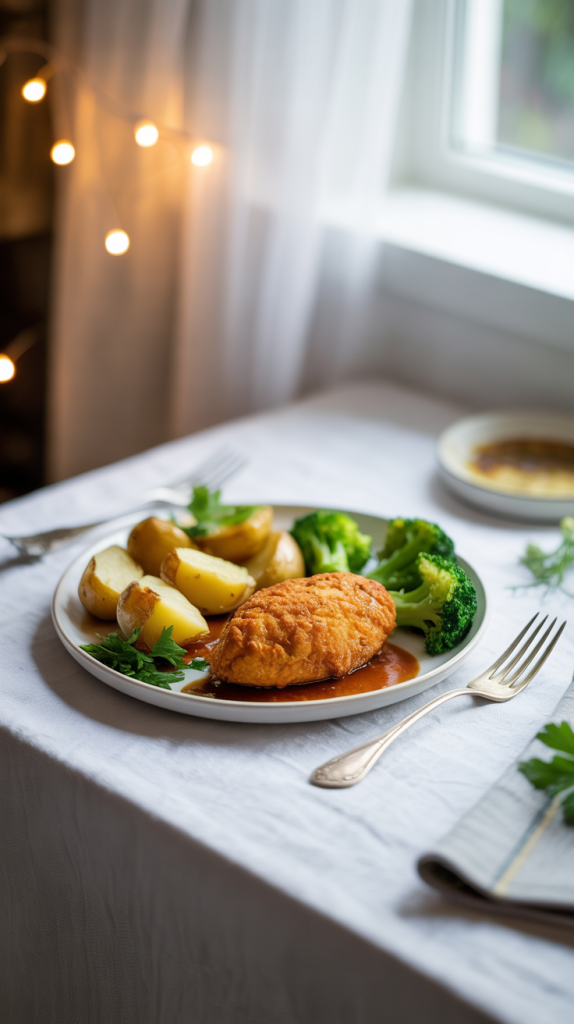
Serving Suggestions
- Pair with:
- Buttery mashed potatoes
- Roasted asparagus or green beans
- A crisp cucumber and dill salad
- Wine pairing: A chilled glass of Chardonnay or Sauvignon Blanc complements the rich butter and herbs beautifully.
Variations to Try
- Cheese-stuffed Kiev: Add shredded mozzarella or Gruyère alongside the butter.
- Spicy Kiev: Mix chili flakes or cayenne into the herb butter.
- Air fryer version: Cook at 375°F (190°C) for 20–25 minutes, flipping halfway.
FAQs About Chicken Kiev
Can I make Chicken Kiev in advance?
Yes. Prepare and freeze the breaded rolls. Thaw slightly before frying and baking.
Why does the butter leak out?
Incomplete sealing or skipping the freezing step can cause leaks. Be sure to wrap tightly and chill before cooking.
Can I use chicken thighs?
While possible, chicken breasts work better due to their shape and size for rolling and sealing.
Nutritional Information (Per Serving)
- Calories: ~600
- Protein: 42g
- Fat: 36g
- Carbohydrates: 25g
- Cholesterol: 155mg
- Sodium: 490mg
Note: Values are approximate and may vary depending on specific ingredients and serving size.
Final Thoughts
This Chicken Kiev recipe delivers a crispy, golden exterior and a rich, garlicky butter interior. By following our professional method, freezing techniques, and ingredient pairing tips, you’ll achieve gourmet-level results in your own kitchen.