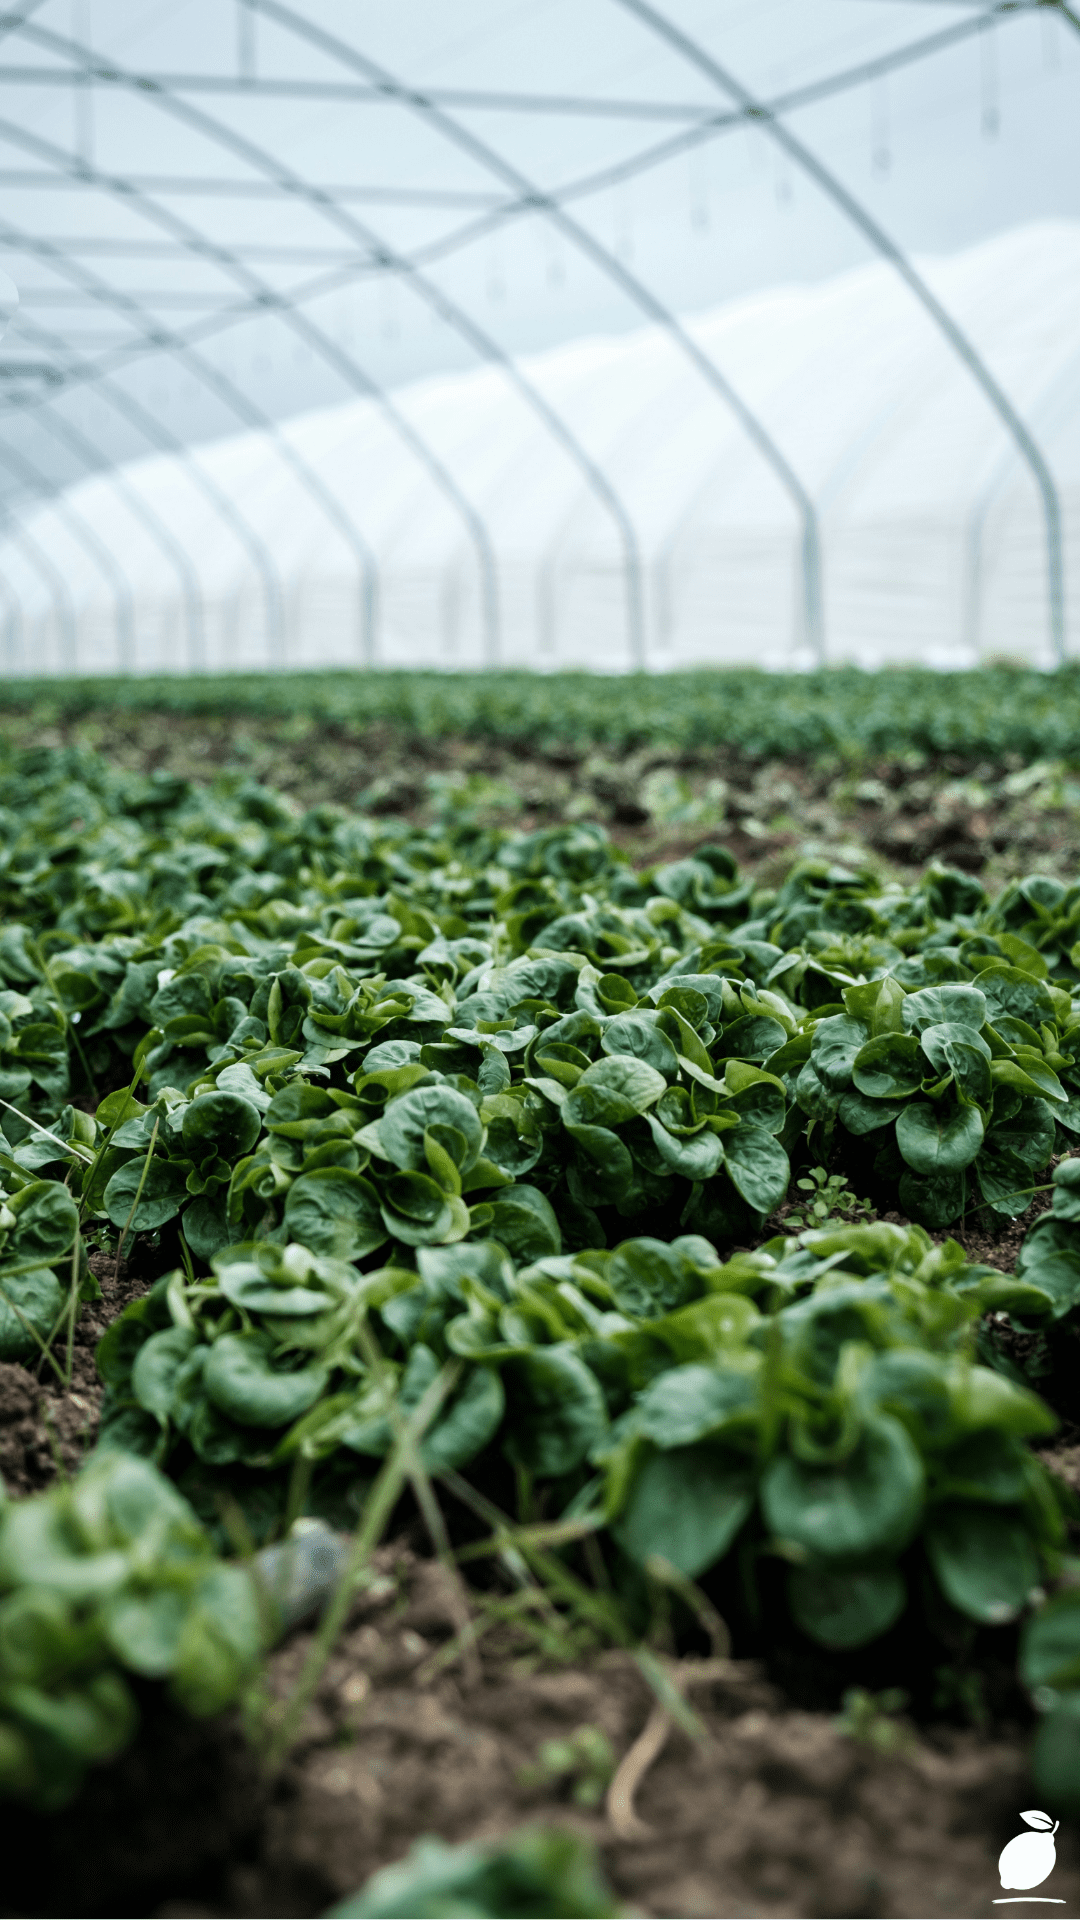
Last winter was my first experience with a backyard greenhouse, and it was not the tropical paradise I had imagined. I spent the entire three months in a constant state of anxiety, checking my weather apps multiple times a night and racing outside in my pajamas to put down blankets over half-frozen seedlings or to learn how to insulate a Greenhouse.
My lack of planning turned what I thought would be a year-round haven into a miserable, expensive addition to my property. Each time the temperature dropped, I couldn’t shake the feeling that my plants were going to die. I could only watch while the frost crept over the glass walls of the greenhouse, and my heating bills went through the roof. I created a chaotic pattern of anxiety that caused me to want to give up gardening altogether.
My lack of temperature control is not the only thing I struggled with; I also had a lack of control over what I was doing in my greenhouse. It had become a representation of wasted energy and mental confusion to me. I wanted my greenhouse to be like an extension of my home, where I could enjoy the feel of deep breathing and find clarity, but now I had created a high-maintenance refrigerator. The only way I was going to achieve the lush, vibrant environment I envisioned in the botanical magazine articles was to stop fighting.
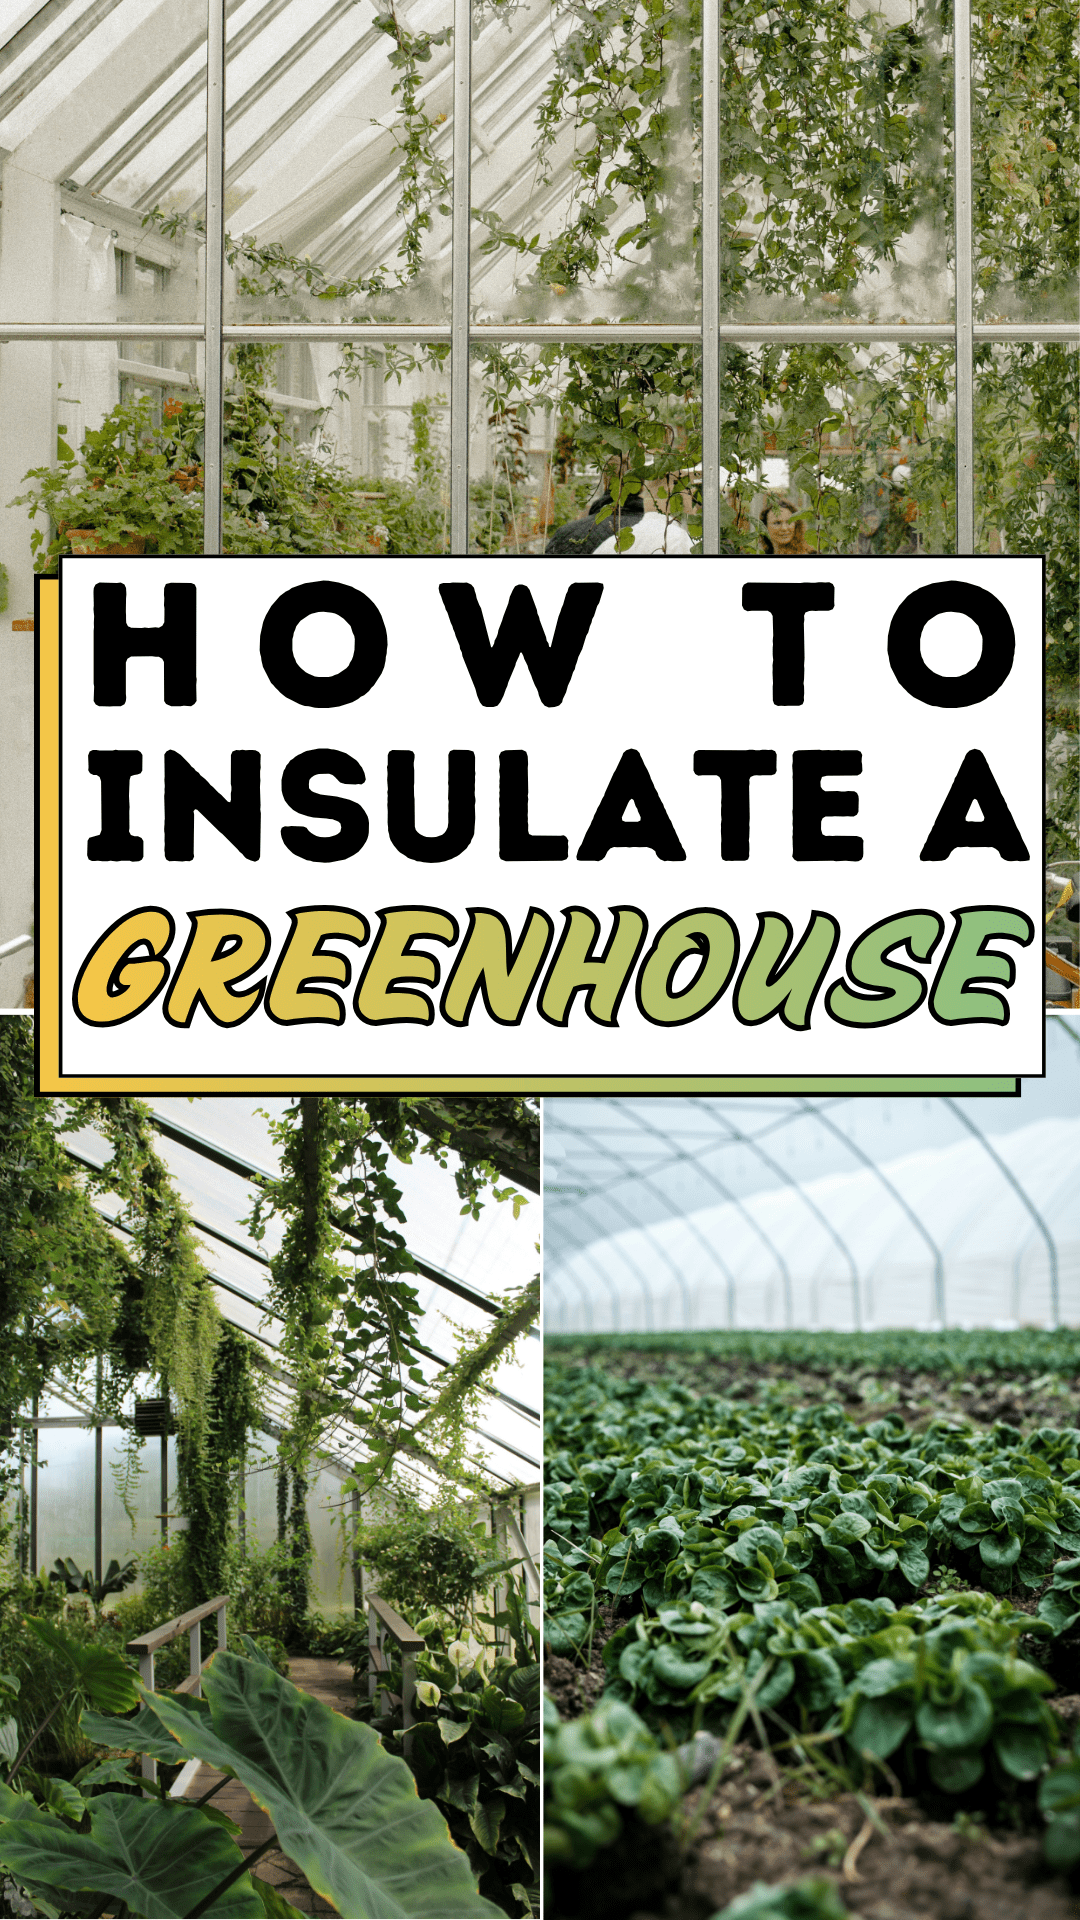
The How to Insulate A Greenhouse Blueprint
Achieving a stable, warm climate in a glass structure requires a multi-layered approach. Follow this blueprint to turn your greenhouse into a high-efficiency botanical haven and master the art of how to Insulate A Greenhouse for 2026.
Step 1: Seal the Gaps and Check the Glazing
Before adding insulation, you must address the primary source of heat loss: drafts. Inspect the metal support beams and the glass slanted roof for any missing putty or loose panels.
Why it works: Even the smallest gap acts as a vacuum for warm air. Using a high-quality silicone sealant or specialized greenhouse glazing tape creates an airtight envelope, ensuring that the heat you generate stays exactly where it belongs around your tropical foliage. This is the foundation of any plan for insulating a greenhouse.
Step 2: Install a Bubble Wrap Thermal Barrier
The most cost-effective DIY method for glass greenhouses is lining the interior with heavy-duty, UV-stabilized bubble wrap. Use alligator clips to attach the wrap to the internal metal support beams.
Why it works: The pockets of trapped air within the bubbles create a powerful layer of dead-air insulation. This mimics the effect of double-glazing, significantly reducing heat transfer through the glass panels while still allowing soft, diffused light to nourish your elephant ear plants. This is a fundamental step in learning how to Insulate A Greenhouse effectively.
Step 3: Create Thermal Mass with Water Barrels
Incorporate large containers of water into your greenhouse design, ideally painted a dark color. Place them along the wooden walkway or under plant benches.
Why it works: Water has a high thermal capacity. During the day, the barrels absorb solar energy; at night, they slowly release that heat back into the environment. This natural battery levels out temperature spikes and dips, maintaining a consistent, misty atmosphere. Integrating thermal mass is a high-value strategy for anyone researching how to Insulate A Greenhouse.
Step 4: Layer the Flooring and Foundation
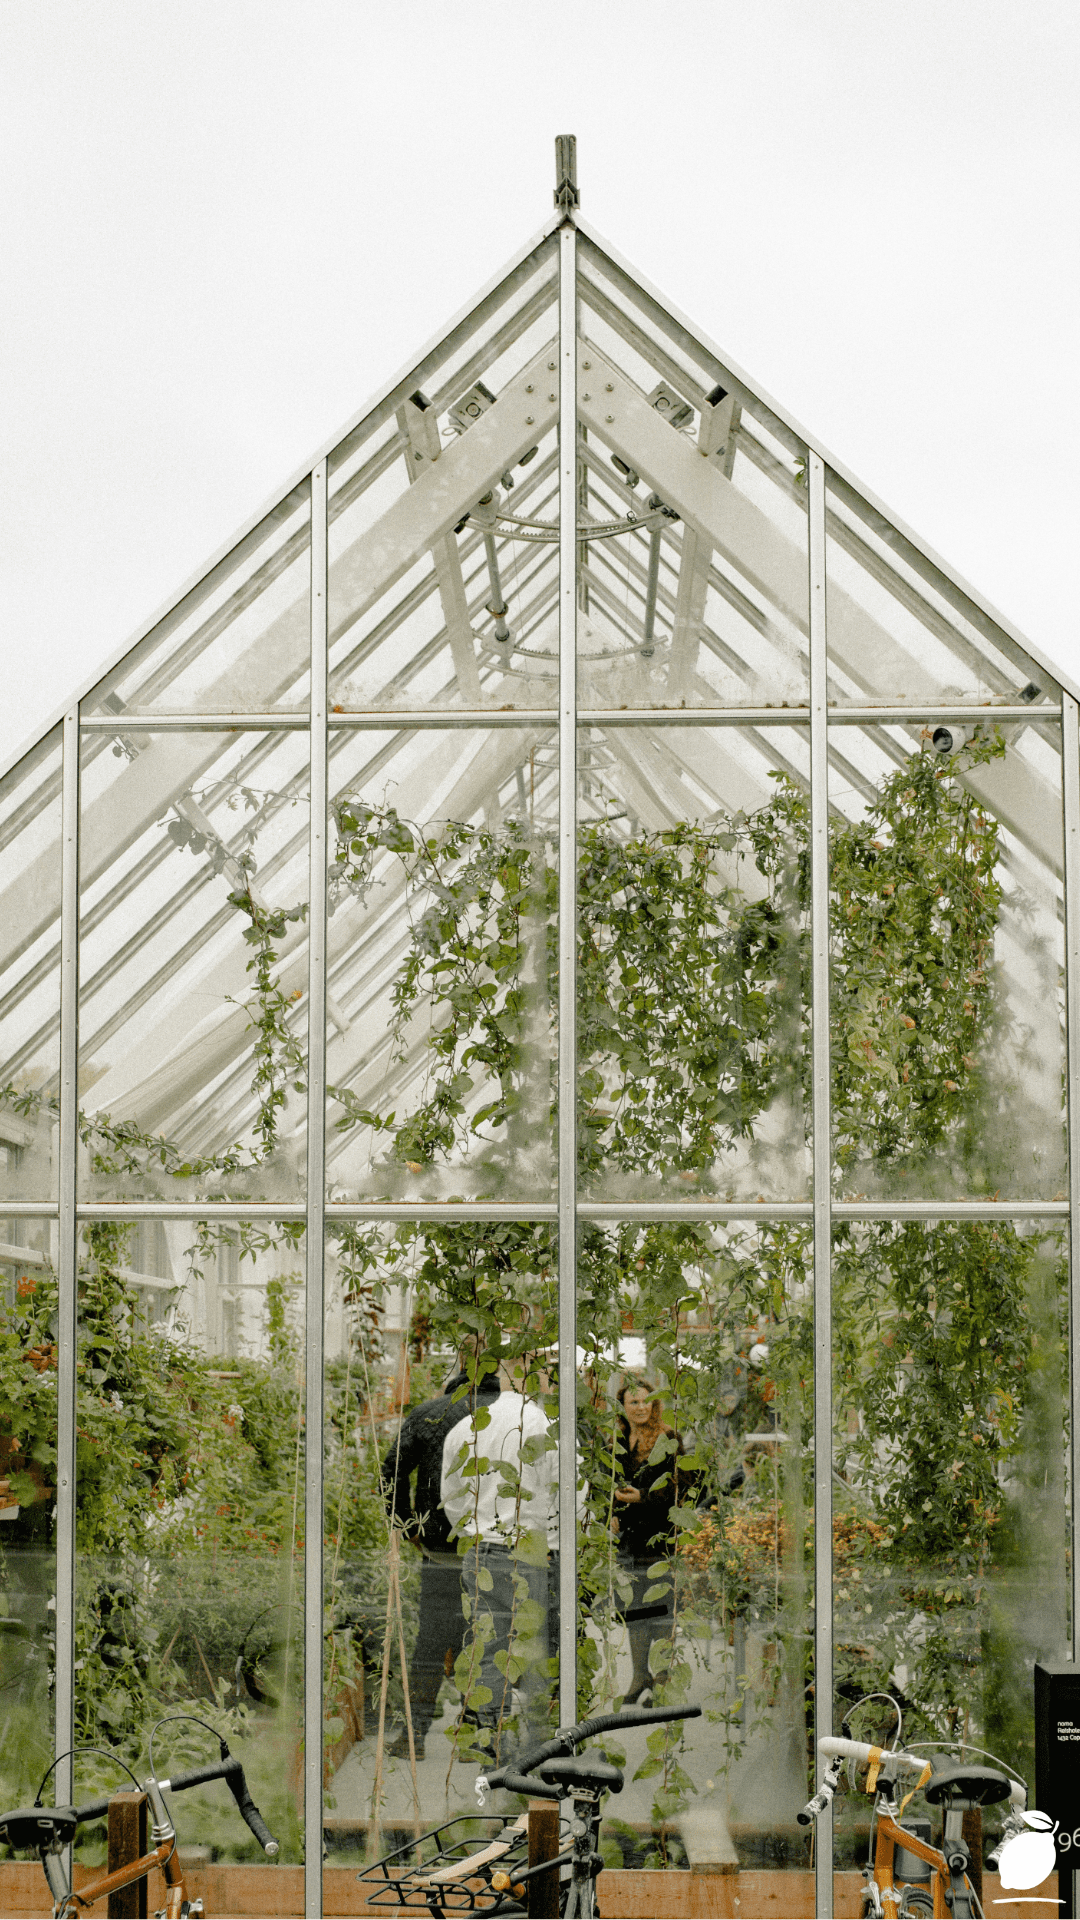
Heat isn’t just lost through the roof; it escapes through the floor. If your greenhouse sits on bare earth, consider installing a layer of polystyrene insulation boards topped with the dark brown wooden planks seen in our inspiration image.
Why it works: Insulating the foundation prevents thermal bridging from the frozen ground. Adding a wooden walkway provides a warm, natural finish that feels comfortable underfoot while adding a final layer of protection for the root systems of your bottom-tier plants. Understanding how the floor impacts heat is vital for those researching how to Insulate A Greenhouse.
Expert Secrets for Success
Pro-Tips for Better Results
- The North Wall Reflection: If your greenhouse has a north-facing wall, cover it with a reflective material or a solid insulation board. Since little light comes from the north, this turns a heat-loss surface into a heat-retention mirror. This is a pro-level tip for How to Insulate A Greenhouse.
- Maintain Air Circulation: While you want to seal drafts, you must avoid stagnant air. Use a small, low-wattage fan to keep air moving. This prevents the misty glass panels from developing mold and ensures that warm air from the roof structure is pushed down toward the walkways.
- Utilize Vertical Space: Use the climbing vines cascading from the roof as a natural shading and insulation layer. Dense foliage near the glass can act as a secondary buffer against the cold, which is a clever trick when you consider how to Insulate A Greenhouse with nature in mind.
Common Mistakes to Avoid
- Using Standard Packaging Bubble Wrap: Never use the thin wrap meant for shipping. It isn’t UV-treated and will degrade into a messy, flaky disaster within a few months of sun exposure. Always buy horticultural-grade wrap.
- Blocking All Sunlight: It is tempting to over-insulate, but your plants still need light for photosynthesis. Ensure your insulation materials are translucent enough to maintain that bright, airy greenhouse atmosphere. This is a common pitfall when studying how to Insulate A Greenhouse.
- Forgetting to Ventilate on Sunny Days: Even in winter, a well-insulated greenhouse can overheat on a bright day. Monitor the temperature and be ready to open a vent briefly to prevent your tropical plants from scorching. Mastering how to Insulate A Greenhouse also means knowing when to let the heat out.
Why How to Insulate A Greenhouse Matters
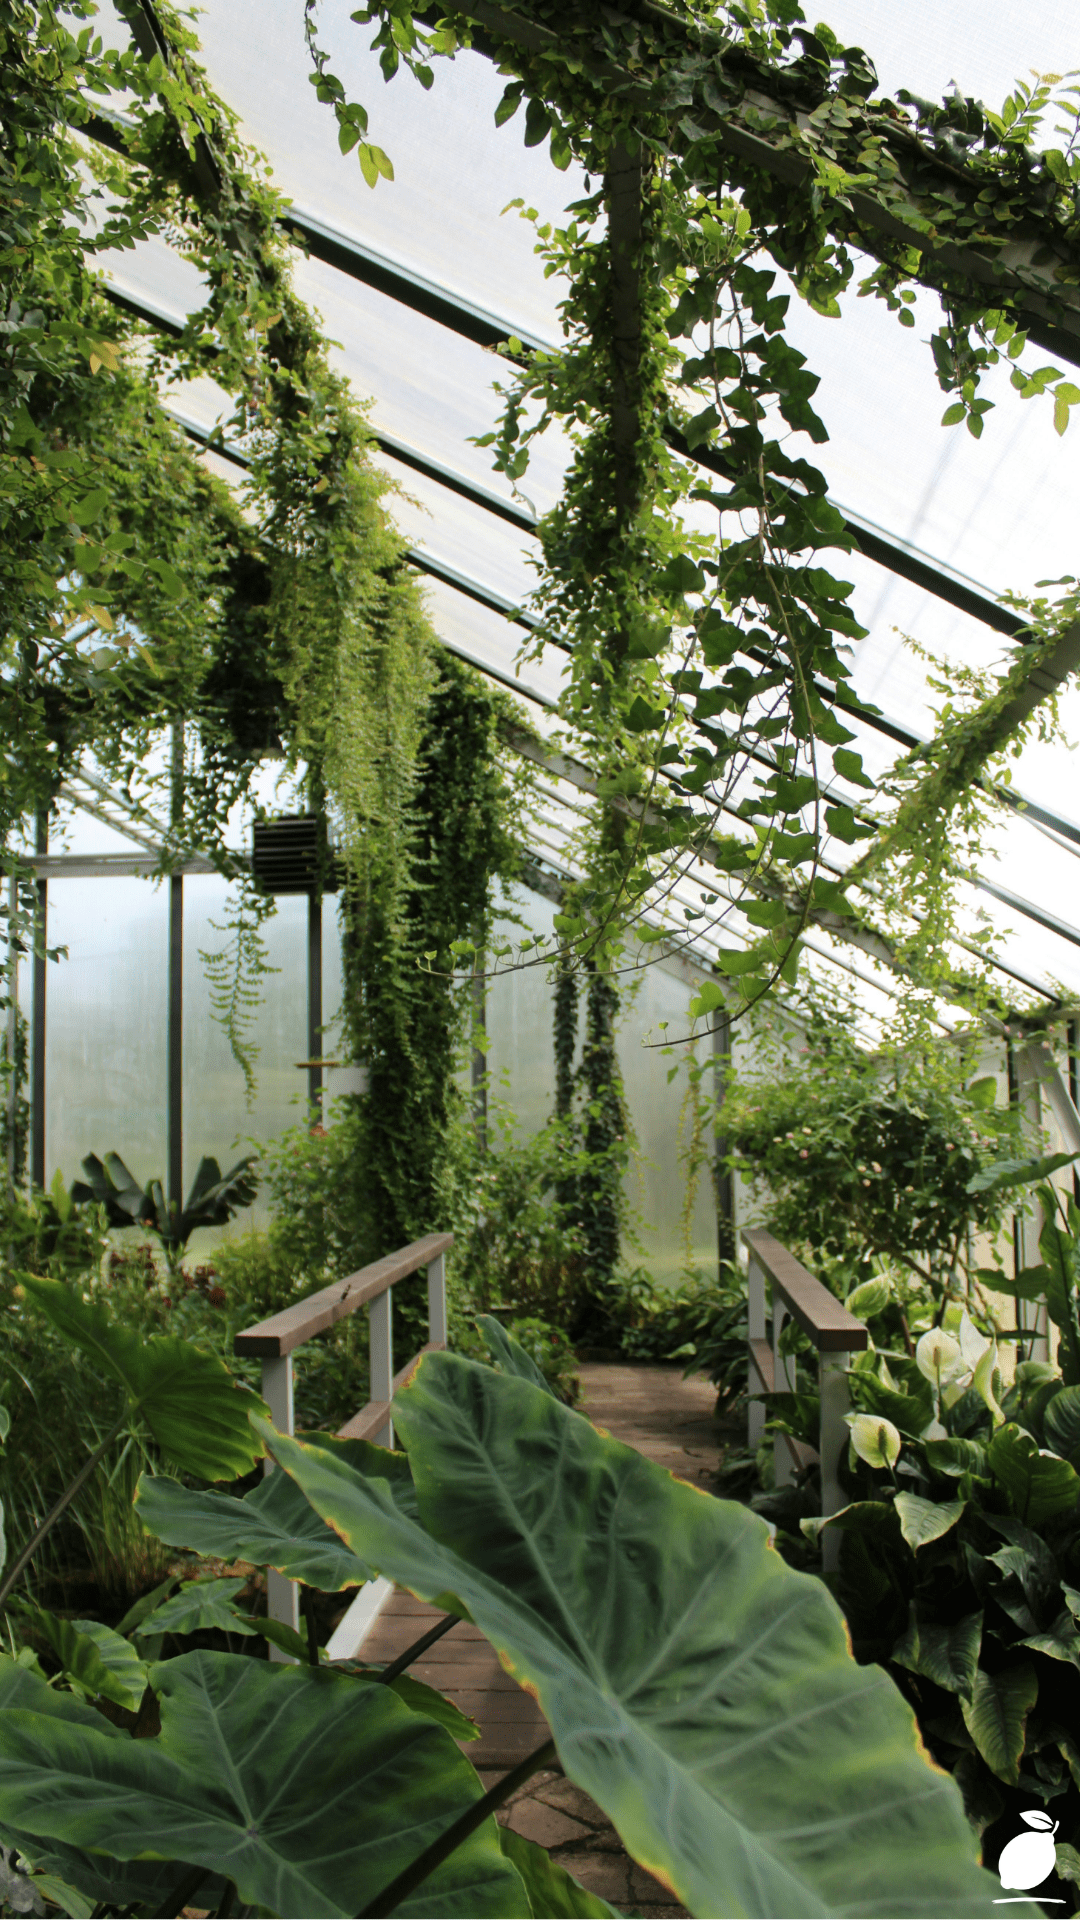
At Easy Peasy Life Matters, we believe that gardening success is a cornerstone of mental clarity. When you know how to Insulate A Greenhouse, you eliminate the frantic winter panic and replace it with a sense of DIY mastery. There is a profound psychological benefit to walking across a wooden bridge into a lush, green world while the rest of the neighborhood is gray and dormant. It provides a sanctuary where you can escape the noise of daily life and reconnect with the steady, quiet rhythm of nature.
This stability ripples out to family peace as well. A greenhouse that is a win rather than a worry becomes a shared space for creativity and education. Whether it is showing your children how elephant ear plants grow or simply enjoying a coffee in the diffused light of the Victorian-style glass roof, an insulated greenhouse is an investment in your home’s harmony. It transforms a seasonal hobby into a year-round lifestyle of calm and growth. Achieving year-round blooms is the ultimate reward for those who learn how to Insulate A Greenhouse.
FAQ
What is the cheapest way to insulate a greenhouse?
The most budget-friendly method is using horticultural bubble wrap. It is inexpensive, easy to install as a DIY project, and can be reused for several seasons if stored correctly during the summer months. It remains the gold standard for simple How to Insulate A Greenhouse projects.
Will bubble wrap reduce the light too much for my plants?
Horticultural bubble wrap is designed to let in about 80% to 90% of available light. While it diffuses the sun, this is actually beneficial for many plants, as it prevents direct scorching while keeping the interior bright and airy.
Can I use a heater instead of insulating?
You can, but without insulation, you are essentially heating the outdoors. Knowing how to Insulate A Greenhouse reduces the workload on your heater, saving you significant money on energy bills and providing a safety net if the power goes out.
How do I stop condensation from dripping on my plants?
When you learn how to Insulate A Greenhouse, you will notice the interior becomes more misty. Ensure you have a slight slope to your insulation so that water runs toward the sides of the metal support beams rather than dripping directly onto the foliage. Moderate air circulation also helps manage moisture levels.