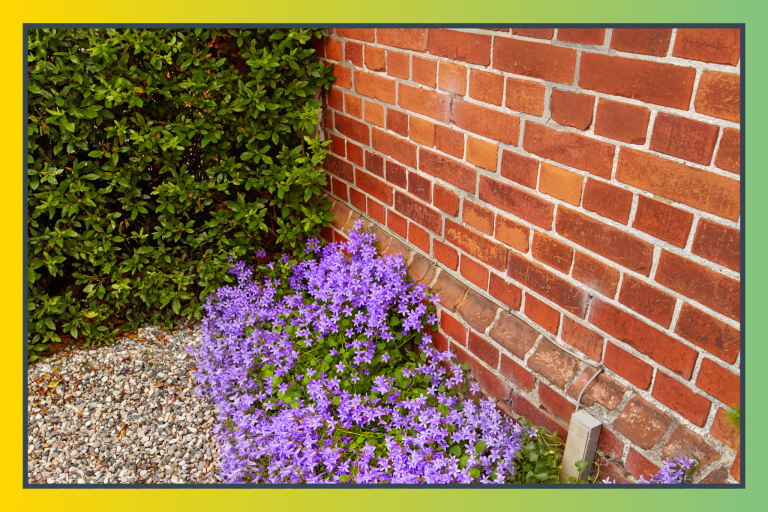
My visits to my garden have never felt peaceful or tranquil. They have been a source of frustration with every season change. I would look out my window in April at my hideous lawn, whereas I would have a few lonely tulips planted among all of the barren, muddy dirt – but those were all I saw! lasagna technique: how to layer spring bulbs. I would dig individual holes every year, which added up to an unfulfilled and empty look for my flowers.
Another burden that I had was trying to plan out my different types of flowers to bloom at different times so that my flower beds didn’t look like a construction site every spring. That was the weight of an unfulfilled life that I carried with me every time spring arrived for me, as it was such a representation of how fast my life was moving around me. Nothing about my two worlds matched. They had no connection with each other and were out of sync, but neither gave me that “awe” factor I would have looking at a professionally designed landscape.
After hours spent analyzing my garden, I needed an entirely different approach. The problem wasn’t having a “green thumb” but, rather, not having an overall plan for my garden from a practical structure perspective. I was only planning my garden in two dimensions (length and width) and failed to incorporate depth into my plans. My mind was constantly focused on my poor flower beds throughout winter and early spring, making me feel very disorganized, resulting in my inability to relax.
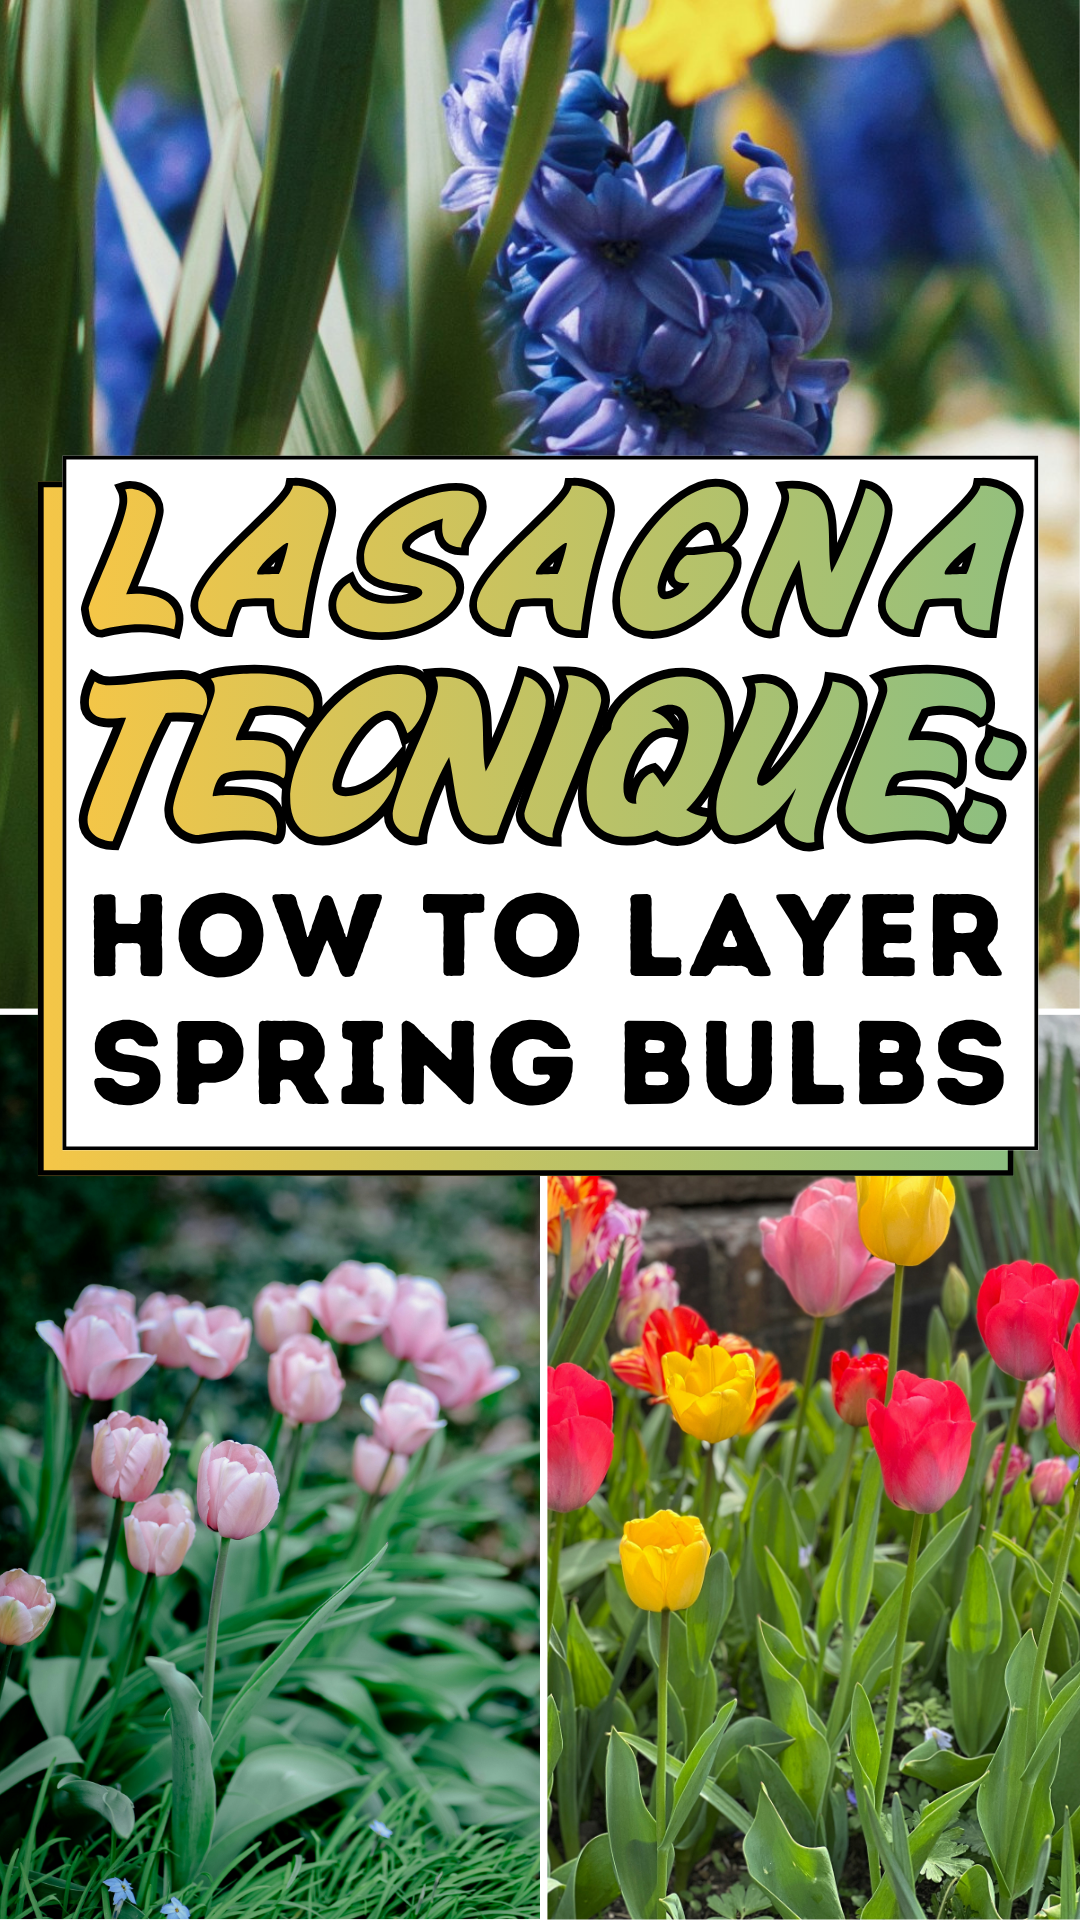
The Lasagna Technique: How to Layer Spring Bulbs Blueprint
The lasagna technique: how to layer spring bulbs is a vertical gardening strategy where you plant different varieties of bulbs at various depths in a single pot or garden hole. This ensures a succession of blooms in the same spot for months.
Step 1: Selecting Your Layers and Vessel
To start your lasagna technique: how to layer spring bulbs project, choose a deep pot with excellent drainage or a dedicated spot in your garden bed. You will need three distinct types of bulbs: large, late-bloomers for the bottom; mid-sized, mid-season bloomers for the center; and small, early-bloomers for the top.
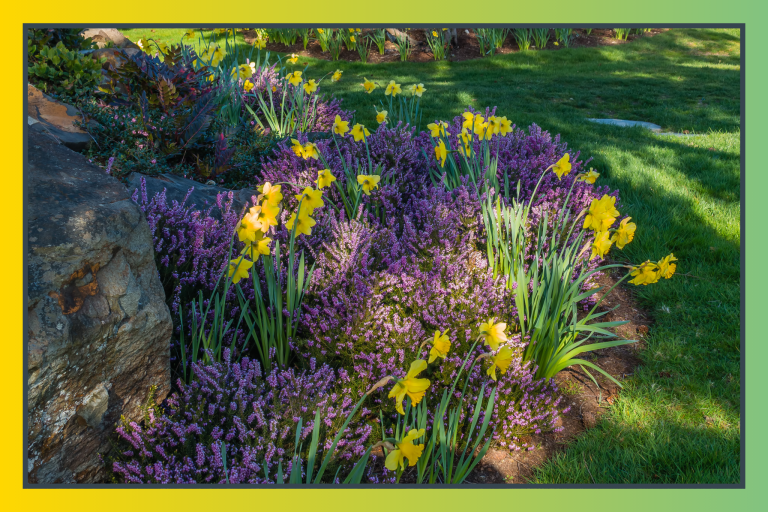
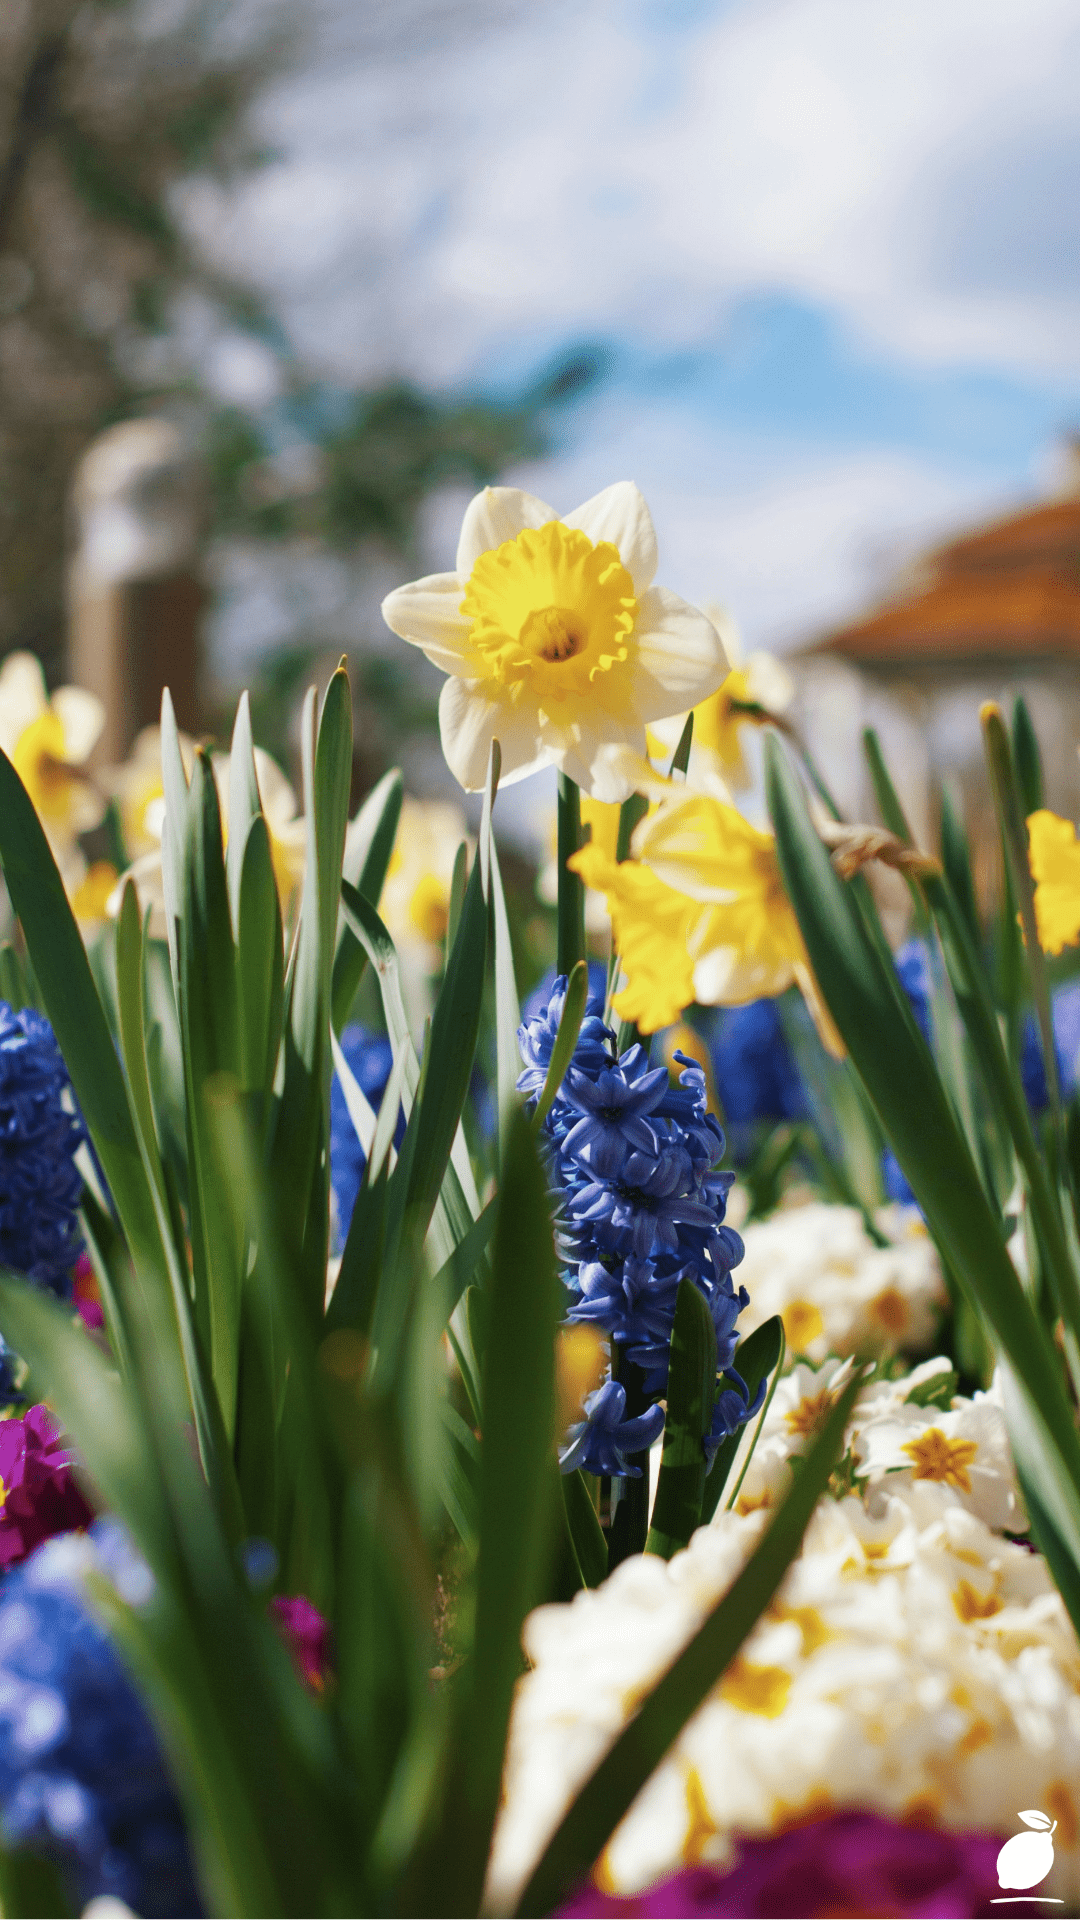
Why it works: This vertical stacking allows you to fit three times the flowers into the same square footage. For a classic 2026 look, select late-blooming tulips for the base, daffodils for the middle, and hyacinths or crocuses for the top.
Step 2: Planting the Foundation (The Deep Layer)
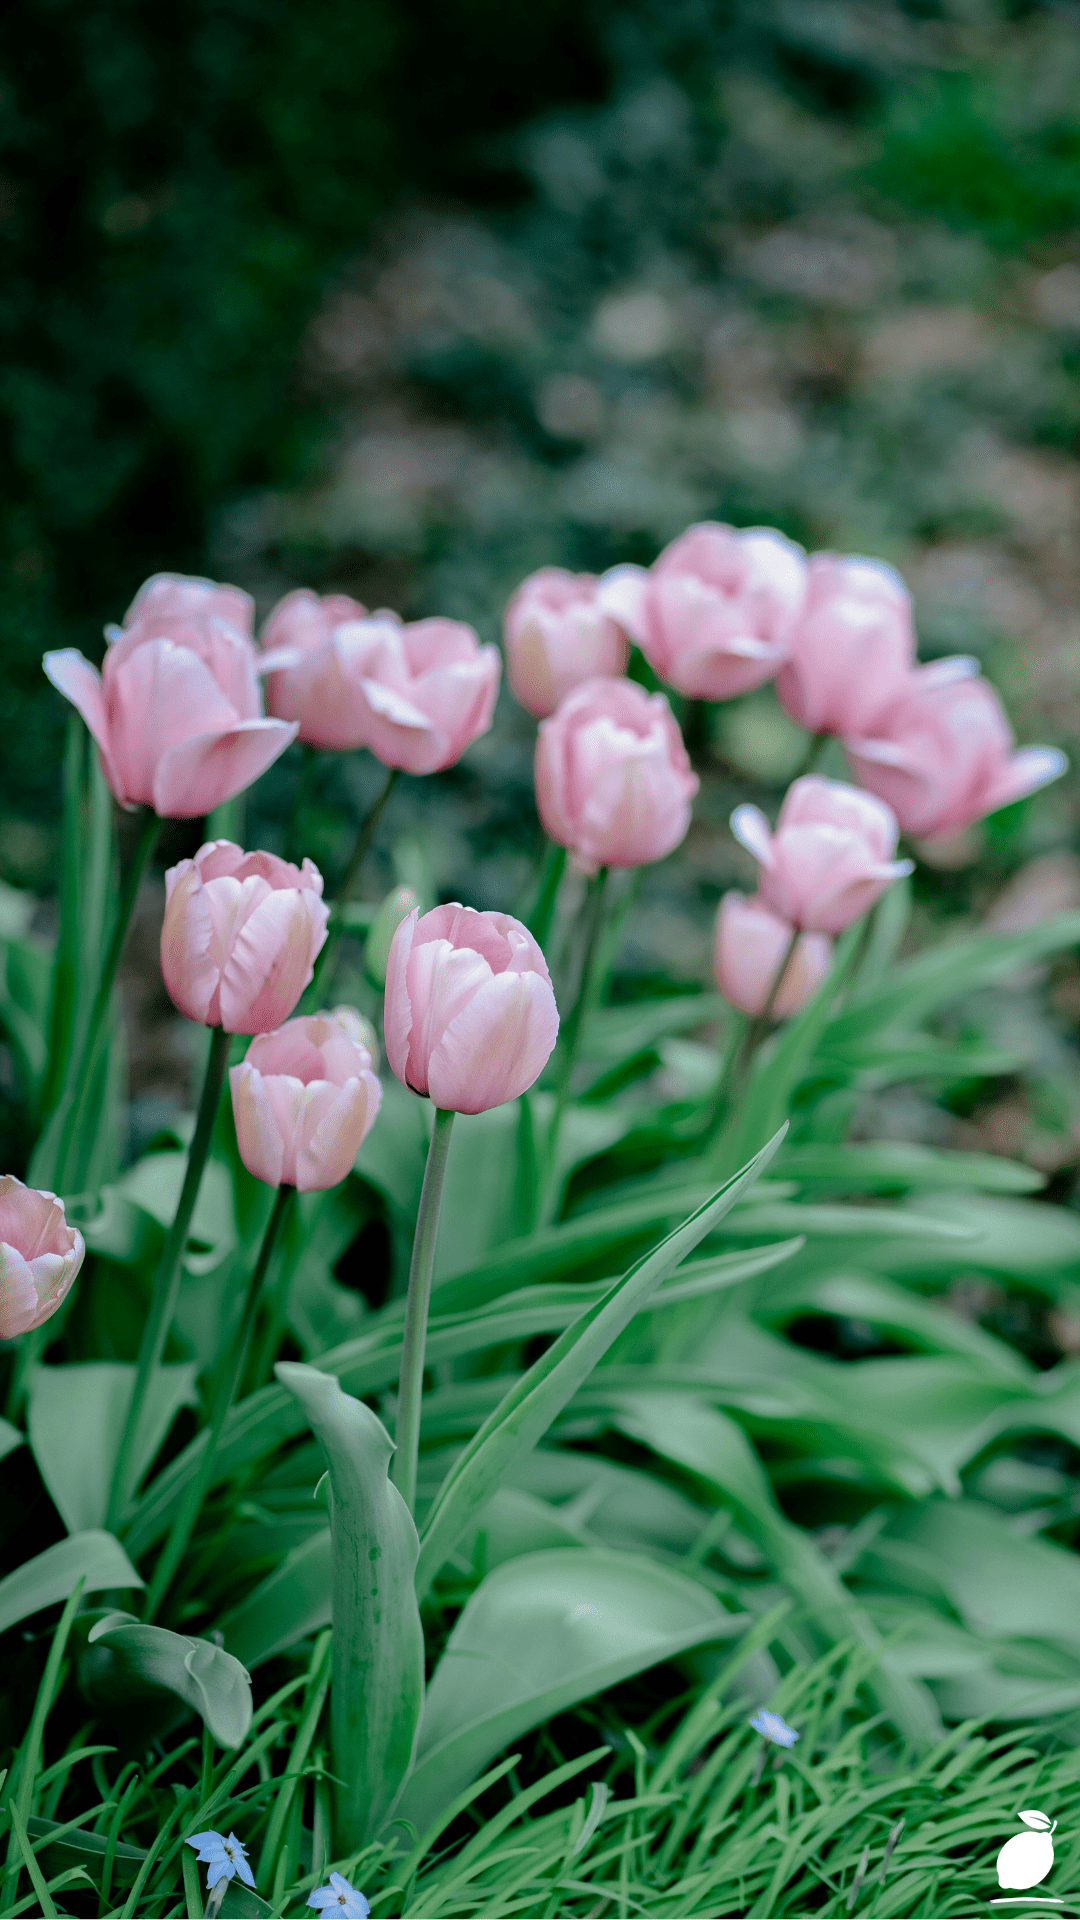
Place your largest bulbs (like late-season tulips) at the bottom, approximately 6 to 8 inches deep. Ensure they are spaced about an inch apart so they don’t touch, then cover them with 2 inches of high-quality, well-draining potting soil.
Why it works: These bulbs take the longest to reach the surface. By placing them at the bottom, they will anchor the display and bloom just as the earlier layers begin to fade, preventing that messy end-of-season gap. This foundational step is the core of the lasagna technique: how to layer spring bulbs.
Step 3: Adding the Mid-Season Core
On top of your first soil layer, place your mid-season bulbs, such as the yellow and white daffodils seen in our inspiration image. Position them in the windows between the bulbs below so the stems can grow upward without hitting the bottom layer. Cover with another 2 inches of soil.
Why it works: Daffodils are the workhorses of the spring garden. Placing them in the middle ensures they provide a bold, bright structure that bridges the gap between the low-growing hyacinths and the taller tulips within your lasagna technique: how to layer spring bulbs setup.
Step 4: Finishing with the Early-Season Top
Place your smallest, earliest bulbs like the deep blue hyacinths or muscari on this final layer, about 2 to 3 inches from the surface. Cover with a final layer of soil and water deeply to wake up the bulbs.
Why it works: These bulbs are the first to respond to the warming spring sun. They will emerge through the blue sky of early spring, providing immediate visual gratification and mental clarity while the deeper layers of the lasagna technique: how to layer spring bulbs, are still preparing their grand entrance.
Expert Secrets for Success

Pro-Tips for Better Results
- The Clockwork Timing: Check the bloom times on the back of your bulb packets. For the best lasagna technique: how to layer spring bulbs result, ensure your varieties follow a Late, Mid, Early sequence to avoid a crowded, overlapping mess.
- Scent Layering: Combine the visual beauty of white daffodils with the fragrance of deep blue hyacinths. As the different layers emerge, your garden will transition through different scent profiles, enhancing the sensory experience of your sanctuary.
- Squirrel-Proofing the Setup: If you are planting in the ground, place a piece of chicken wire over the top layer before the final soil cover. This prevents pests from digging up your lasagna technique: how to layer spring bulbs project without hindering the stems as they grow upward.
Common Mistakes to Avoid
- Over-Watering in Dormancy: While bulbs need an initial drink, avoid keeping the soil soggy during the winter. Excess moisture can lead to bulb rot, which is a silent killer of the lasagna technique: how to layer spring bulbs.
- Forgetting Drainage: Always ensure your pots have large drainage holes. If water sits at the bottom, your late-season tulips will perish before they even sprout.
- Ignoring the Green Phase: After the flowers fade, do not cut the green leaves off immediately. The bulbs need those leaves to photosynthesize and store energy for the next season of your lasagna technique: how to layer spring bulbs.
Why Lasagna Technique: How to Layer Spring Bulbs Matters
At Easy Peasy Life Matters, we believe that DIY success is a powerful antidote to a high-pressure lifestyle. When you master the lasagna technique: how to layer spring bulbs, you are essentially hacking your environment to provide a steady stream of joy with minimal daily maintenance. This strategic approach replaces the chaos of a patchy garden with a sense of architectural order and intentionality.
Achieving a professional-grade floral display leads to a significant boost in mental clarity and family peace. There is a quiet magic in watching the first blue hyacinths emerge from the cold earth, followed by the majestic white daffodils. It creates a focal point for the family to gather and observe the slow, steady rhythm of nature. When your outdoor space feels lush and curated through the lasagna technique: how to layer spring bulbs, it stops being a chore and starts being a retreat, a place where the messy stresses of the world disappear into a dreamy, soft-focus horizon of spring color.
FAQ
Can I do the lasagna technique in a small balcony pot?
Yes! This is actually the best way to garden in small spaces. As long as your pot is at least 12 inches deep, you can successfully implement the lasagna technique: how to layer spring bulbs to get a full meadow effect in a single container.
Do I need to dig the bulbs up every year?
In most climates, you can leave the bulbs in the ground or the pot. However, for the best results in 2027, it is often recommended to refresh the top layer of soil and add a bit of bulb fertilizer in the autumn to support your lasagna technique: how to layer spring bulbs.
What if my bulbs bloom at the same time?
If you choose bulbs with overlapping bloom times, you will get an incredibly dense bouquet in a pot look. While the lasagna technique: how to layer spring bulbs is designed for succession, a simultaneous bloom can be a stunning, high-impact aesthetic choice.
How do I know which way is up for the bulbs?
Most bulbs look like a small onion with a pointed top and a flat, hairy bottom. Always plant the pointed side facing the blue sky. If you are unsure while building your lasagna technique: how to layer spring bulbs, plant it on its side; nature is smart enough to help the stem find the light!