The flat surfaces in your home are losing the battle. The kitchen counter is a rotating landscape of items that do not have a drawer to go to. The hallway console table has become a deposit zone for everything that enters the house and has not yet found its permanent address. The home office desk, if it can still be called that, exists somewhere beneath a sedimentary layer of papers, cables, notebooks, and objects that were placed there temporarily approximately four months ago. You have organized these surfaces before. You will organize them again. And within three weeks, the drift will have returned them to their default state of productive-looking disorder that is actually just disorder.

The problem is that horizontal surfaces attract clutter the way drains attract water passively, inevitably, following the path of least resistance. Every item that enters the home and lacks a designated vertical home lands on the nearest flat surface and begins its tenure as clutter. The solution is not more drawer organizers, more baskets, or more attempts to discipline yourself and everyone else in the household into a system of horizontal tidying that runs against every natural tendency. The solution is vertical. When walls work, flat surfaces rest. When wall organization absorbs the items that would otherwise cover counters, desks, and tables, the home’s horizontal surfaces stay clear almost automatically, not because of willpower, but because the items have somewhere better to go.
That wire display rack mounted cleanly on a white wall, cards arranged in a grid of silver lines, colors balanced, every item visible and accessible without being scattered, is not just a display solution. It is the principle of wall organization made visible in miniature: a vertical surface doing a job that a horizontal one would do badly, with a clarity and visual calm that the horizontal alternative never achieves. Wall organization done well does not just store things. It displays them, elevates them, and frees every surface beneath from the clutter that would otherwise settle there. Here is the blueprint for making it happen across your home.
The Wall Organization Blueprint
Effective wall organization is a project with a sequence design before purchasing, installing before loading, and maintaining before the system has a chance to drift. Follow these steps in order, and every wall you address becomes a permanent organizational asset rather than a temporary fix.
Step 1: Audit Your Flat Surface Clutter First
The most revealing first step in any wall organization project is not looking at the walls; it is looking at the flat surfaces. The items currently living on your kitchen counter, desk, hallway table, and bathroom shelf are your wall organization shopping list. They are there because the walls have not yet been given the job of holding them. Before purchasing a single hook, rack, or shelf, categorize every item on your most cluttered surface into groups: daily-use items that need arm-reach accessibility, display items that deserve visibility without taking up surface space, functional items like mail and papers that need a vertical holding system, and items that belong somewhere else entirely and are simply waiting for a decision.
This audit produces the specific brief that determines what wall organization systems you actually need, rather than what looks appealing on a product page. A wire display rack solves the postcard, note, and paper clutter that a magazine file in a drawer does not. A pegboard with hooks solves the kitchen tool scatter that a drawer organizer cannot. A floating shelf with a rail solves the bathroom counter overflow that a cabinet cannot. Wall organization solutions work when they are matched precisely to the items they are replacing from horizontal surfaces, and the audit is how you make that match.
Step 2: Map Your Walls Before Marking Them
Before anything is mounted, map your available wall space with intentionality. Walk through every room with fresh eyes and a measuring tape. Note wall dimensions, identify the wall sections that are genuinely accessible from normal use positions, not above a sofa that requires climbing over, not behind a door that opens against it, and mark the areas where wall organization would most directly serve the room’s primary function.
Kitchen walls near the prep area are ideal for utensil racks, spice organization, and paper towel holders that free counter space. Hallway walls adjacent to the door are the natural home for key hooks, mail racks, and bag hanging systems that prevent the entry-point scatter. Home office walls at eye level from the desk are the correct location for reference materials, calendar systems, and display items. Bathroom walls above the vanity accommodate towel hooks, product display, and the small-item organization that typically lives on the counter. Map the function of each wall zone before selecting the wall organization system, for it is the function that determines the system, not the reverse.
Step 3: Choose Your Wall Organization System by Function
Different wall organization systems solve different organizational problems, and choosing the wrong system for a specific function produces a solution that looks organized on installation day and drifts back toward disorder within a month. Match the system to what it needs to hold.
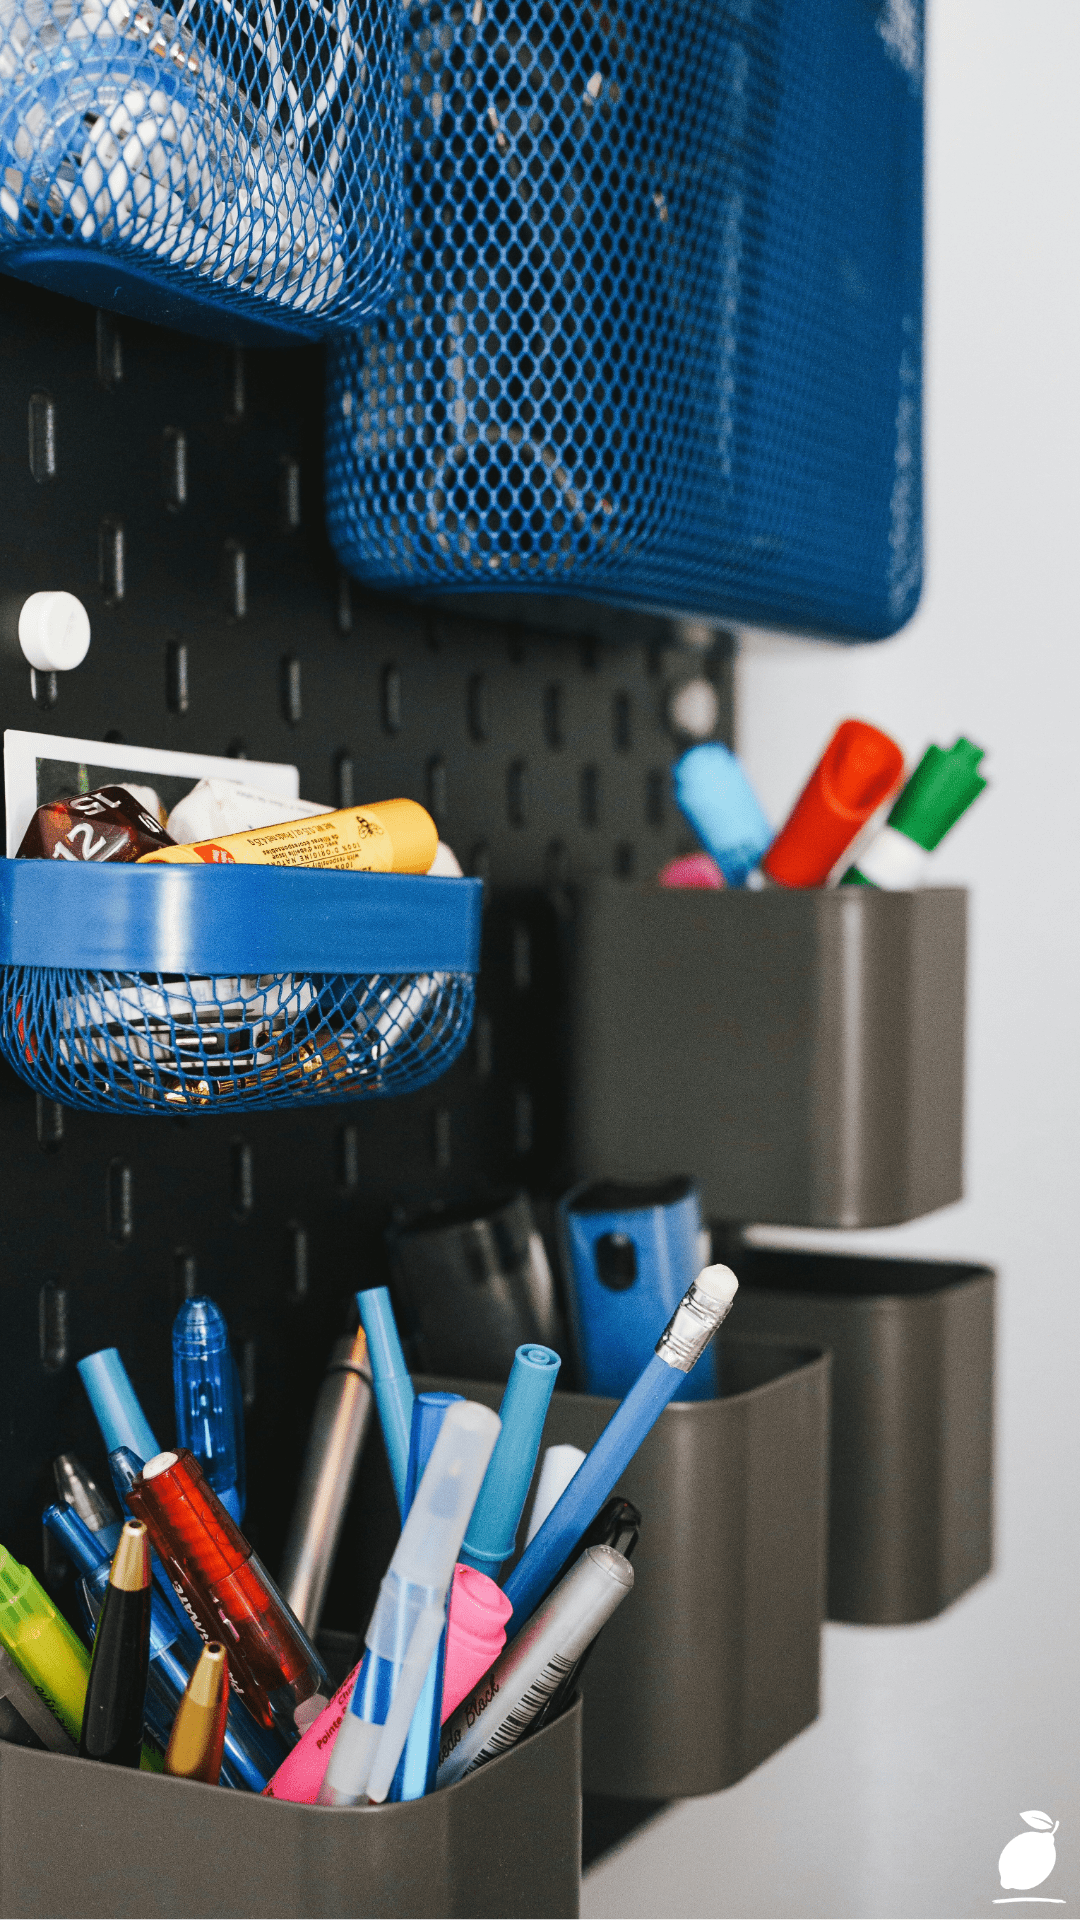
Wire grid and display racks like the wall-mounted display in the image are ideal for flat items: postcards, prints, papers, cards, notes, and any document or decorative item that benefits from visibility and easy swap-out. Their open grid structure makes every item immediately visible without a drawer or door, and the wire system allows flexible arrangement without fixed positions. For home offices, creative spaces, and any room where inspiration and reference materials deserve display, wire grid systems deliver the most adaptable wall organization solution available.
Pegboards are the most versatile wall organization system for functional tools, kitchen utensils, craft supplies, workshop tools, and any category of item that comes in multiple sizes and shapes requiring flexible hook positions. A pegboard allows the organizational system to evolve with the contents without requiring new holes in the wall. The visual display quality of pegboard organization is high when items are hung thoughtfully with consistent spacing.
Floating shelves provide horizontal surface area at wall level, the vertical elevation of a horizontal surface, which keeps the floor and lower counters clear while providing display and storage at the right viewing and access height. Floating shelves suit books, plants, decor items, and the medium-weight organizational loads that wire systems and pegboards cannot hold. For wall organization in living spaces and bedrooms, floating shelves are the most visually integrated option available.
Rail systems with hanging components, such as the Shaker peg rail, the kitchen rail with S-hooks, and the bathroom towel rail, provide the most space-efficient hanging organization for items used daily. A kitchen rail at backsplash height holding ladles, spatulas, scissors, and measuring cups eliminates the entire drawer or countertop category of kitchen tool clutter. A Shaker peg rail in the hallway holds coats, bags, umbrellas, and dog leads without a single piece of furniture on the floor.
Step 4: Locate Wall Studs and Plan Fixings
The most common failure mode of wall organization systems is inadequate fixing. A wire display rack loaded with lightweight cards and postcards can be mounted on plasterboard with appropriate hollow wall anchors. A pegboard holding kitchen tools or a floating shelf supporting books must be fixed to wall studs, the timber or steel structural members behind the wall surface, to bear the load without pulling away.
Use a stud finder to locate stud positions across the intended mounting area before marking anything. In timber-framed construction, studs typically sit at 400 to 600mm centers. In masonry construction, fix directly into the brick or block using appropriately sized rawl bolts and a hammer drill. For heavier wall organization systems, full pegboard panels, loaded floating shelves, rail systems spanning more than 1.2 meters, plan a minimum of two stud fixings distributed across the mounting width, supplemented with hollow wall anchors at additional fixing points.
Mark every fixing position with a pencil before drilling anything. Step back from the marked wall and check the layout visually. The marks should be level, correctly spaced, and positioned to center the wall organization system accurately in the intended wall zone. A spirit level check across the top fixing line is the fifteen seconds that prevents a visibly crooked installation.
Step 5: Install, Load, and Edit
Install the wall organization system hardware first: the rail, backing board, or mounting bracket, before any hanging components or stored items are attached. Check that the installation is level, secure, and visually positioned correctly with the room’s other elements before loading. A level check after fixing and before loading catches any drift in the installation that is far easier to correct at this stage than after the system is fully loaded and in use.
Load the wall organization system thoughtfully rather than comprehensively. The best wall organization systems are not filled; they are loaded to approximately seventy percent, with clear space that makes every item visible, accessible, and returnable without shuffling other items aside. The wire display rack in the image works precisely because there is breathing space between cards: each item is distinct, the arrangement reads as intentional, and adding or removing an item is a thirty-second action rather than a reorganization project.
Edit the initial loading after two weeks of use. The items you reach for daily should be in the most accessible positions. Items you reach for weekly occupy secondary positions. Items that have not been touched since installation need a different home or should leave the system entirely.
Step 6: Create a Return Habit Before the System Has a Chance to Drift
A wall organization system without a return habit is a temporary improvement. The most effective wall organization is maintained by the simplest possible return rule: every item that lives on the wall goes back to its position before the end of the day it was used. Not eventually. Not during the next tidy. Before the end of the day.
This rule does not require discipline so much as structural setup. If the return position is clearly defined, a specific hook, a specific wire row, or a specific shelf section, the return action is frictionless. If the wall organization system requires a decision about where something goes every time it is returned, the system will drift. Clarity of position is the mechanism by which wall organization stays organized rather than becoming the next flat surface that gradually accumulates what should be elsewhere.
Expert Secrets for Success

Pro-Tips for a Better Result
- Install at the correct height for the primary user. Wall organization systems installed at the designer’s preferred visual height rather than the actual use height of the household create daily friction, reaching too high for daily-use items, bending unnecessarily for things that should be at eye level. Install kitchen tool rails at countertop height, hallway hooks at the shoulder height of the people who will use them, and desk-adjacent wall organization at seated eye level. The correct height is use-determined, not aesthetically determined.
- Use a consistent hardware finish throughout a room. A wall organization system in brushed brass competes visually with existing chrome fixtures. A wire display rack in silver reads as intentional beside silver-finish shelving and incongruous beside warm black metal. Choose one hardware finish per room and apply it across all wall organization components, hooks, rails, brackets, and shelf supports. The visual consistency is what makes a collection of functional hardware read as a designed system rather than an assembly of unrelated pieces.
- Test the weight capacity before loading fully. Before committing the full intended load to a wall organization system, hang or place sixty percent of the intended contents and check the fixing stability after twenty-four hours. A fixing that begins to pull or show movement under partial load will fail under full load. Identifying this at sixty percent load allows reinforcement before the system is fully committed, and the contents need to be removed and replaced.
- Photograph the system at its best-loaded state. A reference photograph of the wall organization system at its intended loaded state, taken immediately after the editing step, gives every member of the household a visual reference for how the system should look and what goes where. Post it inside a nearby cabinet door or in a shared household notes app. The photograph is faster than memory and removes the ambiguity that allows systems to drift from their intended state.
- Label positions on functional wall organization systems. For systems in shared household spaces, such as the kitchen, hallway, and home office, labeling the position of each item category prevents the gradual migration that affects unlabeled systems. A label on a hook that reads “car keys” eliminates the decision about which hook the car keys go on. In households with multiple users, labeled positions are the difference between a wall organization system that one person maintains and one that every person can use and maintain correctly.
Common Mistakes to Avoid
- Buying systems before auditing what needs to go in them. A wall organization product purchased because it looks good on a shelf or in a photograph may solve no actual organizational problem in the home for which it is being bought. The audit step that identifies the specific items currently cluttering horizontal surfaces and categorizes them is the only reliable guide to which wall organization systems are actually needed. Purchasing before auditing produces a collection of organizational products that add visual complexity without solving the original clutter problem.
- Mounting on plasterboard without appropriate anchors for the load. Standard wood screws driven into plasterboard without anchors pull out under any meaningful load. Hollow wall anchors, correctly sized for the screw diameter and wall thickness, distribute load across a larger area and hold reliably when specified correctly. For any wall organization system expected to hold more than a few hundred grams, use the correct anchor for the wall type and check the weight rating of both anchor and system before loading.
- Installing at a single height without considering the visual relationship to the room. A floating shelf installed at an arbitrary height that bears no relationship to the room’s existing architectural lines, skirting height, door height, window height, or adjacent furniture height looks accidental even when the shelf itself is level and well-loaded. Align the top or bottom edge of wall organization systems with an existing horizontal reference in the room, such as the top of a door frame, the height of window sills, or the line of picture rail, to create the visual integration that makes an installed system look designed rather than added.
- Loading the system with everything it could theoretically hold. Maximum capacity is not the target state of a well-organized wall system. Overcrowded wall organization produces visual noise that reads as clutter, even when every item is technically contained. The seventy-percent rule, leaving thirty percent of the system’s capacity as visible breathing space, is the practical standard that keeps wall organization looking intentional and makes it easier to use daily.
- Neglecting the wall behind the system. A wire display rack or pegboard mounted against a plain white wall works. The same system mounted against a painted accent panel, a wallpapered section, or a tiled backsplash creates a composed, deliberate visual that elevates the wall organization from functional to designed. Consider the wall surface as part of the wall organization composition, not just its substrate. A coat of paint or a section of peel-and-stick panel applied before mounting costs almost nothing and produces a result that looks as though it was always planned that way.
Why Wall Organization Matters

The relationship between the organization of your walls and the quality of your daily thinking is more direct than most people consciously recognize. A room with clear, organized surfaces, horizontal and vertical alike, removes the low-level visual processing burden that a cluttered environment places on the brain throughout every moment spent in it. That processing burden is not dramatic or even consciously noticed most of the time. It is a mild, persistent drain on the attentional resources that the day requires for everything else: work, conversation, decision-making, and rest. A wall organization that removes clutter from surfaces removes it from the peripheral visual field, and the mental relief of that removal is immediate and cumulative.
For families, wall organization serves a function that goes beyond individual tidiness. A household where every item has a visible, accessible, vertical home is a household where everyone can find what they need without asking, return what they have used without confusion, and move through shared spaces without the friction of navigating other people’s displaced items. The hallway with a clearly organized coat and key wall is a hallway that the family flows through on the way out the door each morning, rather than one that generates a five-minute search-and-rescue operation for the car keys. These are the quality-of-life returns that make wall organization one of the highest-leverage home improvements available per square meter of wall surface addressed.
And for the homeowner who designs and installs it, a completed wall organization project produces a particular satisfaction, the visible, lasting evidence of a space that has been thought about, planned, and transformed through deliberate action. Unlike a cleaning session that restores a room to a previous state, a wall organization project creates a new state, one that is structurally better than what existed before, and that maintains itself through the logic of the system rather than through willpower alone. That structural improvement, multiplied across every wall in the home that is given a purposeful role, produces a living environment that is measurably calmer, more functional, and more enjoyable to inhabit than the one that existed before the first hook went into the first wall.
Frequently Asked Questions
What is the best wall organization system for a small apartment with limited wall space?
In small apartments, vertical space is the primary organizational resource. Walls that extend from floor to ceiling offer significantly more storage potential than floor space allows. The most space-efficient wall organization systems for small apartments are slim-profile wire grid panels and Shaker peg rails that hold items at high density without projecting far from the wall surface, floor-to-ceiling shelving columns that use the full wall height rather than a single shelf section, and over-door organizers that use the back of every door as a wall surface. In a small space, every wall is a candidate for wall organization, including walls that are not immediately obvious, such as the inside of cabinet doors and the wall above doors and windows.
How do I mount heavy wall organization systems in a rental property without damaging the walls?
The most damage-free approach for rental wall organization uses adhesive mounting systems, high-strength removable adhesive strips rated for the intended load, command-style hooks with removable adhesive bases, and tension-fit systems that stand between floor and ceiling without wall fixings. For heavier loads, some rental agreements permit picture-hook nail fixings, which leave minimal damage. Discuss permitted fixings with a landlord before installing any wall organization system that requires screws. Damage-free adhesive systems have improved significantly and are capable of holding meaningful loads when the correct product is specified for the surface type and weight requirement.
How do I make a wall organization system look intentional rather than improvised?
Visual intentionality in wall organization comes from four elements: consistent hardware finish across all components in the same space, alignment with existing horizontal references in the room (door tops, window sills, existing shelving), deliberate spacing between items that prevents visual crowding, and a coherent color relationship between the wall organization system and the room’s existing palette. A wire grid system in silver against a warm white wall with items in two or three coordinating colors reads as designed. The same system loaded with uncoordinated items at irregular spacing reads as improvised regardless of the quality of the components. The loading of the system is as important to its visual outcome as the installation.
How do I maintain wall organization systems with children in the household?
Wall organization systems maintained successfully in households with children share two characteristics: every position is labeled clearly enough for the youngest user who can read, and the system is installed at a height accessible to the users who need to use it, which in a child’s bedroom or play area means lower than adult-height systems. A labeled hook at child height for school bags, a low pegboard for frequently used toys, and a clearly designated wall section for the items children are responsible for returning create the wall organization structure that children can actually participate in maintaining. The return habit, taught early and reinforced through the clarity of the system, becomes the organizational behavior that persists long after childhood.