
Open-plan living is one of those design decisions that looks wonderful in a show home and becomes quietly complicated the moment real domestic life starts happening inside it. The living area bleeds into the dining area, which bleeds into the workspace that was supposed to be just a desk in the corner, and suddenly there is no visual separation between where work ends and where rest begins, no sense of a boundary between the space where the children do homework and the space where a parent is trying to have a conversation on a call. You can’t add a wall structurally, practically, or without a planning application, and a furniture arrangement alone never quite creates the psychological separation that distinct spaces provide. The room is one thing when it should be several, and the absence of definition makes every zone feel slightly undefined.
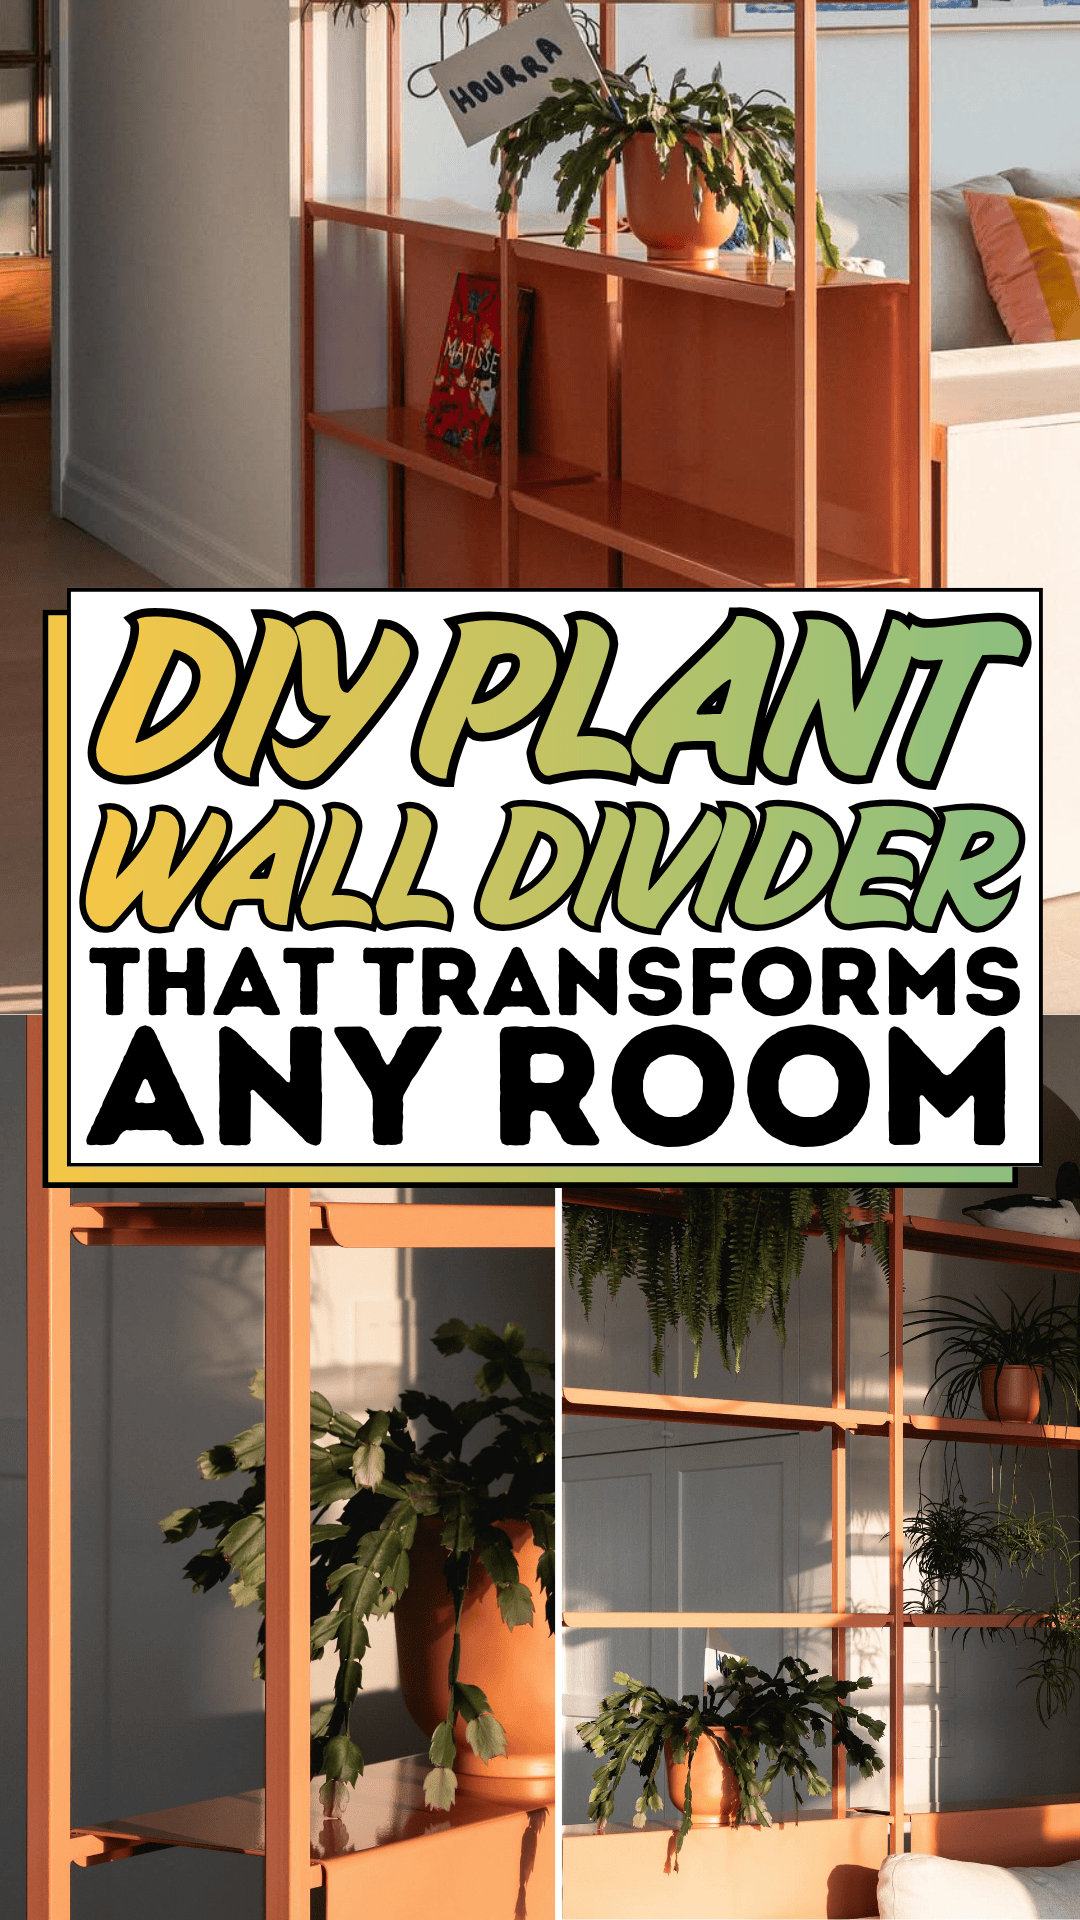
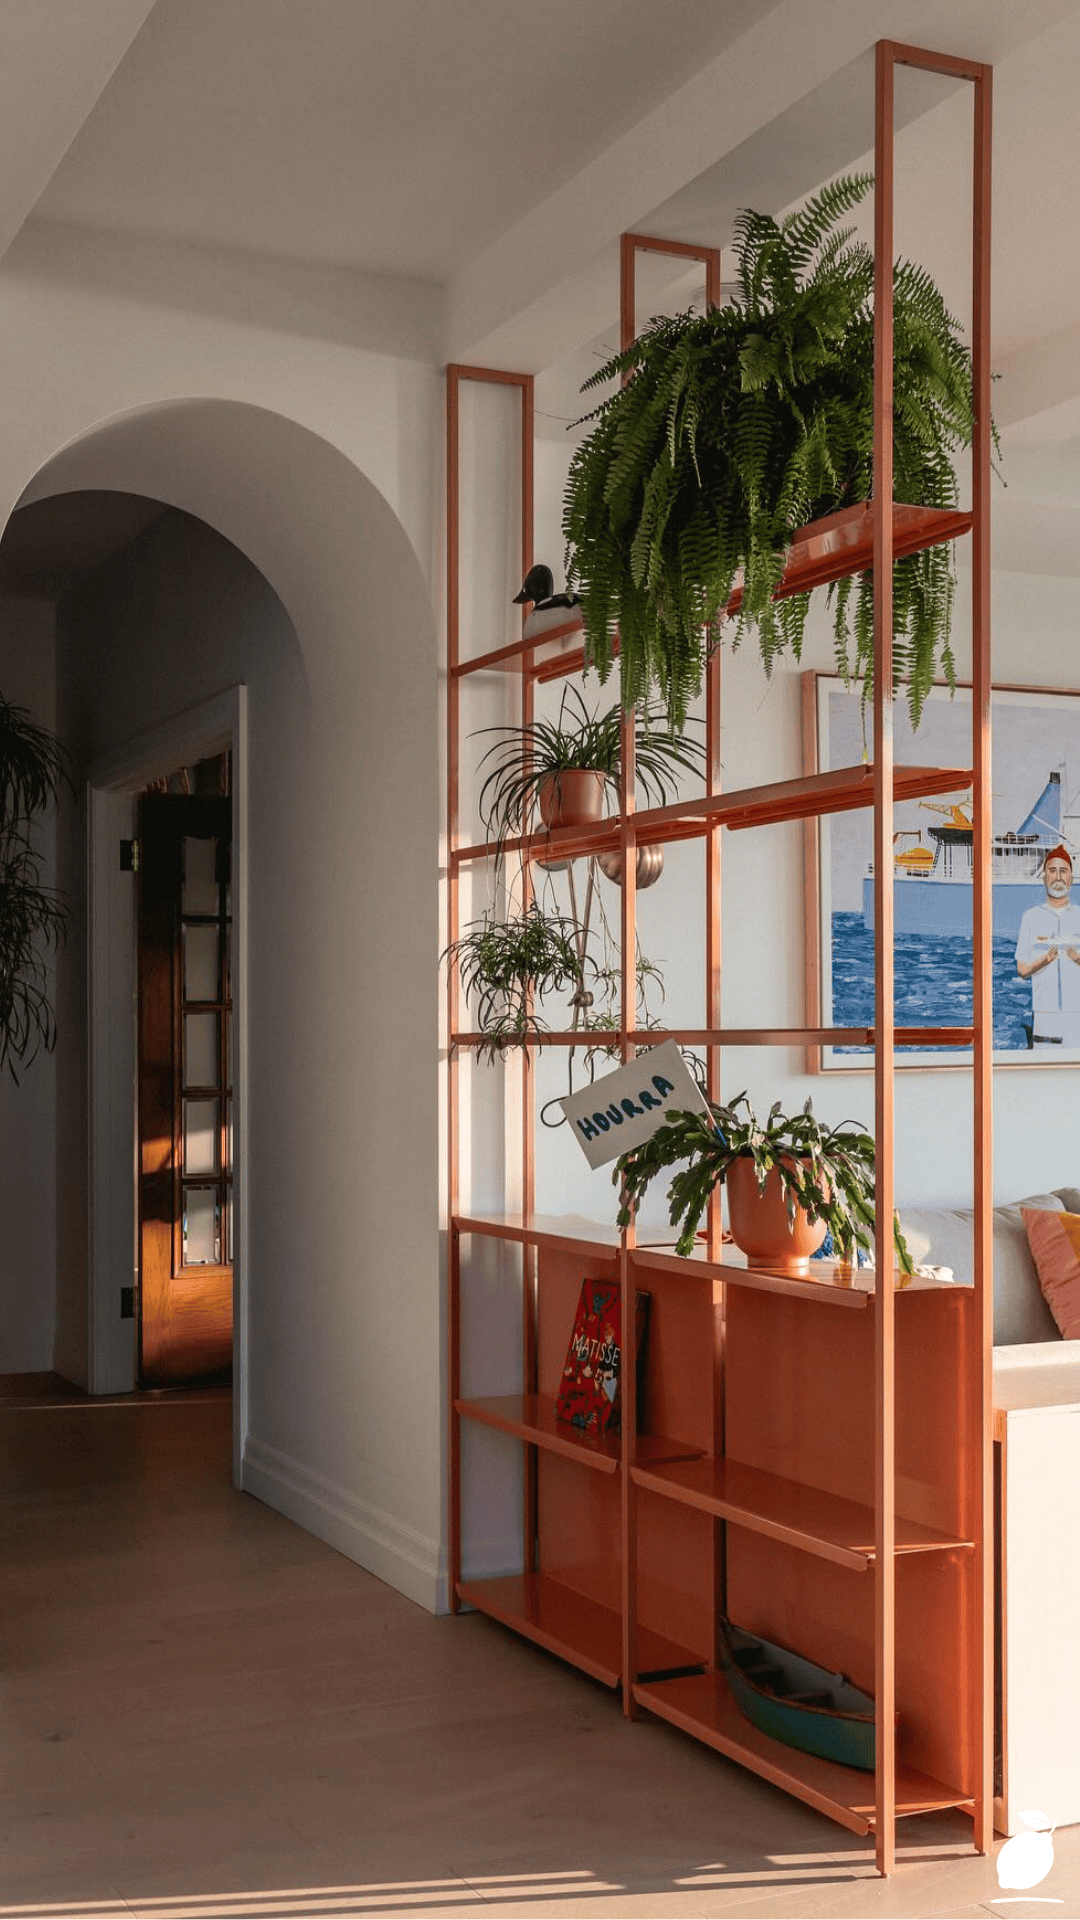
A DIY plant wall divider is the solution to this problem that requires neither structural work nor a significant budget, and it produces something that a conventional room divider, a bookcase, a curtain rail, or a folding screen cannot: a living, breathing, light-responsive boundary that feels natural rather than imposed. The peach-colored shelving unit in the image above demonstrates the principle with quiet authority. A tall vertical structure with plants at every level a hanging fern at the top, potted plants on the shelves below- and the sunlight moving through the foliage to cast shadows on the wall behind creates a defined zone that reads as part of the room’s design rather than as an afterthought partition. It divides space while simultaneously enriching it. The room doesn’t lose anything to the divider. It gains a feature.
What makes a DIY plant wall divider different from simply adding a shelf with plants on it is the intentionality of its structure: its height, its depth, its positioning within the room’s spatial logic, and the specific plant choices that allow it to function as a visual screen rather than merely a display surface. This guide covers every step of designing, building, and planting a DIY plant wall divider that achieves the quality of the featured image in your own home: a vertical structure that transforms the room it occupies without a single nail driven into a structural wall.
The DIY Plant Wall Divider Blueprint
Step 1: Identify the Spatial Problem the DIY Plant Wall Divider Will Solve
Before selecting materials or plants for a DIY plant wall divider, define precisely which spatial problem it is solving because the divider’s dimensions, position, and structure depend on the function it is designed to perform. A DIY plant wall divider used to create a sense of separation between a living zone and a dining zone in an open-plan space requires a different configuration than one used to define a home office corner in a bedroom, which requires a different approach again than one used as a decorative feature wall in a single room.
The three primary functions of a DIY plant wall divider are: visual separation (creating the sense of two distinct spaces without fully blocking sight lines between them), acoustic softening (reducing the sense of noise and activity from one zone penetrating another), and decorative anchoring (creating a vertical focal point that gives a room its visual center of gravity). Determine which of these functions is primary for your specific space, and which are secondary. The primary function determines the divider’s height, opacity, and position; the secondary functions influence the plant selection and the shelving configuration.
For the DIY plant wall divider in the featured image, the primary function appears to be decorative anchoring and zone definition. The tall peach structure beside a white door creates a vertical element that gives the corner of the room a sense of intentional design and creates a visual boundary between the door zone and the room’s interior. Understanding this function before building prevents the most common DIY plant wall divider design error: building a structure too short, too narrow, or in the wrong position to perform the spatial function it was supposed to address.
Step 2: Choose the DIY Plant Wall Divider Structure
The structural format of a DIY plant wall divider determines how it is built, how it is positioned in the room, and what level of construction skill and budget the project requires. The three most common and most practically effective structural formats are a freestanding shelving unit, a modular cube grid, and a timber ladder shelf.
The freestanding shelving unit, the format shown in the featured image, is the most stable and the most storage-generous of the DIY plant wall divider structures. A tall, deep shelving unit (minimum 180cm in height, 35 to 45cm in depth) filled with plants at every level creates the most convincing visual screen because the depth of the shelving accommodates larger plant specimens and the solid back panel creates a defined visual background against which the plants read clearly. This format can be purchased as a flat-pack unit and painted in a custom color; the peach of the featured unit is achievable with chalk paint applied before assembly or built from scratch using standard timber shelving components.
A modular cube grid, an open-frame configuration of square cubes arranged in a 2×4 or 2×5 pattern, provides the lightest visual and most contemporary DIY plant wall divider aesthetic. Without a solid back panel, a cube grid divider allows light to pass through from both sides while still creating a defined visual boundary through the alternating filled and open cubes. Plants in the filled positions and trailing plants cascading from upper cubes into lower ones create the layered vertical garden effect that makes a cube grid divider feel designed.
A timber ladder shelf, a leaning ladder structure with horizontal rungs at intervals, is the most accessible DIY plant wall divider build for makers without power tools. Two timber uprights leaned against a wall at a slight angle with horizontal rungs screwed between them create a ladder shelf that can accommodate a plant on every rung. Its limitation as a divider is its narrow footprint; it functions better as a DIY plant wall divider accent at the edge of a zone than as a mid-room divider.
Step 3: Select and Prepare the Materials
For a freestanding shelving unit DIY plant wall divider of the type shown in the featured image, the materials required are straightforward: the shelving unit itself (purchased flat-pack or constructed from 18mm plywood or MDF panels), chalk paint or furniture paint in the chosen color, primer appropriate to the material, a paintbrush and small roller, sandpaper in 120 and 220 grit, and any additional hardware required for the plant display S-hooks for hanging plants, small brackets for shelf edge mounting, and anti-tip furniture anchors for wall-securing the unit to prevent tipping.
For a painted DIY plant wall divider in chalk paint, the preparation sequence is: sand all panels lightly with 120-grit to key the surface, wipe clean, apply chalk paint with a brush in two thin coats, allowing full drying between, sand lightly with 220-grit between coats for a smooth finish, and apply a clear wax or matte topcoat for durability. Chalk paint adheres to laminate surfaces without primer, making it the most accessible paint choice for flat-pack shelving units being repurposed as DIY plant wall dividers.
The peach color of the featured image is achievable by mixing a standard terracotta or warm coral chalk paint with a small amount of white to lighten it to the warm, muted peach tone visible in the photograph. Test the mixed color on a scrap board before applying to the unit; the dried color will be slightly lighter than the wet application, and the balance between terracotta depth and white lightness needs to be confirmed before committing to the full unit.
Step 4: Position the DIY Plant Wall Divider in the Room
The position of a DIY plant wall divider within a room is as significant to its success as the structure’s design and the plant selection. A divider placed in the wrong position either fails to perform its spatial function or creates an obstacle that disrupts the room’s natural circulation patterns, both of which undermine the investment of building it.
Position the DIY plant wall divider perpendicular to the room’s primary circulation line, the path between the room’s entrance and its primary seating or working zone. A divider parallel to the circulation line creates a visual separation at the room’s side but does not create the sense of distinct zones that a perpendicular placement produces. For a DIY plant wall divider used to separate a home office corner from a bedroom, position the divider between the desk and the bed with the open face of the shelving toward the bed, allowing the aesthetic benefit of the plants to be enjoyed from the resting position.
Ensure the DIY plant wall divider can be anchored to the wall behind it at the unit’s rear-top position using anti-tip furniture anchors. A tall shelving unit loaded with plants and pots is significantly heavier than an empty unit, and the combined weight of the plants and the top-heavy nature of a tall structure makes wall anchoring a safety requirement rather than an optional finishing step. In rental properties where wall anchoring isn’t permitted, position the DIY plant wall divider against an existing piece of furniture at its rear for stability, or choose a ladder shelf format that leans against a wall by design.
Step 5: Select the Plants for the DIY Plant Wall Divider
Plant selection is the step that transforms a painted shelving unit into a DIY plant wall divider; the plants are what make the structure alive, what create the visual screen, and what give the divider its specific character of warmth and naturalism that no non-planted room divider can produce.
The plant selection for a DIY plant wall divider should address three visual positions simultaneously: trailing plants from the upper shelves that cascade downward and soften the divider’s architectural lines, mid-height plants on the middle shelves that provide the main visual mass of the plant display, and low-growing or compact plants on the lower shelves that anchor the base and connect the divider visually to the floor level.
For the hanging fern and potted plant combination visible in the featured image, the trailing position is occupied by a hanging fern, most likely a Boston fern (Nephrolepis exaltata) or a similar pendant-habit fern whose long, arching fronds create the downward cascade that softens the top of the shelving unit. For the middle and lower positions, plants that tolerate the variable light conditions of an indoor room divider, including lower light levels on the shelving unit’s interior-facing side, are the most practical choices: pothos, philodendron, peace lily, ZZ plant, and Chinese evergreen all perform reliably in the mixed light conditions that a room-dividing structure creates.
Step 6: Style and Finish the DIY Plant Wall Divider
With the structure positioned and the plants placed, the final step is the styling and finishing that elevates the DIY plant wall divider from a functional object to a room feature. The featured image includes a decorative duck figure on one of the shelves, a personal, non-plant element that breaks the uniformity of the plant display and adds a humanizing detail that communicates the space’s personality rather than purely its botanical content.
Every DIY plant wall divider benefits from at least one non-plant decorative element introduced into the display: a small ceramic figure, a framed print leaning against the shelf back, a woven basket used as a pot holder, a small stack of books in colors that complement the divider’s paint color. These elements perform the same function in the plant display that accent colors perform in a room palette: they create visual variety within a dominant theme and signal that the display was arranged with thought rather than simply filled with plants.
Add pot holders and containers in consistent materials across all shelving positions: terracotta, white ceramic, woven rattan, rather than a mix of plastic nursery pots and mismatched containers. Container consistency is the single most effective styling decision for a DIY plant wall divider because it creates visual coherence across the display that makes the unit read as a designed feature rather than an accumulation of individual plant purchases.
Expert Secrets for Success
Pro-Tips for a Better Result
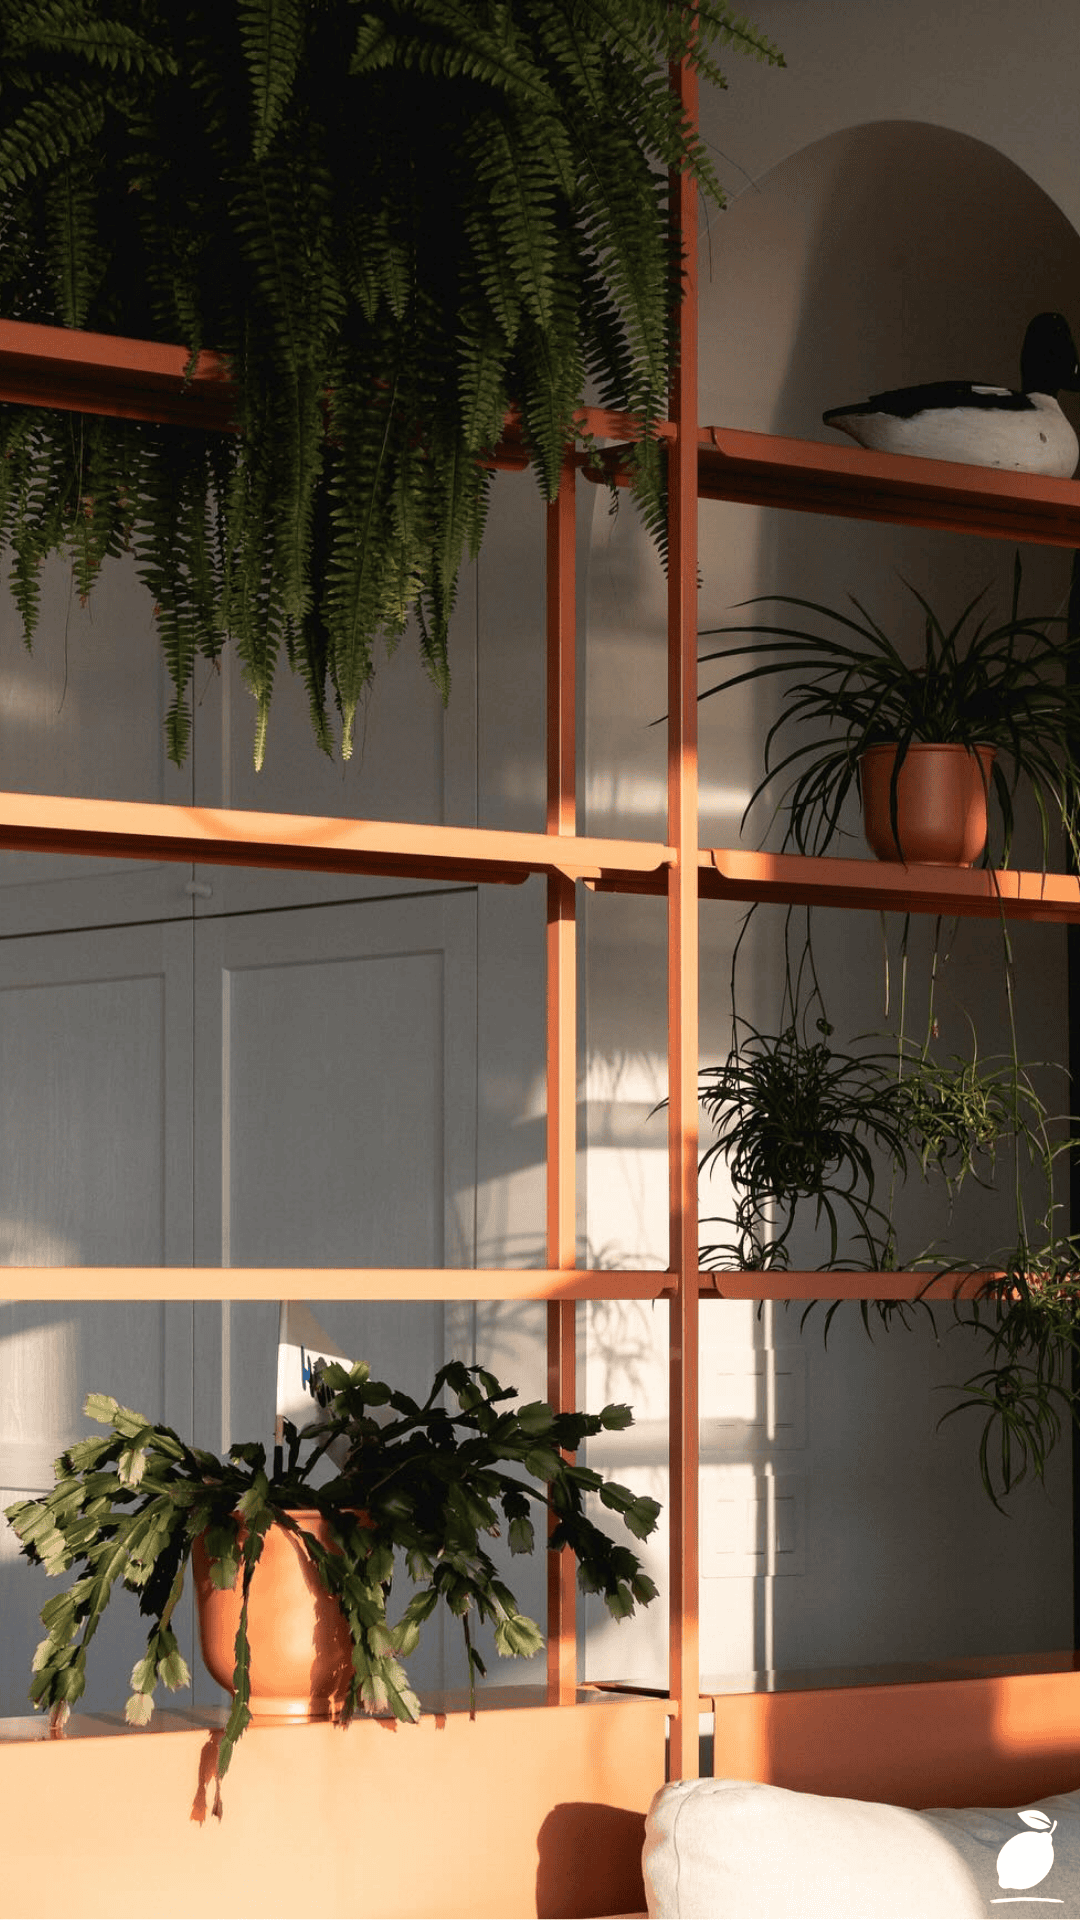
Install grow lights at the back of upper shelves for plants on the divider’s low-light side. A DIY plant wall divider positioned mid-room creates a zone where the shelves on the room’s north or interior-facing side receive significantly less natural light than those on the south or window-facing side. Small clip-on LED grow lights attached to the back panel of the upper shelves running on a timer for twelve hours per day provide the supplemental light that allows plants on the low-light side to perform as well as those in the natural light zone. This is the single most impactful accessory investment for a mid-room DIY plant wall divider, and it extends the range of plants that can be successfully grown on the divider.
Use lightweight pots for upper shelf positions. The weight distribution of a heavily planted DIY plant wall divider is a genuine structural consideration; concentrated weight on upper shelves raises the center of gravity of the unit and increases tip-forward risk. Use lightweight terracotta alternatives (resin or fiberglass pots in terracotta finishes) for upper shelf positions, reserving heavier ceramic containers for floor-level and lower shelf positions where the weight contributes to the unit’s stability rather than compromising it.
Group plants in odd numbers within each shelf position. The styling principle of odd-number grouping three small pots rather than two or four, five trailing plants rather than six applies directly to DIY plant wall divider shelf styling. Odd-number groupings read as organic and natural; even-number groupings read as symmetrical and formal. For a DIY plant wall divider where the goal is naturalistic, living abundance, odd-number groupings at every shelf level produce the most successful visual result.
Common Mistakes to Avoid
Don’t choose plants for the DIY plant wall divider based on their appearance in the shop under ideal lighting. The light conditions in a garden center or plant shop are typically far higher than those on the interior-facing side of a mid-room DIY plant wall divider, and plants chosen purely for their appearance in high-light retail conditions may deteriorate significantly in the lower-light conditions of the divider’s position. Always select plants for a DIY plant wall divider based on their documented tolerance for the specific light level the divider’s position will provide, not their appearance under shop lights.
Don’t neglect watering consistency because the plants are on a high shelf. The upper shelf positions of a DIY plant wall divider are the least convenient to water and the most frequently underwatered as a result. Underwatered plants on the upper shelves are the most visually prominent positions in the divider, and their deterioration undermines the whole composition’s quality. Establish a weekly watering schedule that addresses every shelf level systematically, top to bottom, rather than watering opportunistically when a plant happens to look dry.
Don’t underestimate the visual weight required for the divider to function as a screen. A DIY plant wall divider with sparse planting one or two small plants per shelf with significant space visible between them reads as a shelf with plants rather than as a visual divider. For the divider to create the spatial separation that justifies its position in the room, the planting must be dense enough that the shelving structure itself recedes behind the foliage and what reads from across the room is the green visual plane rather than the individual shelf elements. Build toward this density progressively, adding plants as budget allows rather than positioning the divider at sparse planting density and expecting it to function as a screen.
Why DIY Plant Wall Divider Matters
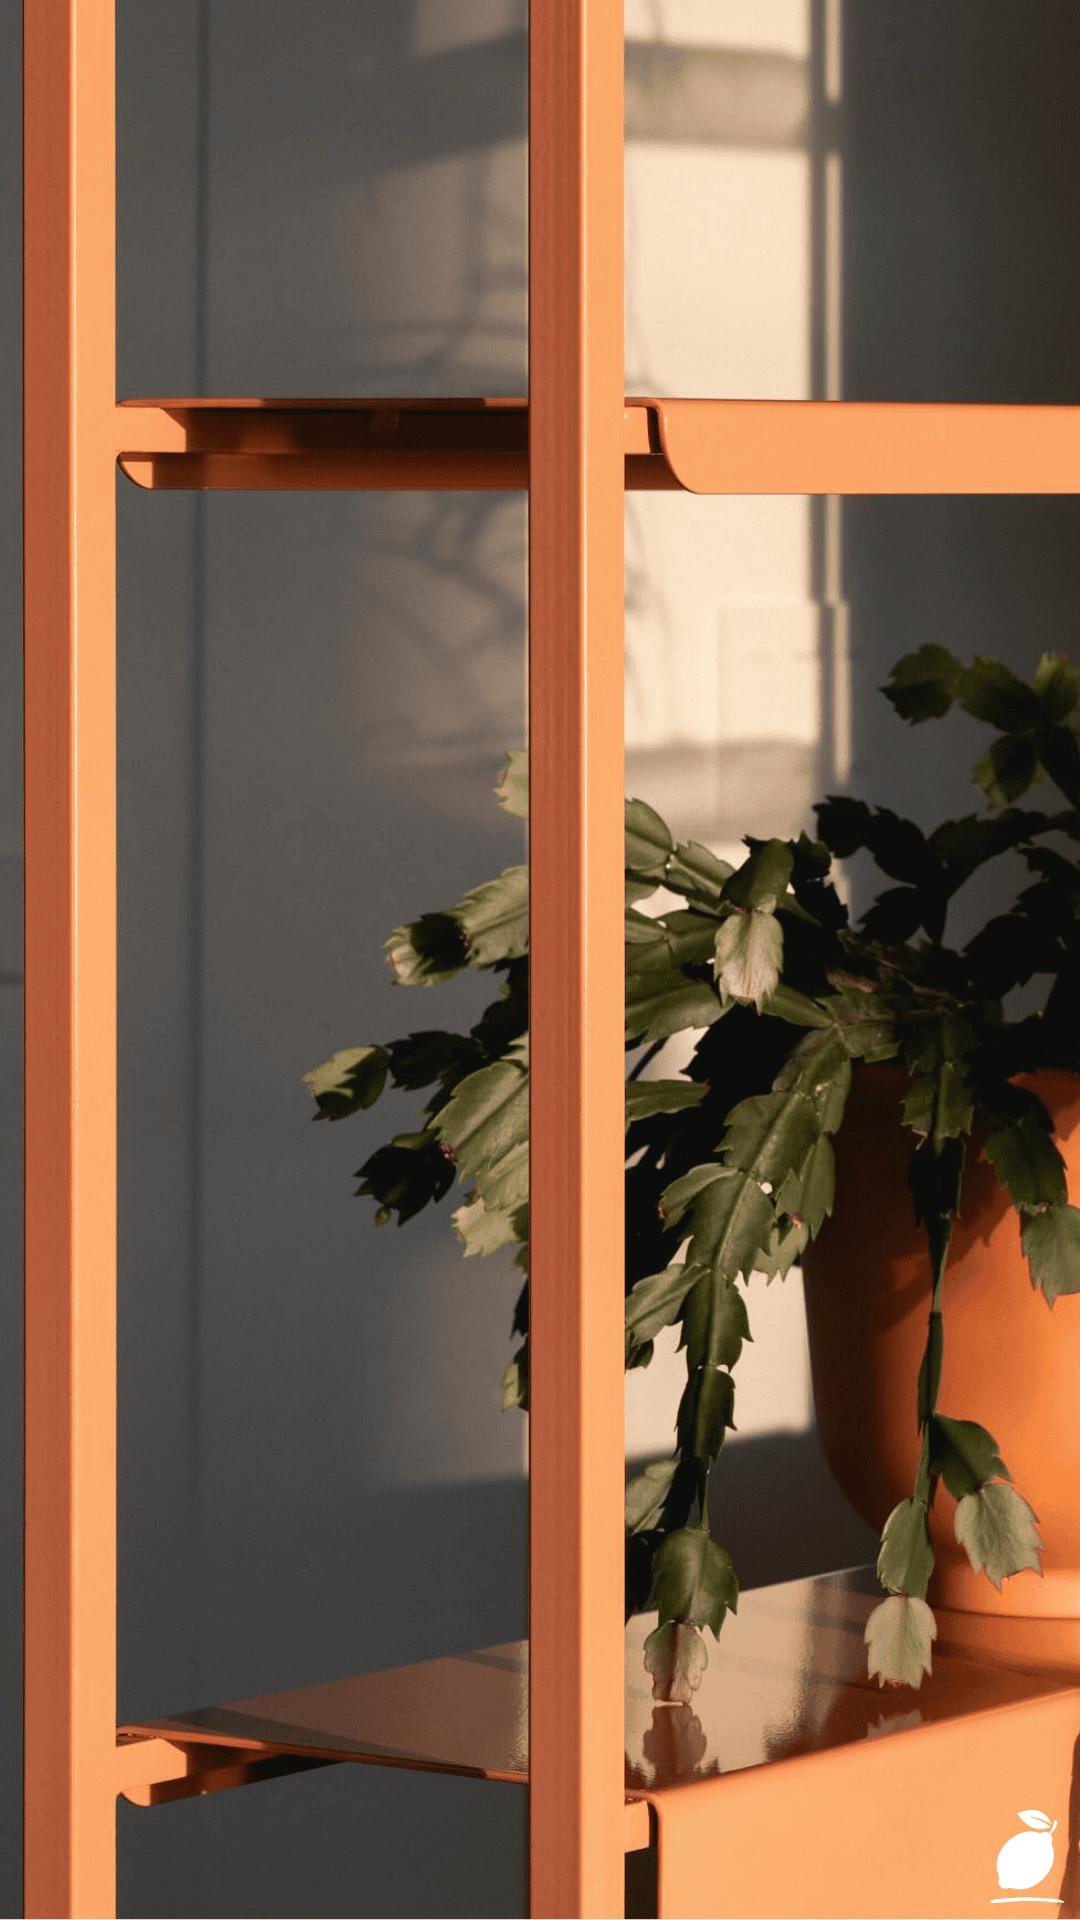
There is a quality to a room that is divided with purpose where different activities have their own zone, their own visual context, their own sense of belonging to a specific part of the space that profoundly affects how the household functions within it. Research in environmental psychology identifies spatial definition the degree to which a space provides clear zones for distinct activities as a significant predictor of productivity, mood, and the quality of rest available in a domestic environment. A home office corner defined by a DIY plant wall divider is not the same psychological space as a desk pushed into a corner of an undivided bedroom. The divider creates a context, and the context changes how the activity conducted within it is experienced.
For families sharing open-plan living spaces, the DIY plant wall divider’s contribution extends beyond individual zone definition into the quality of shared domestic life. A visual boundary between the homework table and the adult conversation space doesn’t just make the homework table feel more focused; it makes the conversation space feel more private, more adult, more genuinely relaxing. These small spatial distinctions accumulate into a home environment that accommodates everyone’s different needs simultaneously rather than requiring each need to be deferred until another zone is vacated. The family that can study, work, and rest in the same open-plan space without conflict is the family whose open-plan space has been intelligently divided.
Easy Peasy Life Matters is built on the conviction that small, intentional home improvements things that take a weekend, that cost a fraction of a renovation, that require nothing more than clarity of purpose and a willingness to try compound into a home environment that genuinely supports the people living in it. A DIY plant wall divider is exactly that kind of improvement: visually beautiful, spatially functional, and achievable by anyone willing to spend a Saturday afternoon building something that will change how the room feels every day of the week after.
Frequently Asked Questions
What is the best plant for a DIY plant wall divider with low light?
The most reliably successful low-light plant for a DIY plant wall divider is the ZZ plant (Zamioculcas zamiifolia), which tolerates near-darkness and months of underwatering with remarkable equanimity, making it the most forgiving choice for the low-light side of a mid-room divider. Pothos (Epipremnum aureum) is the best choice for a trailing cascading effect in low light, covering upper shelf positions with long, variegated vines that can be directed downward over the shelf edge for visual impact. Peace lily (Spathiphyllum) provides flowers and broad leaves in low-light conditions and is one of the few DIY plant wall divider plants that blooms without direct sunlight.
How do I prevent water from dripping through a DIY plant wall divider onto the floor?
The most effective water management approach for a DIY plant wall divider is to use self-watering pots or pots with integral saucers at every shelf position saucers that catch drainage water and allow the plant to draw moisture back upward as needed, preventing floor drips entirely. For hanging ferns and cascading plants at upper shelf positions, use a decorative pot holder with a watertight lining beneath the nursery pot. Water all DIY plant wall divider plants directly over their pot, not over the shelf surface, and use a long-spouted watering can that allows precise water delivery to the soil surface without splashing.
Can I build a DIY plant wall divider in a rental without making wall holes?
Yes, a freestanding DIY plant wall divider that doesn’t require wall anchoring is achievable by choosing a unit with a wide, stable footprint relative to its height, keeping the heaviest plants at the lowest shelf positions to lower the center of gravity, and positioning the unit against or very close to an existing piece of furniture that provides rear bracing. Ladder shelf format dividers lean against the wall by design and typically require no anchoring. Any DIY plant wall divider intended for a rental should be assessed for stability with the maximum anticipated plant load before relying on it as a room feature, and any structural concerns should be resolved through additional weighted ballast at the base rather than wall anchoring.
How often should I rotate plants on a DIY plant wall divider?
Plants on a DIY plant wall divider should be rotated quarterly, turned 180 degrees in their pots and, where possible, moved between higher and lower light positions within the unit. The rotation in the pot ensures even foliage development on all sides of the plant (plants grow toward the light and develop uneven, one-sided growth without rotation). The position rotation between light and shaded shelves gives plants in lower light positions a period of higher light recovery that maintains their health across the full year. Some plants, particularly those adapted to very low light, may not benefit from the brighter positions and can remain in place; observe each plant’s response to its position and adjust based on its performance rather than applying a rigid rotation schedule.







