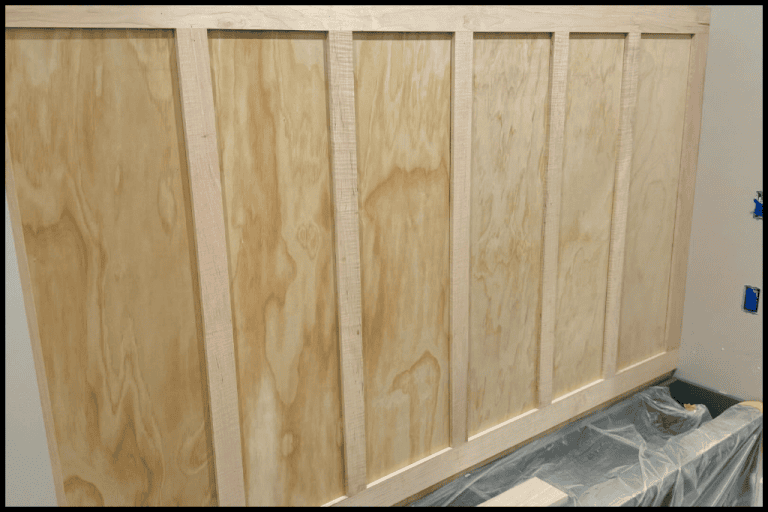
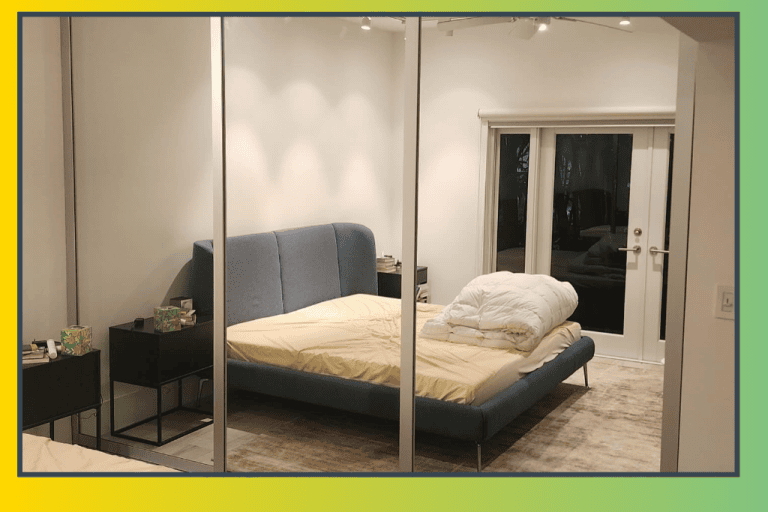
Our mudroom used to be a shoe graveyard. Sneakers, boots, and cleats piled up in a heap by the back door, no matter how many times I bought a new shoe rack or begged everyone to “just put them away.” There was nowhere to actually sit down and put shoes on properly, so nobody bothered; they just kicked them off wherever they landed and left them there. It was the first thing you saw walking in, and it never once looked intentional.
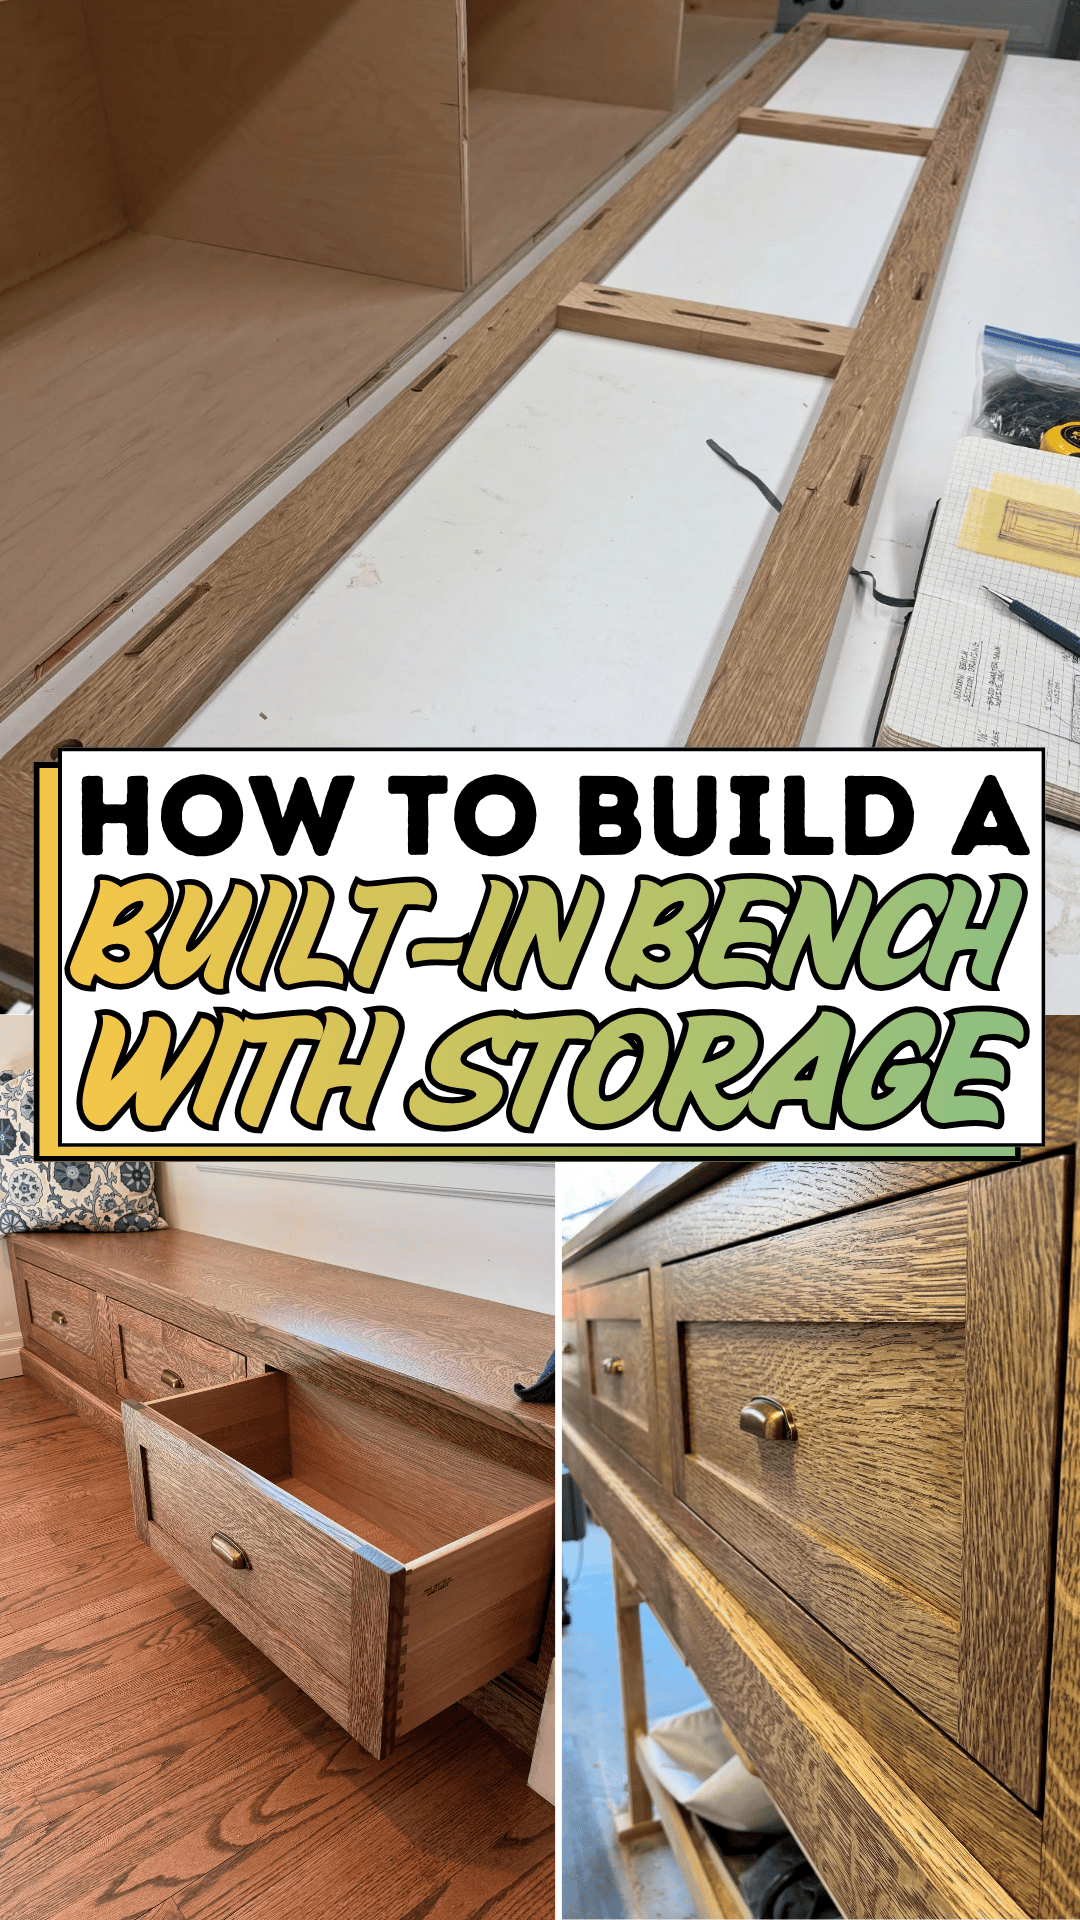
If you’ve ever had a space like that an entryway, mudroom, or awkward corner that collects clutter no matter what you do you know the frustration isn’t really about the mess itself. It’s about not having a system built into the space that actually supports how your family uses it. Baskets and hooks help a little, but they don’t solve the real problem: there’s often nowhere to sit, and nowhere obvious to put things away, so everything just accumulates on the floor instead.
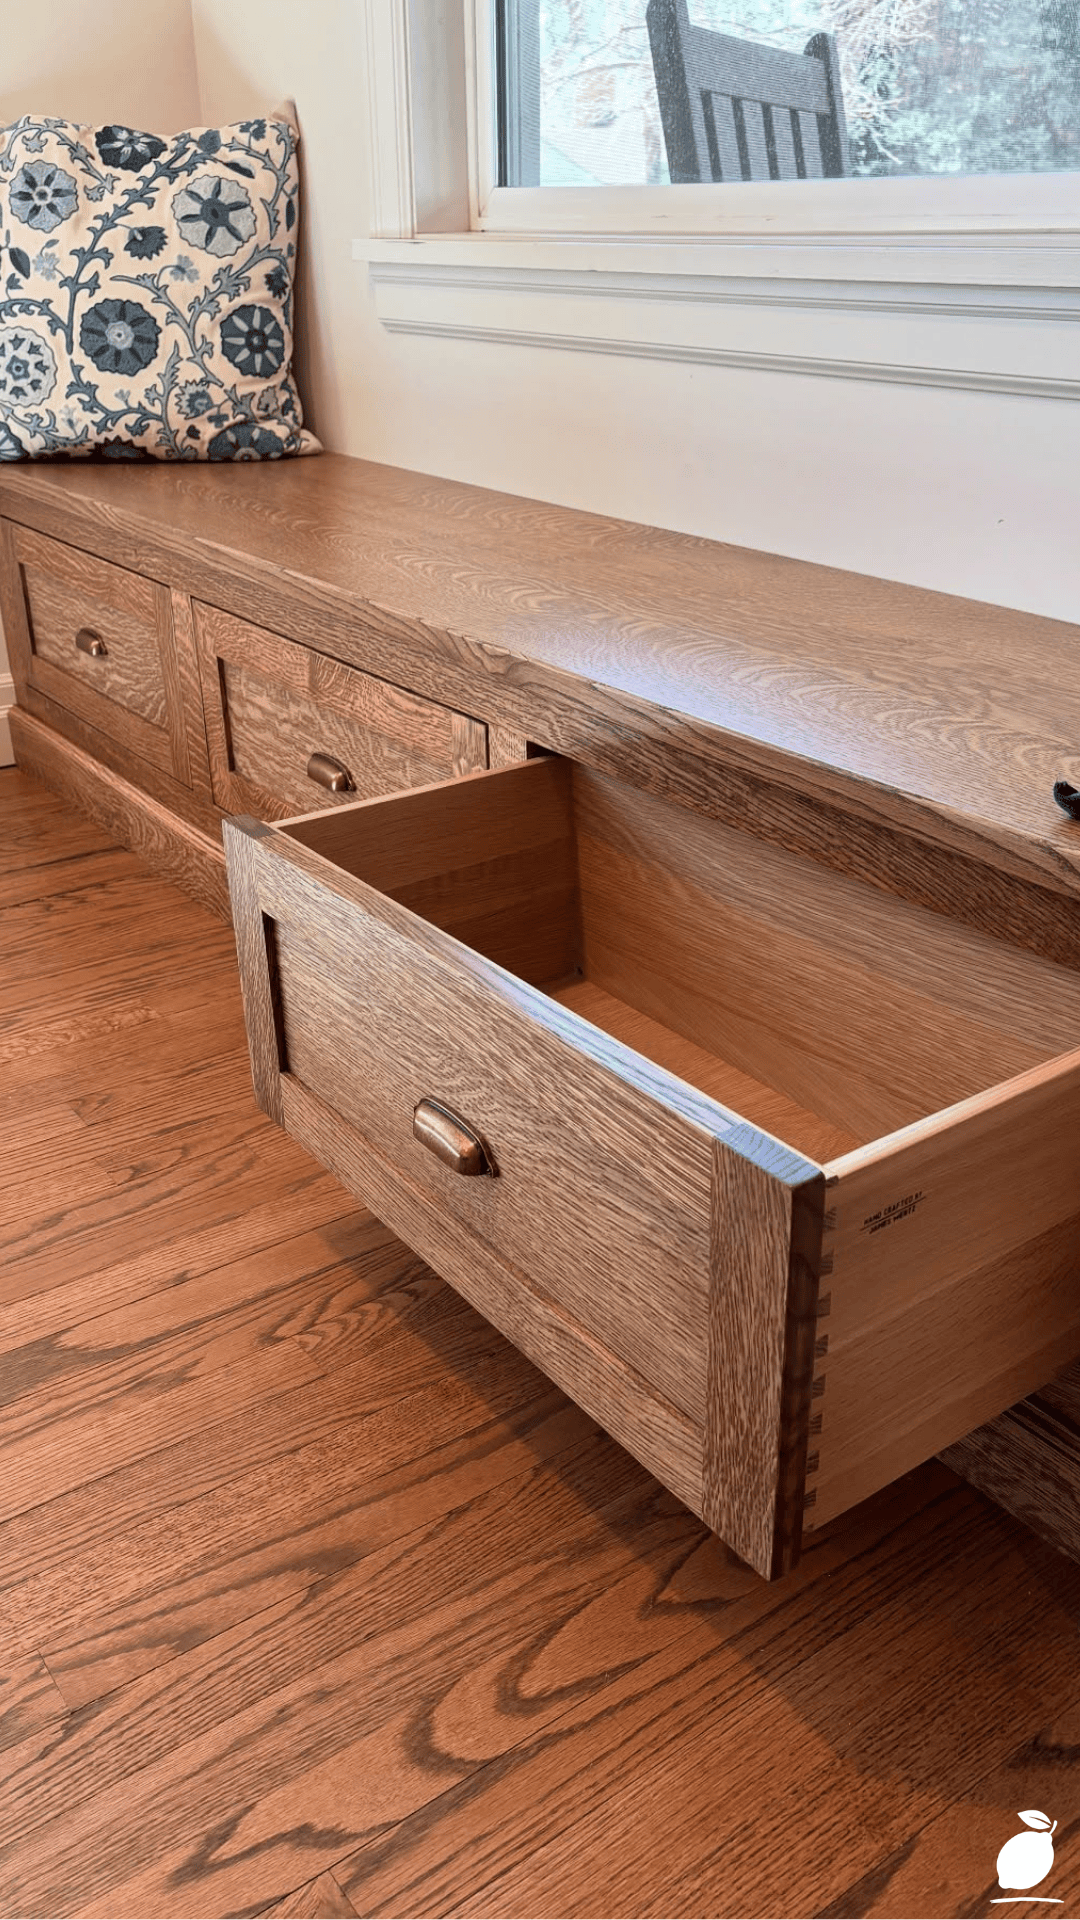
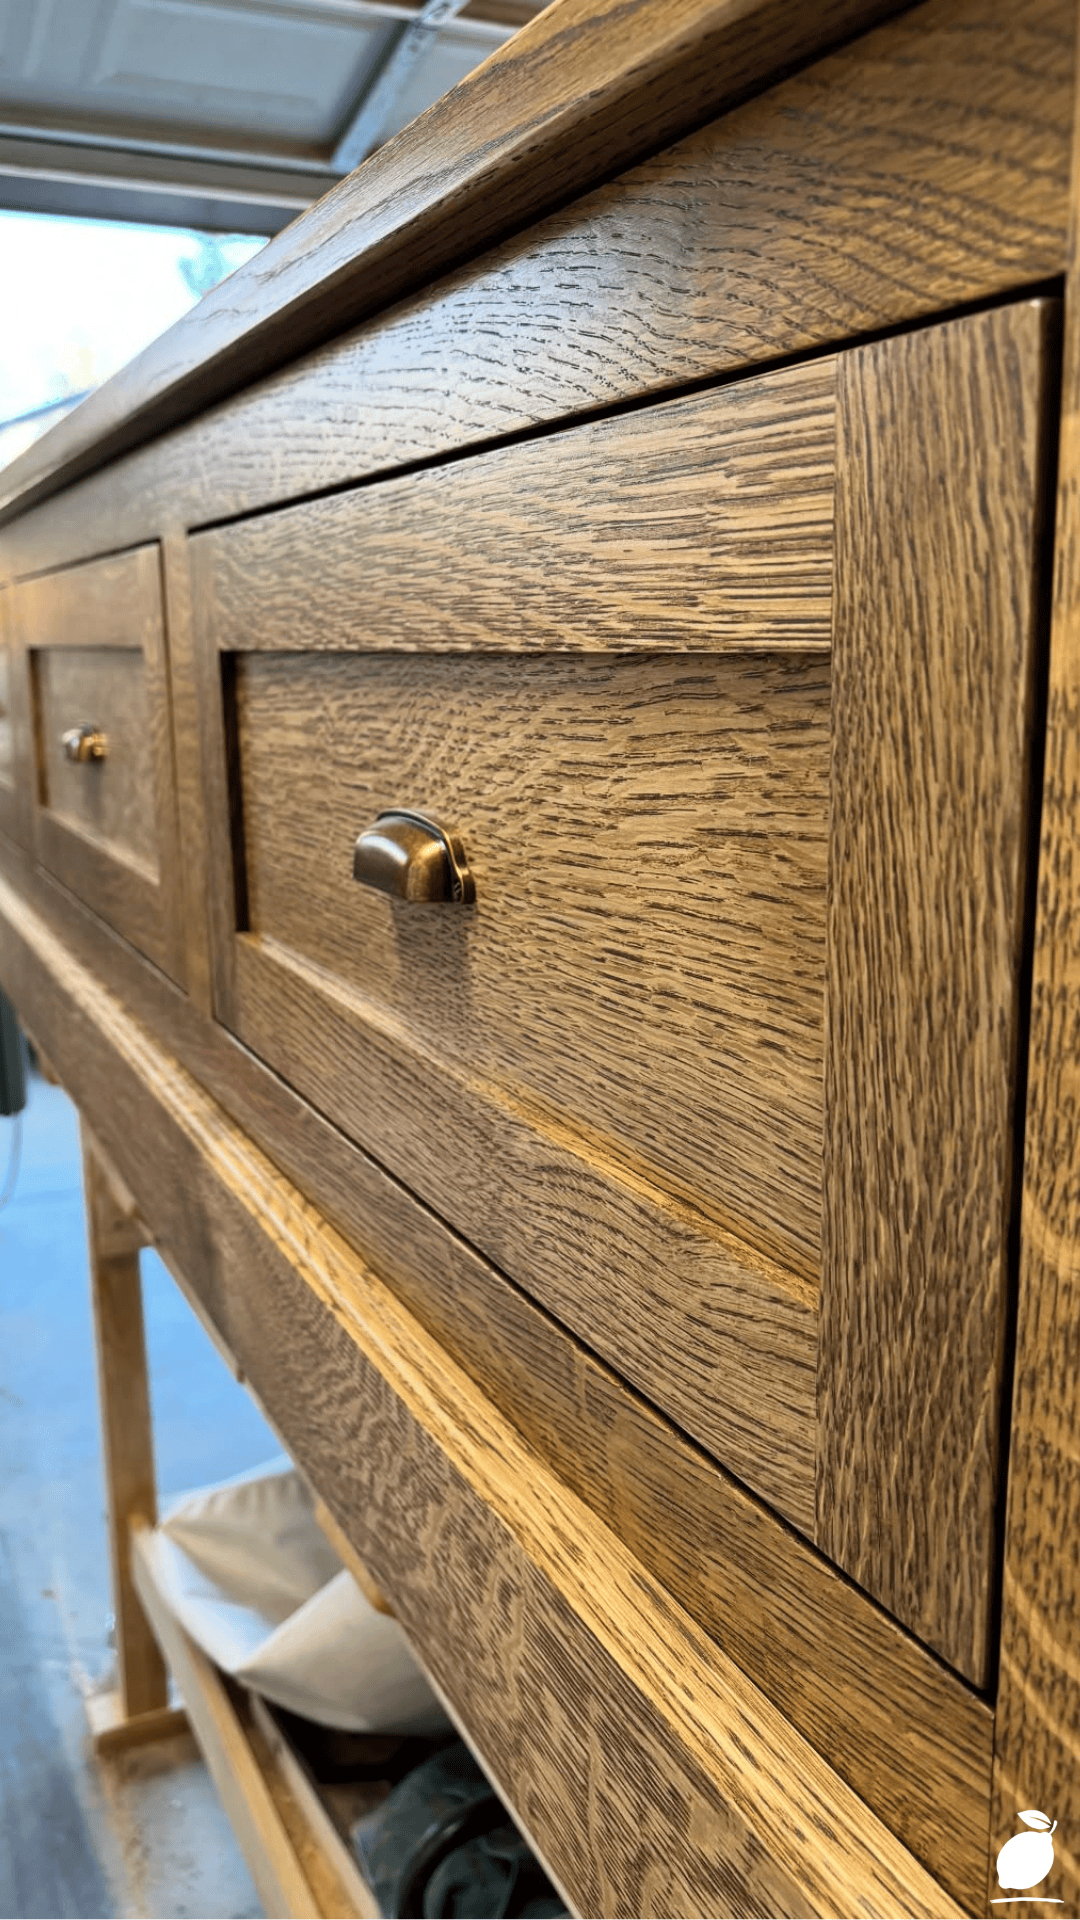
That clicked for me while looking at a photo of a beautifully grained wooden cabinet with brass handles, sitting in a sunlit workshop not because it was a bench, exactly, but because of what it represented: solid, well-built storage that felt like real furniture, not an afterthought. It made me realize a built-in bench with storage could solve our mudroom chaos completely: a place to sit, and a place for everything to actually go. Here’s exactly how I built one.
The Built-in Bench Blueprint
Step 1: Measure and Plan Your Space
Measure the width, depth, and height of your intended bench area, accounting for doorways, baseboards, and any nearby fixtures. A standard bench seat height of 17-19 inches works well for most adults and matches typical dining chair heights.
Step 2: Sketch Your Design and Storage Layout
Decide whether you want lift-top storage, front-facing cubbies, drawers, or a combination. A built-in bench with a mix of open cubbies above and closed storage below often offers the most everyday functionality for a busy entryway.
Step 3: Gather Materials and Tools
You’ll need plywood or solid wood for the frame and seat, a hinge kit if including lift-top storage, wood screws, wood glue, a saw, drill, and finishing materials like paint, stain, or sealant. Choose materials rated for your bench’s location; moisture-resistant options are worth it for entryways or mudrooms.
Step 4: Build the Base Frame
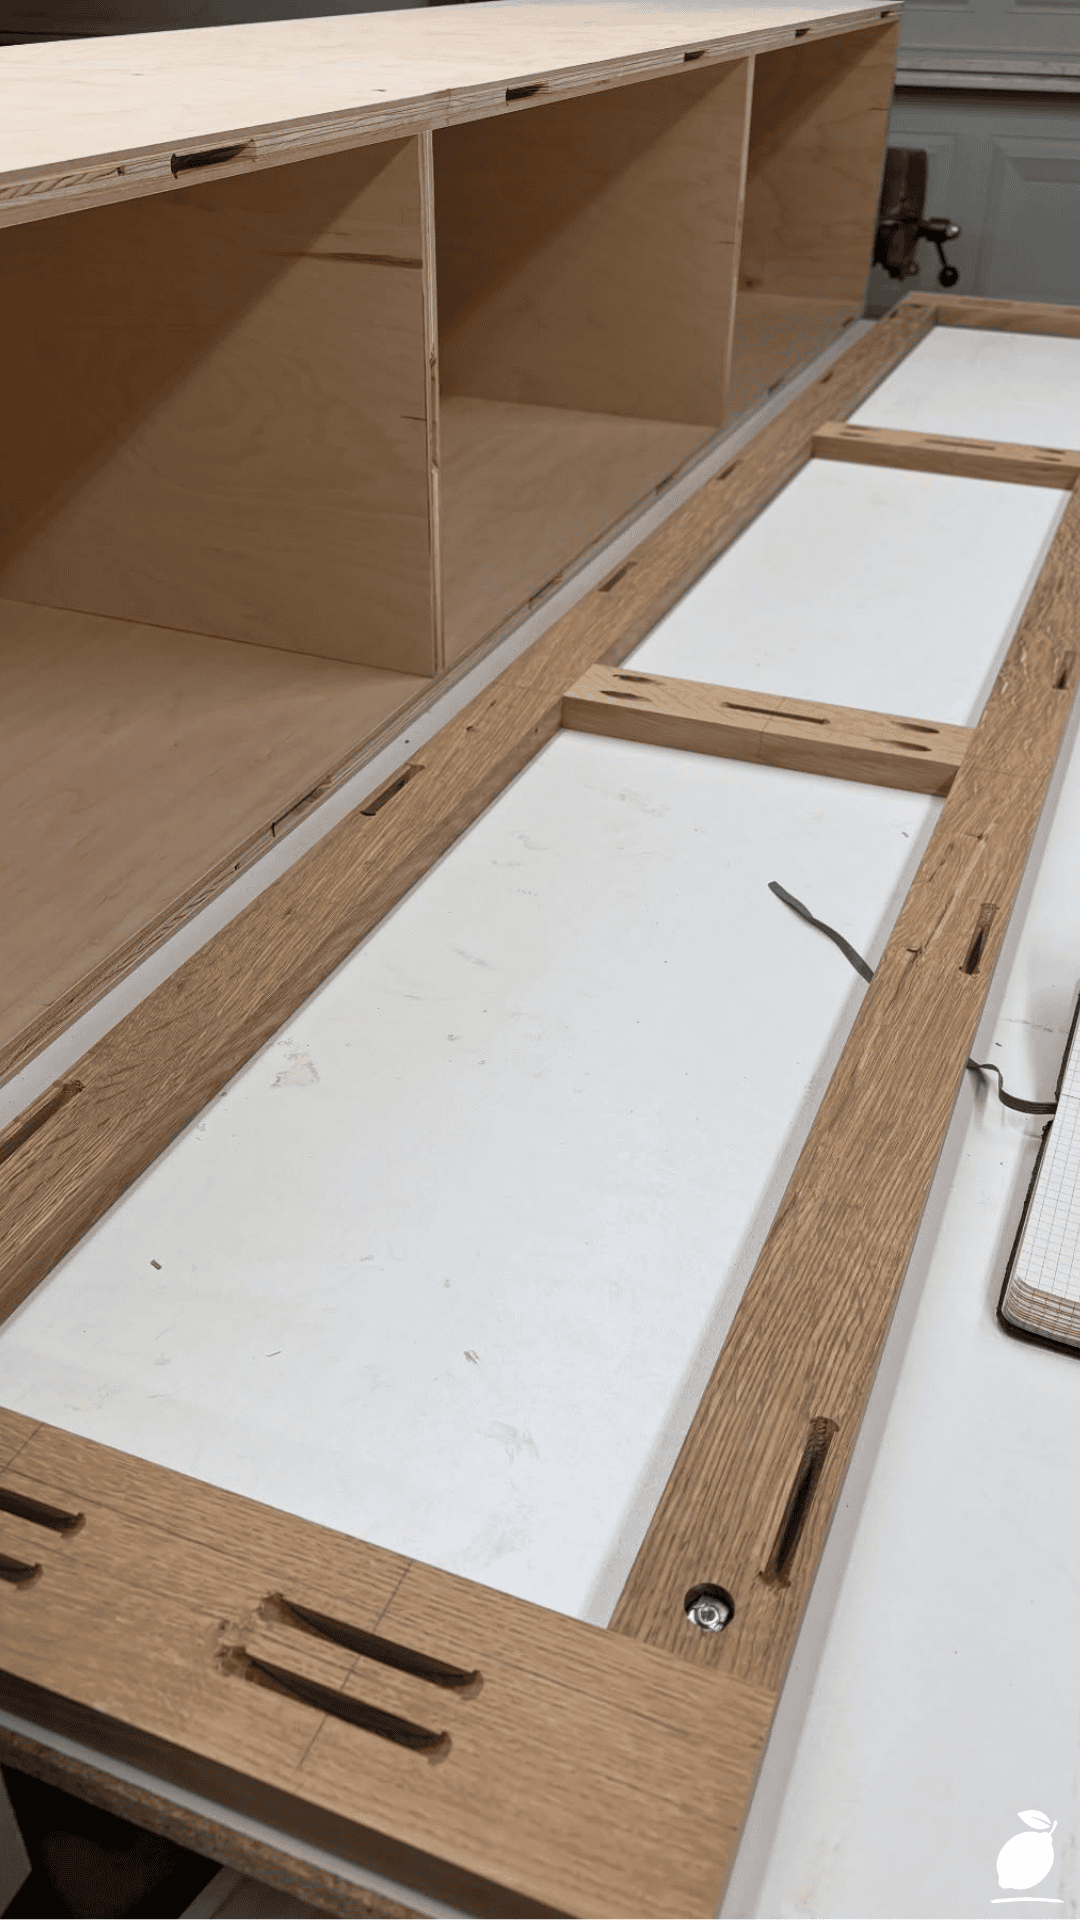
Construct a simple rectangular frame using 2x4s or plywood, sized to your measurements, to form the bench’s structural skeleton. This frame supports both the seat and any internal dividers for cubbies or drawers.
Step 5: Add Internal Dividers for Storage Sections
Install vertical or horizontal dividers within the frame to create individual storage compartments, whether for baskets, shoes, or drawer inserts. Plan divider spacing based on the specific items you intend to store.
Step 6: Attach the Seat and Any Lift-Top Mechanism
Secure the seat surface to the top of the frame, using piano hinges if you’re including lift-top access to interior storage. Test the hinge action multiple times before final installation to ensure smooth, safe operation.
Step 7: Sand and Finish the Wood
Sand all surfaces smooth, working through progressively finer grits, then apply your chosen finish paint, stain, or a clear sealant in thin, even coats. A quality finish protects the wood and gives the bench a polished, furniture-grade appearance.
Step 8: Install Hardware and Secure the Bench
Attach handles, knobs, or pulls to any drawers or doors, and anchor the bench to the wall if it’s tall or likely to be climbed on, especially in homes with children. A secured, finished bench is ready for its first real test: daily family use.
Expert Secrets for Success
Pro-Tips for a Better Result
- Choose plywood with a hardwood veneer for a furniture-quality look at a lower cost than solid hardwood throughout.
- Add a cushion or upholstered seat pad for comfort, especially if the bench will be used regularly for sitting to put on shoes.
- Use soft-close hinges for any lift-top storage sections to prevent slamming and protect small fingers.
- Prime and paint interior storage compartments in a lighter color than the exterior to make it easier to see contents at a glance.
Common Mistakes to Avoid
- Don’t skip the anchoring step if your built-in bench is tall or freestanding; unsecured furniture is a real tip-over risk, especially with kids climbing on it.
- Avoid choosing a seat height that’s too low or too high for comfortable use; test with an actual chair of similar height before finalizing your design.
- Don’t use raw, unfinished wood in high-moisture entryways; unsealed wood absorbs water and swells or warps over time.
- Resist skipping a design sketch before building; a built-in bench with storage is much harder to adjust after the frame is already assembled.
Why a Built-in Bench Matters
A cluttered entryway sets a stressful tone before anyone even fully steps inside the house. A built-in bench with storage solves that problem at its root, giving every family member a designated place to sit, remove shoes, and put belongings away, instead of leaving everything scattered across the floor. It’s a small structural change that has an outsized impact on daily calm.
There’s real satisfaction in building something functional with your own hands, especially something the whole family uses every single day. A built-in bench isn’t just storage — it’s a small, permanent fix to a recurring source of household friction. For families, that kind of quiet, lasting solution does more for daily peace than almost any other single home project.
FAQ
How much does it typically cost to build a built-in bench with storage?
Costs vary based on materials and size, but a basic DIY built-in bench using plywood and standard hardware can often be completed for a few hundred dollars, significantly less than custom furniture options.
What’s the best wood for a built-in bench in a mudroom or entryway?
Moisture-resistant options like sealed plywood, cedar, or properly finished hardwood work well in entryways, where exposure to wet shoes, boots, and seasonal weather is common.
Do I need advanced carpentry skills to build a built-in bench?
No — a basic built-in bench with simple storage cubbies is achievable for beginner-to-intermediate DIYers with access to standard tools like a saw, drill, and basic hardware.
How do I keep a built-in bench from being a tip-over hazard?
Anchor the bench to a wall stud using an L-bracket or furniture strap, especially if it’s freestanding, tall, or located in a home with young children who may climb on it.
Can I add a built-in bench to an existing space without major renovation?
Yes, most built-in benches with storage are designed to fit into existing entryways, mudrooms, or nooks without structural changes to the room itself, making them a manageable weekend project.