The boundary problem in most residential gardens is not about security or privacy in the technical sense; it is about the gap between the garden you have invested in and the perimeter that frames it. A beautiful garden bed, a well-maintained lawn, a considered planting scheme, and then at the edge of it all: a fence that was never really chosen, that came with the property or was installed under cost pressure, that does its boundary-defining job without contributing anything to the garden’s character. The garden reads as finished up to the fence line and then simply stops. The fence is not the feature; it is the absence of one.
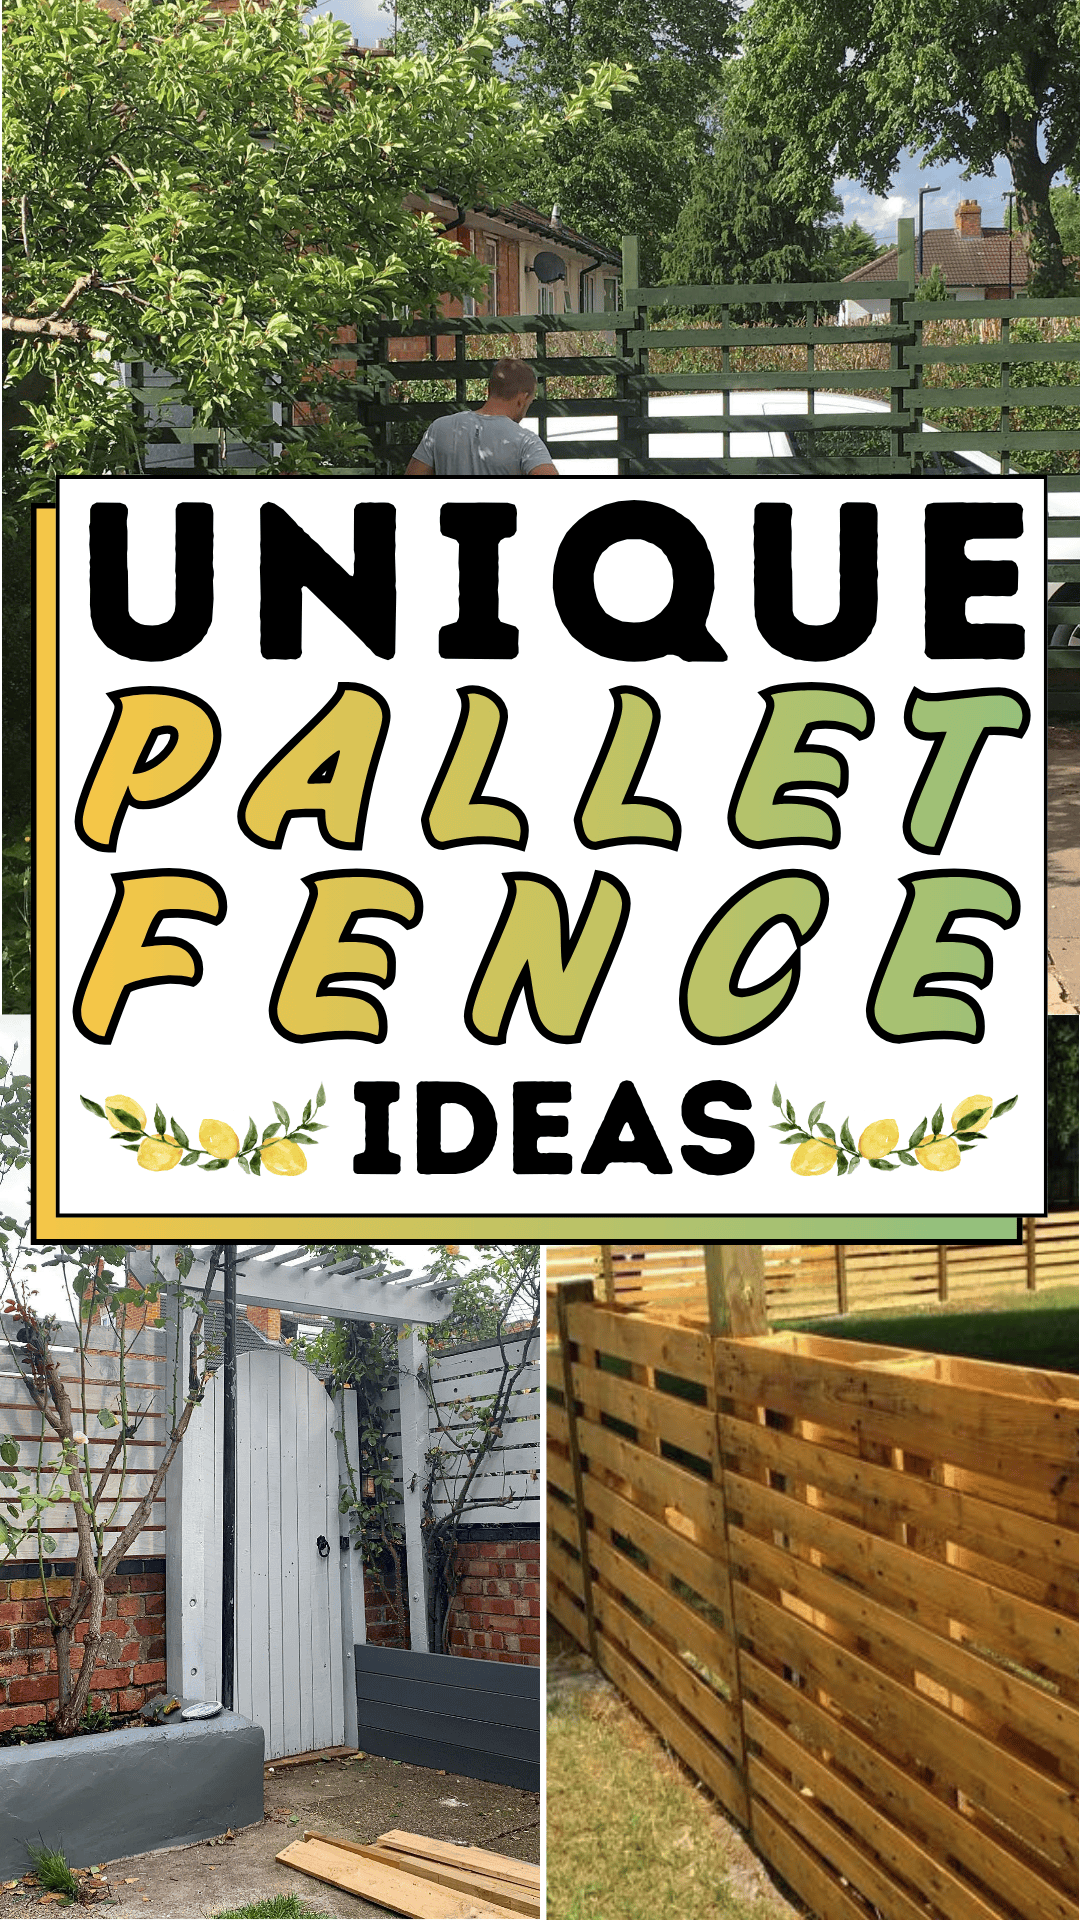
A pallet fence changes this dynamic in the most practically accessible and the most creatively satisfying way available in DIY home improvement. The image above shows the result: a green-painted pallet fence in a residential setting, distinctive against the paved ground and garden bed beside it, the kind of boundary element that a passerby notices and asks about rather than looking past. It was built from materials that were either free or very low cost, installed without specialist skills or specialist tools, and painted in a color that makes it a genuine design element in the property’s streetscape rather than a neutral backdrop. A man stands beside it assessing it with the specific satisfaction of someone who made a considered decision about a part of their home that most people don’t make decisions about at all.
Pallet fence ideas are among the most searched DIY boundary projects in 2026 precisely because they sit at the intersection of affordability, accessibility, and genuine creative freedom. Unlike conventional timber fencing, which offers limited design options within a significant budget, a pallet fence allows the builder to determine the height, the spacing, the orientation, the finish, and the character of the fence entirely, using materials that are widely available at little or no cost. The result is a boundary that is genuinely unique to the property it was built for. This guide covers every step of building a pallet fence that achieves that quality, from sourcing and preparing the pallets to the finishing details that make the difference between a DIY project and a design feature.
The Pallet Fence Blueprint

Step 1: Source Safe and Suitable Pallets for the Pallet Fence
The single most important decision in any pallet fence project is the pallet sourcing because pallets vary enormously in their wood quality, their structural integrity, their past use, and the chemical treatments they may have received, and a pallet fence built from unsuitable pallets will deteriorate faster, look worse, and potentially create health hazards that a pallet fence built from correctly sourced materials avoids entirely.
The international pallet classification system stamps each pallet with a treatment code that indicates how the wood was treated for pest control during international shipping. The stamp to look for on pallet fence pallets is HT Heat Treated, which indicates that the wood was treated by heat exposure rather than by chemical fumigation. HT-stamped pallets are safe for residential pallet fence construction, safe to paint, and safe to use in garden settings where children and pets have access.
Avoid pallets stamped MB Methyl Bromide, which indicates chemical fumigation with a compound that is harmful to human health and that can leach from the wood into soil over time. Avoid pallets with visible staining that suggests chemical spillage, colored stains, strong chemical odors, or oily residue on the wood surface regardless of the treatment stamp. Avoid pallets with significant wood rot, heavily cracked boards, or loose nail plates that suggest structural failure.
Good pallet fence sources: large retail and grocery distribution centers (pallets are often given away free to avoid disposal costs), garden centers, furniture retailers, building supply yards, and online community platforms (Facebook Marketplace, local Freecycle networks, Nextdoor) where pallets are regularly listed as free or low-cost collection items. For a standard pallet fence of 10 linear metres at standard pallet height (approximately 1.2m), plan to source twelve to fifteen pallets more than the minimum required to account for any that prove structurally unsuitable on closer inspection.
Step 2: Plan the Pallet Fence Layout and Style
With a sufficient number of suitable pallets sourced and inspected, the planning step establishes the pallet fence’s specific design, its height, orientation, spacing, and finish style before any cutting or post installation begins.
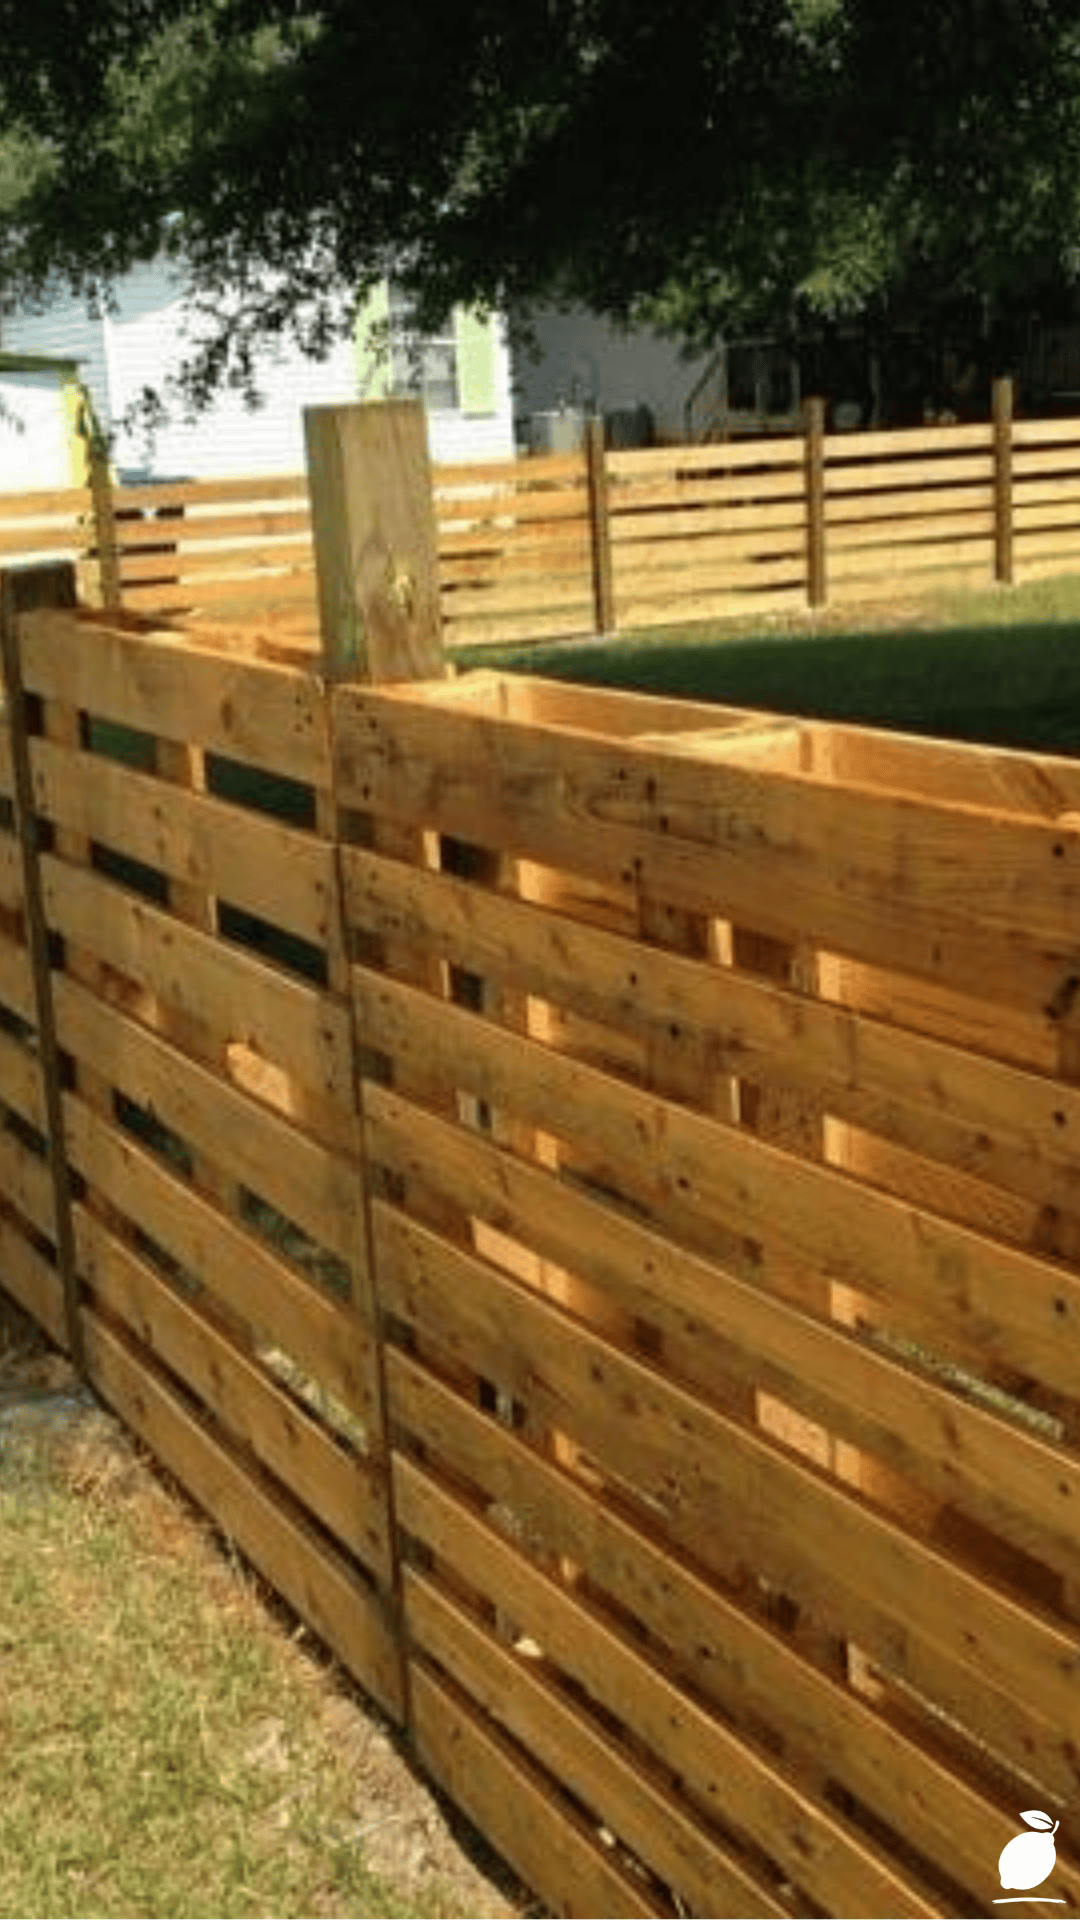
Pallet fence height options: Standard pallets at their full 1.2m height create a fence of moderate privacy and visual presence appropriate for front garden boundaries where full privacy screening is not the objective. Stacked pallets (two pallets high) create a 2.4m pallet fence that provides genuine privacy screening for a back garden or courtyard. This requires a more robust post system and cross-brace support but is achievable as a DIY pallet fence project. Half-height pallets (pallets cut horizontally) create a picket-fence-style pallet fence at approximately 60cm that works as a garden bed border or a front boundary where visual delineation rather than privacy is the objective.
Pallet fence orientation options: Standing pallets vertically (boards running horizontally) creates the standard slatted appearance of the featured image’s green fence. Standing pallets horizontally (boards running vertically, if the pallet’s internal structure allows it) creates a different visual rhythm that reads as more contemporary. Mixing orientations, alternating vertical and horizontal pallets in a planned sequence creates a pattern that makes the pallet fence genuinely distinctive at the street scale.
Pallet fence finish style: Painted in a single bold color (the green of the featured image), a pallet fence becomes a landscape design element in its own right. Stained in a natural wood tone, a pallet fence integrates with the garden planting more quietly. Whitewashed, a pallet fence creates the specific coastal or cottage quality of a weathered picket fence. Left to weather naturally (with a clear preservative treatment), a pallet fence acquires the silver-grey character of aged timber over two to three seasons.
Step 3: Prepare the Pallets for the Pallet Fence
Pallet preparation is the step between sourcing and installation that determines the pallet fence’s finished quality and the step most commonly compressed or skipped under the pressure to get the fence up quickly. A pallet fence built from adequately prepared pallets looks and performs significantly better than one built from unprepared pallets regardless of the quality of the subsequent finishing steps.
Sand all pallet fence pallets with an orbital sander fitted with 80-grit paper, working with the grain direction to remove splinters, rough patches, and any loose surface material. Progress to 120-grit for a smoother finish if the pallet fence will be painted in a high-visibility color where surface quality is most visible. Pay particular attention to any boards where knots, cracks, or checking (the lengthwise splitting that occurs in drying timber) could cause splinters to users who come into contact with the fence surface.
Check all nails and staples in each pallet; drive any proud nail heads flush with the wood surface using a hammer and nail punch, and remove any staples or broken nail fragments that protrude from the board surface. A pallet fence with proud nail heads or wire staples is a contact hazard for children and a clothing snag risk for adults.
Apply a coat of exterior wood primer or a base coat of exterior preservative to all pallet fence pallets before installation. It is significantly easier to coat all surfaces of a pallet while it is lying flat on sawhorses than after it has been installed in the fence line, where the back face and the gap areas are difficult to access. A primed or pre-coated pallet fence is also more resistant to moisture ingress from the first day of installation, which significantly extends the finished pallet fence’s lifespan.
Step 4: Install the Pallet Fence Posts
A pallet fence that is not properly supported by adequate posts installed at the correct spacing and depth will rack, lean, and fail within one to two seasons, particularly in exposed positions or in ground conditions that change significantly between dry summer and wet winter conditions. Post installation is the structural foundation of the pallet fence and the step where the most careful work pays the most long-term dividends.
Pallet fence posts can be timber (100mm x 100mm posts for a standard single-height pallet fence, 150mm x 150mm for a double-height), steel (square hollow section steel posts provide the greatest longevity in ground contact), or concrete (the most permanent and most rot-resistant option). For a standard pallet fence with HT pallets at standard height, 100mm x 100mm pressure-treated timber posts are the most cost-appropriate and most DIY-accessible choice.
Space pallet fence posts at intervals that match the pallet width, typically 1.0m to 1.2m center-to-center for standard pallets. Drive or dig the posts to a depth of one-third of the post’s total length: a 1.8m post serving a 1.2m pallet fence requires a 60cm burial depth to provide adequate resistance against the fence panel’s lateral load in wind. In soil conditions with poor drainage or high clay content, add a 15cm gravel base beneath each post before concreting to improve drainage around the post base and reduce the moisture contact that accelerates timber rot at the most vulnerable point of the installation.
Brace all posts plumb in both directions while the concrete sets; a post that is out of plumb by even a small degree produces a pallet fence with a visible lean that compounds with each subsequent panel. Use a post-level (a specific tool designed to indicate plumb in two directions simultaneously) and temporary timber braces to hold each post plumb until the concrete achieves initial set (typically 24 to 48 hours at moderate temperatures).
Step 5: Attach the Pallet Fence Panels
With the posts installed and cured, attach the prepared and pre-coated pallets to the post line using structural screws, minimum 75mm x 4mm exterior-rated screws driven through the pallet’s side rails into the post face at a minimum of four attachment points per pallet (two at the top rail, two at the bottom rail). Pre-drill all attachment points to prevent the pallet wood from splitting. Pallets are assembled from non-graded timber that is more prone to splitting than structural construction timber.
Check each pallet for plumb and level as it is attached to a pallet fence; where successive pallets are installed slightly out of plumb creates a cumulative error that becomes highly visible by the time the fence reaches the far end of the run. Use a spirit level on each pallet before driving the final screws.
For a pallet fence that incorporates decorative spacing between pallets, a contemporary design approach that allows light and air movement through the fence line while maintaining the boundary function, maintain consistent spacer widths between adjacent pallets using timber offcuts of the desired gap width as temporary spacers during attachment.
Step 6: Finish the Pallet Fence With Paint, Stain, or Sealant
The finishing step transforms a pallet fence from a timber boundary structure into the design feature visible in the featured image. Apply the chosen finish coat in dry, mild conditions. Exterior paint or stain applied in temperatures below 10°C or in direct hot sun produces an uneven film that doesn’t cure correctly and reduces the finish’s durability.
For a painted pallet fence in a solid color: apply two topcoats of exterior masonry or timber paint in the chosen color over the primer coat applied during preparation. Work the paint into all the gaps, the end grain of boards, and the pallet’s internal cross-members that are visible through the fence’s spacing. End grain absorbs paint significantly faster than face grain. Apply a third coat to all end grain sections to achieve the same coverage depth as the face surfaces.
For a stained pallet fence: apply one to two coats of exterior wood stain in the chosen tone, working with the grain direction, using a brush or roller appropriate to the stain product’s viscosity. Oil-based stains penetrate more deeply into the pallet wood’s grain than water-based alternatives and provide greater long-term weathering resistance, but require mineral spirit cleanup rather than water cleanup.
Expert Secrets for Success
Pro-Tips for a Better Result
Seal the post base with bitumen paint before installation. The point where a pallet fence timber post enters the ground is the most moisture-exposed point of the entire installation and the position where rot initiates in virtually every untreated post within five to seven years. Applying two coats of bituminous wood sealant to the full below-grade portion of each post — and 15cm above ground level to protect the transition zone extends post lifespan by a decade or more at a material cost of a few pounds or dollars per post.
Add a face board to the top of each pallet for a finished appearance. The top edge of a standard pallet fence panel is the least visually refined part of the installation; the exposed pallet deck boards at varying heights create an uneven profile that reads as improvised rather than designed. Attaching a continuous 75mm x 25mm timber capping board along the top edge of each pallet, flush with the pallet’s tallest board, creates a clean, consistent top line for the pallet fence that immediately elevates its visual quality from DIY to designed.
Install a gravel or concrete strip beneath the pallet fence panel. A pallet fence whose bottom boards are in direct contact with soil moisture will begin to rot at the base within three to five years regardless of the treatment applied to the wood surface above. Installing a 10cm gravel strip or a poured concrete strip beneath the pallet fence panel line, keeping the bottom of the lowest board 5 to 10cm above the soil surface, eliminates the direct soil contact that initiates rot and extends the pallet fence’s functional life significantly.
Common Mistakes to Avoid
Don’t use MB-stamped pallets in a garden or family setting. The methyl bromide chemical treatment used in MB-stamped pallets is a toxic compound that can leach from the wood into adjacent soil and remain active for extended periods. No finishing coat applied to the surface of an MB-stamped pallet prevents this leaching; the contamination occurs from within the wood’s fiber and cannot be sealed out by surface treatment. Always check the stamp and refuse any pallet that cannot be confirmed as HT (heat treated).
Don’t skip the intermediate post bracing during concrete curing. A pallet fence post that appears plumb when set into fresh concrete will not necessarily remain plumb as the concrete cures — the combination of the wet concrete’s fluidity, any soil movement during curing, and the post’s tendency to shift as temperature changes occur during the first 24 hours requires active bracing with timber struts until the concrete is fully set. A post that cures out of plumb cannot be corrected without removing the concrete and starting again.
Don’t attach pallet fence panels without pre-drilling. Pallet timber is non-graded construction lumber that splits easily when screws are driven into it without a pilot hole, particularly near board ends and at knot positions. Split pallet boards in a pallet fence not only weaken the structural connection to the post but create the specific rough-edged appearance that distinguishes an amateur pallet fence installation from a considered one. Pre-drill every screw position with a bit slightly smaller than the screw’s thread diameter before driving any fixings.
Why Pallet Fence Matters
A boundary that you built with your own hands is a different thing from a boundary that was there when you arrived. This is not just a sentiment; it is a psychological reality that research in place attachment identifies as a significant driver of residential satisfaction and household wellbeing. People who have made physical changes to their home environment report stronger emotional attachment to their home, greater satisfaction with their outdoor space, and higher overall residential wellbeing than those living in equivalent spaces they haven’t modified. A pallet fence you designed, sourced, prepared, installed, and painted is a boundary that belongs to the household rather than simply containing it.
For families with children, a pallet fence project carries an additional dimension: it is a visible demonstration of a parent’s practical competence in the home environment. Children who watch a parent plan, build, and finish a pallet fence from reclaimed material gain something beyond the fence itself; they gain a specific, concrete understanding that the home is not a fixed environment to be received but a responsive one to be shaped. The pallet fence teaches, by example, that the boundary between what a space is and what you want it to be is a distance that skill and intention can close.
Easy Peasy Life Matters is built on the belief that every home improvement completed well, whether it’s a pallet fence along a garden boundary or a fresh coat of paint on a bedroom wall, contributes to the quality of daily life in the space in ways that accumulate over months and years into a home that genuinely feels made. A green pallet fence beside a garden bed on a partly cloudy afternoon is a small thing in isolation. As the visible evidence of a household’s investment in its own space, it is something more.
Frequently Asked Questions
How much does a pallet fence typically cost to build?
A pallet fence built primarily from free-sourced HT pallets has a material cost of approximately $80 to $150 for a 10-metre run covering post materials, concrete, screws, primer, and exterior paint. This compares to $500 to $1,200 for an equivalent run of conventionally purchased timber paling fence in most markets. The primary cost variable in a pallet fence is the post material: timber posts are the most economical choice; steel posts cost more initially but have a significantly longer lifespan that amortizes their higher upfront cost over the fence’s life. Paint adds $30 to $60 depending on the paint quality and the number of coats required.
How long does a pallet fence last?
A pallet fence built from HT-stamped pallets with sealed post bases, pre-coated pallet panels, and a quality exterior paint or stain topcoat typically lasts seven to twelve years before significant board replacement is required. The primary failure mode of a pallet fence is rot at the base of the pallet panels and at the below-grade post section, both of which are significantly extended by the bitumen post sealant, the elevated bottom board clearance, and the comprehensive pre-coating described in the Blueprint steps. Annual inspection of the pallet fence’s post bases and bottom boards, with prompt replacement of any board showing significant deterioration, can extend the functional life of the fence structure substantially beyond the typical range.
Can a pallet fence be built in a rental property?
A pallet fence in a rental property requires the landlord’s written permission before installation; most standard tenancy agreements prohibit structural modifications to the property without specific consent, and a post-installed pallet fence qualifies as a structural modification. With landlord consent, a pallet fence is fully viable in a rental property and can be reinstated to its pre-installation condition at the end of the tenancy if the posts are removed and the post holes backfilled. An alternative for rental properties where post installation is not possible is a freestanding pallet fence, with pallets connected in a linked line with cross-brace cables or timber horizontals and supported by weighted base feet rather than ground installation, which can be installed and removed without any structural modification to the property.
Do pallet fence panels need to be treated before painting?
Yes, HT-stamped pallets that have not been previously treated should receive a coat of exterior wood primer or penetrating wood preservative before any topcoat paint or stain is applied. Untreated pallet wood absorbs topcoat paint unevenly; the dense grain of the timber absorbs less paint than the surrounding fibres, producing a blotchy finish that is visible under any light-toned paint color. A primer coat standardizes the surface absorption and produces a more even, more durable topcoat with a 30 to 40% reduction in the quantity of topcoat required for full coverage. Oil-based primer provides the best adhesion base for oil-based exterior paints; water-based primer is compatible with both water-based and oil-based topcoats.