Our front yard had a “fence” in the loosest possible sense: a few sagging sections of chain-link, one broken gate hinge, and a general sense that the yard didn’t quite know where it ended and the sidewalk began. Kids from the neighborhood cut across the corner constantly, the dog treated the gap like an open invitation, and every time I pulled into the driveway, the whole scene just looked unfinished. It wasn’t falling apart exactly. It just never really came together in the first place.
If you’ve ever felt like your front yard is missing that one detail that would make it feel like an actual, cohesive space instead of just grass and a driveway, you’re probably circling the same idea I eventually landed on. A boundary does more than mark property lines — it frames the whole yard, gives the eye somewhere to land, and creates that sense of an intentional, cared-for space instead of an open, undefined one. Most of us don’t need a bigger yard. We need better edges.
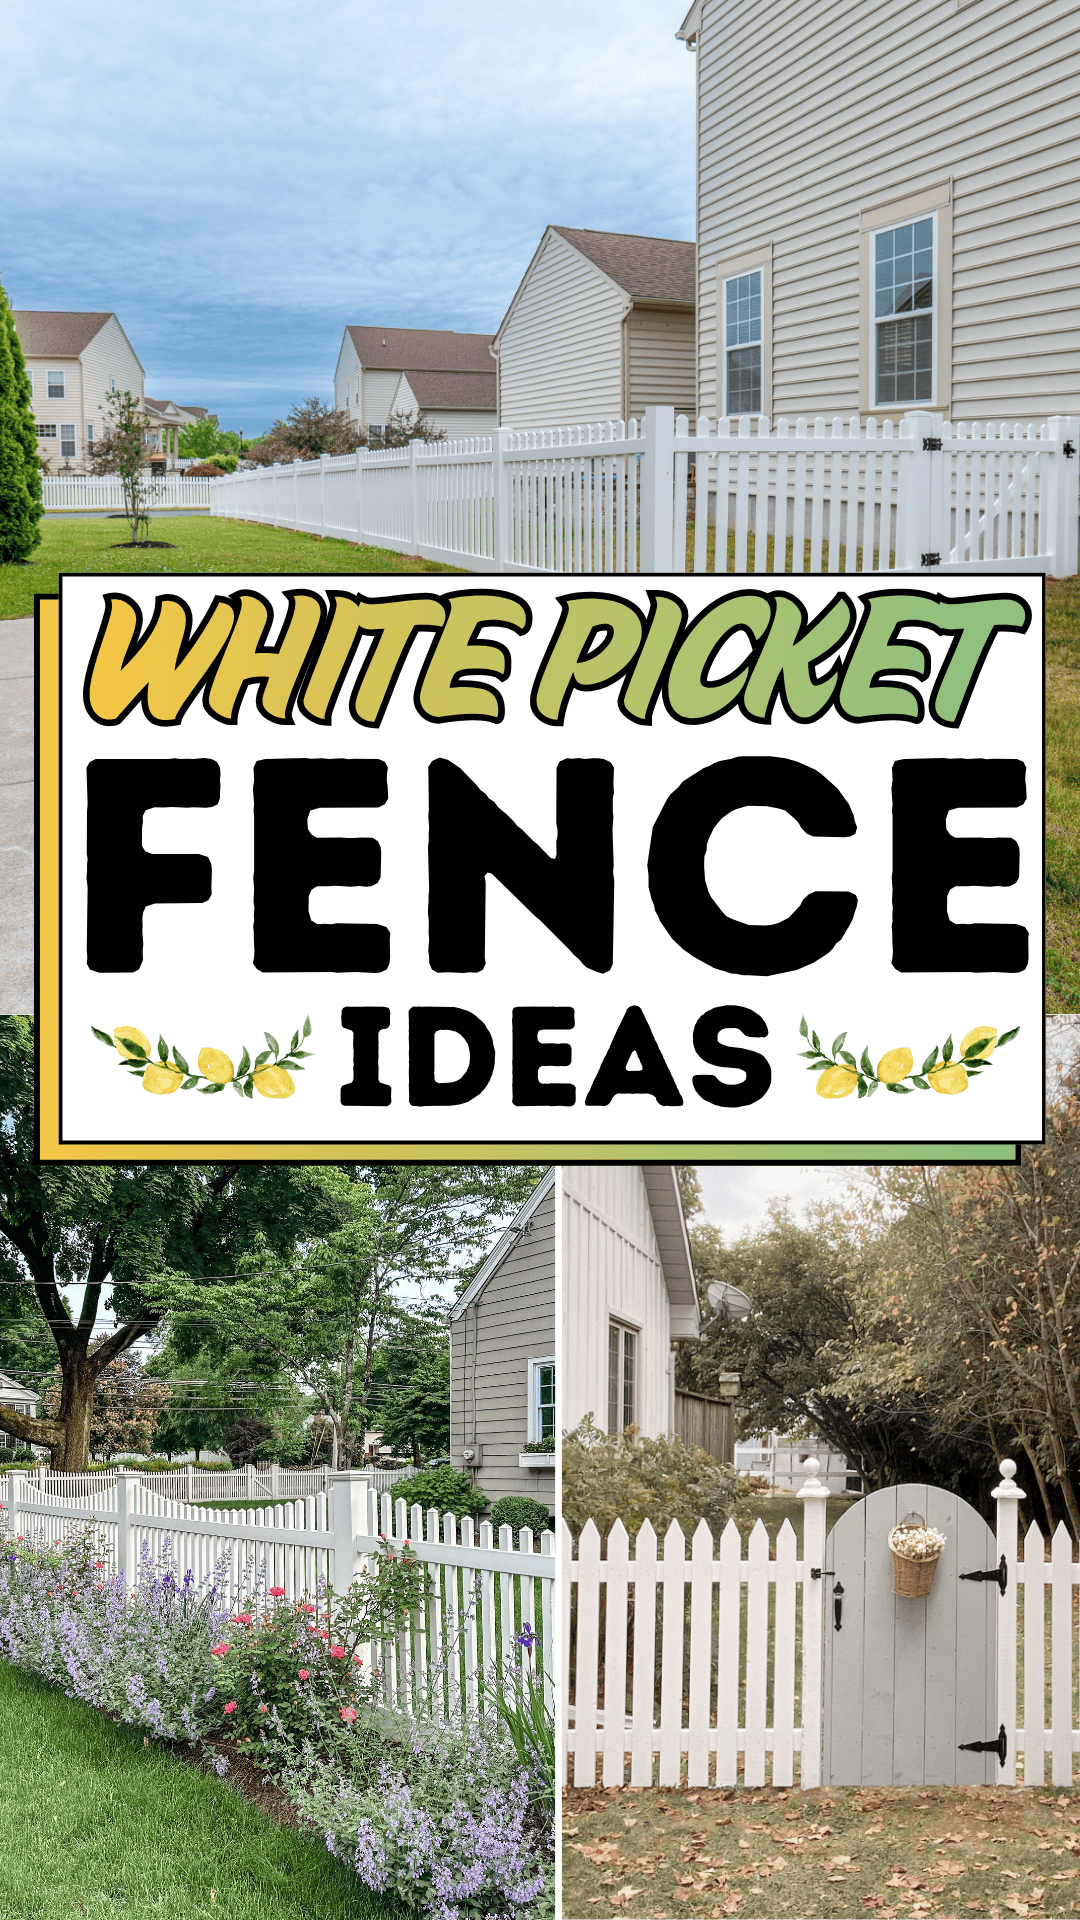
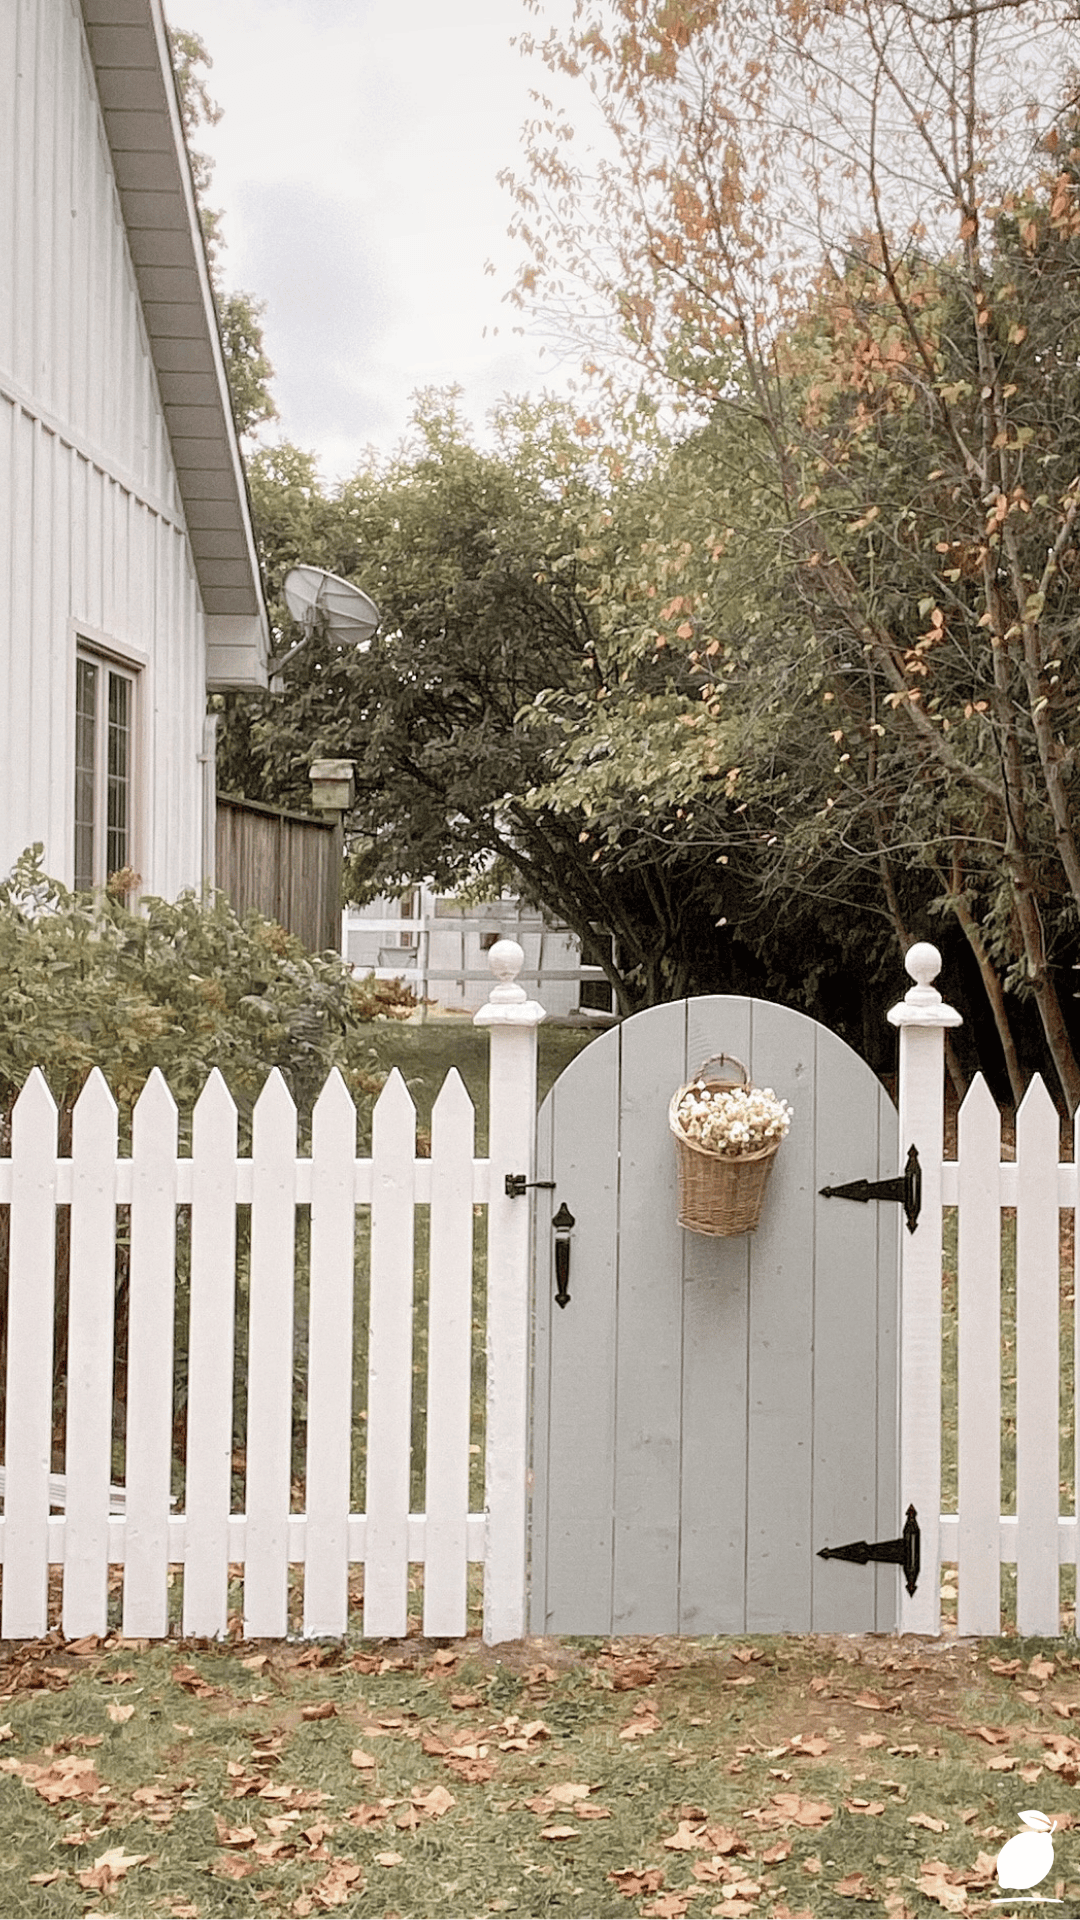
That’s exactly what I saw in a photo that reset my whole plan: a crisp white picket fence wrapping a garden, a matching white house with a pointed roof just beyond it, a soft gray wooden gate dressed up with a wicker basket of white flowers, autumn leaves scattered across the ground in muted orange. It was simple, classic, and completely calm the picture-perfect version of what a front yard boundary could actually feel like. Here’s exactly how to bring that same white picket fence look to your own yard.
The White Picket Fence Blueprint
Step 1: Measure and Plan Your Layout
Walk your property line and measure the total length you plan to fence, noting any gates, slopes, or existing landscaping that will affect placement. Sketch a simple layout showing post spacing and gate location before purchasing any materials.
Step 2: Choose Your Picket Style and Wood
Select a classic pointed, rounded, or flat-top picket style, and choose a wood type; cedar and pressure-treated pine are both popular for their durability and paint-friendly surfaces. Pre-cut picket kits are widely available and can simplify this step significantly for first-time builders.
Step 3: Set Fence Posts
Dig and set posts at consistent intervals (typically every 6-8 feet), using concrete or a gravel base depending on soil conditions, and check each post for level before it cures. Straight, evenly spaced posts are the foundation of a clean, classic picket fence look.
Step 4: Attach Horizontal Rails
Install two horizontal rails between each set of posts, one near the top and one near the bottom, creating the frame that your pickets will attach to. Use a level throughout to keep rails consistent across the entire fence line.
Step 5: Space and Attach Pickets
Using a spacer block for consistent gaps (typically 2-3 inches between pickets), attach each picket to the horizontal rails with exterior-rated screws or nails. Consistent spacing is what gives a picket fence its clean, rhythmic visual appeal.
Step 6: Install the Gate
Build or install a matching gate at your chosen entry point, ensuring it swings freely and latches securely. A slightly different tone, like the soft gray gate in the inspiration photo, can add subtle visual interest against an otherwise all-white fence.
Step 7: Sand and Prime All Surfaces
Sand any rough edges and apply a quality exterior primer before painting. Proper priming helps paint adhere better and last significantly longer, especially in climates with heavy sun or rain exposure.
Step 8: Paint and Seal
Apply two coats of high-quality exterior white paint, allowing full drying time between coats, and finish with a weatherproof sealant if desired. A crisp white finish is what truly completes the classic picket fence look.
Step 9: Add Finishing Garden Touches
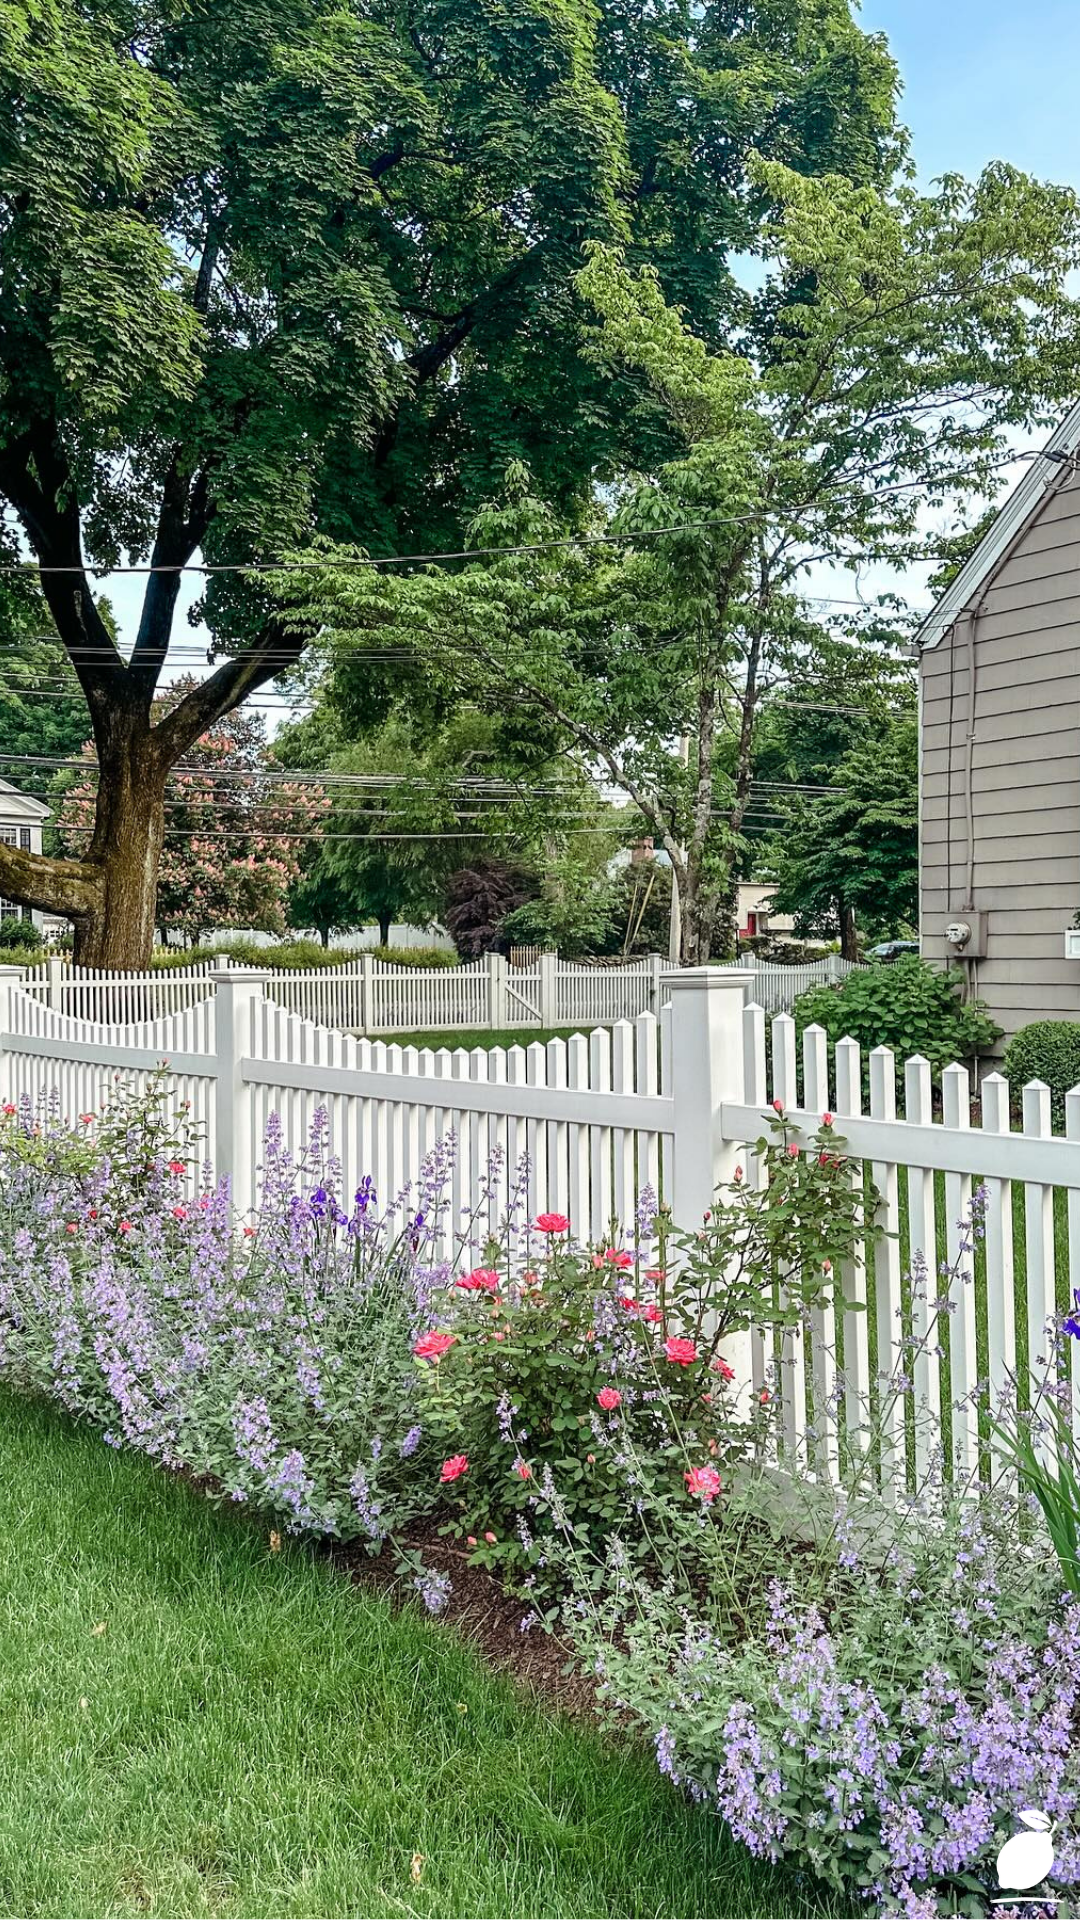
Layer in low plantings, a decorative wreath or basket on the gate, and well-maintained mulch beds along the fence line. These small details are what elevate a simple fence into a fully styled, welcoming entrance.
Expert Secrets for Success
Pro-Tips for a Better Result
- Choose a semi-gloss or satin exterior paint finish for easier cleaning and a slightly more polished look than flat paint.
- Pre-drill screw holes near picket ends to prevent splitting, especially with denser wood types.
- Add a small decorative element to the gate, like a seasonal basket or wreath, to instantly boost curb appeal without any major additional work.
- Choose rust-resistant hardware for hinges and latches to avoid unsightly staining on white-painted wood over time.
Common Mistakes to Avoid
- Don’t skip proper post spacing measurements before digging; uneven spacing becomes very noticeable once pickets are installed.
- Avoid using interior-grade paint or primer; exterior-rated products are essential for withstanding sun, rain, and temperature swings.
- Don’t rush picket spacing without a spacer tool; small inconsistencies compound and become obvious across a full fence line.
- Resist neglecting annual maintenance; white paint shows dirt and wear more visibly than darker colors, so periodic cleaning and touch-ups keep the fence looking fresh.
Why White Picket Fence Matters
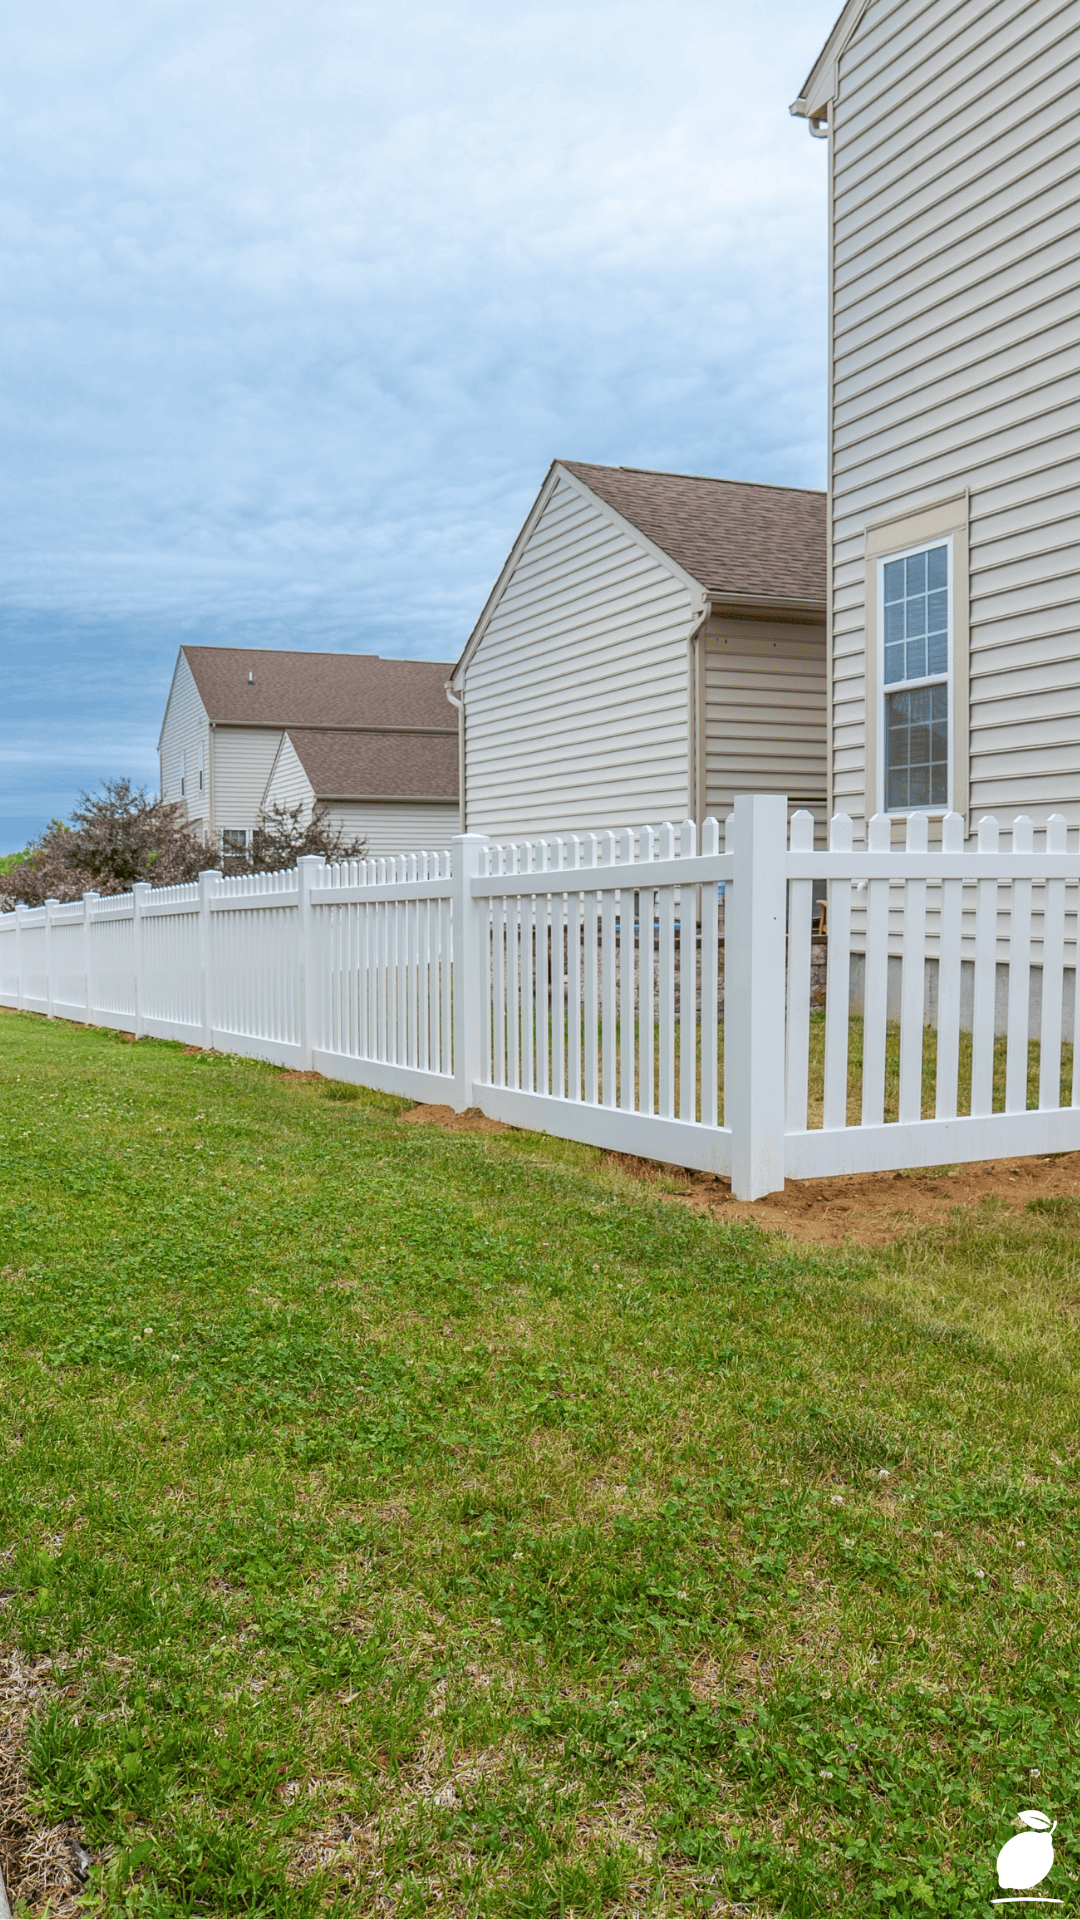
A well-built white picket fence does more than mark a boundary; it signals warmth, order, and care from the very first glance. It’s one of those details that quietly shapes how a whole property feels, turning an ordinary front yard into a space that feels finished, intentional, and genuinely welcoming to anyone who walks up to the door.
There’s a real sense of accomplishment in building something so classic with your own hands, especially a project that transforms how your entire home is perceived from the street. For families, a clearly defined, well-tended yard brings a subtle but meaningful sense of order to daily life. Kids know where the yard ends, pets stay contained, and the whole space feels a little calmer and more complete every time you pull into the driveway.
FAQ
How much does it cost to build a white picket fence?
Costs vary based on wood type, fence length, and whether you DIY or hire a professional, but a DIY picket fence project is typically far more affordable than hiring installation, especially using pre-cut picket kits.
What’s the best wood for a white picket fence?
Cedar and pressure-treated pine are both excellent choices, offering good durability and a smooth surface that holds paint well over time.
How often does a white picket fence need repainting?
Most white picket fences need a fresh coat of paint every 3-5 years, though this can vary based on climate, sun exposure, and the quality of the original paint and primer used.
How tall should a white picket fence be?
Traditional picket fences typically range from 3 to 4 feet tall, which is enough to visually define a yard while keeping an open, welcoming feel rather than a fully enclosed one.
Can I install a white picket fence myself, or do I need a professional?
A white picket fence is one of the more DIY-friendly fencing projects, especially with pre-cut picket kits, though larger or more complex layouts may benefit from professional help with post setting and leveling.