Every rainstorm turned our front entryway into a mad scramble. No overhang meant no dry spot to fumble for keys, no shelter for packages left by delivery drivers, and no protection for guests standing awkwardly on the stoop while I hunted for my house keys at the bottom of my bag. Water would pool right at the threshold too, and I started noticing the beginnings of paint peeling on the door frame from years of direct, unsheltered exposure. What had started as a minor annoyance was slowly turning into an actual maintenance problem, one rainy season at a time.
If you’ve ever stood dripping wet at your own front door, keys in hand, wishing you had even a small overhang to duck under, you know exactly how much that missing detail affects daily life. It’s easy to underestimate how much a gable roof over a front entry actually does: protecting the door itself, sheltering guests, and adding real architectural character to an otherwise flat facade. Most homes without one just look a little unfinished, even if nothing else about the exterior is wrong, and once you notice it, it’s hard to unsee.
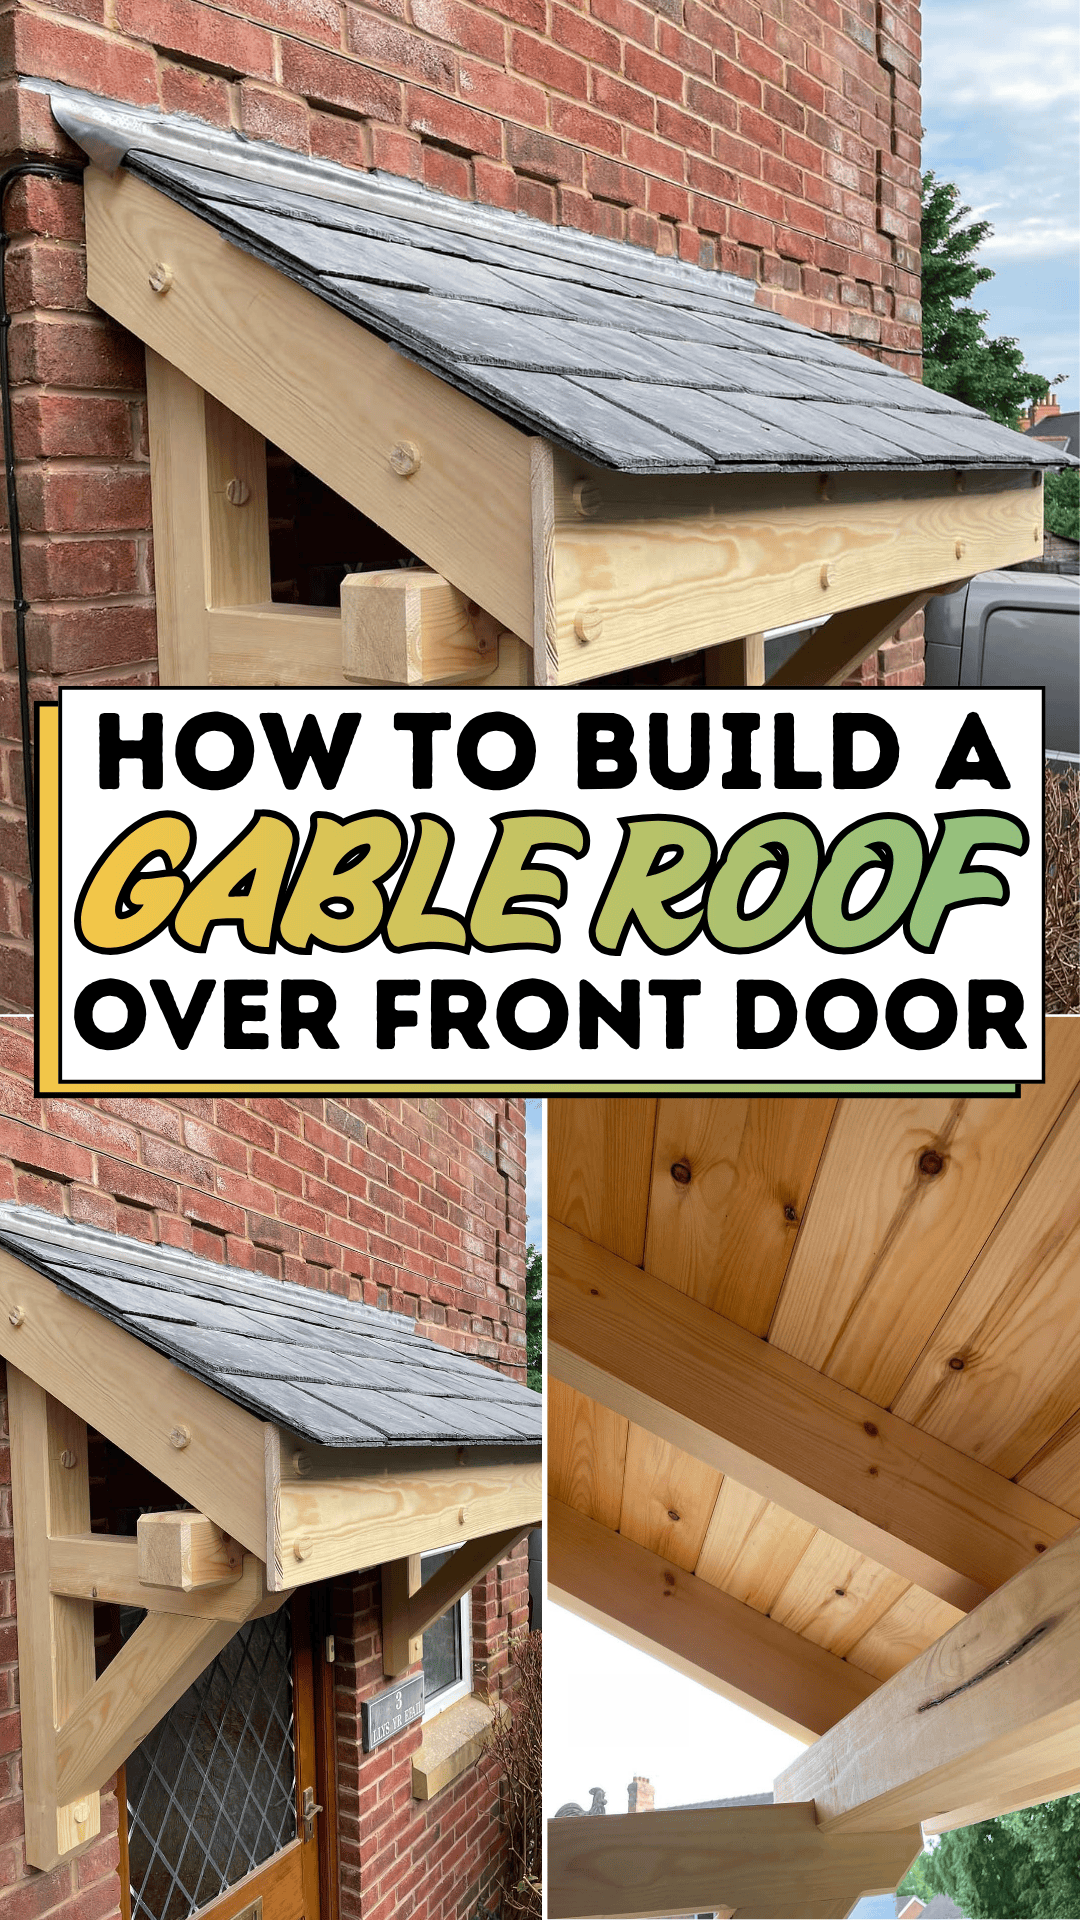
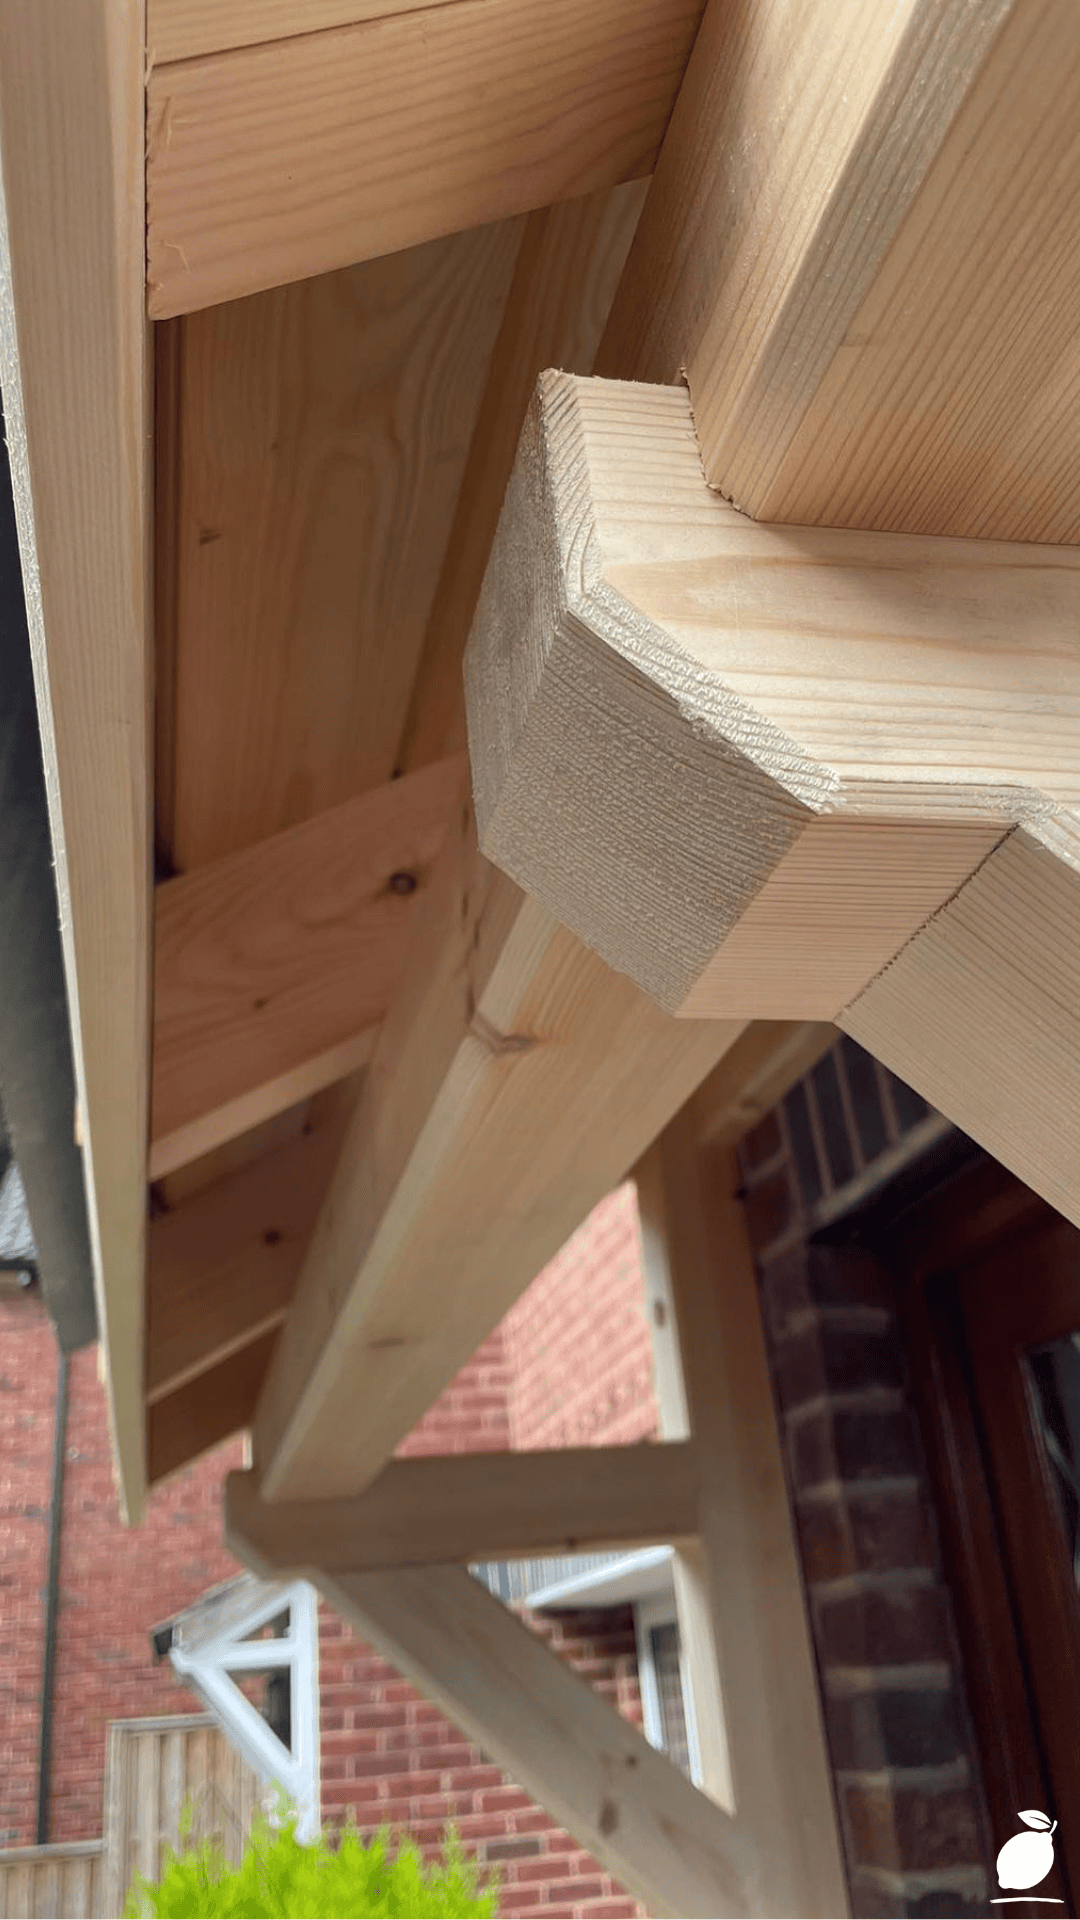
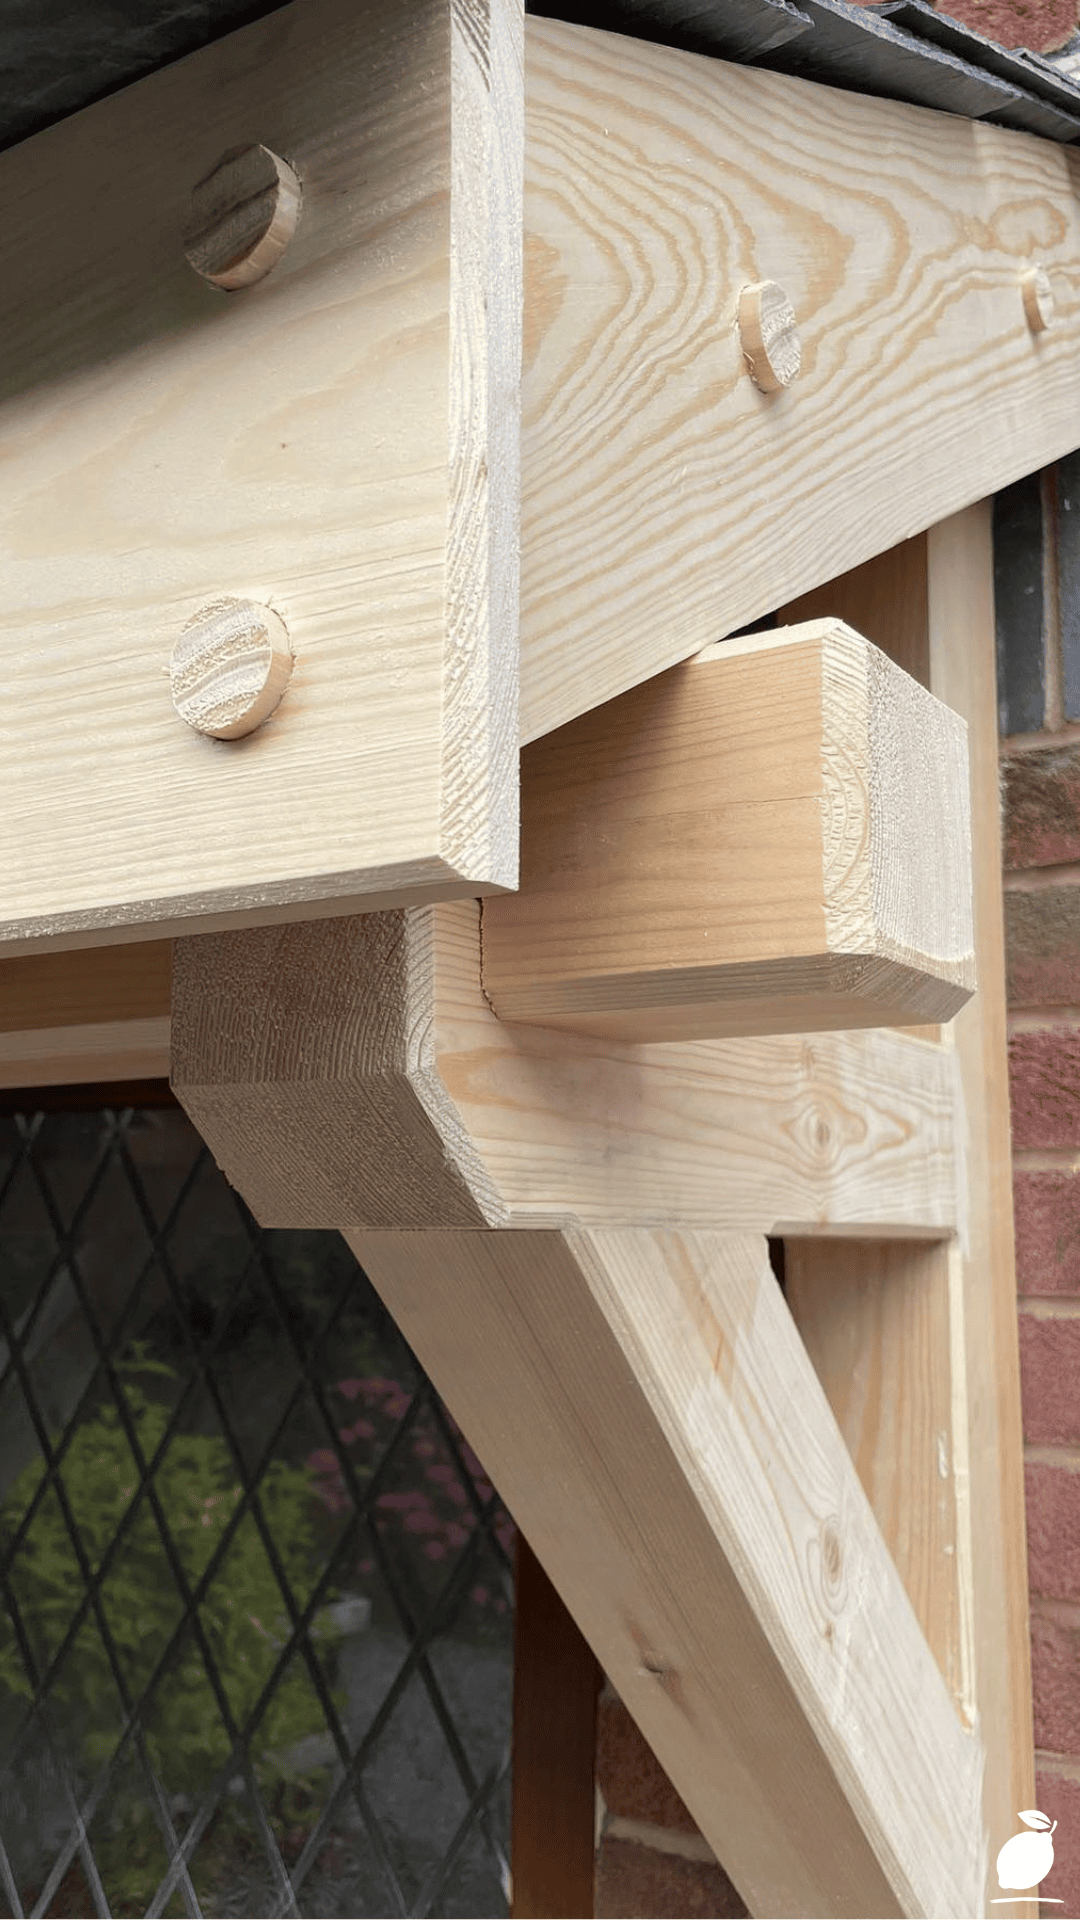
That’s what sent me down the path of learning how to build a proper gable roof over our front door. I found real inspiration in a photo of exposed wooden joinery, sturdy beams, a notched corner support, all attached cleanly to a brick wall with a garden and brick pathway just beyond. It wasn’t overly ornate. It was honest, structural woodworking, exactly the kind of build that translates beautifully into a small entry roof. Here’s exactly how to build one yourself, from the first permit check to the final coat of stain.
The Gable Roof Blueprint
A gable roof entry addition is a bigger project than most weekend DIY builds, but it’s still very achievable when broken into clear, sequential stages. Work through the following steps in order, and don’t rush the structural stages in particular.
Step 1: Check Local Codes and Permit Requirements
Before any construction begins, confirm whether your municipality requires a permit for an attached structure like a front entry roof, and review any setback or height restrictions that might apply. This step prevents costly rework or forced removal later, and it’s worth calling your local building department directly rather than relying on general online guidance, since requirements vary significantly by location.
Step 2: Measure and Plan Your Roof Dimensions
Measure the width of your entryway and decide how far the gable roof should project outward; typically 3-4 feet is sufficient to provide meaningful shelter without overwhelming a smaller entry. Sketch your gable angle and overall proportions relative to your home’s existing roofline for visual consistency. Taking a few reference photos of your home’s existing roof pitch can help you eyeball proportions more accurately before finalizing your plan.
Step 3: Install Ledger Board Support
Attach a sturdy ledger board directly to the house’s exterior wall, securing it into structural framing (not just siding) with appropriate lag bolts or structural screws. This ledger board becomes the primary anchor point for the entire gable roof structure, so take the time to locate wall studs precisely rather than estimating their position.
Step 4: Build and Install Support Posts or Brackets
Depending on your design, install either vertical support posts anchored to a concrete footing or decorative knee brackets attached directly to the wall for a cantilevered look. Exposed wooden brackets, like those in the inspiration photo, add attractive structural character while doing real functional work. If you’re unsure which approach suits your entry, a cantilevered bracket design generally works better for narrower walkways where support posts would be an obstruction.
Step 5: Frame the Gable Structure
Construct the triangular gable frame using rafters cut at your desired roof pitch, connecting them at the ridge and securing them to the ledger board and support posts. A steeper pitch sheds water and snow more effectively, while a shallower pitch offers a more understated look. Building the frame on the ground first and lifting it into place as a single unit, when feasible, often produces cleaner, more precise joints than assembling piece by piece at height.
Step 6: Add Roof Sheathing
Attach plywood or OSB sheathing across the rafters to create a solid base for roofing material. Ensure sheathing is properly fastened, and any seams are staggered for structural strength, and double-check that all fasteners are set flush to avoid uneven pressure points once the roofing material goes on top.
Step 7: Install Roofing Material and Flashing
Apply roofing felt, then your chosen roofing material (matching your home’s existing roof when possible), finishing with proper flashing where the new roof meets the house wall. Correct flashing installation is critical for preventing water intrusion at this vulnerable joint, and it’s worth taking extra time here even if it means spreading this step across an additional afternoon.
Step 8: Finish Exposed Wood and Trim
Sand, stain, or paint any exposed structural wood, trim boards, or decorative brackets to match your home’s existing exterior finishes. This final step is what ties the new roof visually into the rest of the house, transforming it from an obvious addition into something that looks like it was always part of the original design.
Step 9: Inspect and Maintain Seasonally
Once complete, inspect the new roof structure each season, checking flashing seals, fastener tightness, and finish condition. A quick annual check catches small issues, like a loosened flashing seam or a hairline crack in the stain finish, before they become larger, more expensive repairs.
Expert Secrets for Success
Pro-Tips for a Better Result
- Match your new gable roof’s pitch and material to your home’s existing roofline as closely as possible for a cohesive, intentional look rather than an obviously “added on” structure.
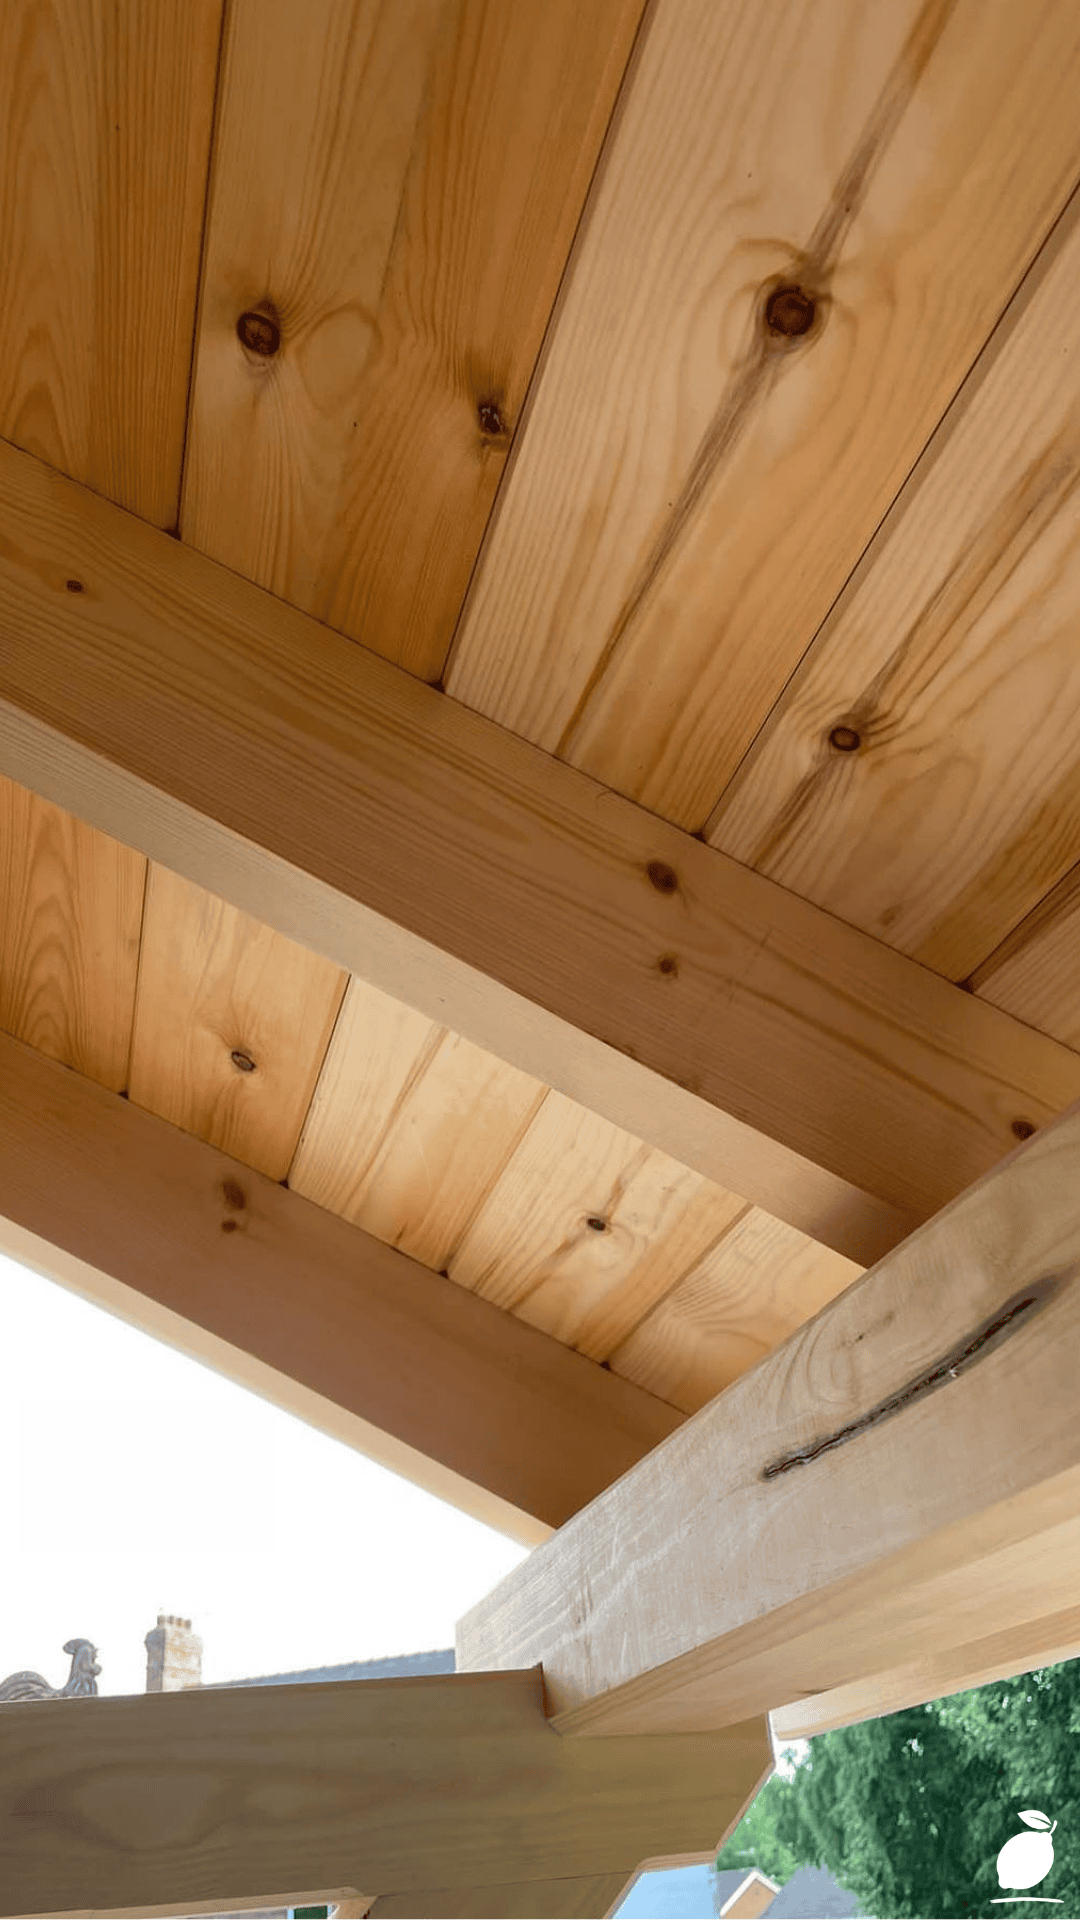
- Use exposed structural brackets as a design feature rather than hiding them; well-crafted joinery adds real architectural charm to a small entry roof.
- Choose rot-resistant wood like cedar for any exposed beams or brackets, since this area sees consistent weather exposure.
- Double-check flashing details with a professional roofer if you’re uncertain, since this is the single most common point of water intrusion on small attached roof structures.
- Take detailed measurements and photos throughout construction; they’re invaluable if you ever need to make repairs or replace a single component years down the line.
- Consider adding a small gutter or drip edge along the new roofline to direct runoff away from the entryway rather than letting it fall directly at the threshold.
Common Mistakes to Avoid
- Don’t attach a ledger board directly to siding without securing it into structural framing; siding alone cannot support the weight and stress of an attached roof.
- Avoid choosing a roof pitch dramatically different from your home’s main roofline, which can make the addition look mismatched rather than integrated.
- Don’t skip proper flashing installation to save time; inadequate flashing is the leading cause of water damage on small roof additions.
- Resist oversizing the roof for a small entryway; a properly proportioned overhang, typically 3-4 feet, provides shelter without visually overwhelming the front facade.
- Don’t ignore local permit requirements even for a seemingly small gable roof structure; unpermitted additions can complicate a future home sale or insurance claim.
- Avoid rushing the finish work; an otherwise well-built roof can still look unfinished if the trim and staining don’t match the rest of the exterior closely.
Why a Gable Roof Matters
A front entry is the very first thing guests experience when they arrive, and a well-built gable roof does more than provide shelter from rain; it adds architectural presence, frames the doorway, and signals genuine care in how a home was built and maintained. It’s a small addition with an outsized impact on how welcoming and finished a home feels from the street.
There’s real satisfaction in completing a structural project like this one, watching something functional and beautiful take shape with your own hands. For families, a sheltered front entry means fewer scrambles during bad weather, drier packages, and a small daily comfort that adds up over time. That sense of a home that’s genuinely finished, down to the details, brings a quiet kind of peace every time you walk through your own front door.
That peace tends to extend beyond just staying dry. A home that looks cared for, right down to the small architectural details like a well-proportioned gable roof, has a way of making everyone inside feel a little more settled too proof that even the details most people never think twice about are worth the extra weekend of effort.
FAQ
How much does it cost to build a gable roof over a front door?
Costs vary widely based on size, materials, and whether you DIY or hire a contractor, but a modest DIY entry roof project is typically far more affordable than professional installation, especially using standard lumber and asphalt shingles matching the main roof.
Do I need a permit to build a gable roof over my front door?
In most areas, yes, attached structures like entry roofs typically require a building permit, so it’s important to check with your local building department before starting construction.
How far should a front entry roof extend from the house?
Most front entry roofs project 3 to 4 feet from the wall, providing enough shelter to cover the doorway and a small standing area without visually overwhelming a smaller home facade.
Can I build a gable roof over my front door myself?
A basic gable roof addition is achievable for an experienced DIYer comfortable with framing and roofing work, though the structural ledger attachment and flashing details often benefit from at least a consultation with a professional.
What roofing material should I use to match my existing roof?
Whenever possible, match your new gable roof’s material and color to your home’s existing roof, whether that’s asphalt shingles, metal, or another material, to create a cohesive, intentional look rather than a mismatched addition.
How long does it typically take to build a front entry gable roof?
Most DIY entry roof projects take one to two weekends for the framing and installation, with additional time needed if concrete footings require curing or if permit approval adds to the overall timeline.