
My first attempt at growing hollyhocks was embarrassingly thin. I’d planted three of them along our back fence hoping for that classic, towering cottage-garden look, and instead I got a handful of spindly stalks with maybe two or three flowers each, spaced so far apart they looked more like an afterthought than a display. I kept comparing my sad little stems to the lush, packed spikes I saw in other people’s gardens and couldn’t figure out what I was doing so differently.
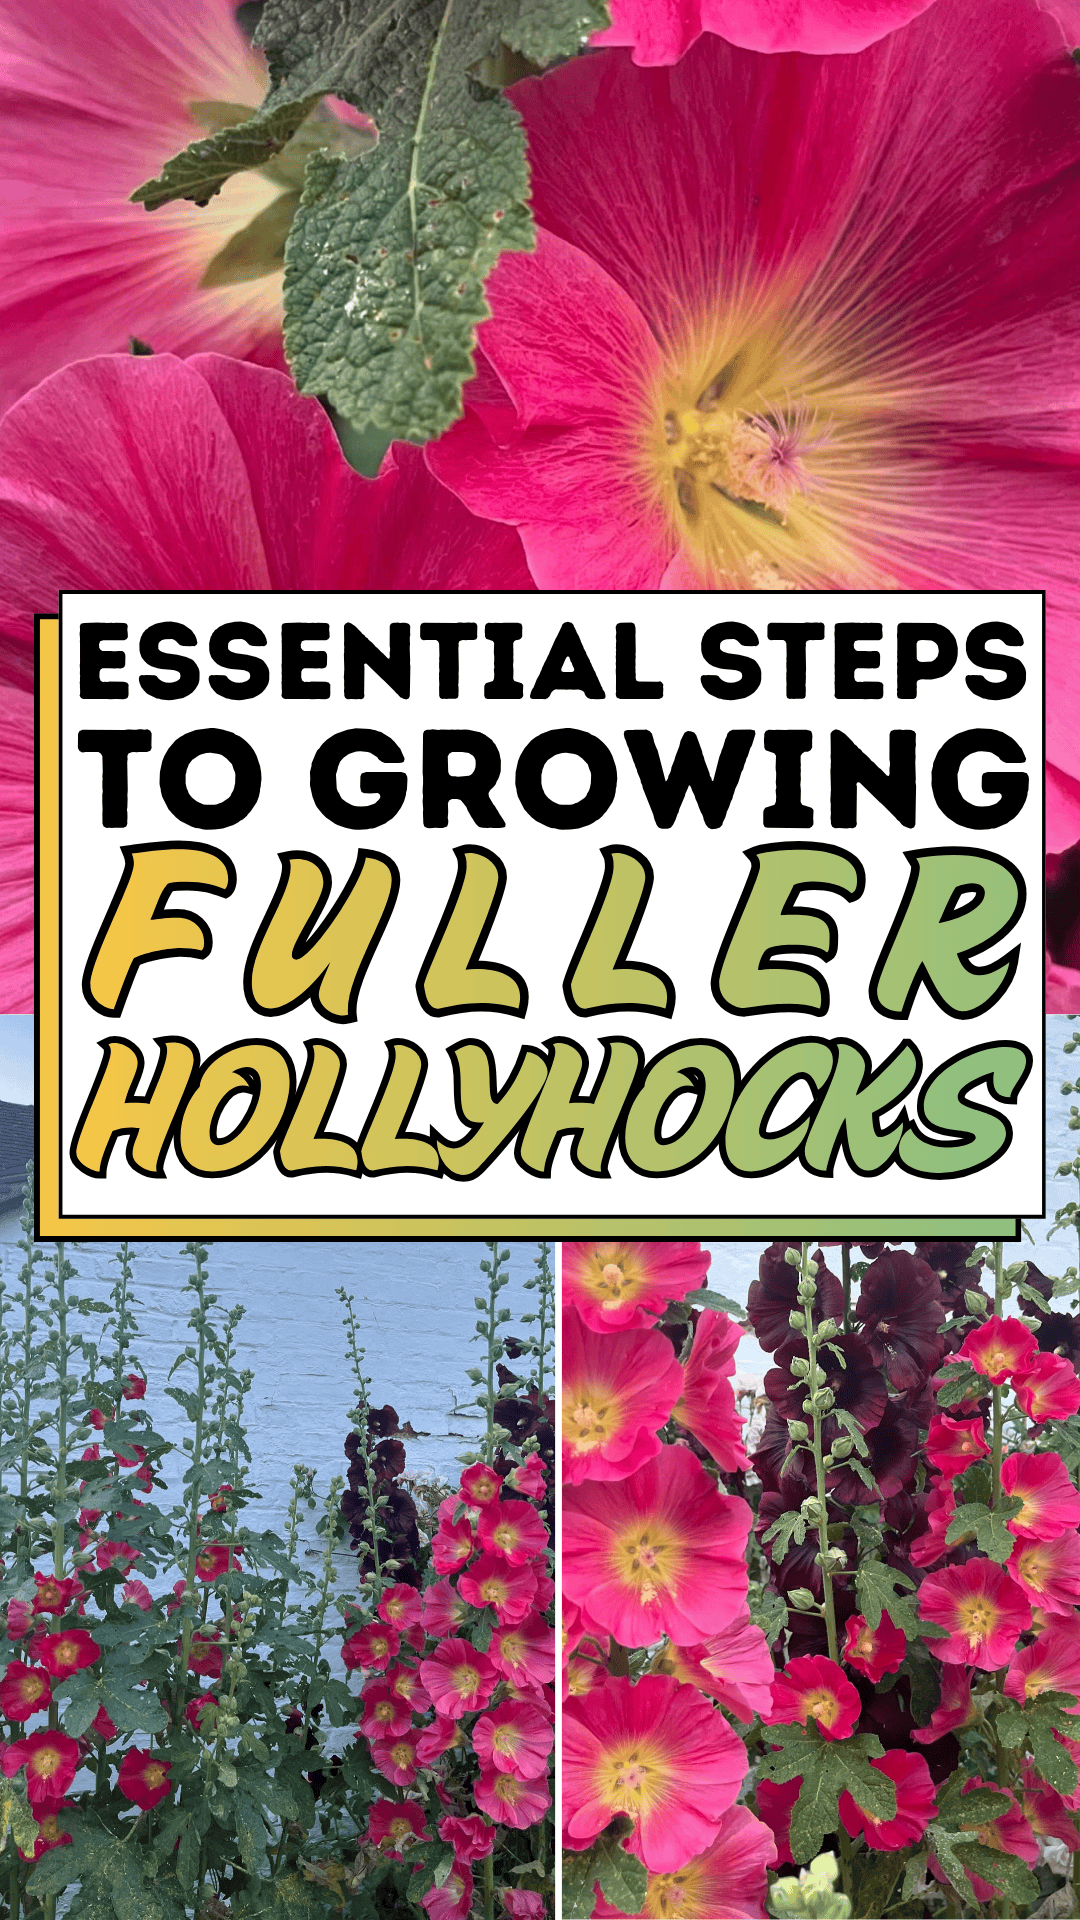
If you’ve ever planted hollyhocks expecting that iconic, dramatic wall of blooms and ended up with a few lonely stalks instead, you’re not alone, and you’re definitely not out of luck. Fuller hollyhocks aren’t about luck or a magic variety; they come down to a handful of specific growing habits most people skip without realizing it. The plant itself wants to be lush and full. It just needs the right conditions to actually get there.
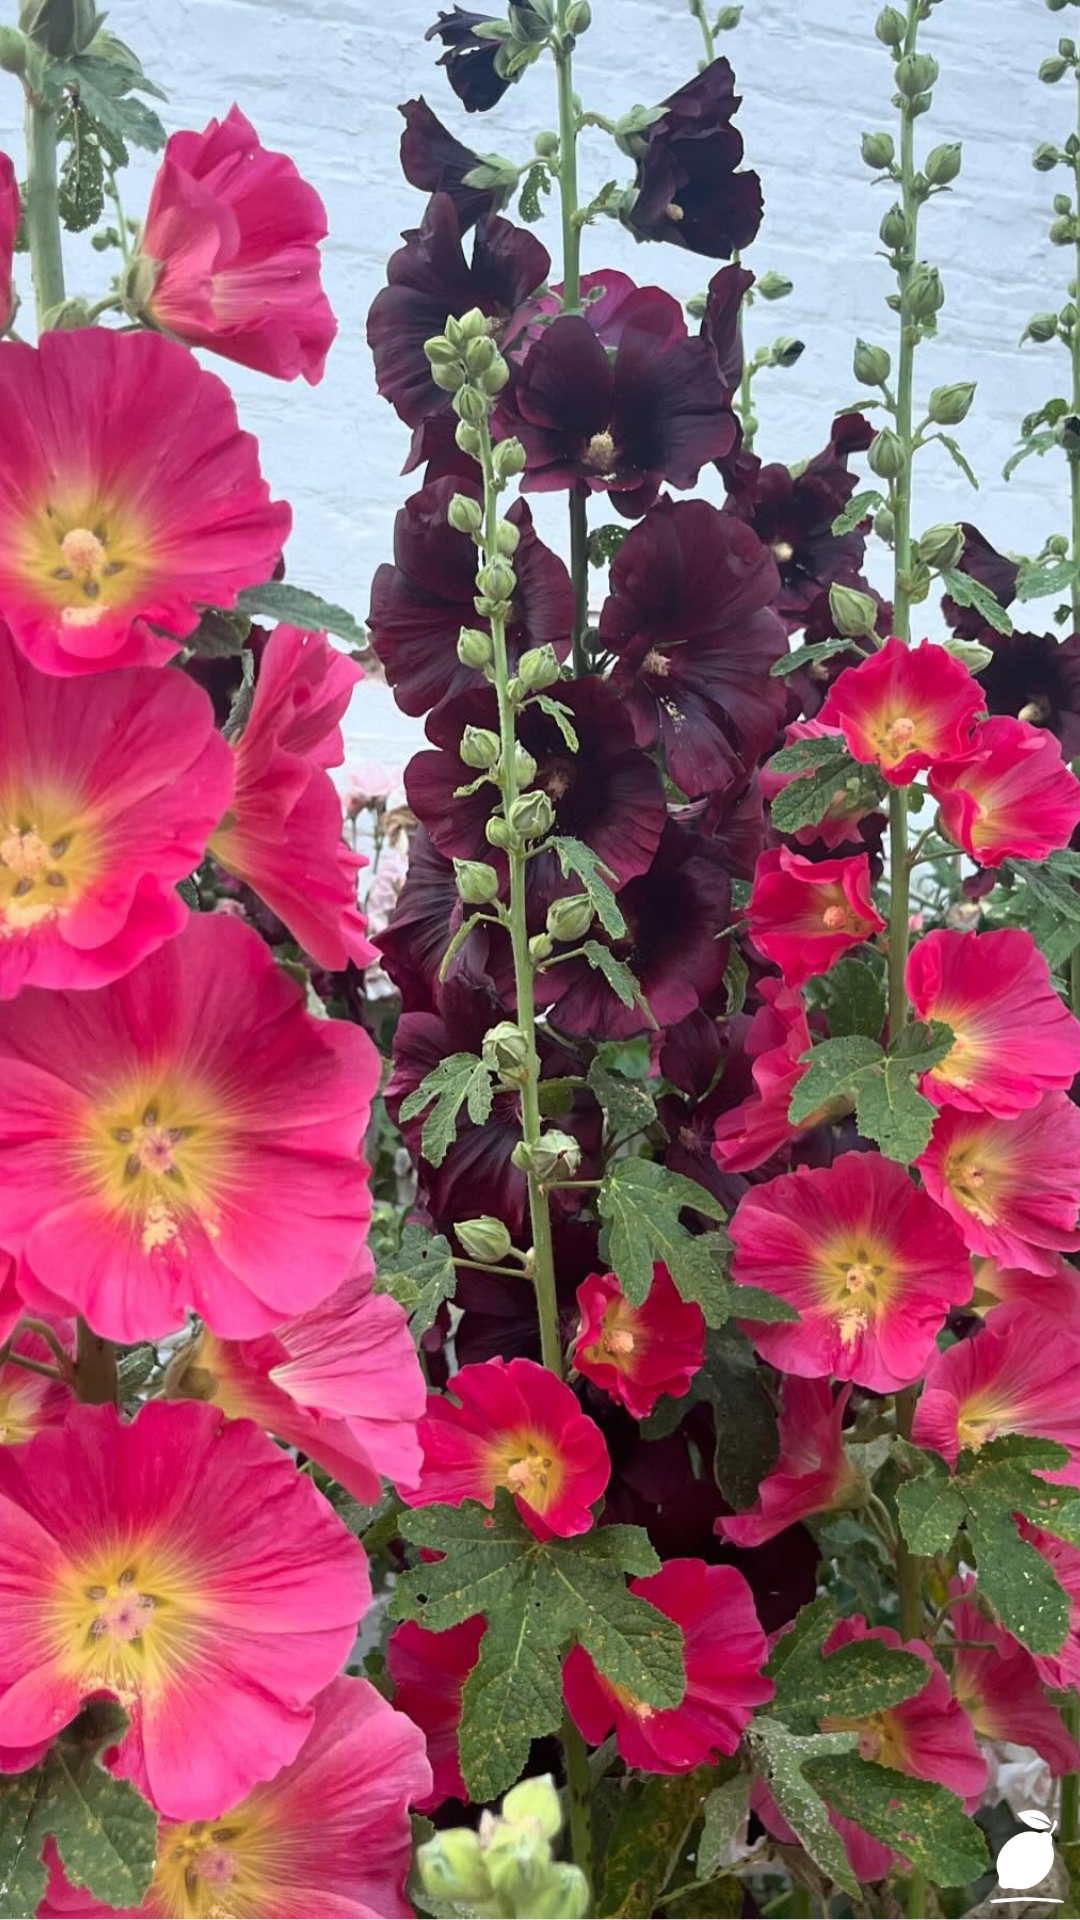
That became obvious to me looking at a photo of hollyhocks growing against a weathered white brick wall, tall, densely packed spikes of pink and burgundy blooms with bright yellow centers, stem after stem practically overflowing with flowers from top to bottom. That image became the standard I was chasing, and once I understood exactly what made hollyhocks grow that full, my own patch finally started to catch up. Here are the essential steps to growing fuller hollyhocks yourself.
The Hollyhock Blueprint
Step 1: Choose a Full-Sun Location
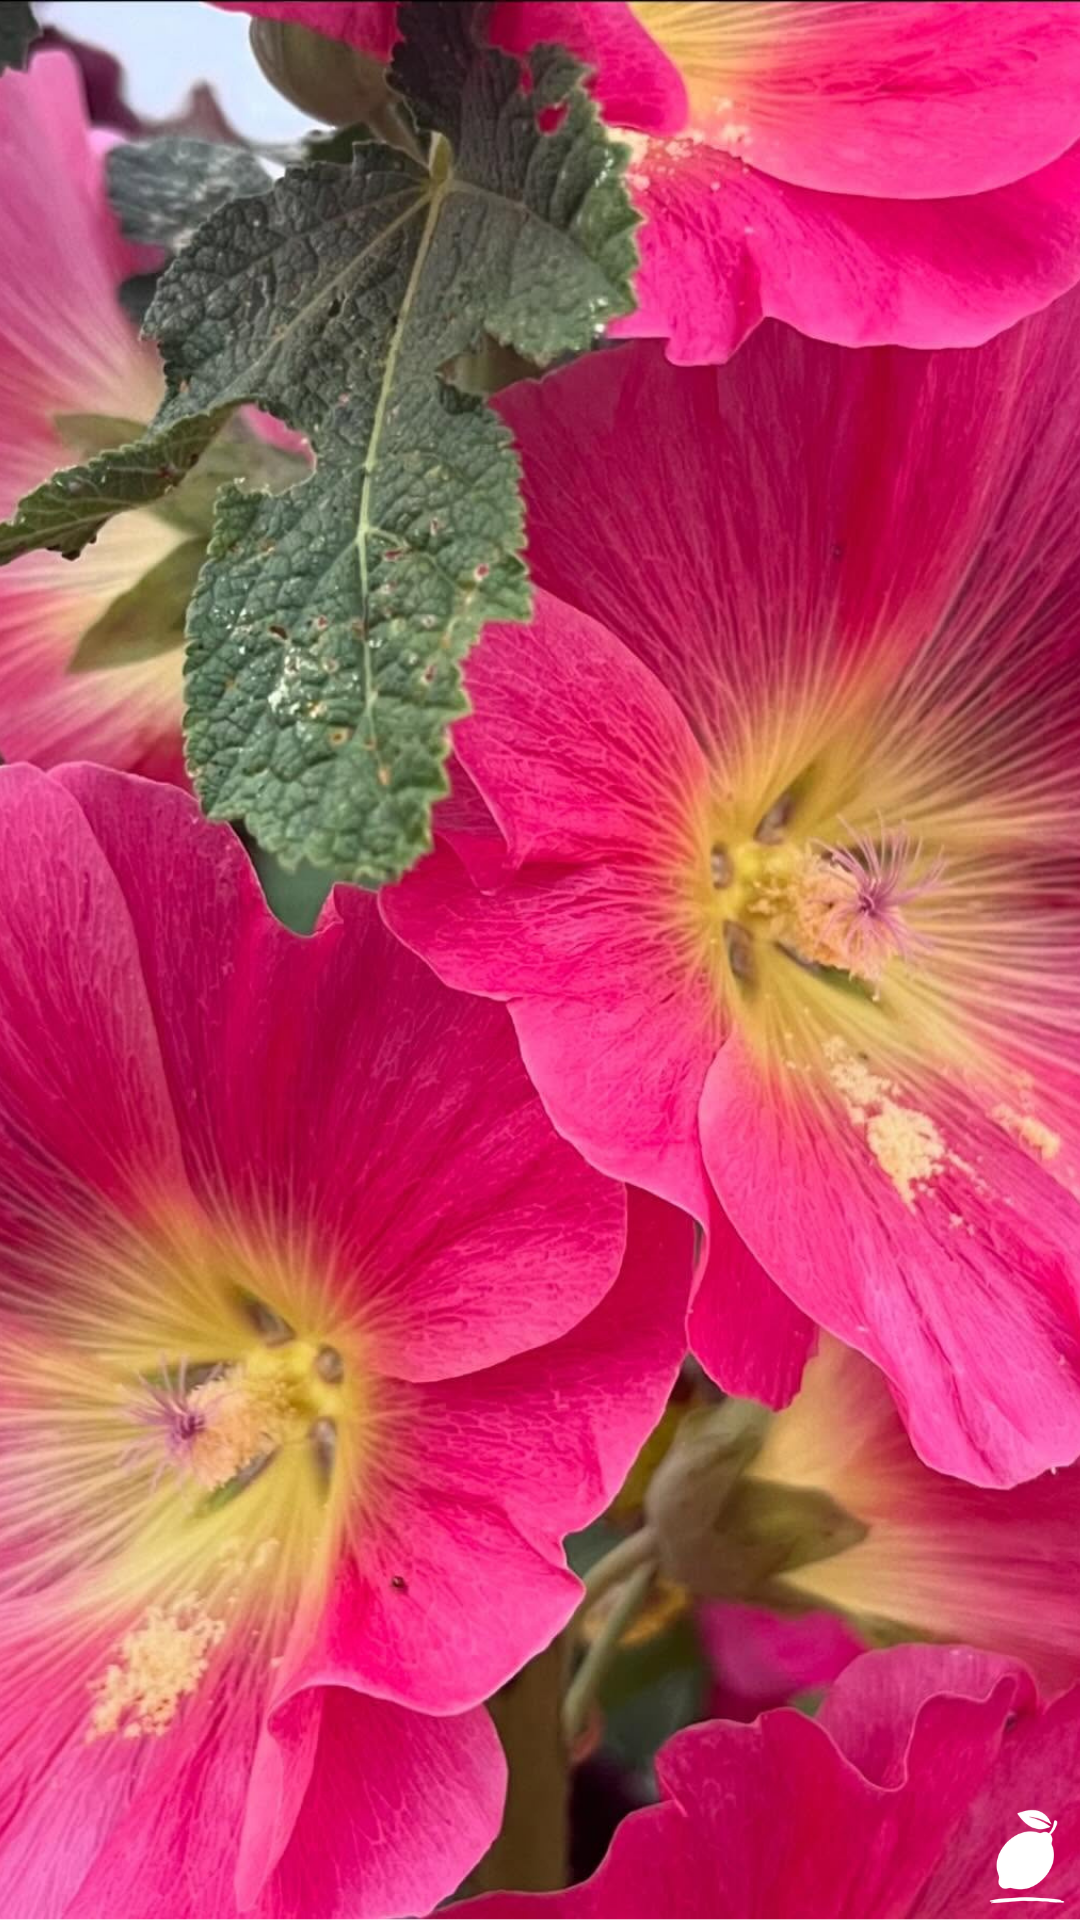
Hollyhocks need at least six hours of direct sunlight daily to develop strong, densely flowered stalks. Plants grown in partial shade tend to stretch toward available light, resulting in the thin, sparse growth that leaves so many gardeners disappointed with their results.
Step 2: Prepare Rich, Well-Draining Soil
Work compost or well-rotted manure into your planting area before putting hollyhocks in the ground, since these tall, heavy-blooming plants benefit from nutrient-rich soil that can support vigorous growth. Ensure the site drains well, as hollyhocks are prone to root rot and rust disease in consistently soggy conditions.
Step 3: Plant at the Right Time and Spacing
Plant hollyhock seedlings or young plants in early spring or fall, spacing them 18 to 24 inches apart to allow each plant enough room to develop a full, well-branched base rather than competing for space and nutrients.
Step 4: Stake Tall Varieties Early
Install stakes or a support structure at planting time, before stems reach their full height, to prevent wind damage and keep stalks growing upright rather than leaning or snapping under the weight of a fuller bloom spike later in the season.
Step 5: Water Deeply and Consistently
Provide regular, deep watering throughout the growing season, particularly during dry spells, since consistent moisture directly supports the kind of vigorous, full growth that produces dense flower spikes rather than sparse, stressed stems.
Step 6: Fertilize for Strong, Full Growth
Apply a balanced, slow-release fertilizer in early spring as new growth emerges, and consider a light follow-up feeding mid-season to support continued blooming. Well-fed hollyhocks produce noticeably fuller, more densely packed flower spikes than nutrient-stressed plants.
Step 7: Deadhead and Remove Lower Spent Blooms
Regularly remove spent flowers from the base of the spike upward as they fade, redirecting the plant’s energy toward producing additional blooms further up the stalk rather than seed production, which extends and thickens the overall flowering display.
Step 8: Monitor and Treat for Rust Disease
Watch for the orange-brown spotting characteristic of hollyhock rust, a common fungal issue that can significantly thin out foliage and reduce overall plant vigor. Remove and dispose of affected leaves promptly, and improve air circulation between plants to reduce future outbreaks.
Step 9: Allow Self-Seeding for Fuller Future Displays
Let a portion of spent blooms go to seed at the end of the season and allow them to drop naturally around the base of the plant. Hollyhocks often self-seed readily, and the resulting volunteer seedlings frequently create the dense, layered look of an established, fuller planting over just a few seasons.
Expert Secrets for Success
Pro-Tips for Better Results
- Choose a location against a wall or fence, similar to the classic cottage-garden look, since this provides natural wind protection that helps tall hollyhock spikes stay upright and undamaged.
- Pinch back young plants once early in the season to encourage additional branching at the base, which can result in multiple fuller flower spikes per plant rather than a single stalk.
- Mulch around the base of hollyhocks to retain soil moisture and suppress competing weeds without smothering the plant’s own root crown.
- Rotate planting locations every few years if rust disease has been an issue, since fungal spores can persist in soil and affect future plantings in the same spot.
Common Mistakes to Avoid
- Don’t plant hollyhocks in shaded or partially shaded areas expecting full blooms; insufficient sunlight is one of the most common reasons for thin, sparse flower spikes.
- Avoid overcrowding plants too closely together; while it might seem like a shortcut to a fuller look, overcrowded hollyhocks actually compete for resources and produce weaker overall growth.
- Don’t skip staking tall varieties; unsupported stalks are prone to wind damage and breakage right as they reach their fullest, most impressive blooming stage.
- Resist removing all spent blooms immediately at the end of the season if you want fuller displays in future years; allowing some to self-seed naturally often produces denser plantings over time.
Why Hollyhocks Matter
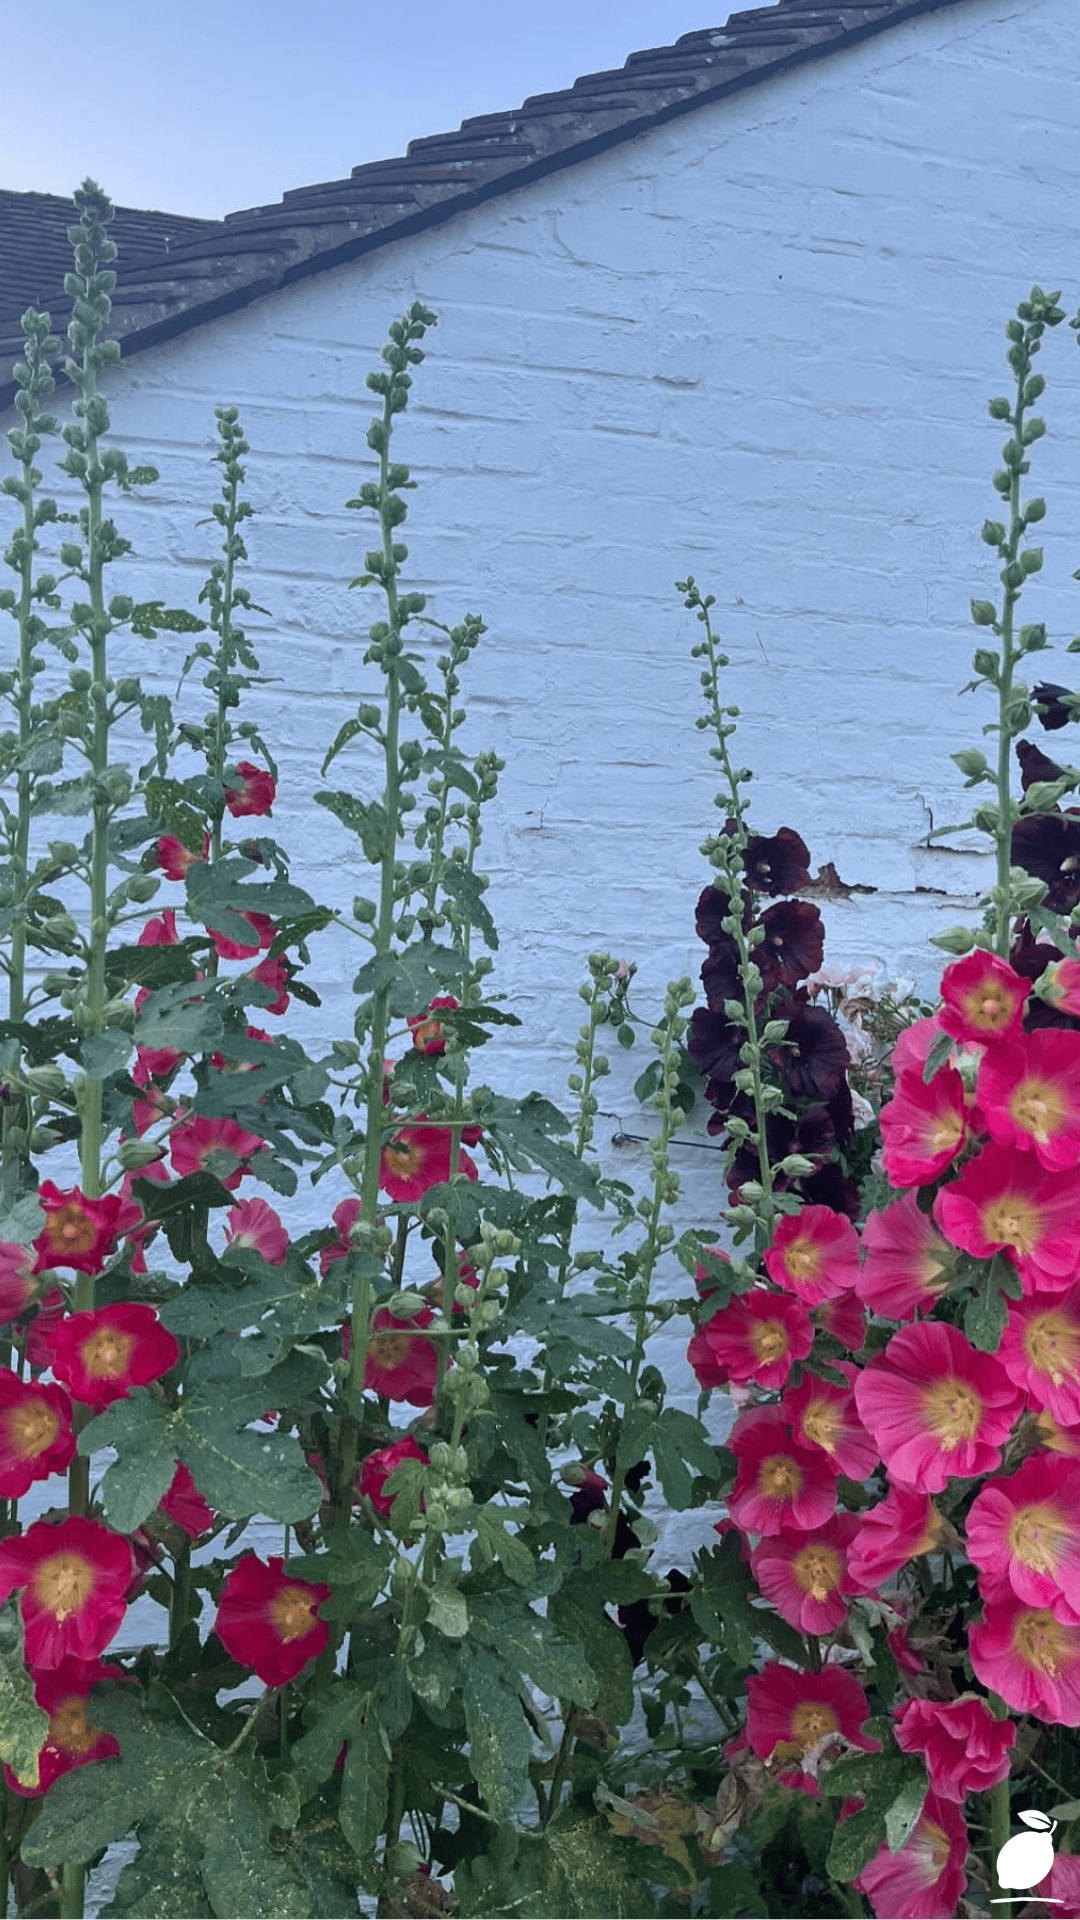
There’s something genuinely rewarding about watching a single spindly stalk transform, season after season, into the kind of full, towering flower spike you originally set out to grow. Hollyhocks are a patient plant, and getting them right takes a little understanding rather than luck, which makes the payoff feel even more earned once those dense, colorful spikes finally line a fence or wall the way you always imagined.
For families, a thriving hollyhock patch can become a quiet source of seasonal pride something the whole household notices and looks forward to each summer as the spikes grow taller and fuller. That sense of a garden actually improving, rather than just surviving, brings a real and lasting kind of calm to the whole outdoor space, turning a simple flower bed into something worth genuinely slowing down for.
FAQ
Why are my hollyhocks growing thin and sparse instead of full?
Thin, sparse hollyhocks are most often caused by insufficient sunlight, overcrowded planting, or nutrient-poor soil; addressing all three factors typically produces noticeably fuller growth within a single season.
How long does it take for hollyhocks to reach full bloom?
Hollyhocks are biennial or short-lived perennials, meaning most varieties focus on foliage growth in their first year and produce their tall, full flower spikes in their second year and beyond.
Do hollyhocks need to be replanted every year?
Many hollyhock varieties are biennial or short-lived perennials and will often self-seed readily, producing new plants naturally without requiring replanting each season.
What causes orange spots on hollyhock leaves?
Orange-brown spotting is typically a sign of hollyhock rust, a common fungal disease that can be managed by removing affected leaves promptly and improving air circulation between plants.
Can hollyhocks grow well in containers rather than in garden beds?
While possible with a very large, deep container, hollyhocks generally perform best planted directly in garden soil, since their tall growth habit and extensive root systems are better supported by the space an open bed provides.







