The Best Fluffy Pancakes recipe you will fall in love with. Full of tips and tricks to help you make the best pancakes.
Pear Jam Recipe – How to Make the Best Homemade Pear Jam
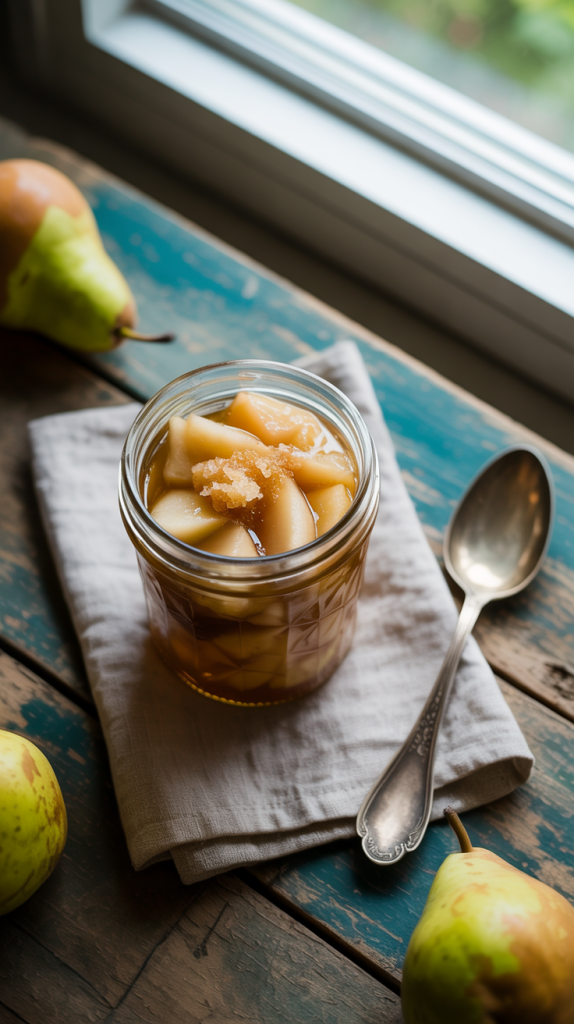
Pear jam is a delicious, naturally sweet preserve that captures the essence of ripe, juicy pears in every spoonful. Whether you’re spreading it on toast, swirling it into yogurt, or gifting it to friends, a jar of homemade pear jam is a comforting treat that’s both easy and rewarding to make. This guide offers the most complete, tested, and flavorful pear jam recipe with detailed instructions, pro tips, and variations.
| Ingredient | Quantity |
|---|---|
| Ripe pears (Bartlett, Anjou, or Bosc) | 4 cups (peeled, cored, chopped) |
| Granulated sugar | 2 cups |
| Fresh lemon juice | 2 tablespoons |
| Lemon zest | 1 teaspoon (optional) |
| Water | ¼ cup (only if needed) |
| Ground cinnamon or ginger | ½ teaspoon (optional) |
Yield: Approx. 3 to 4 half-pint (8 oz) jars
Step-by-Step Instructions for the Perfect Pear Jam
1. Prepare the Pears
- Wash, peel, core, and finely chop the pears.
- To ensure a smooth jam, you may mash them slightly or pulse in a food processor for a few seconds.
- Measure 4 packed cups of chopped pears.
2. Combine and Macerate
- In a large heavy-bottomed pot, combine chopped pears and sugar.
- Add lemon juice and zest.
- Let sit for 30 minutes to release juices. This step enhances the flavor and helps the sugar dissolve.
3. Cook the Jam
- Place the pot over medium-high heat.
- Stir constantly as the sugar melts and the mixture begins to bubble.
- Bring to a rolling boil and reduce heat to medium.
- Simmer uncovered for 25–35 minutes, stirring frequently to prevent scorching.
- The mixture will reduce and thicken. Use a spoon to test the texture: if it leaves a trail when run across a chilled plate, it’s ready.
4. Optional Flavor Boosts
- Add ½ tsp ground cinnamon or ginger for spiced pear jam.
- Vanilla extract or a splash of pear liqueur adds gourmet depth.
5. Preserve and Store
- For short-term use: Cool and store in clean jars in the refrigerator for up to 3 weeks.
- For long-term storage: Use the water bath canning method below.
Water Bath Canning Instructions
Equipment Needed:
- 3–4 sterilized half-pint jars with lids and bands
- Canning pot with rack
- Jar lifter and funnel
Instructions:
- Fill clean jars with hot pear jam, leaving ¼-inch headspace.
- Wipe rims, apply lids and screw bands to fingertip-tight.
- Submerge jars in boiling water bath for 10 minutes (adjust for altitude).
- Remove jars and let cool 12–24 hours.
- Check seals. Store sealed jars in a cool, dark place for up to 1 year.
How to Use Pear Jam
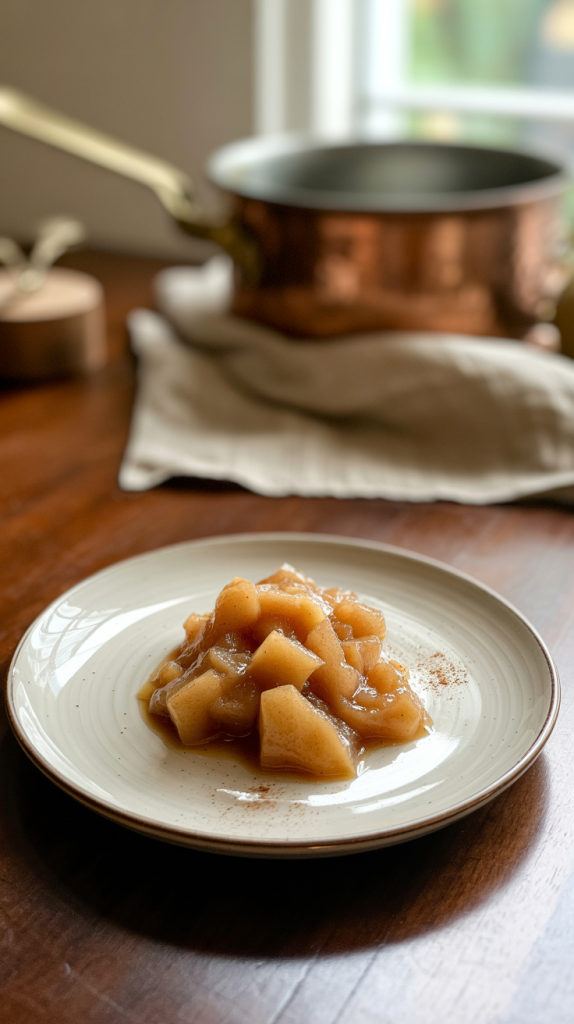
- Spread: Slather on toast, bagels, biscuits, or English muffins.
- Desserts: Use as a filling for thumbprint cookies, cake layers, or tarts.
- Savory Pairing: Serve with brie or sharp cheddar on crackers.
- Breakfast Boost: Stir into oatmeal, yogurt, or pancakes.
- Gifting: Add a custom label and ribbon for a homemade gift.
Variations to Try
1. Pear Vanilla Jam
- Add 1 vanilla bean (split and scraped) during cooking.
- Remove pod before jarring.
2. Pear and Apple Jam
- Use half apples and half pears for a fall-inspired preserve.
3. Pear Ginger Jam
- Grate 1 tablespoon of fresh ginger and add during the last 10 minutes of cooking.
4. Low-Sugar Pear Jam
- Reduce sugar to 1½ cups. Cook longer to reach desired thickness.
Storage and Shelf Life
| Storage Method | Duration |
|---|---|
| Refrigerator (unsealed) | 3 weeks |
| Canned (sealed) | 12 months |
| Freezer-safe containers | 6 months |
Frequently Asked Questions (FAQs)
Can I use unripe pears?
No. Ripe pears are essential for natural sweetness and correct texture.
Can I double the recipe?
Avoid doubling in one batch to ensure even cooking. Make separate batches instead.
Why didn’t my jam set?
Undercooking or using low-pectin pears without lemon juice can prevent proper gelling. Try recooking with added lemon juice or a bit of commercial pectin.
For the most luscious, golden, and richly flavored pear jam, follow this comprehensive method. Whether you preserve it or enjoy it fresh, this homemade pear jam will be a pantry favorite all year long.