The Best Fluffy Pancakes recipe you will fall in love with. Full of tips and tricks to help you make the best pancakes.
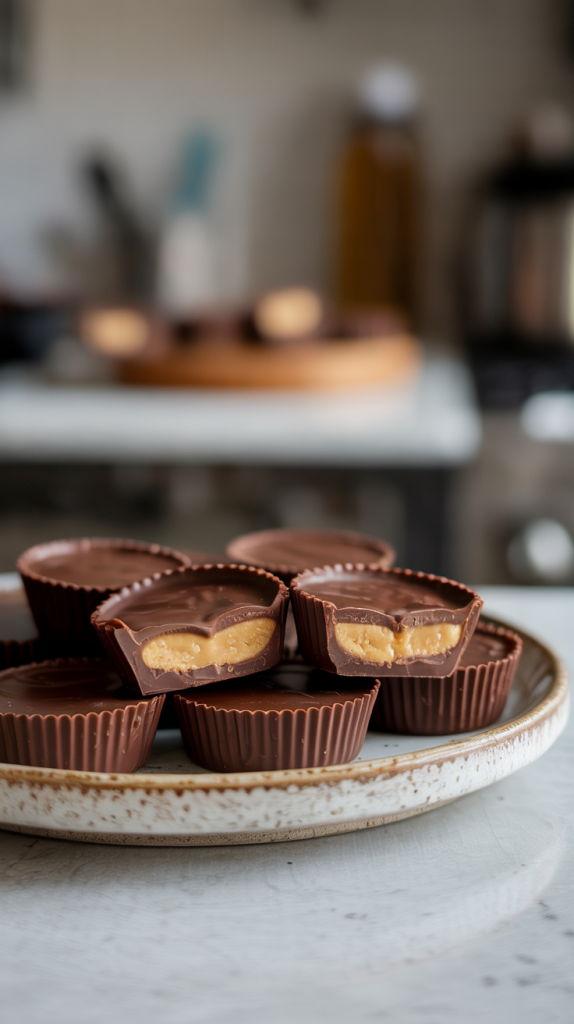
Indulging in the perfect balance of creamy peanut butter and rich chocolate doesn’t require a trip to the store. We’ve crafted the ultimate homemade Reese’s cups recipe that brings all the nostalgic flavor, enhanced by superior ingredients and a simple step-by-step process.
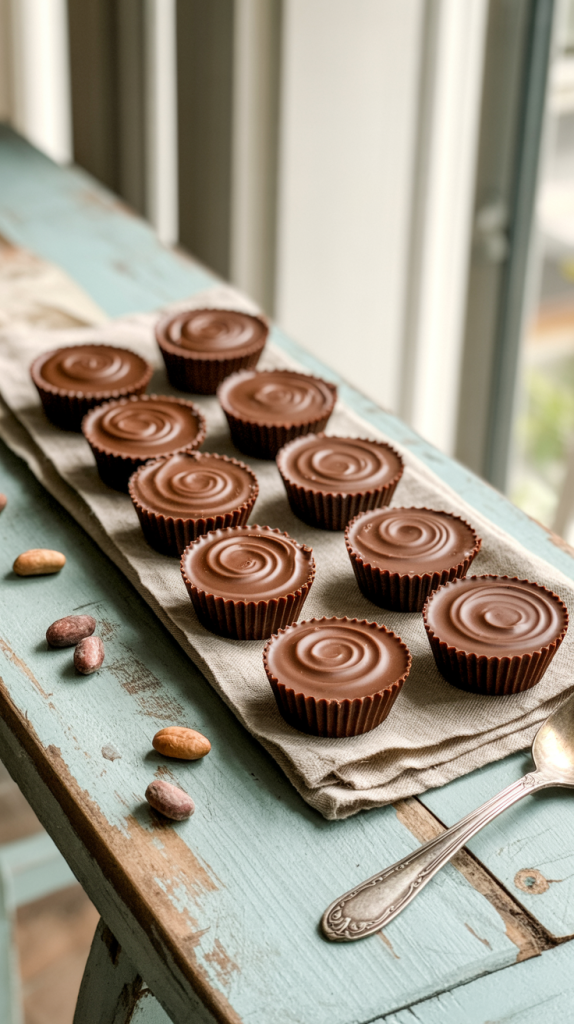
Why Our Homemade Reese’s Cups Are Superior
When it comes to peanut butter and chocolate, texture, taste, and quality are key. Our homemade version boasts:
- Thick, smooth chocolate layers
- A velvety, sweet-and-salty peanut butter filling
- Customizable sweetness and size
- No preservatives or artificial ingredients
Ingredients: Simple, High-Quality Staples
To ensure the best flavor and texture, we recommend using high-quality ingredients.
For the Chocolate Coating:
- 2 ½ cups semi-sweet chocolate chips (or dark chocolate for richer flavor)
- 1 tbsp coconut oil (optional, for smoother melting)
For the Peanut Butter Filling:
- 1 cup creamy peanut butter (natural or no-stir)
- ¼ cup unsalted butter, melted
- ½ cup powdered sugar
- ¼ tsp sea salt (omit if peanut butter is salted)
- ½ tsp vanilla extract
Step-by-Step Instructions
1. Prep Your Equipment
- Line a 12-cup muffin tin with paper or silicone liners.
- Alternatively, use mini muffin tins for bite-sized cups.
2. Melt the Chocolate
- In a heatproof bowl, melt chocolate chips and coconut oil over a double boiler or microwave in 30-second intervals.
- Stir until smooth and glossy.
3. Make the Peanut Butter Filling
- In a separate bowl, combine peanut butter, melted butter, powdered sugar, salt, and vanilla.
- Mix until a thick, dough-like consistency forms.
4. Assemble the Layers
- Spoon 1 tbsp of melted chocolate into each muffin liner.
- Tap the tin to spread the chocolate evenly.
- Freeze for 10 minutes.
5. Add Peanut Butter Layer
- Roll peanut butter mixture into flat discs, slightly smaller than the liners.
- Place one disc over each hardened chocolate base.
- Freeze for 5 more minutes.
6. Top With More Chocolate
- Spoon another tbsp of melted chocolate over the peanut butter layers.
- Tap to smooth and seal.
- Chill for 30 minutes or until fully set.
Storage Tips for Optimal Freshness
- Refrigerator: Store in an airtight container for up to 2 weeks.
- Freezer: Freeze in a zip-top bag for up to 3 months. Thaw for 5 minutes before enjoying.
Variations to Elevate Your Reese’s Cups
1. Dark Chocolate Espresso Cups
- Add ½ tsp espresso powder to the chocolate for a rich, deep flavor.
2. Crunchy Peanut Butter Swirl
- Use crunchy peanut butter or stir in chopped roasted peanuts.
3. Sea Salt Flakes Finish
- Sprinkle sea salt flakes over the top before the chocolate hardens for a gourmet touch.
4. White Chocolate Twist
- Replace dark chocolate with white chocolate for a sweeter, creamier variation.
Homemade vs. Store-Bought: A Side-by-Side
Comparison
| Feature | Homemade Reese’s Cups | Store-Bought Reese’s Cups |
|---|---|---|
| Ingredients | Natural, customizable | Preservatives, additives |
| Sweetness Control | Fully adjustable | Pre-determined |
| Texture | Creamier, thicker | Uniform, processed |
| Freshness | Made to order | Mass-produced |
| Customization | Endless flavor options | Limited varieties |
Expert Tips for Perfect Reese’s Cups Every Time
- Use Silicone Molds: For easy release and professional finish.
- Avoid Overheating Chocolate: Stir gently to prevent burning or seizing.
- Balance the Layers: Keep the peanut butter layer slightly thinner than the chocolate for best bite.
- Let Sit Before Unmolding: Rest at room temperature for 5 minutes to prevent cracking.
Perfect Occasions to Serve These Treats
- Holiday platters
- Party favors
- School bake sales
- Edible gifts
- Late-night cravings
Conclusion: A Classic Candy, Made Better
Our homemade Reese’s cups deliver unmatched flavor, satisfying texture, and total control over ingredients. Whether you’re a fan of classic combos or love to experiment, this recipe is the ultimate foundation for your chocolate-peanut butter dreams