
My planner drawer had officially become a black hole. Loose washi tape rolls unraveling into a sticky tangle, a graveyard of dried-out markers I kept meaning to test and throw away, sticky notes stuck to everything except where I actually wanted them, and stickers scattered so randomly I’d usually just give up and buy a new sheet rather than dig through the chaos to find the ones I already owned. Planning, which was supposed to help me feel organized, had become its own little source of daily frustration.
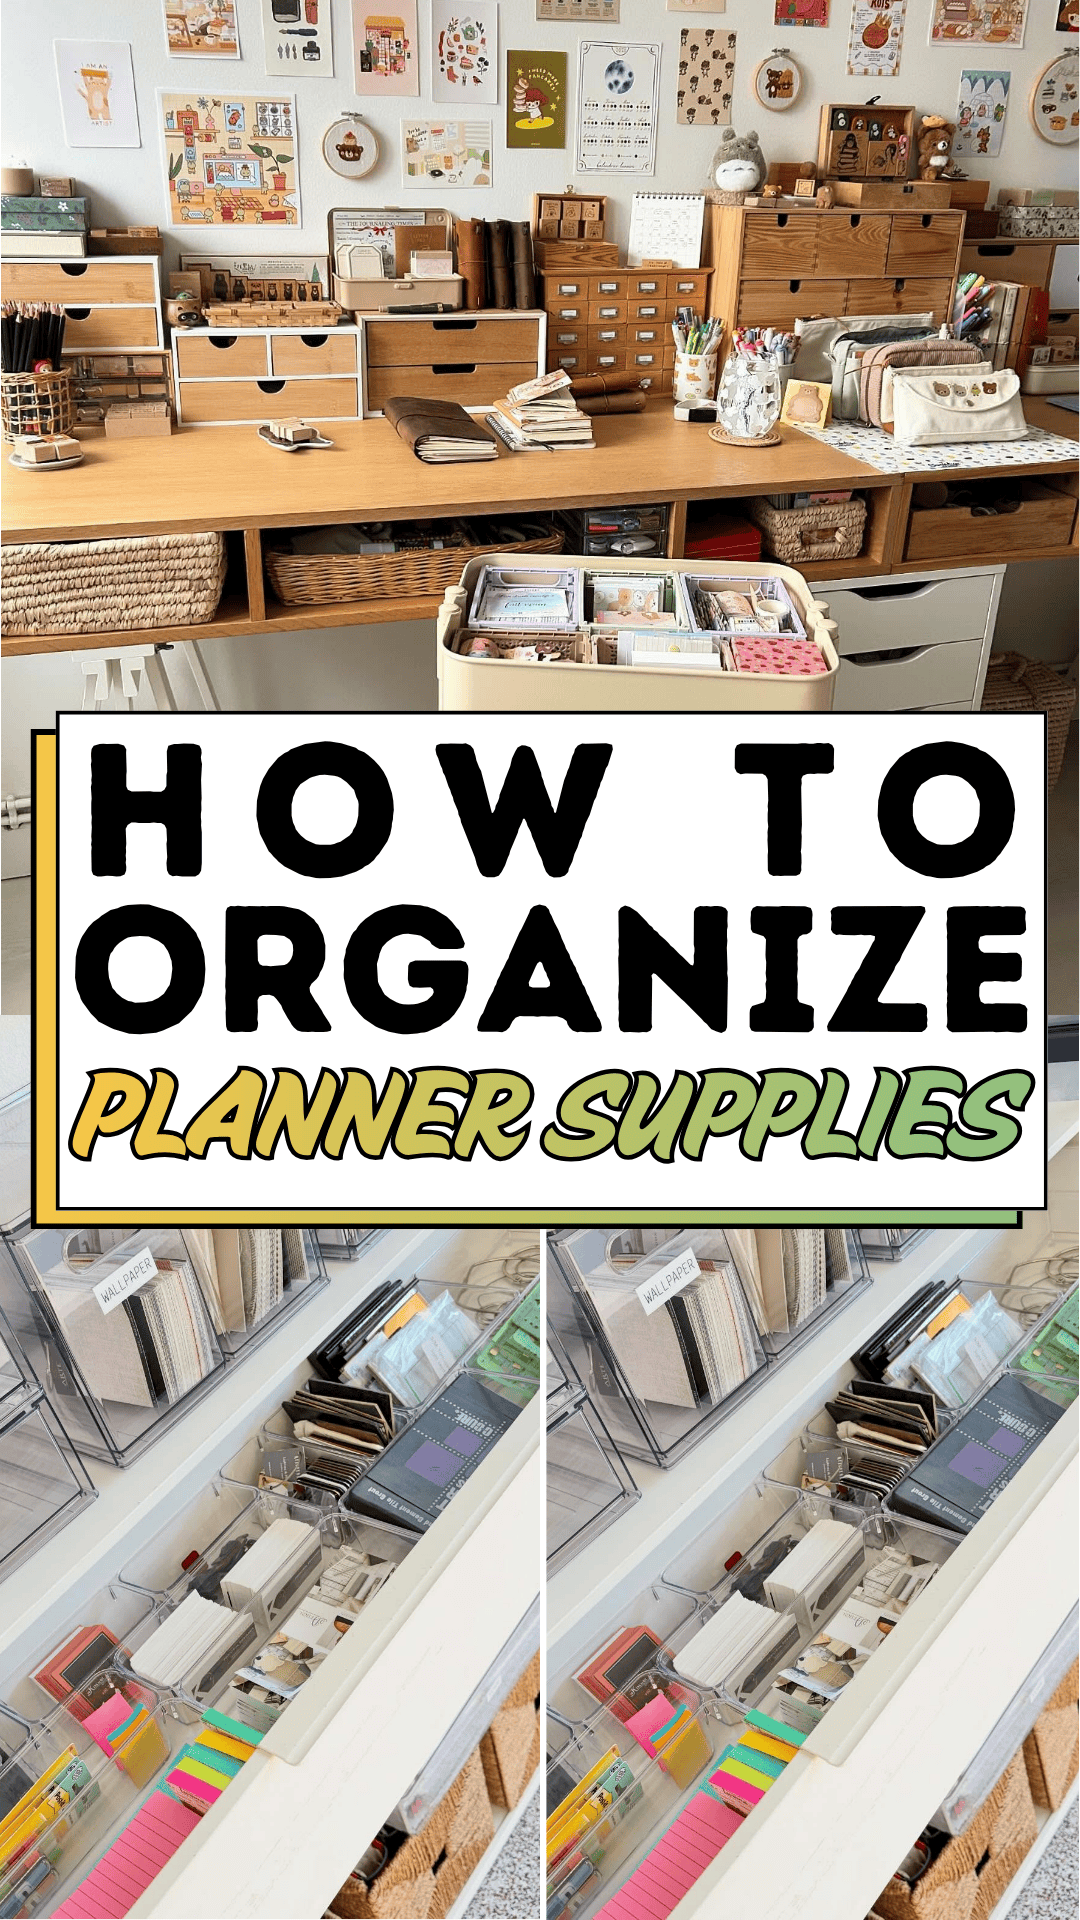
If you’ve ever opened a drawer or bag full of planner supplies and immediately felt your shoulders tense up, you know exactly that feeling. It’s a strange kind of irony: the tools meant to bring order to your week end up living in complete disorder themselves. The good news is that fixing it doesn’t require an elaborate system or expensive organizers. It just requires the right containers, sorted with intention, so every supply actually has a home.
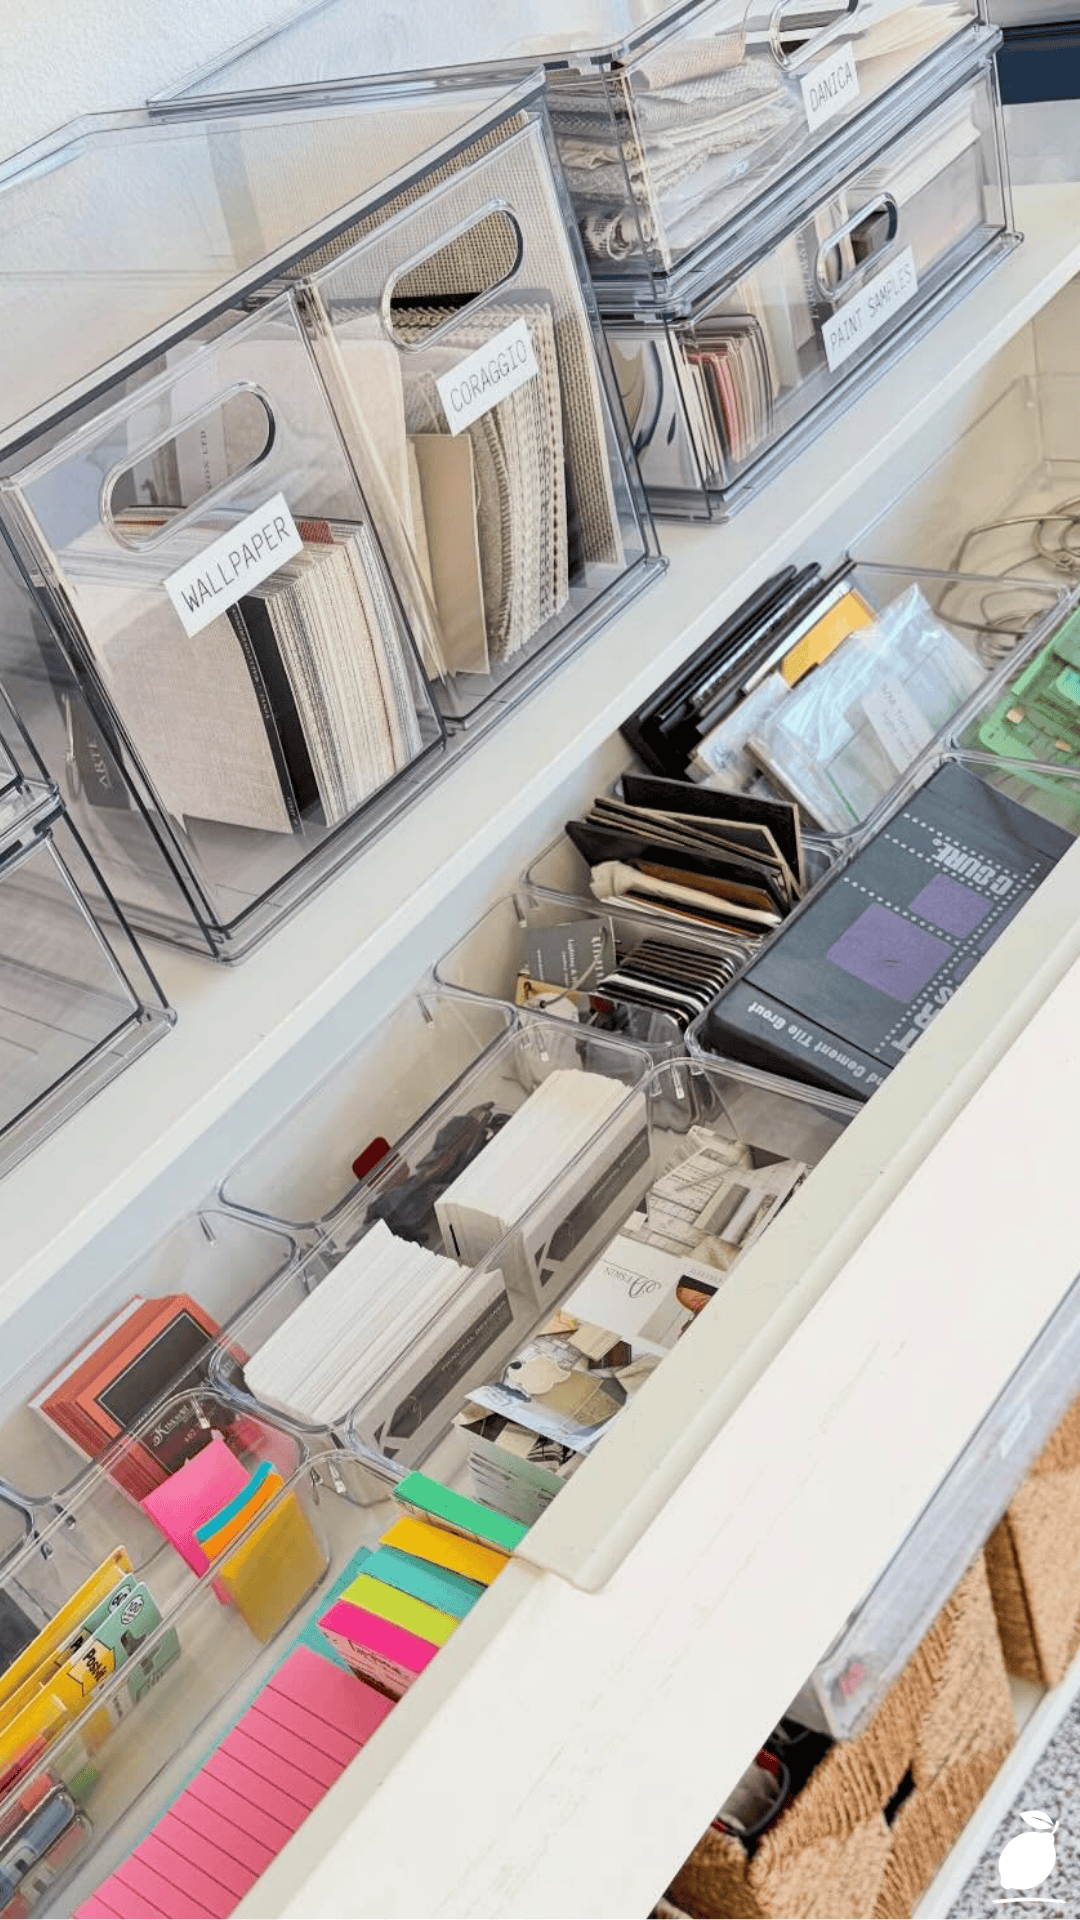
That’s exactly what I saw in a photo that reset my whole approach: a clean white storage unit with clear pull-out drawers, each one clearly labeled and sorted one for paper and dividers, one for folders and tools, one for colorful sticky notes grouped neatly together. Nothing was hidden, nothing was tangled, and everything had an obvious place. That image became my blueprint for finally getting my own planner supplies under control. Here’s exactly how to do it yourself.
The Planner Supplies Blueprint
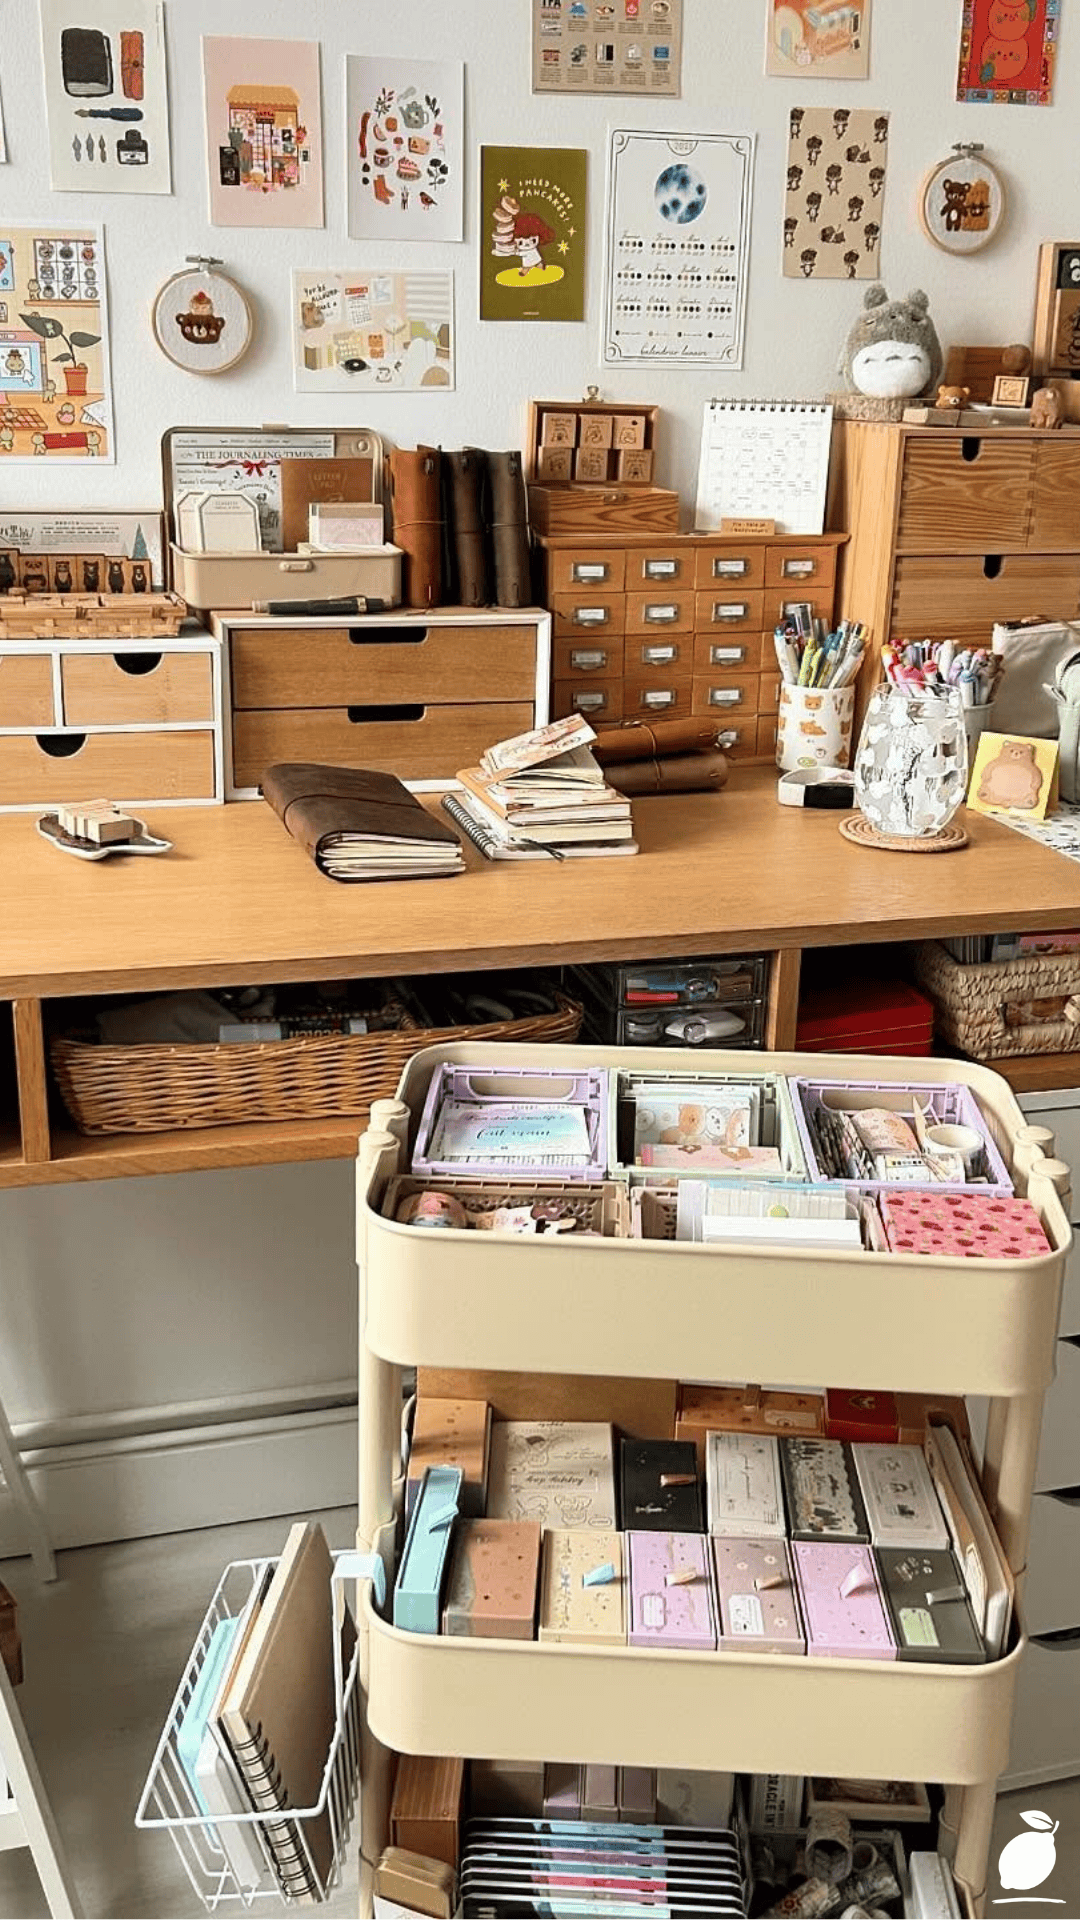
Organizing planner supplies is really just a matter of sorting, containing, and labeling in the right order. Follow these steps to turn a chaotic drawer into a system you’ll actually maintain.
Step 1: Empty Everything First
Before organizing anything, remove every planner supply from wherever it currently lives drawers, bags, boxes and lay it all out in one visible space. You can’t build an effective planner supplies system without first seeing the full scope of what you actually own.
Step 2: Sort Into Broad Categories
Group items into general categories: writing tools (pens, markers, highlighters), adhesive items (washi tape, stickers, sticky notes), paper goods (inserts, dividers, notepads), and small tools (scissors, rulers, hole punches). This first sort makes the next steps much faster.
Step 3: Purge Dried-Out or Unused Items
Test every marker and pen, and be honest about what you actually use versus what’s been sitting untouched for months. Removing dead or unwanted supplies before organizing prevents you from building a system around clutter you don’t need.
Step 4: Choose the Right Containers
Select clear, stackable drawers or bins sized appropriately for each category: small dividers for stickers and washi tape, deeper drawers for paper goods and folders, and a designated spot for pens and tools. Clear containers make it easy to see contents at a glance without digging.
Step 5: Assign One Category Per Drawer or Bin
Dedicate each drawer or bin to a single category rather than mixing supply types, following the same principle as separating paper goods, general office tools, and sticky notes into their own distinct sections.
Step 6: Label Everything Clearly
Add simple, clear labels to each drawer or bin, whether handwritten, printed, or from a label maker. Labels make it easy for you (and anyone else in the household) to put things back in the right spot without guessing.
Step 7: Position Frequently Used Items for Easy Access
Place your most-used supplies, like everyday pens or your current stack of stickers, in the most accessible drawers, reserving less-used or seasonal items for lower or less convenient spots.
Step 8: Build in a Regular Maintenance Habit
Set a recurring reminder, monthly or seasonally, to quickly reassess your system — purging dried-out supplies, restocking low categories, and adjusting labels as your planning habits evolve.
Expert Secrets for Success
Pro-Tips for a Better Result
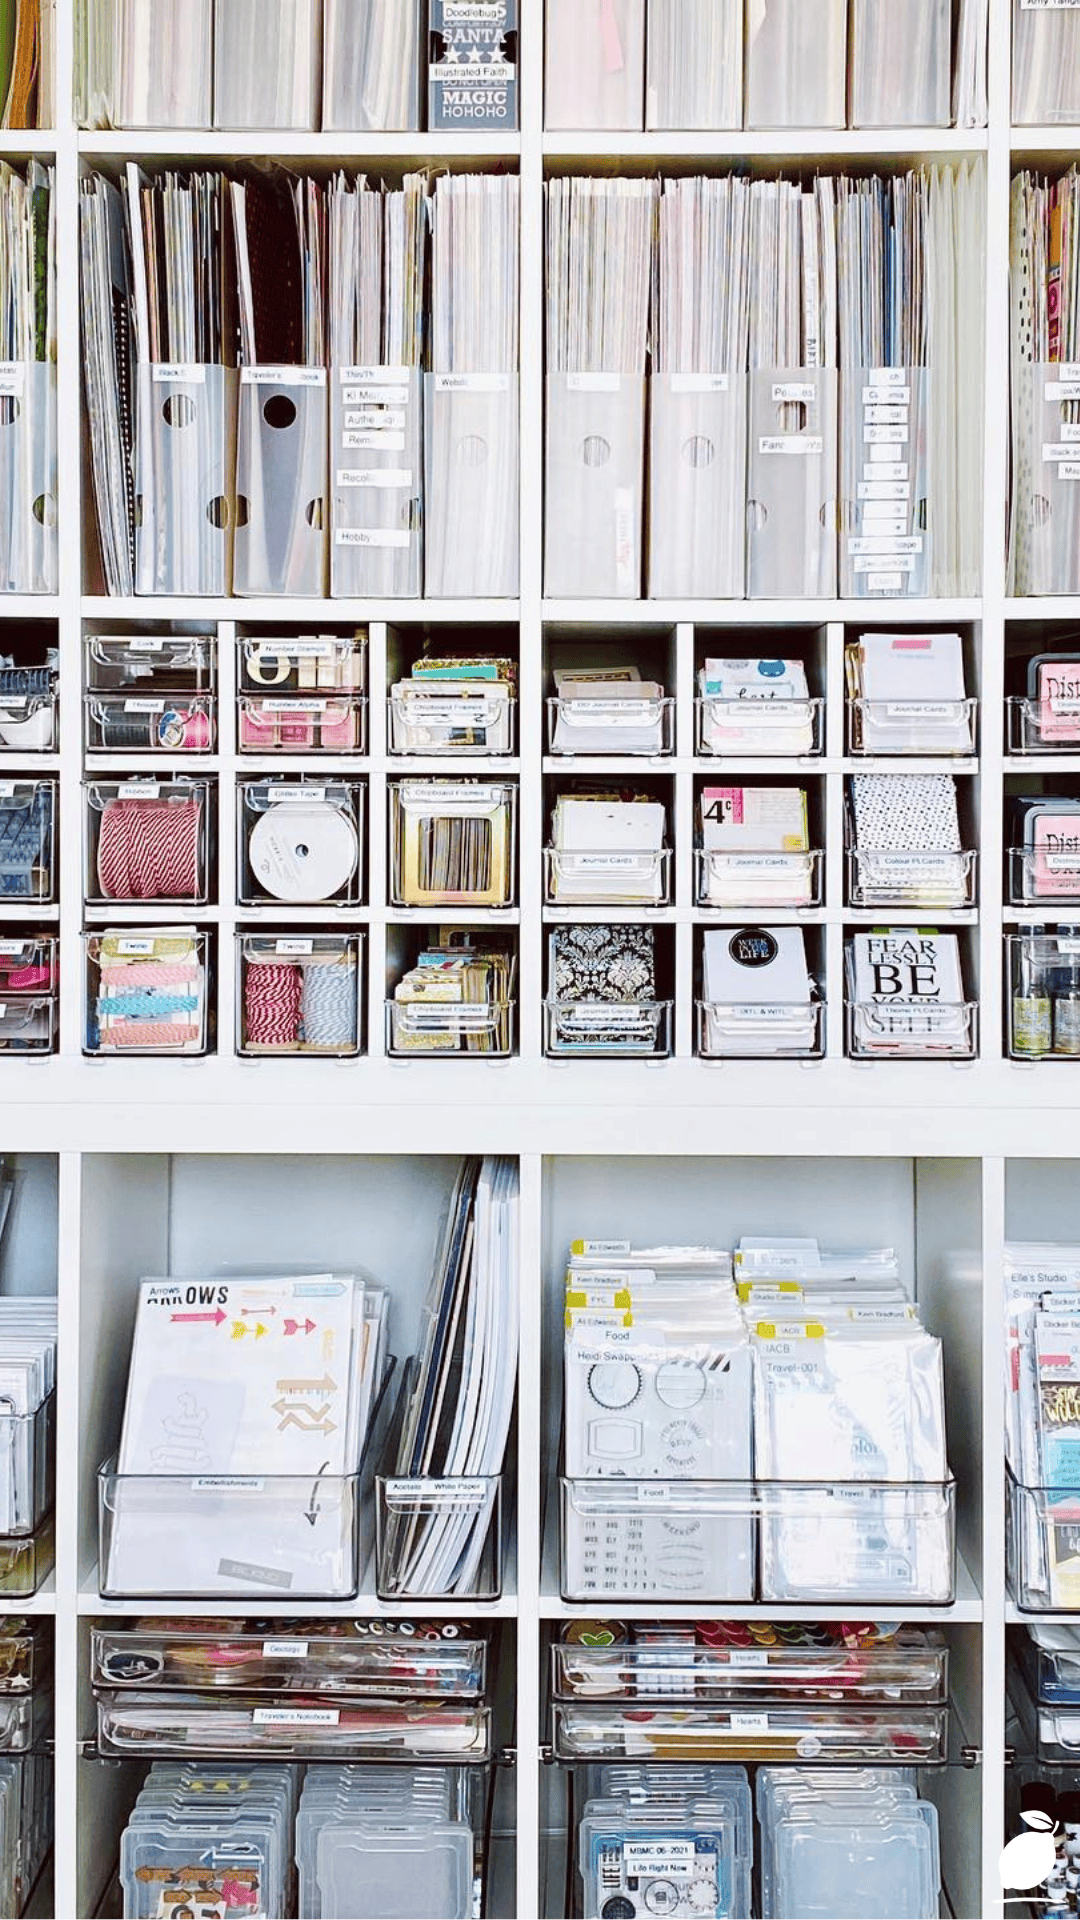
- Use small dividers within larger drawers to prevent loose items like paper clips or washi tape from sliding around and remixing with other categories.
- Choose uniform, stackable containers when possible, since consistent sizing makes your whole planner supplies system look more cohesive and maximizes available storage space.
- Store washi tape rolls vertically in a small cup or divider rather than loose in a drawer, preventing them from unraveling and tangling together.
- Keep a small “current project” tray separate from your main storage system for supplies you’re actively using, so daily planning doesn’t require digging through the full organized set each time.
Common Mistakes to Avoid
- Don’t skip the purge step; organizing planner supplies you don’t actually need just results in a tidier version of the same problem.
- Avoid mixing multiple supply categories in a single drawer without dividers; even a labeled drawer becomes messy again quickly without internal structure.
- Don’t choose containers before sorting your supplies; buying organizational tools first often leads to mismatched sizes that don’t actually fit what you own.
- Resist skipping labels, even if the system feels obvious to you right now; labels prevent the slow drift back into disorganization over time.
Why Planner Supplies Matter
An organized planner supply station does more than look tidy; it removes a small but real daily friction point from your routine. When every pen, sticker, and sticky note has an obvious home, sitting down to plan your week becomes a calm, enjoyable ritual instead of a mildly irritating scavenger hunt through a messy drawer.
For families, a well-organized planner supplies system also sets a quiet example of order that tends to spread to other areas of the home. There’s a specific kind of mental clarity that comes from opening a drawer and finding exactly what you expect, exactly where you left it. That small, consistent sense of control adds up to real peace of mind, one organized drawer at a time.
FAQ
What’s the best type of storage for planner supplies?
Clear, stackable drawers or bins with dividers work especially well, since they let you see contents at a glance while keeping different supply categories physically separated.
How often should I reorganize my planner supplies?
A quick monthly or seasonal check-in is usually enough to purge unused items, restock low supplies, and keep the system running smoothly without requiring a full overhaul each time.
How do I keep washi tape from getting tangled in storage?
Storing washi tape rolls upright in a small cup, divider, or dedicated organizer keeps them from rolling around and unraveling against other supplies in a drawer.
Should I organize supplies by type or by how often I use them?
A hybrid approach works well for most people: organize broadly by type (pens, stickers, paper goods), then position your most frequently used items within each category in the most accessible spots.
What should I do with planner supplies I no longer use?
Consider donating gently used, unopened supplies to a school, community center, or friend, while dried-out markers or damaged items can simply be discarded to free up space for what you actually use.







