
It’s 8:15 on a Tuesday morning, and you’re rummaging through a wall of half-empty containers, trying to find the creamer before your coffee goes cold. A jar of something unidentifiable sits behind three condiment bottles you forgot you owned. There’s a suspicious smell you’ve been ignoring for two days now, and somewhere in the back, a bag of spinach has quietly turned into a science experiment. You grab the creamer, close the door, and promise yourself, not for the first time, that this weekend you’re finally dealing with the fridge.
If this sounds like your kitchen, you’re in very good company. The refrigerator is one of the hardest-working appliances in the house, and also one of the easiest to neglect. It’s opened dozens of times a day, restocked in a rush, and rarely given a proper reset until something starts smelling off or a shelf gets so crowded that items start tumbling out when the door opens. We don’t ignore it because we don’t care; we ignore it because life moves fast, and a truly organized fridge feels like a project that never quite makes it to the top of the list.
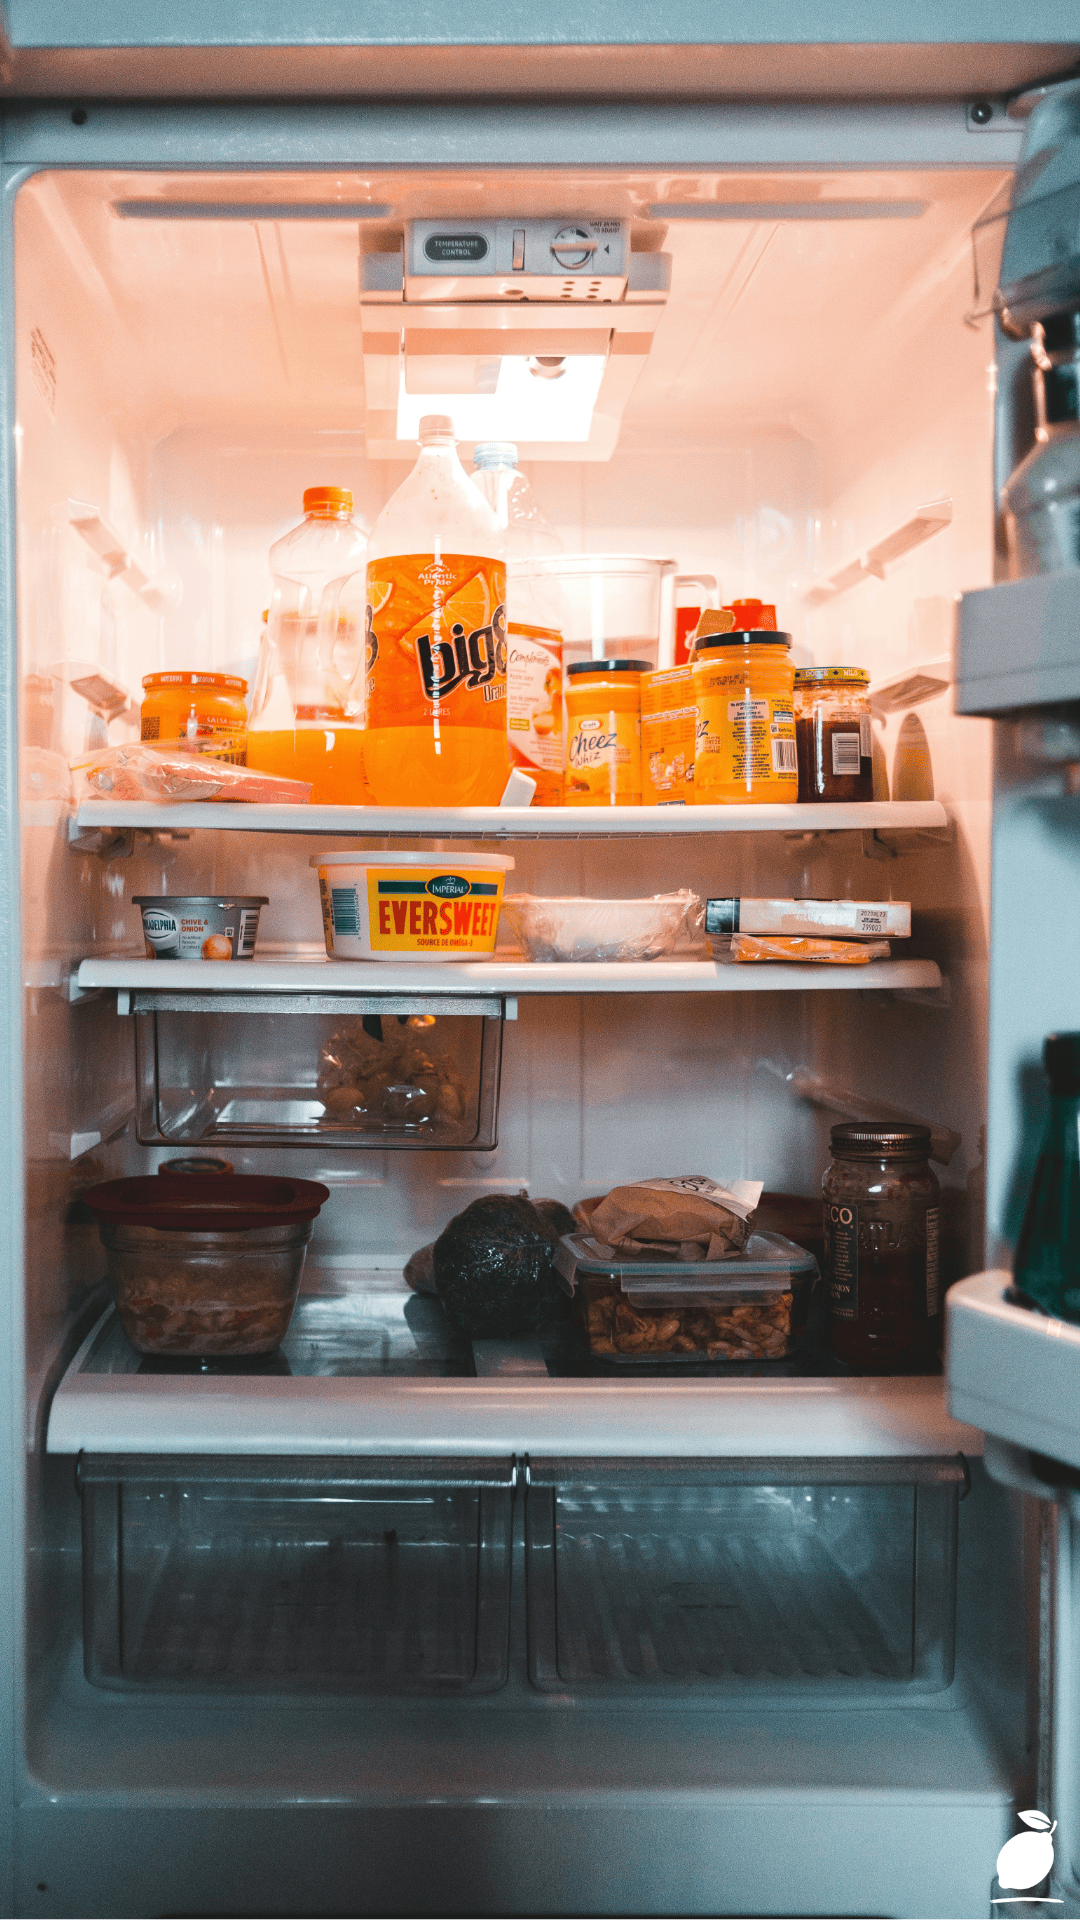
Now picture the alternative: an open fridge glowing with warm, even light, every shelf visible and easy to scan. Bright orange beverages lined up neatly on the top shelf. A clear, clearly labeled container holding leftovers on the middle shelf, next to other food stored in matching containers instead of a jumble of mismatched takeout boxes. Dark, sturdy drawers at the bottom holding produce out of sight but easy to reach. Nothing hidden, nothing forgotten, nothing growing mold in a back corner. That kind of fridge isn’t a fantasy; it’s simply the result of a system, and building your own version of it is exactly what this fridge blueprint will walk you through.
The Fridge Blueprint
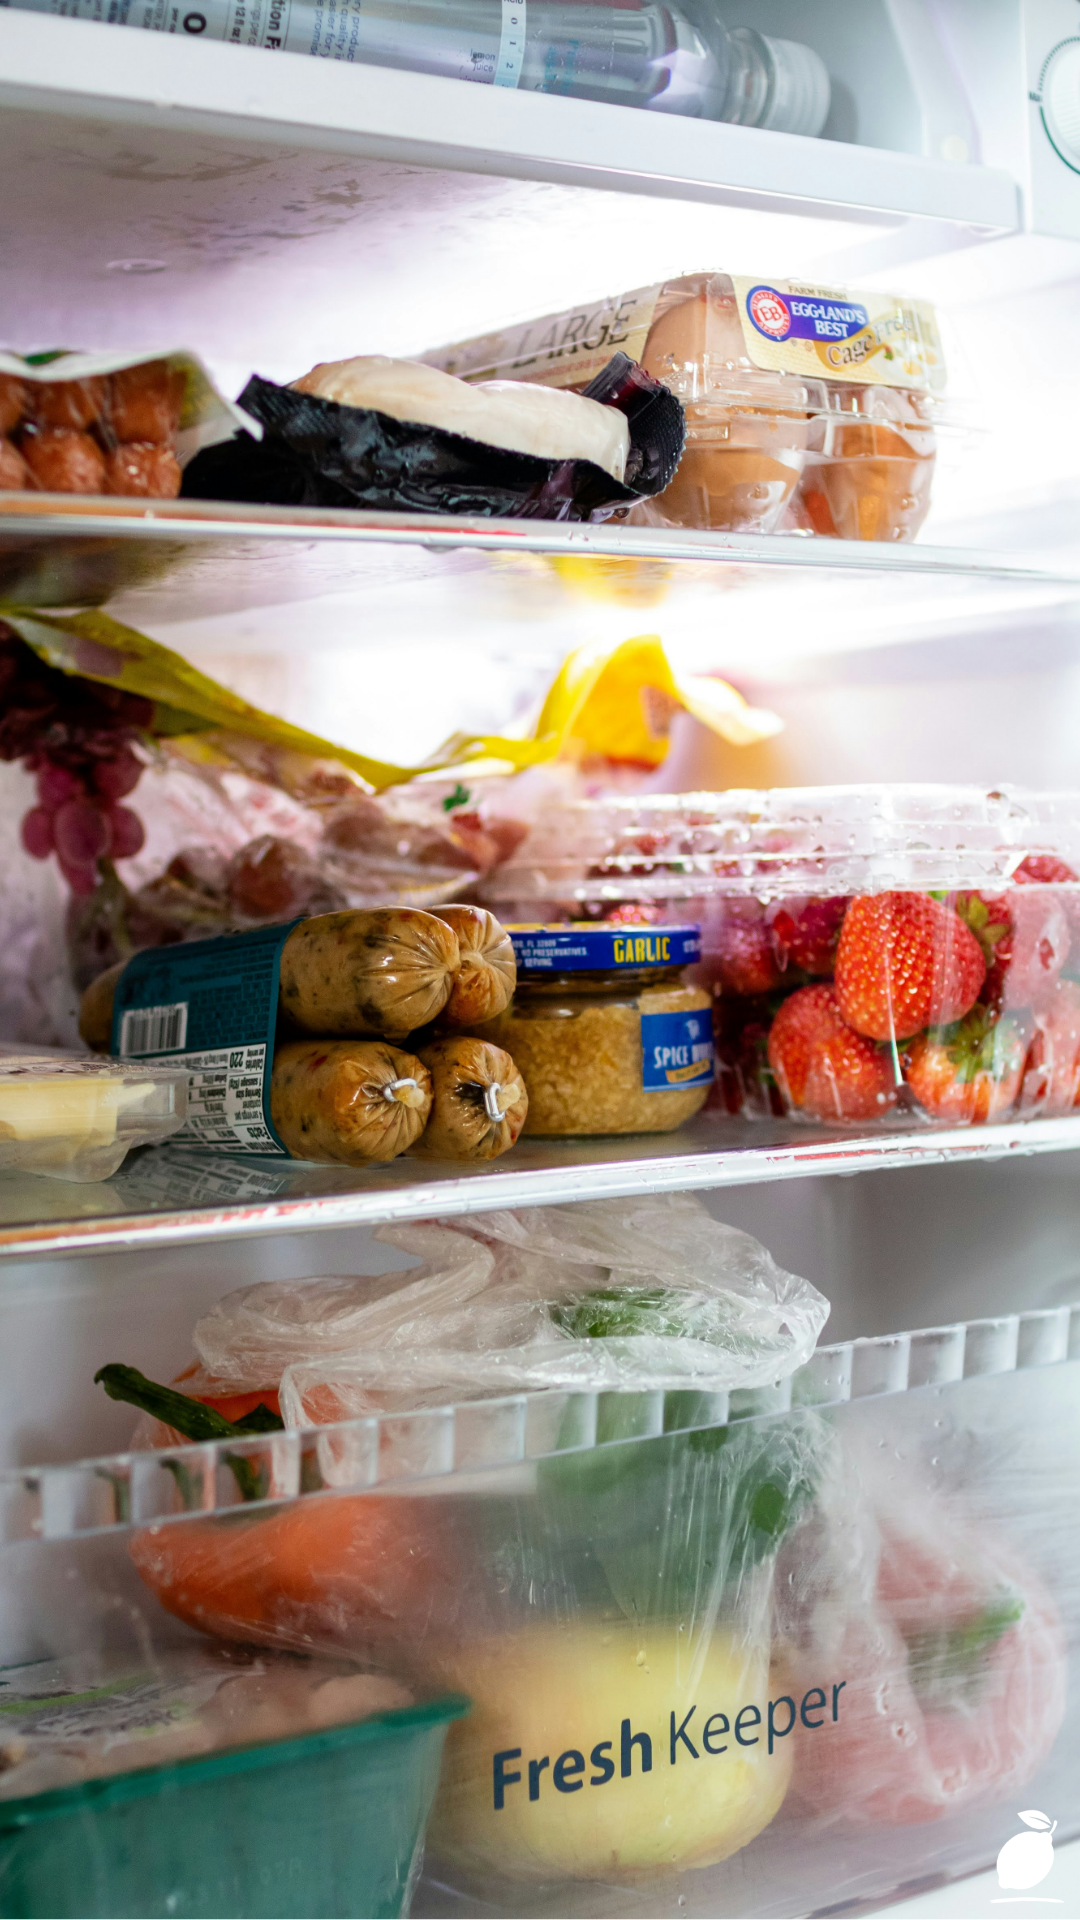
Getting your fridge from chaotic to calm doesn’t require a full day or a professional organizer just a clear sequence and about an hour of focused effort.
Step 1: Empty It Completely
Pull everything out, including shelves and drawers if they’re removable, and set items on your counter in rough groups (condiments, dairy, produce, leftovers). This is the only way to truly see everything you’re working with and to spot anything expired hiding in the back.
Step 2: Check Dates and Toss Expired Items
Go through every item and check expiration dates, smell tests for anything questionable, and general freshness. Be honest and a little ruthless here; an empty jar or a suspicious leftover isn’t doing you any favors by staying another week.
Step 3: Wash Shelves, Drawers, and Interior Walls
Wash removable shelves and drawers in warm, soapy water, and wipe down the interior walls and door with a gentle all-purpose cleaner or a mix of water and baking soda. Let everything dry completely before you start putting anything back inside.
Step 4: Assign Zones for Different Food Types
Decide on a simple zoning system: top shelf for ready-to-eat items and beverages, middle shelf for leftovers and dairy, bottom shelf or drawers for raw meat (to prevent drips onto other food), and dedicated drawers for produce. Clear zones are dramatically easier to maintain than a layout organized purely by “wherever it fits.”
Step 5: Decant Into Clear, Matching Containers
Transfer loose items, opened packages, and leftovers into clear, uniform containers wherever possible. A shelf full of matching, see-through containers isn’t just prettier; it’s genuinely easier to scan at a glance, which means less digging and less food quietly going to waste.
Step 6: Label and Restock with Intention
Add simple labels to containers that hold leftovers or bulk items, noting contents and the date they were made or opened. Restock according to your new zones, placing the items you use most often at eye level for easy access.
Step 7: Set a Weekly Fridge Maintenance Ritual
Pick one recurring day, often right before grocery shopping, to do a five-minute fridge check: toss anything expired, wipe up spills, and do a quick reset of your zones. A well-organized fridge stays that way far more easily with this small weekly habit.
Expert Secrets for Success
Pro-Tips for a Better Result
A well-run fridge depends on a handful of small, consistent habits.
- Keep the temperature between 35–38°F (1.7–3.3°C). Too warm accelerates spoilage, while too cold can freeze produce unexpectedly.
- Use a deodorizer or an open box of baking soda. This absorbs lingering odors between deep cleans and keeps things smelling neutral rather than like last week’s leftovers.
- Store raw meat on the bottom shelf. This prevents any drips from contaminating food stored below it.
- Do a quick wipe-down of spills immediately. Fresh spills clean up in seconds; dried, sticky spills can take real scrubbing later.
Common Mistakes to Avoid
Even a well-intentioned fridge organization project can go sideways with a few common missteps.
- Overpacking every shelf. A crammed interior restricts airflow, which actually makes it harder for the appliance to keep food evenly cool.
- Ignoring the door shelves. These experience the most temperature fluctuation, so they’re best reserved for condiments and drinks, not dairy or eggs.
- Skipping regular expiration checks. Waiting for a smell to prompt a fridge clean-out means food (and money) has already been wasted.
- Using opaque containers for everything. If you can’t see what’s inside without opening it, items get forgotten at the back far more easily.
Why Your Fridge Matters
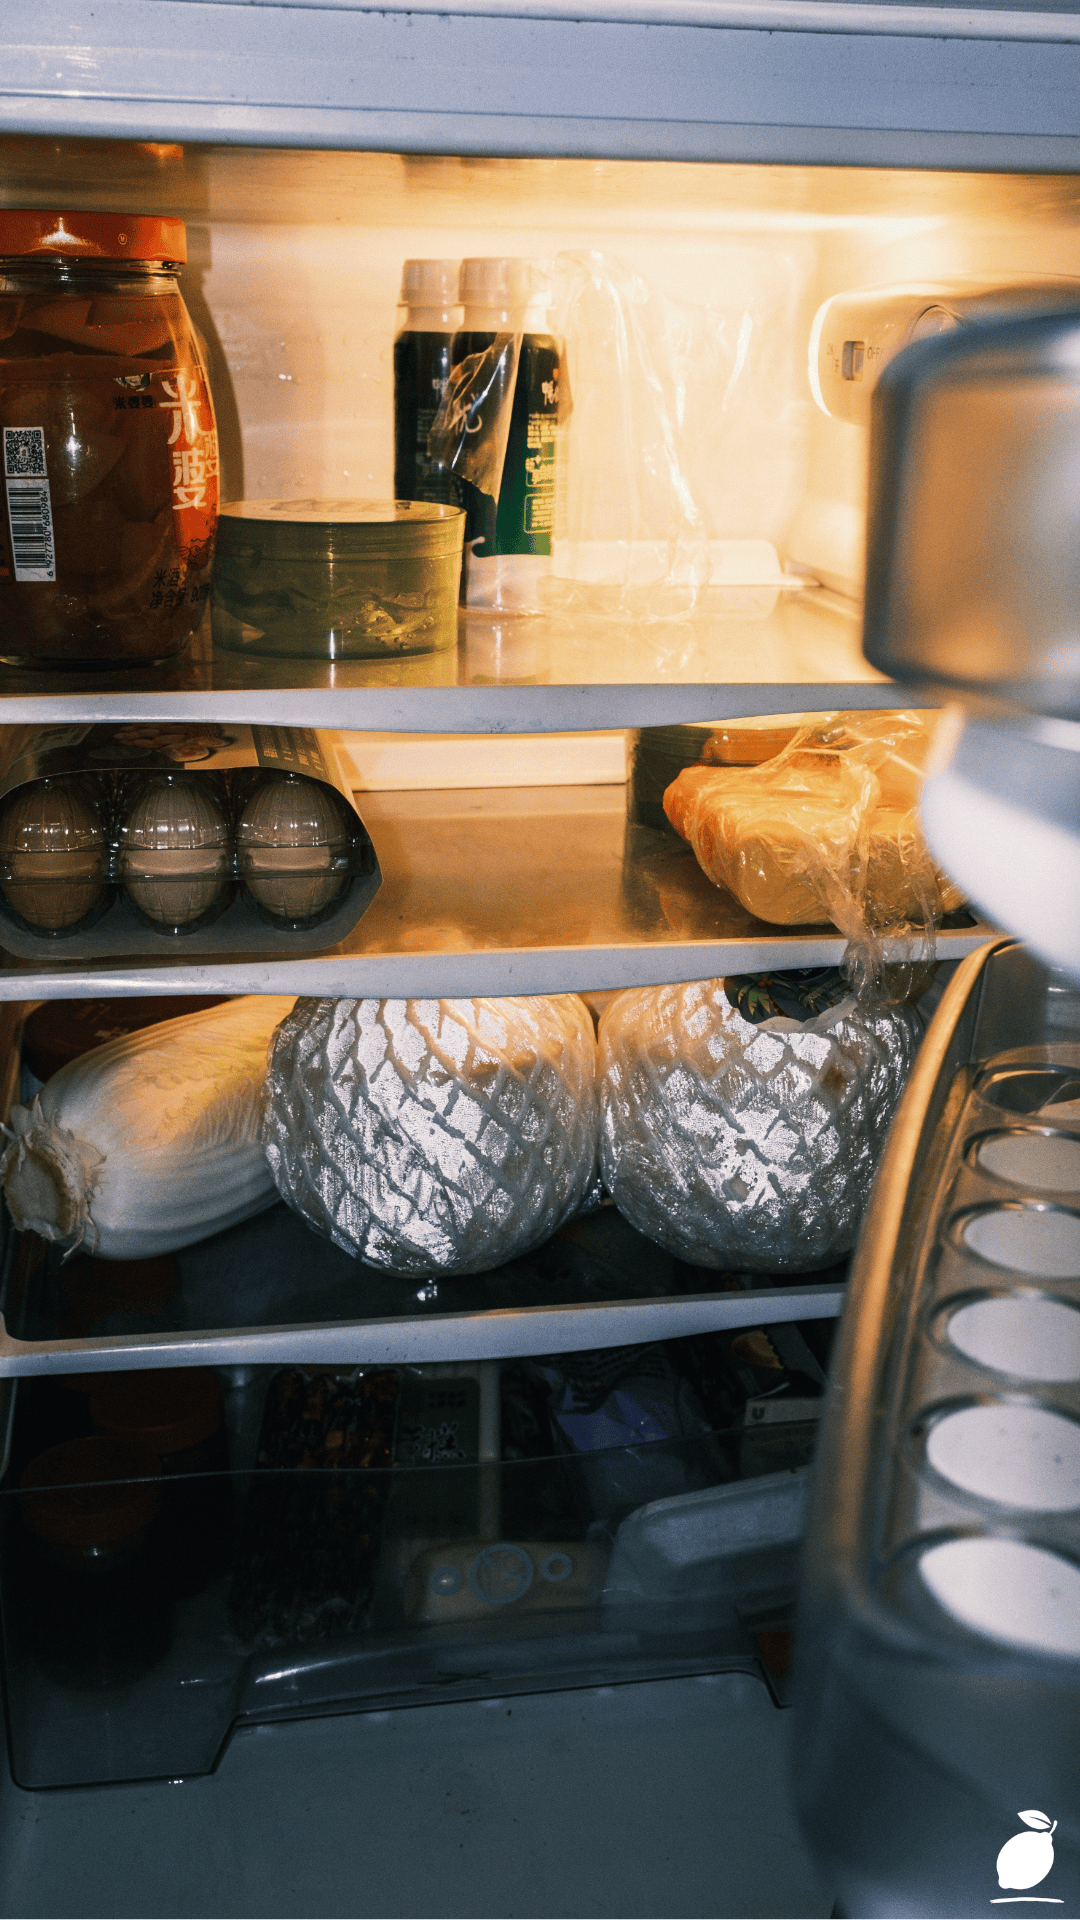
It’s easy to underestimate how much a chaotic fridge quietly weighs on you. Every time you open the door and can’t find what you need, every time something goes bad before you get to use it, every time you have to shuffle three containers just to reach the milk, it’s a small frustration. But small frustrations, repeated multiple times a day, every single day, add up to real mental clutter.
An organized one, on the other hand, becomes a quiet source of calm. You know exactly where things are. Meals come together faster. Less food goes to waste, which eases both the household budget and that low-grade guilt of throwing away good groceries. A refrigerator that works with you instead of against you gives everyone in the house, not just the person who did the organizing, a smoother, less stressful path through daily routines like packing lunches or getting dinner on the table. That’s the real reward behind this project: less friction in the mornings, more ease at dinnertime, and a little more peace built right into your kitchen.
FAQ
How often should I deep clean my fridge?
A full clean-out, including washing shelves and drawers, is generally recommended every one to three months. A quick five-minute maintenance check, however, is worth doing weekly to catch spills and expired items before they build up.
What’s the ideal temperature for a fridge?
Most food safety experts recommend keeping it between 35–38°F (1.7–3.3°C) and your freezer at or below 0°F (-18°C) to keep food safely preserved without unnecessary freezing.
What’s the best way to organize a small fridge?
In a smaller unit, prioritize clear, stackable containers and dedicated zones even more strictly than usual; vertical space becomes precious, so use uniform containers that stack neatly rather than bulky, mismatched ones.
Should I line my shelves with anything?
Yes, clear, washable shelf liners can catch spills before they reach the glass or wire shelving underneath, making the whole fridge noticeably faster to clean during regular maintenance.
How do I keep it smelling fresh between deep cleans?
An open box of baking soda or a dedicated deodorizer absorbs odors effectively between cleanings. Wiping up spills immediately and storing strong-smelling foods in sealed containers also goes a long way toward keeping your fridge smelling neutral.







