
Every serious DIYer knows the moment. You are mid-project, wood cut, glue open, one hand holding two pieces together, and you need that one screwdriver. The specific one, the #2 Phillips with the comfortable grip, not the three wrong ones you have already picked up and put down. It is in the garage somewhere. Probably. Maybe the bucket on the left side of the workbench. Possibly in the kitchen drawer where things migrate when a project spills indoors. Definitely not where it should be, because there is no “where it should be.” There is only the pile, the bucket, the drawer, and the slow burn of frustration that turns a weekend project from enjoyable into exhausting before it has properly begun.
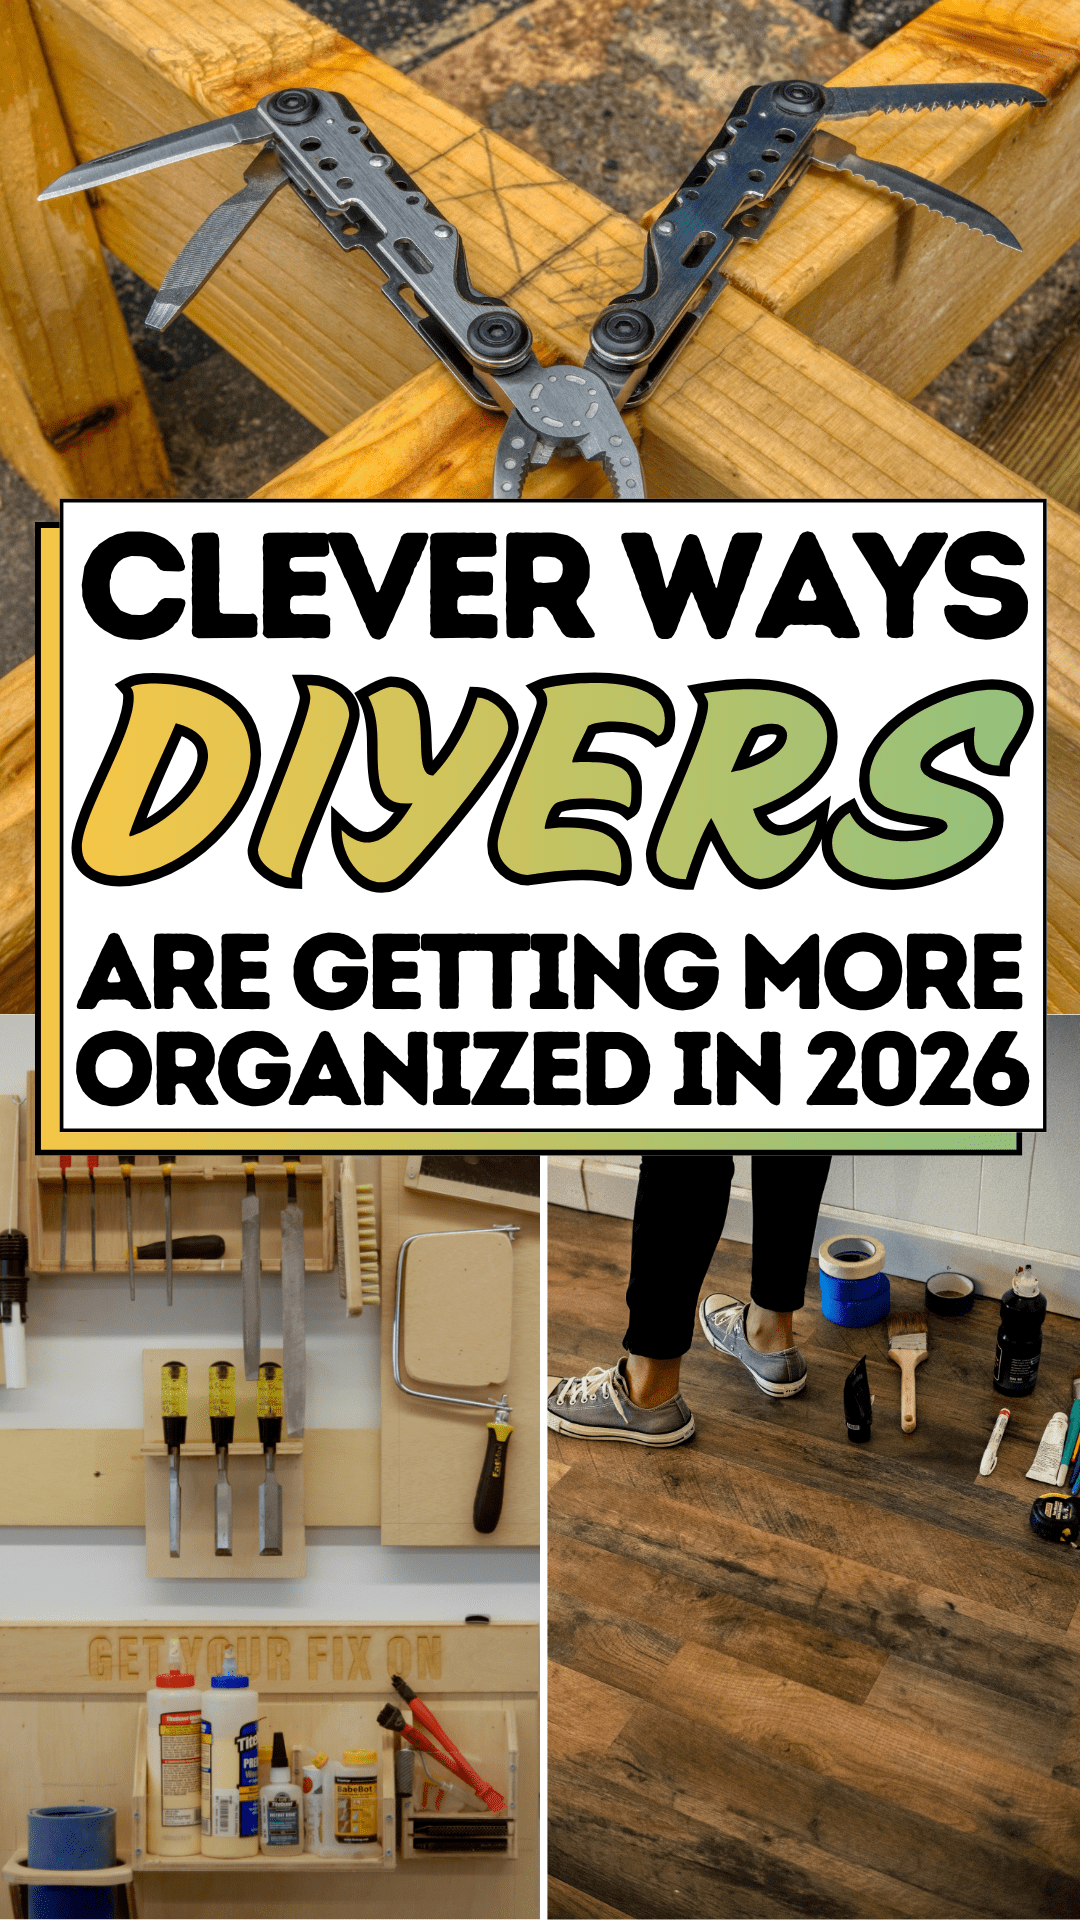
This is the hidden tax of a disorganized workshop, not the cost of lost tools or duplicated purchases, though those are real, but the accumulated minutes and mental energy spent searching, sorting, and reconstructing the context of a project every time you return to it. For DIYers who work on weekends, in stolen hours, in the narrow window between school pickup and dinner, that tax is enormous. An hour of available workshop time that begins with fifteen minutes of locating tools is not an hour of making. It is forty-five minutes of making, bookended by frustration. Multiply that across a season, and the loss is significant.
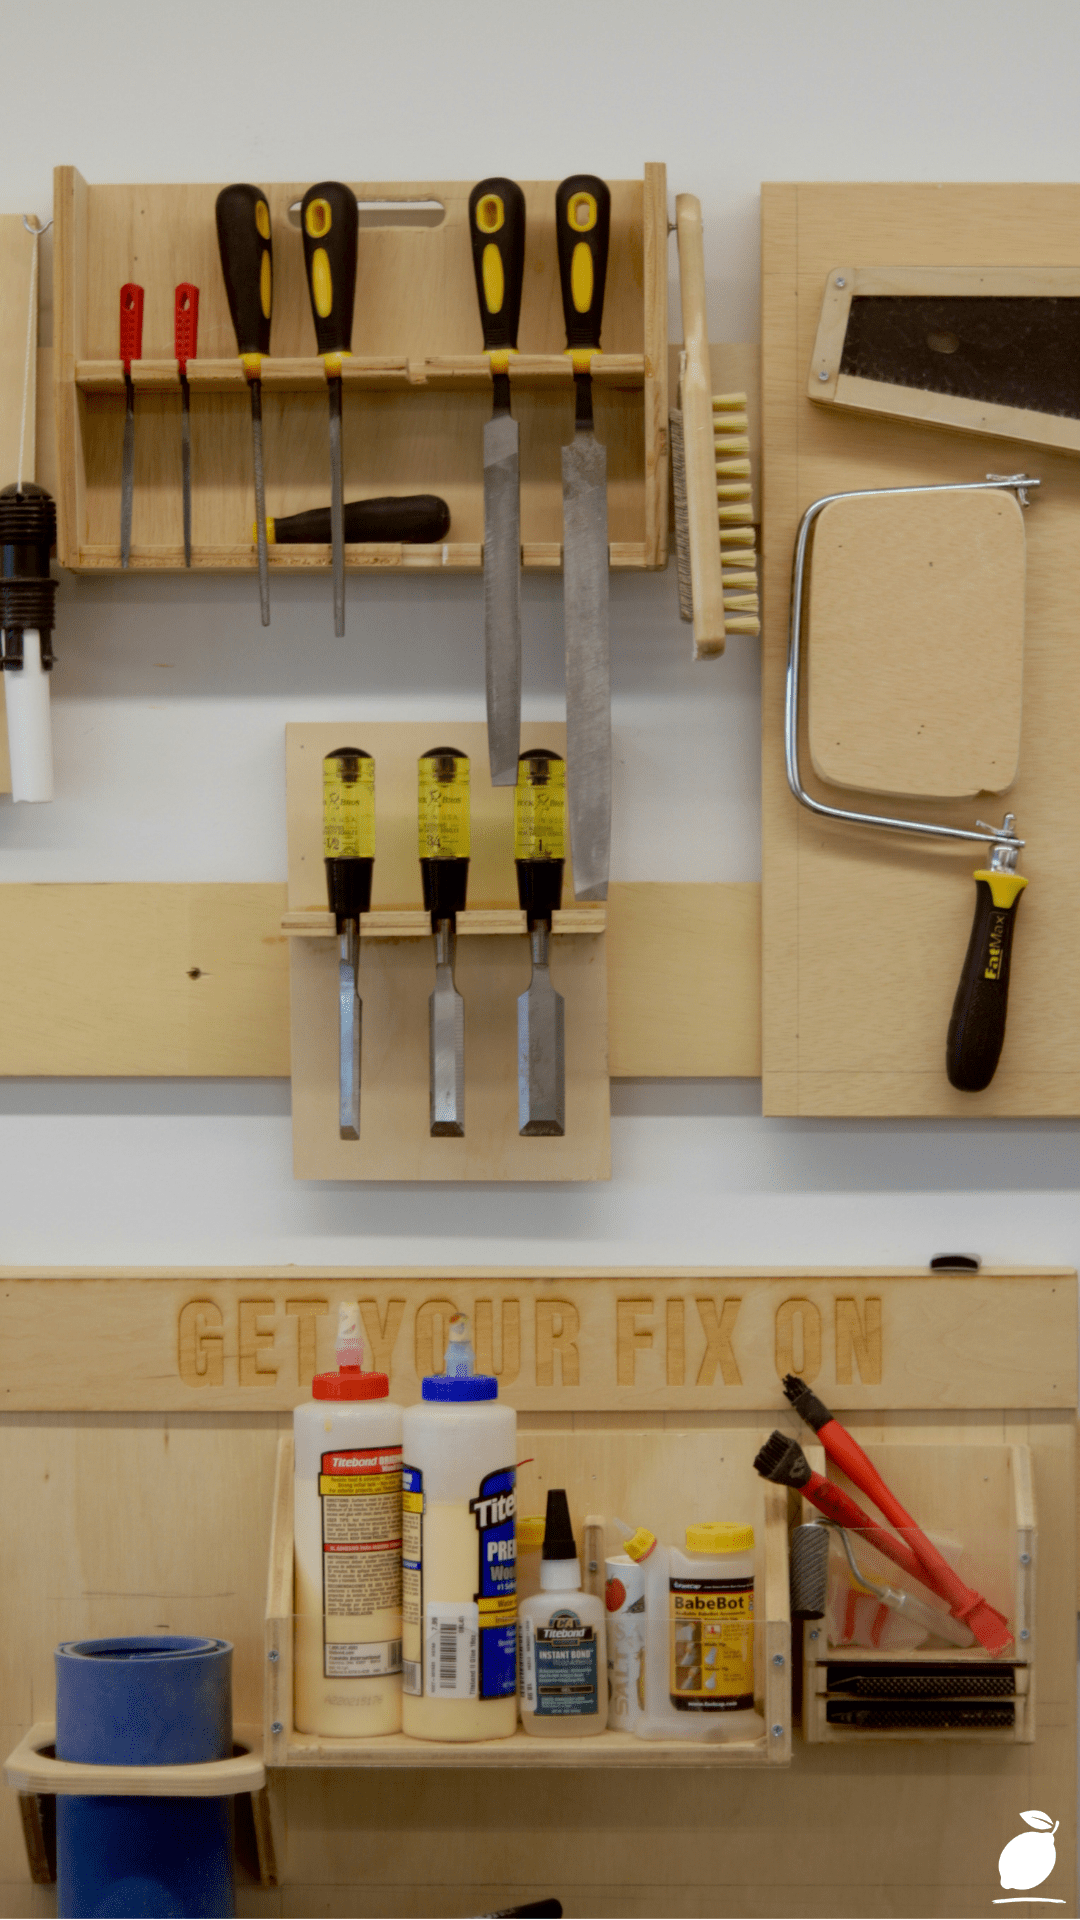
The workshop in the image above tells a completely different story. Screwdrivers standing at attention in a wooden rack, chisels mounted in perfect sequence, a coping saw within arm’s reach on the right, glue bottles and finishing supplies organized on a labeled shelf below. “Get Your Fix On” is carved into the wood, confident, specific, a workspace that knows exactly what it is for. This is what the most organized DIYers have understood in 2026: that workshop organization is not a finishing touch after the real work is done. It is the foundation on which the real work is built. Here is the blueprint for building that foundation yourself.
The DIYers Blueprint
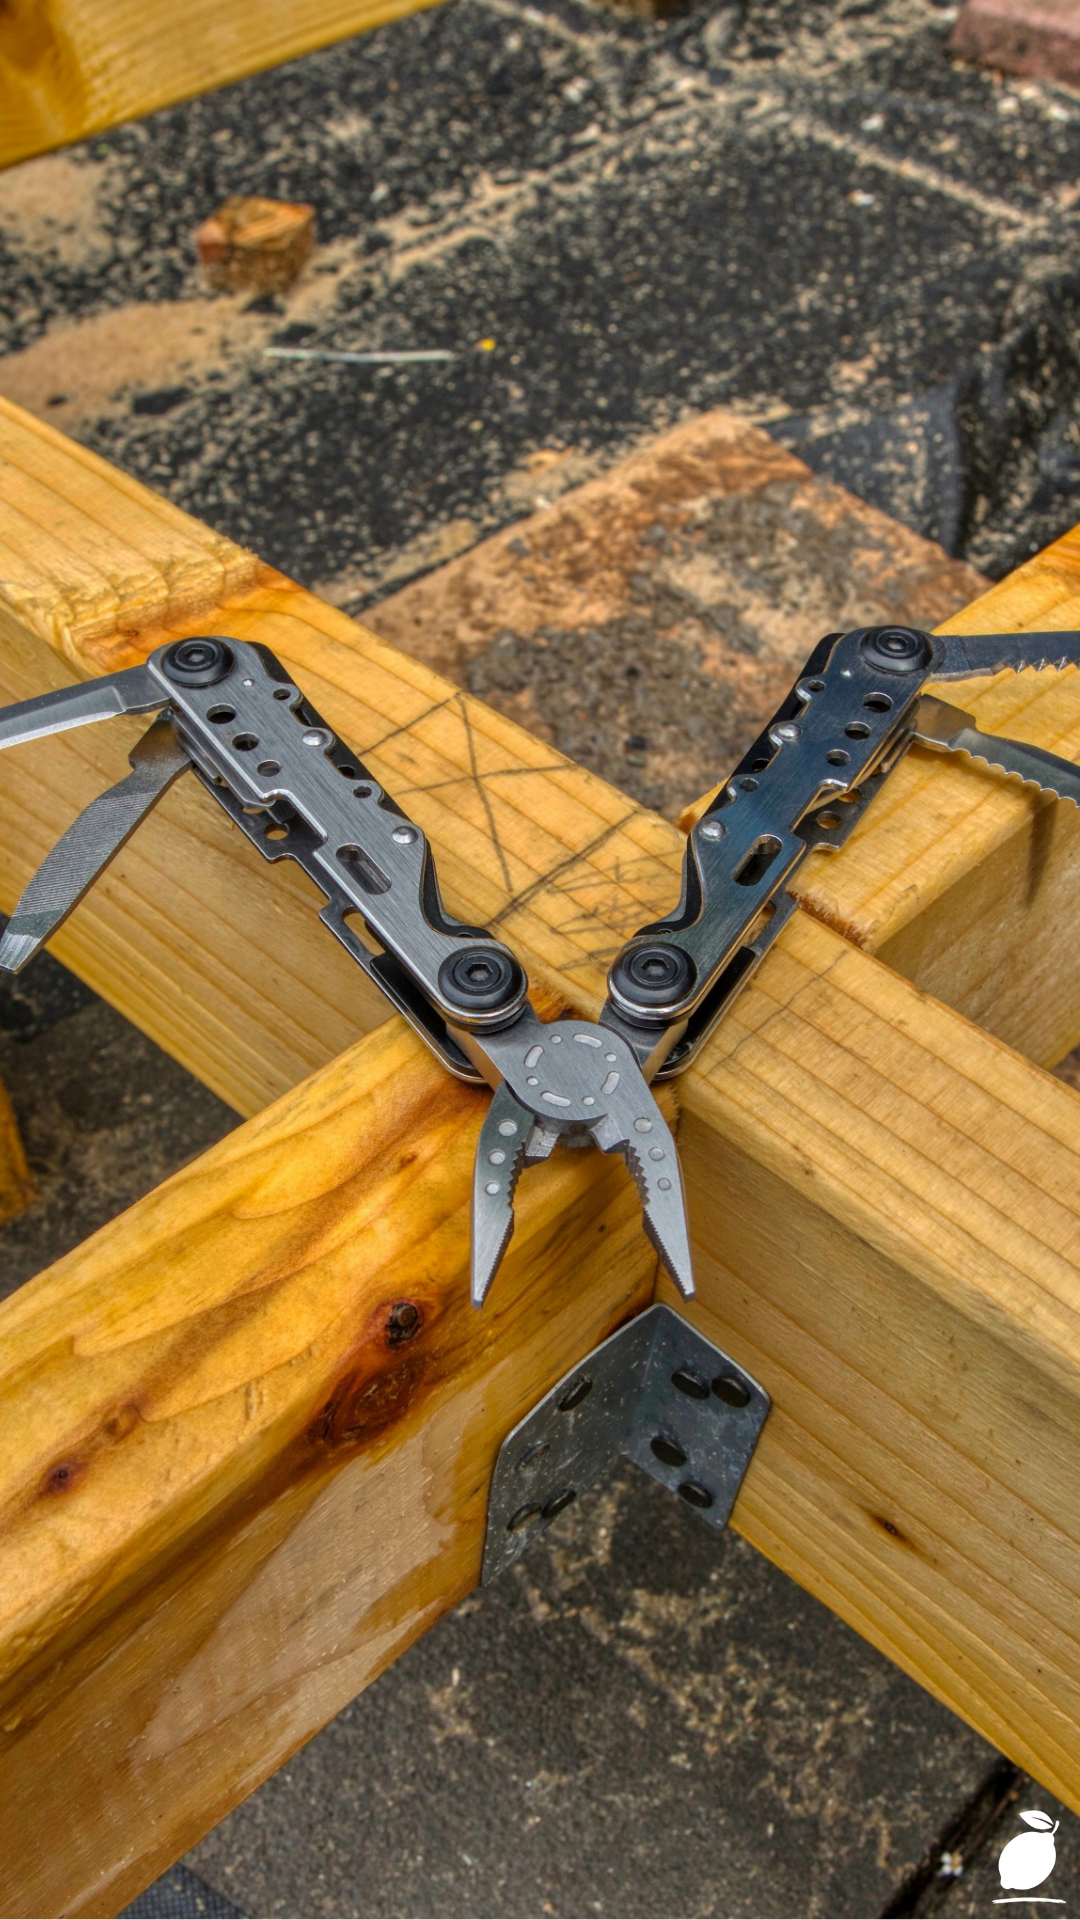
Getting from a chaotic workshop to a clean, functional, tool-wall system is a sequential project, not a single afternoon of tidying, but a structured process with a clear order of operations. Follow these steps, and the result is a workspace that works as hard as you do.
Step 1: The Full Tool Audit
Before anything gets mounted, stored, or organized, every tool in your possession needs to come out of wherever it currently lives and sit in one place. Pull everything from every drawer, bucket, shelf, car boot, kitchen junk drawer, and garage corner onto a single surface. Lay it all out. The full inventory is always larger and more chaotic than expected, and the inventory is the only honest starting point for an organizational system that will actually work. You cannot design storage for tools you do not know you own.
Sort into four categories: keep and use regularly, keep and use occasionally, keep for parts or sentimental value only, and discard or donate. Be direct with the last two categories. A tool that has not been used in two years and has no specific future project attached to it is clutter wearing the costume of a tool. Pass it on. The cleaner the starting inventory, the cleaner the finished system.
Step 2: Map Your Workflow, Then Design Storage Around It
The most common workshop organization mistake is designing storage around tools rather than around how those tools are used. A tool wall that groups by tool type, all screwdrivers together, all chisels together, all clamps together, looks logical in theory. In practice, the most effective systems for DIYers group by frequency of access and physical workflow.
Map the sequence of a typical project in your workshop. What do you reach for first? What needs to be within arm’s reach at the workbench versus accessible but not prime real estate? What needs to be visible but is only used for specific project types? Primary tools, screwdrivers, chisels, marking tools, and a coping saw belong on the workbench wall within reach from a standing position. Secondary tools: specialty drill bits, clamps, measuring equipment, and go at the perimeter. Seasonal or project-specific tools go in labeled bins on lower shelves. This tiered access system is how the workshop in the image is designed: most-used tools at eye level and arm’s reach, everything else in a supporting role below.
Step 3: Build or Install the Wall System
The tool wall is the organizing anchor of the modern DIY workshop, more flexible than a cabinet, more accessible than a drawer system, and more visually honest about what is being stored. The most popular builds among DIYers in 2026 use light oak plywood or birch ply panels mounted directly to the wall, with custom wooden racks, holders, and hooks built into or attached to the panel.
For a basic version: mount a full panel of 18mm plywood to the wall studs, ensuring it is level and firmly fixed. Build or buy wooden tool racks. A simple screwdriver rack is eight evenly spaced holes drilled at a slight downward angle through a horizontal block, mounted at the right height for quick one-handed retrieval. Chisel holders use narrow routed channels that grip each handle securely. Saw hooks are a single screw-mounted bracket per saw, positioned so the blade hangs clear of the wall. The consistency of natural wood and the clear spacing between each tool create the clean, professional aesthetic that turns a functional storage system into something worth looking at.
Step 4: Build the Supply Shelf
Every DIYer’s workspace needs a dedicated supply zone, a shelf or shelving unit that holds consumables: glue, wood filler, sandpaper, finishing oils, fasteners, and the small hand tools that do not warrant wall mounting. Mount a substantial shelf 30cm deep minimum at a comfortable standing height below the tool wall. Add a front lip to prevent bottles from rolling forward, and label every section before a single item goes on it.
The label is not organizational theater. It is a commitment; this is where the wood glue lives, every time, without renegotiation. DIYers who skip labeling find that systems erode within weeks because,, without defined homes, items drift back toward the nearest available surface. A labeled shelf with a fixed place for every consumable is self-maintaining in a way that an unlabeled one never is. Add a small carved or painted identifier to the shelf itself, a workshop name, a phrase, a design, and the supply shelf stops being a utility element and becomes a permanent, personalized feature of the space.
Step 5: Create a Project-in-Progress System
The final and most overlooked element of a well-organized DIY workshop is a system for active projects, the pieces, hardware, and instructions that belong to something currently being built. Without a designated project zone, in-progress work spreads across every available surface and immediately destroys the organizational system built around it.
Designate a specific area, a rolling cart, a dedicated shelf section, or a hanging pegboard zone exclusively for current projects. Each active project gets a labeled bin or tray containing its hardware, remaining materials, printed or photographed instructions, and a handwritten note of the next step. When you return to the workshop, the project tray tells you exactly where you left off. When the project is complete, the bin is cleared and returned to empty. This simple system is what separates focused DIYers who finish projects from those who accumulate them, and for busy DIYers juggling family, work, and workshop time, that clarity at the start of every session is genuinely priceless.
Expert Secrets for Success
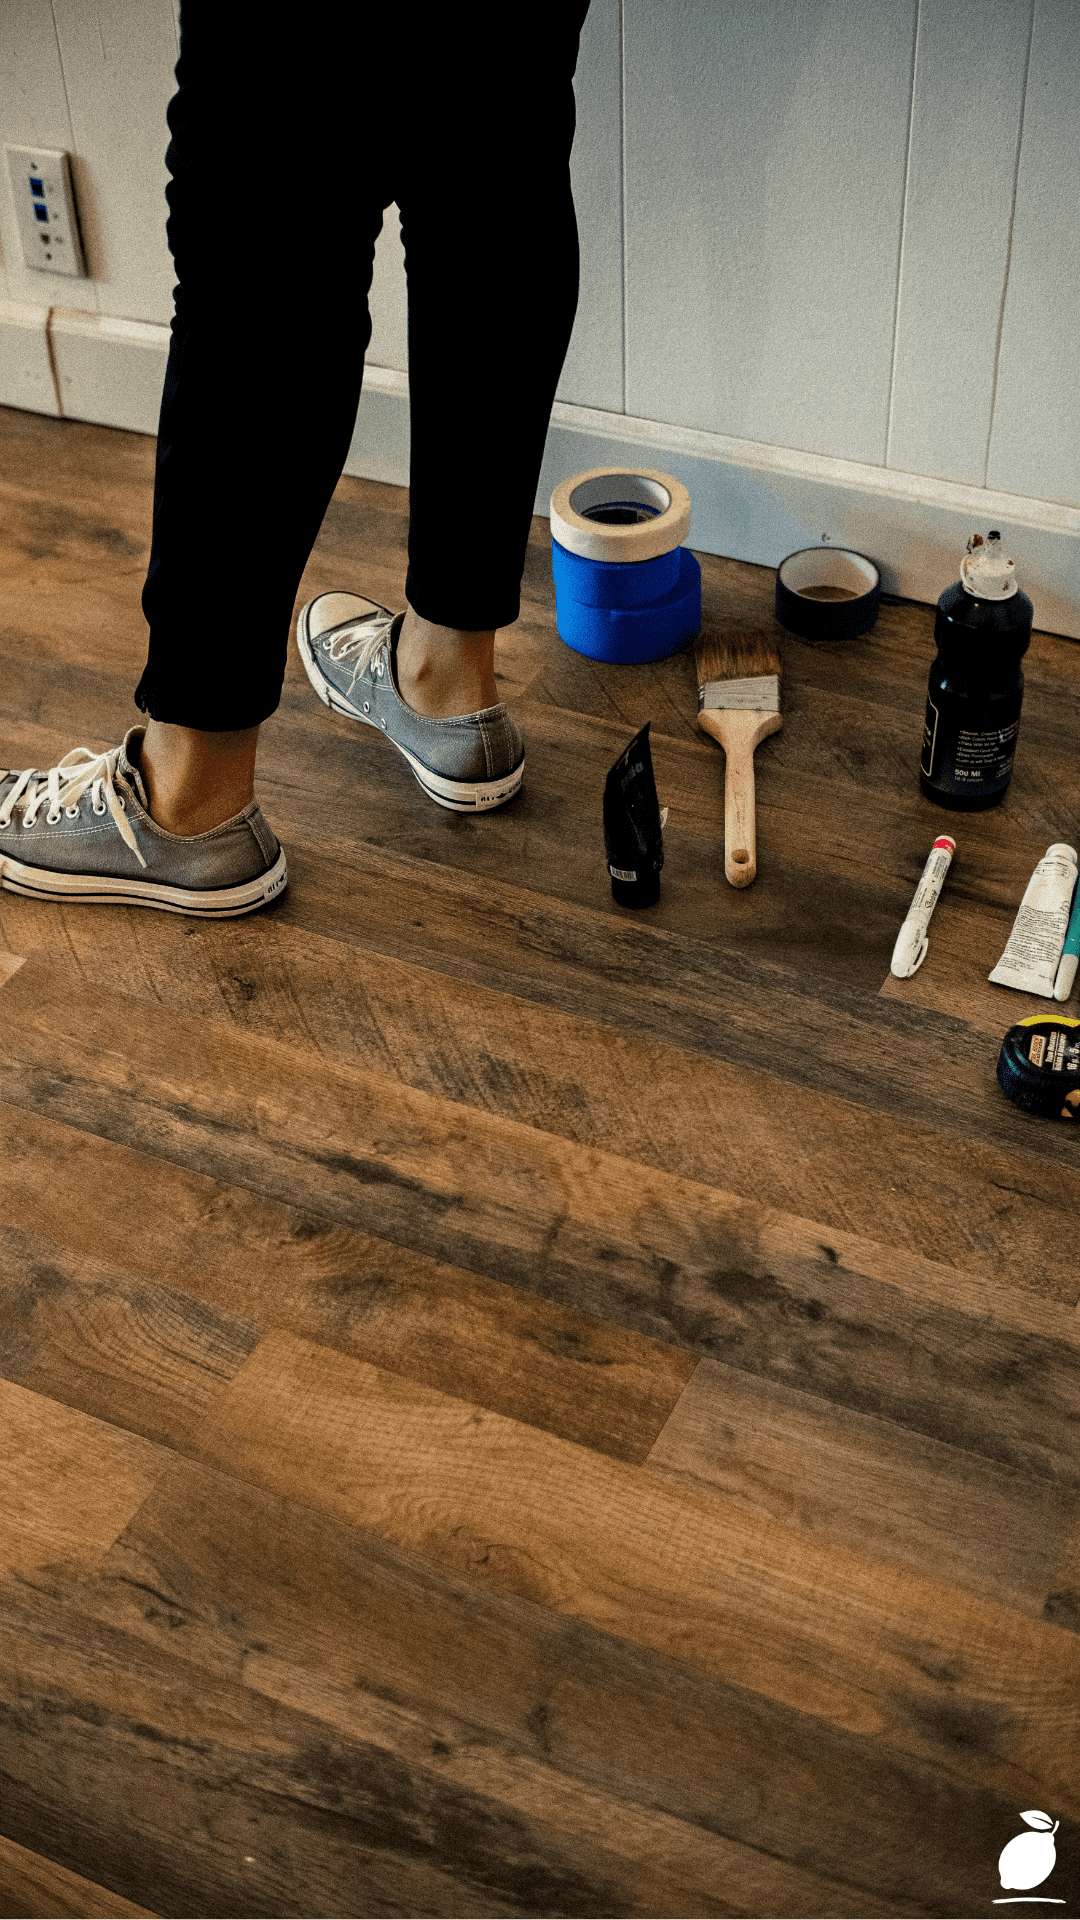
Pro-Tips for a Better Result
- Build the tool wall in sections, not all at once. The most durable DIY tool walls are built incrementally, primary tools first, secondary storage added as the workflow clarifies over the first few months. A wall built all at once to a fixed plan frequently requires revision when the reality of how the space is used diverges from the theory. Start with the twenty tools you use most, mount them, live with the system for a month, then expand.
- Use consistent hardware throughout. Mixing hook styles, bracket types, and mounting hardware across a tool wall creates visual noise that undermines the clean aesthetic the system is designed to produce. Choose one hardware system, stainless steel screws, one style of hook, and one style of bracket, and use them throughout. The visual consistency is as important as the functional organization for DIYers who want a workspace they enjoy spending time in.
- Photograph the system before every major project. A clear photograph of the tool wall in its organized state, taken from a fixed distance and angle, gives you a reference image to return the wall to after any major project disrupts it. Post it on the inside of the workshop door or in a notes app. The photograph is faster to reference than memory and removes the friction of reconstruction after busy project periods.
- Light the tool wall. A well-organized tool wall in a poorly lit workshop is still a frustrating workspace. Add an LED strip or two directed spotlights to illuminate the tool wall surface specifically. Good lighting makes tool identification and retrieval faster, reduces the chance of reaching for the wrong tool, and elevates the quality of the entire space in a way that is disproportionate to the cost and effort of installation.
- Keep a running shopping list on the wall. A small notepad or whiteboard mounted at the supply shelf gives DIYers a place to note consumables as they run low on glue, sandpaper, and fasteners without interrupting the flow of a working session. The list lives at the source of the information rather than on a phone or in a kitchen drawer, which means it is actually used, and the workshop stays stocked.
Common Mistakes to Avoid
- Organizing for the ideal workshop rather than the actual one. The most common DIY workshop organization failure is designing a system for an imagined, aspirational workflow rather than the real one. Honest observation of how you actually use your tools, which ones you reach for constantly, which surface things actually land on between uses, produces better organization than any Pinterest board.
- Skimping on mounting hardware. A tool wall that is not firmly fixed to wall studs, or that uses undersized screws and brackets, is a safety hazard and an organizational failure simultaneously. Tools fall, panels loosen, and the system degrades faster than it was built. Over-engineer the mounting. Every panel should hit at least two studs. Every tool rack should be rated for more than the weight it carries.
- Creating storage for everything except the largest tools. DIYers consistently build excellent small-tool organization systems and then leave their largest, most awkward tools, circular saws, routers, jigsaws, sitting on the floor or a shelf because “they don’t fit the system.” Large power tools need designated, accessible storage as urgently as hand tools. A floor-mounted cabinet, a dedicated lower shelf with tool-shaped foam cutouts, or a rolling cart for power tools completes the system that racks and wall mounts begin.
- Neglecting maintenance intervals. An organized workshop requires a fifteen-minute reset at the end of every project and a thirty-minute quarterly audit where tools are checked, sharpened if needed, and returned to correct positions. Without these scheduled maintenance moments, the system drifts back toward entropy within a season. Put the quarterly audit in the calendar on the day the system is installed.
- Building for appearance before function. The most photographed tool walls are not always the most functional ones. A system that looks beautiful but requires two-handed removal of tools, obstructs natural movement patterns through the workshop, or places frequently used tools in awkward positions is a display, not an organizational system. Function first, beauty as the natural result of good functional design.
Why DIYers Matters
The organized workshop is not just a more efficient place to work. It is a different quality of experience entirely, one that changes the relationship between the maker and the making in ways that are difficult to articulate until you have felt both versions. When the tools are exactly where they should be, and the project tray tells you precisely where you left off, a Saturday morning workshop session is not preceded by the low-grade dread of reconstruction. It begins immediately, in the middle of something, with momentum already present. That is a qualitatively different experience of the hobby and of the weekend itself.
For DIYers with families, the organized workshop carries a specific additional value: it makes the hobby defensible in time terms. A workshop session that begins with fifteen minutes of locating tools and ends with fifteen minutes of putting things approximately back is a one-hour session that yields thirty minutes of actual work. An organized session that begins and ends in the work itself doubles the yield without adding a single minute to the clock. That efficiency is what makes it possible to maintain an active DIY practice around family life rather than despite it. The organized workshop is what keeps the hobby from becoming a source of domestic friction.
And there is the deeper truth that every experienced DIYer knows: the quality of the workspace shapes the quality of the work. Not just through efficiency, but through the particular kind of focused attention that a clean, organized environment makes available. When nothing in the workshop demands management or decision-making, all of that cognitive bandwidth is available for the project itself for the precision measurement, the careful joint, the considered finish. The most skilled work DIYers produce almost always happens in the most organized spaces. That is not a coincidence. It is the logical result of removing everything that competes with craft, and leaving only the craft itself.
Frequently Asked Questions
What is the best wall material for a DIY tool storage wall?
18mm birch plywood is the most popular choice among DIYers in 2026 for its combination of strength, workability, and clean natural finish. It accepts screws without splitting, takes a wide range of finishes well, and provides enough depth for routing channels and installing embedded holders. For a lighter-duty version, 12mm plywood works for hand tools. For workshops where moisture is a concern, MDF should be avoided, as it swells with humidity and loses structural integrity over time.
How do I organize a small workshop or garage with limited wall space?
Vertical space is the answer for DIYers working in small workshops. A floor-to-ceiling tool wall panel, even 90cm wide, provides significantly more organized storage than the same footprint in horizontal shelving. Add a rolling cart for secondary tools and active projects that can be moved out of the main space when not in use. Magnetic tool strips mounted above the workbench surface keep small metal tools accessible without consuming wall panel space. The principle is the same as any small-space organization: build up, not out.
What are the most important tools for DIYers to have mounted and accessible first?
The primary candidates for wall mounting are the tools reached for most frequently across the widest range of projects: a full set of screwdrivers in Phillips and flathead across multiple sizes, a set of chisels in the three or four widths used most often, marking tools including a pencil, marking knife, and square, a utility knife, and a coping or tenon saw for the majority of basic cuts. These core tools, mounted and immediately accessible, account for the majority of workshop reach-and-retrieve moments. Everything else can be organized in secondary storage while the primary wall system is built and refined.







