It’s a warm Saturday morning, your to-do list is finally short, and all you need is the garden hose. Simple enough, right? But the moment you slide open that shed door, the weekend unravels. A tangle of extension cords spills across a bag of potting soil. Rakes lean precariously against a broken wheelbarrow. Somewhere under that pile of paint cans is the hose you think. Twenty minutes later, frustrated and sweaty, you’ve given up. Sound familiar? You are absolutely not alone. For millions of homeowners, the shed has become the household’s unofficial “problem drawer,” only ten times bigger and twice as hard to ignore.
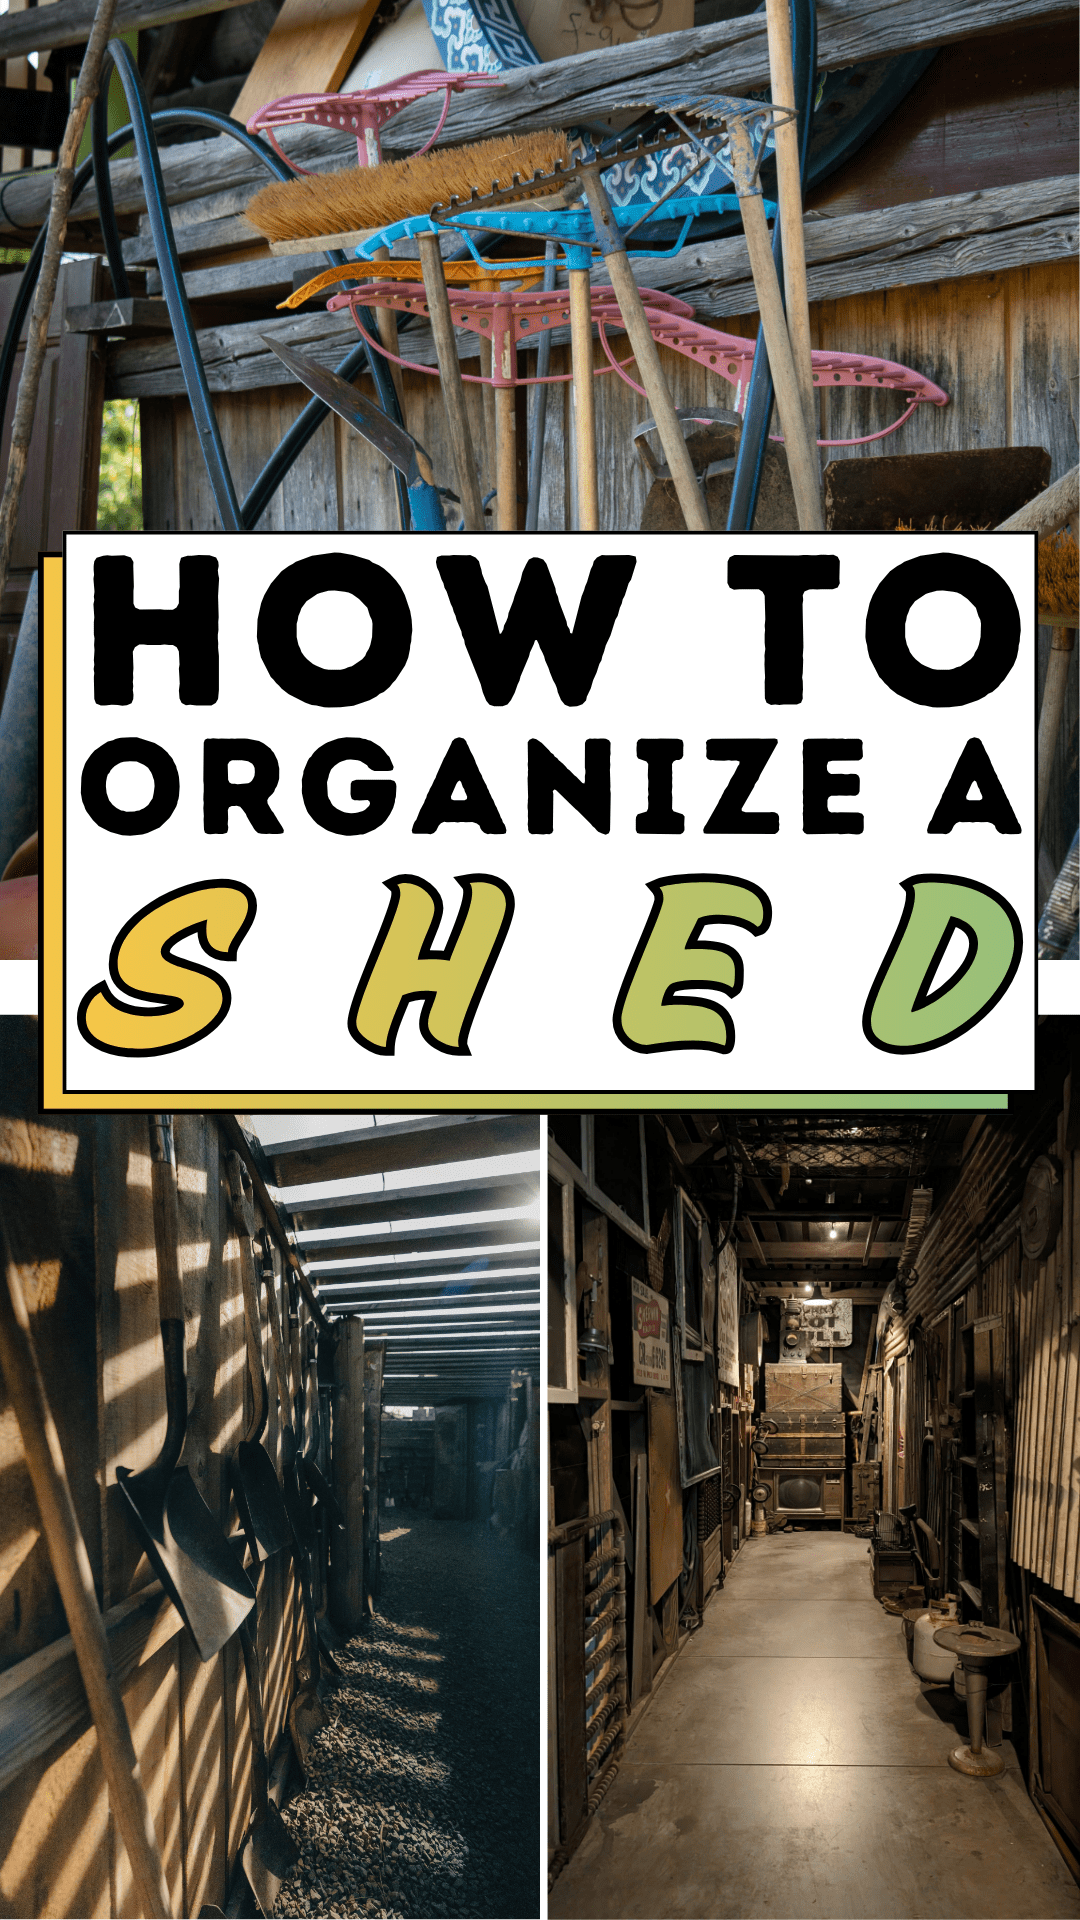
Here’s the thing nobody tells you about a chaotic shed: the mess rarely happens all at once. It creeps in, one misplaced shovel and one forgotten bag of mulch at a time, until the space feels completely unworkable. That dimly lit corridor of exposed beams and cluttered corners starts to feel like a metaphor for everything slightly out of control in life. But look a little closer at that image, the industrial bones, the strong lines, the way light cuts deliberately through shadow, and you’ll see something powerful. Structure. Intention. Order waiting to emerge. That is exactly what your shed already has the potential to be.
Learning how to organize a shed doesn’t require a massive budget, a contractor, or an entire lost weekend. What it requires is a clear plan, a few smart systems, and the willingness to spend a focused afternoon reclaiming a space that truly deserves to work for you. By the time you’re done, that shed won’t just hold your tools; it will hold your peace of mind.
The Shed Blueprint

Every successful shed transformation follows the same proven sequence. Work through these steps in order, and you’ll avoid the most common pitfall: reorganizing clutter instead of eliminating it.
Step 1 — Empty Everything Out Completely
This step feels extreme, but it’s non-negotiable. Pull every single item out of the shed and lay it on the lawn or driveway. You cannot get a clear picture of what you’re working with until the space is completely bare. This is also your best opportunity to sweep out cobwebs, sweep the floor, and assess whether any repairs to a leaky roof panel or a sagging shelf need attention before you put anything back.
Step 2 — Sort Into Four Categories
Before a single item goes back inside, sort everything into four honest piles: Keep, Donate, Trash, and Relocate (things that simply belong somewhere else in the home). Be ruthless. If you haven’t used it in two or more seasons and it holds no sentimental or emergency value, it is almost certainly clutter in disguise.
Step 3 — Measure Your Shed and Sketch a Zone Map
Grab a tape measure and record the dimensions of your shed, noting doors, windows, and any fixed structures like built-in benches. Then sketch a simple zone map on paper. Divide the space into functional zones based on how you actually live: a gardening zone, a tools zone, a seasonal storage zone, and a workshop or hobby zone, if applicable. Matching zones to the physical layout, heavy items low and near the door, lighter seasonal items overhead, makes everything intuitive to find and easy to return.
Step 4 — Install Vertical Storage First
Wall space is the most underused real estate in nearly every shed. Before placing anything on the floor, install pegboards, wall-mounted tool racks, slat-wall panels, or simple French cleats along your longest walls. Hooks rated for heavy tools, magnetic strips for hand tools, and adjustable shelving brackets give you a flexible foundation that can evolve as your needs change. Getting tools off the floor dramatically increases usable square footage overnight.
Step 5 — Assign a Home for Every Item
Now bring your “Keep” items back in, placing each one directly into its designated zone. Frequently used tools go at eye level or within easy arm’s reach near the shed entrance. Seasonal items like holiday lights or snow gear go on higher shelves or in labeled overhead bins. Chemicals, fertilizers, and paints should be stored on dedicated shelves, away from heat sources, in clearly labeled containers.
Step 6 — Label Everything
Labels are the silent architects of long-term organization. Use a label maker, chalkboard paint on bins, or weatherproof adhesive labels on shelves and containers. Clear labeling means every family member can find what they need and, more importantly, return it correctly, without asking you first.
Step 7 — Do a Final Walkthrough and Tweak
Stand at the entrance and simulate a real use scenario. Could you grab the hedge trimmer without moving anything? Could your partner find the bug spray in under thirty seconds? If the answer is no, adjust. The final walkthrough is your quality check and often the most satisfying step of the entire process.
Expert Secrets for Success

Pro-Tips for a Better Result
- Go vertical with a pegboard system. A standard 4×8 pegboard can store upward of 30 tools and costs less than most storage bins. Add a variety of hooks, and it becomes completely customizable as your tool collection grows.
- Use clear bins for small items. Transparent stackable bins for screws, nails, garden twine, and seed packets let you see contents at a glance and eliminate the “rummage and give up” cycle.
- Hang long-handled tools on a wall-mounted rack. Rakes, shovels, brooms, and hoes are notorious space stealers when leaned against a wall. A dedicated wall rack keeps them upright, visible, and safely out of the walkway.
- Dedicate a “grab and go” zone near the door. The items you use most, such as garden gloves, a trowel, and the watering can, deserve a prime spot right inside the entrance. A small pegboard panel or a few wall hooks just inside the door handles this perfectly.
- Schedule a seasonal reset. Block out 30 minutes each spring and fall to do a quick audit: purge expired products, repair worn storage solutions, and ensure everything is still in its right place after months of seasonal use.
Common Mistakes to Avoid
- Buying storage before sorting. Purchasing bins, shelves, and racks before you know what you’re keeping is one of the most expensive and common shed organizing mistakes. Always sort first, measure second, buy third.
- Underestimating floor space needs. Leaving enough clear floor space to comfortably move around, especially if you use the shed as a workspace, is critical. Aim for at least a 3-foot clear path from the door to your main work area.
- Ignoring moisture control. Sheds are prone to humidity, which ruins tools and destroys stored items. A simple silica gel dehumidifier or a small electric dehumidifier can protect your investment significantly.
- Mixing incompatible items. Storing fertilizers next to gasoline or propane, or placing flammables near electrical equipment, creates genuine safety hazards. Keep chemical and flammable storage zones clearly separate and well-ventilated.
- Skipping the maintenance habit. The number-one reason sheds return to chaos? No ongoing habit. Spending just five minutes returning items to their homes after each use is the single most powerful long-term organizational tool you have.
Why Shed Matters

It might seem like a stretch to connect a tidy shed to mental wellness, but it really isn’t. Our physical spaces are in constant, quiet conversation with our mental state. A disordered shed signals disorder; an organized one signals control, competence, and calm. Research in environmental psychology consistently shows that cluttered environments elevate cortisol levels and reduce our sense of personal efficacy. When you finally know where everything is, when the shed works with you instead of against you, something genuinely shifts.
There’s also a beautiful ripple effect that extends well beyond the shed walls. Children who grow up in homes where spaces are maintained and tools are cared for absorb lessons about stewardship, patience, and pride in one’s surroundings. A partner who can find what they need without frustration is happier. A Saturday morning project that starts with the right tool already in hand is a satisfying Saturday morning. The shed, humble as it is, sits at the intersection of home maintenance, family harmony, and personal confidence.
Knowing how to organize a shed is ultimately knowing how to protect what you’ve built: your tools, your home, your routines, your peace. That investment of one afternoon, done right with a clear system, pays dividends every single time you open that door.
Frequently Asked Questions
How long does it take to organize a shed?
For an average-sized garden shed (8×10 ft), most homeowners complete the full process, emptying, sorting, installing storage, and restocking in four to six hours. Larger sheds or those that haven’t been organized in several years may take a full weekend. Breaking the project into two sessions (Day 1: sort and purge; Day 2: install and restock) makes it far less overwhelming.
What’s the best storage system for a small shed?
For a small shed, vertical wall storage is your greatest ally. A combination of pegboard panels for hand tools, French cleats for adjustable shelving, and stackable clear bins on overhead shelves will maximize every inch of available space without encroaching on the floor area you need to move around comfortably.
How do I keep my shed organized long-term?
The most reliable long-term strategy is the “one in, one out” rule combined with the five-minute reset habit. Every time you finish using the shed, spend five minutes returning items to their labeled homes. Once or twice a year, do a brief audit to purge items you no longer need and refresh any worn labels or broken storage solutions.
Should I use shelves or bins to organize my shed?
Both, ideally, are used strategically. Open shelves work best for large or frequently used items you need to grab quickly. Closed bins or lidded containers are better for small parts, seasonal items, and anything that needs protection from dust or moisture. Clear bins offer the best of both worlds: protection plus visibility.
Is it safe to store chemicals and paint in a shed?
Yes, with the right precautions. Store chemicals and paints in a dedicated, well-ventilated area away from heat sources, direct sunlight, and flammable materials. Keep them in their original labeled containers, store them off the floor on a sealed shelf, and dispose of expired or empty containers according to your local hazardous waste guidelines.