The backyard had everything I wanted: space, sun, a patio I had spent two summers improving, except for one thing: privacy. The neighbors on both sides were friendly, but that specific awareness of being observed while sitting outside made the backyard feel like a semi-public space rather than an extension of the home. I would put off going outside in the evening because the idea of relaxing in a lounge chair while being visible from two neighbors’ kitchen windows felt more exposed than restful. I had looked at backyard privacy fence ideas repeatedly and kept stalling on the same questions: what material, what height, whether I needed a permit, and whether the project was within reach of a weekend DIY build or required a contractor I hadn’t budgeted for.
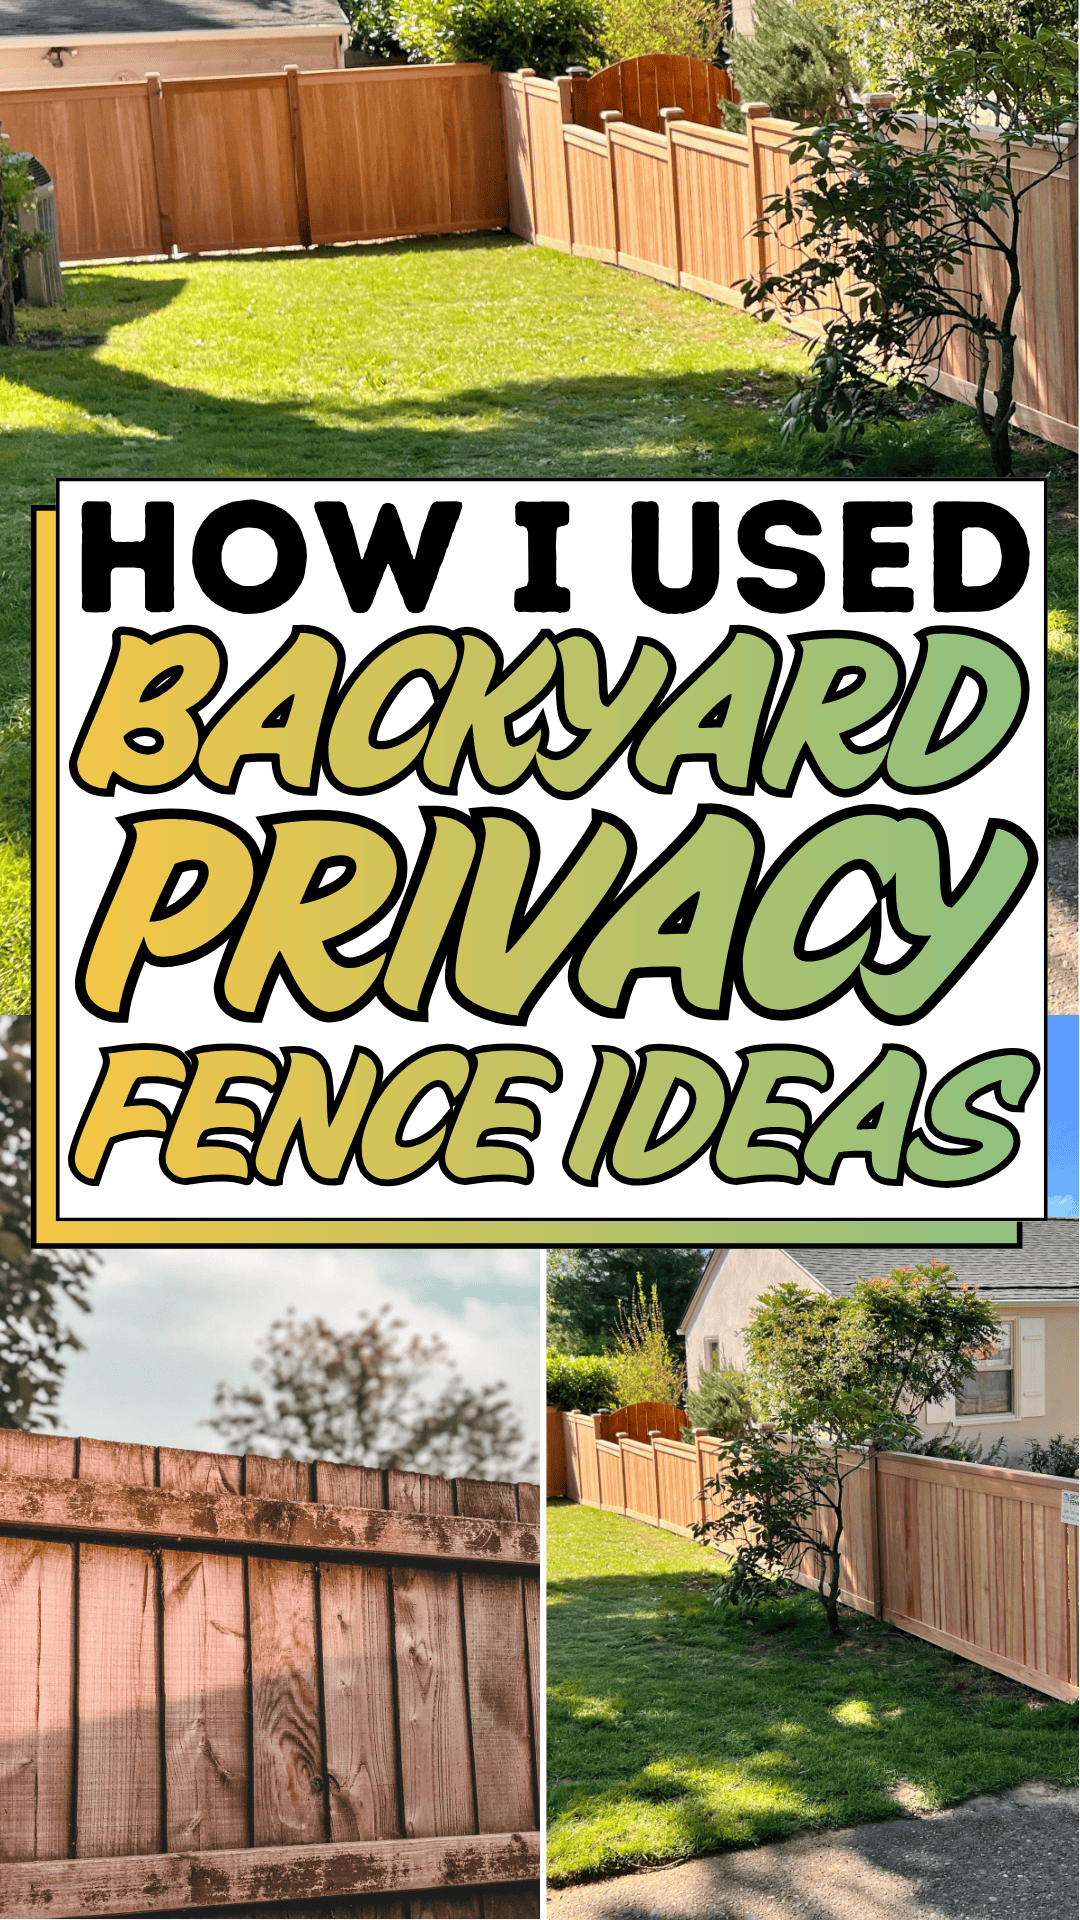
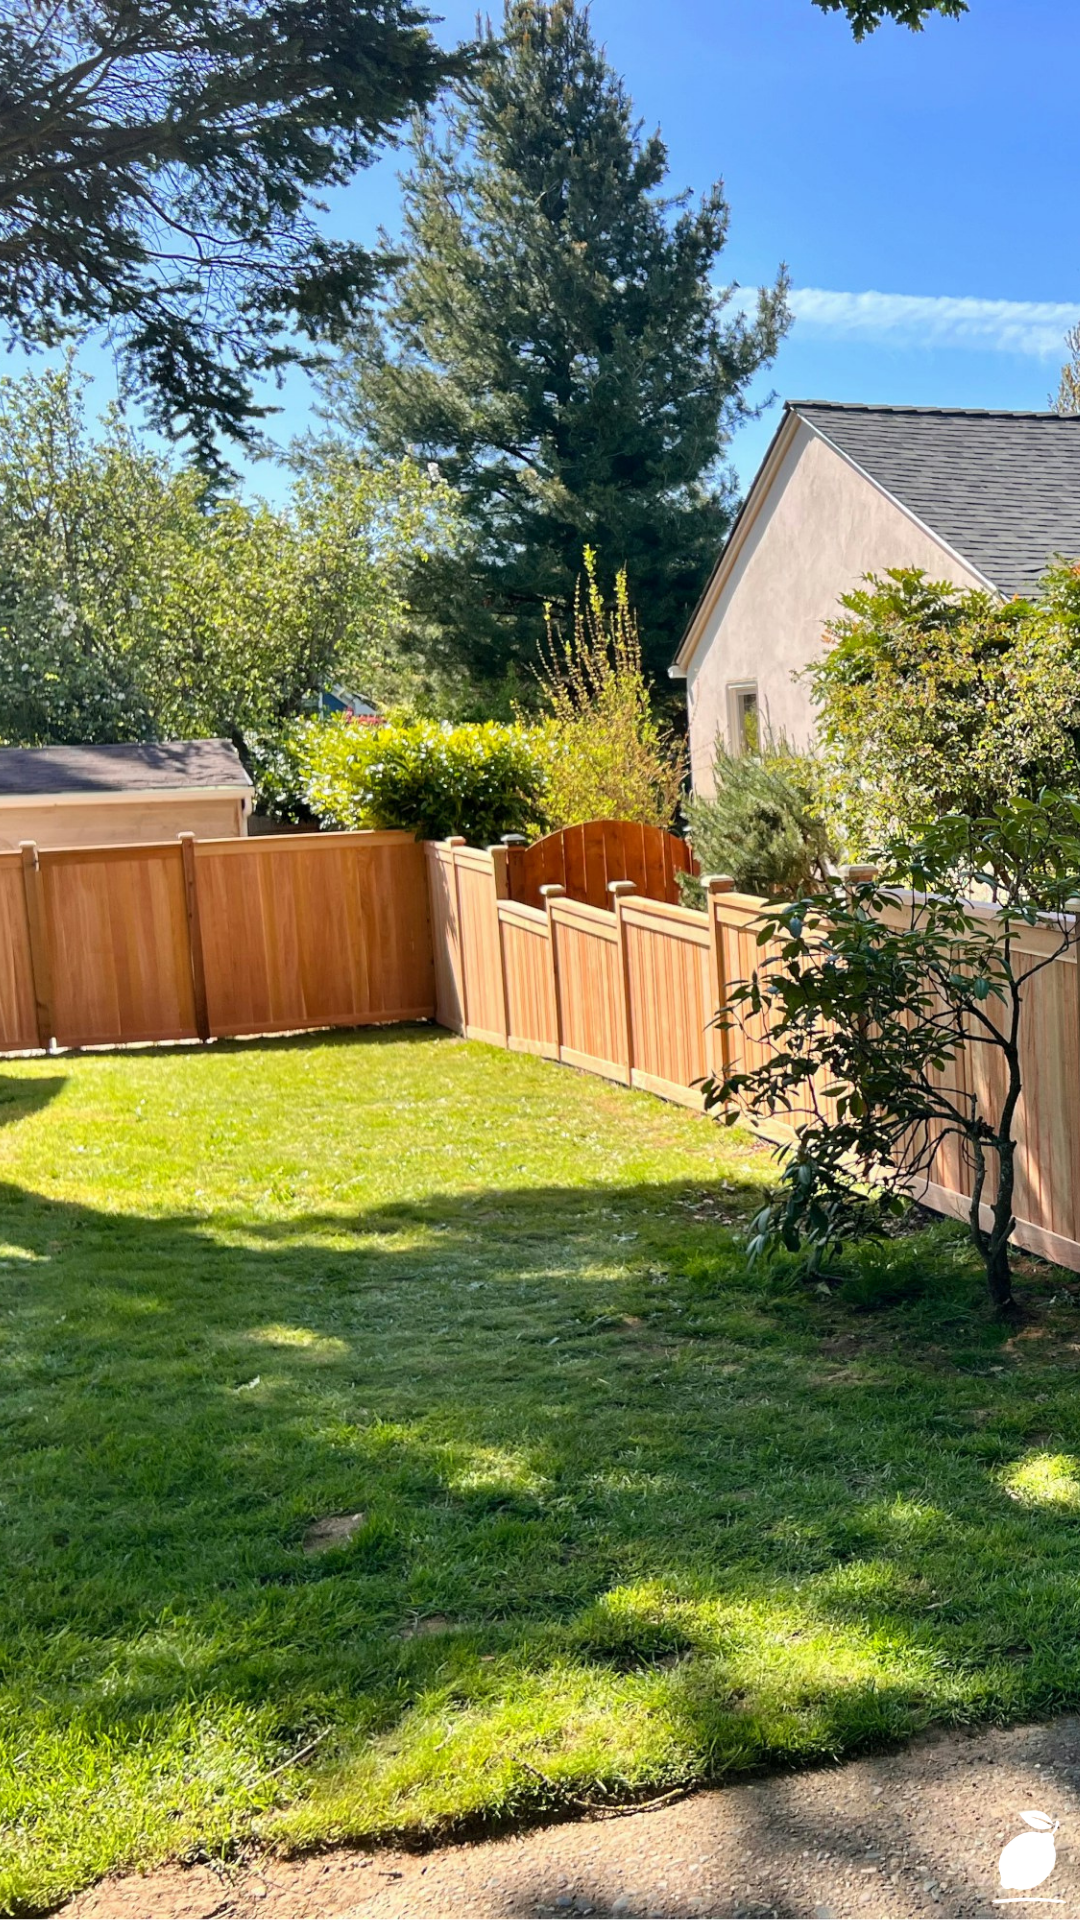
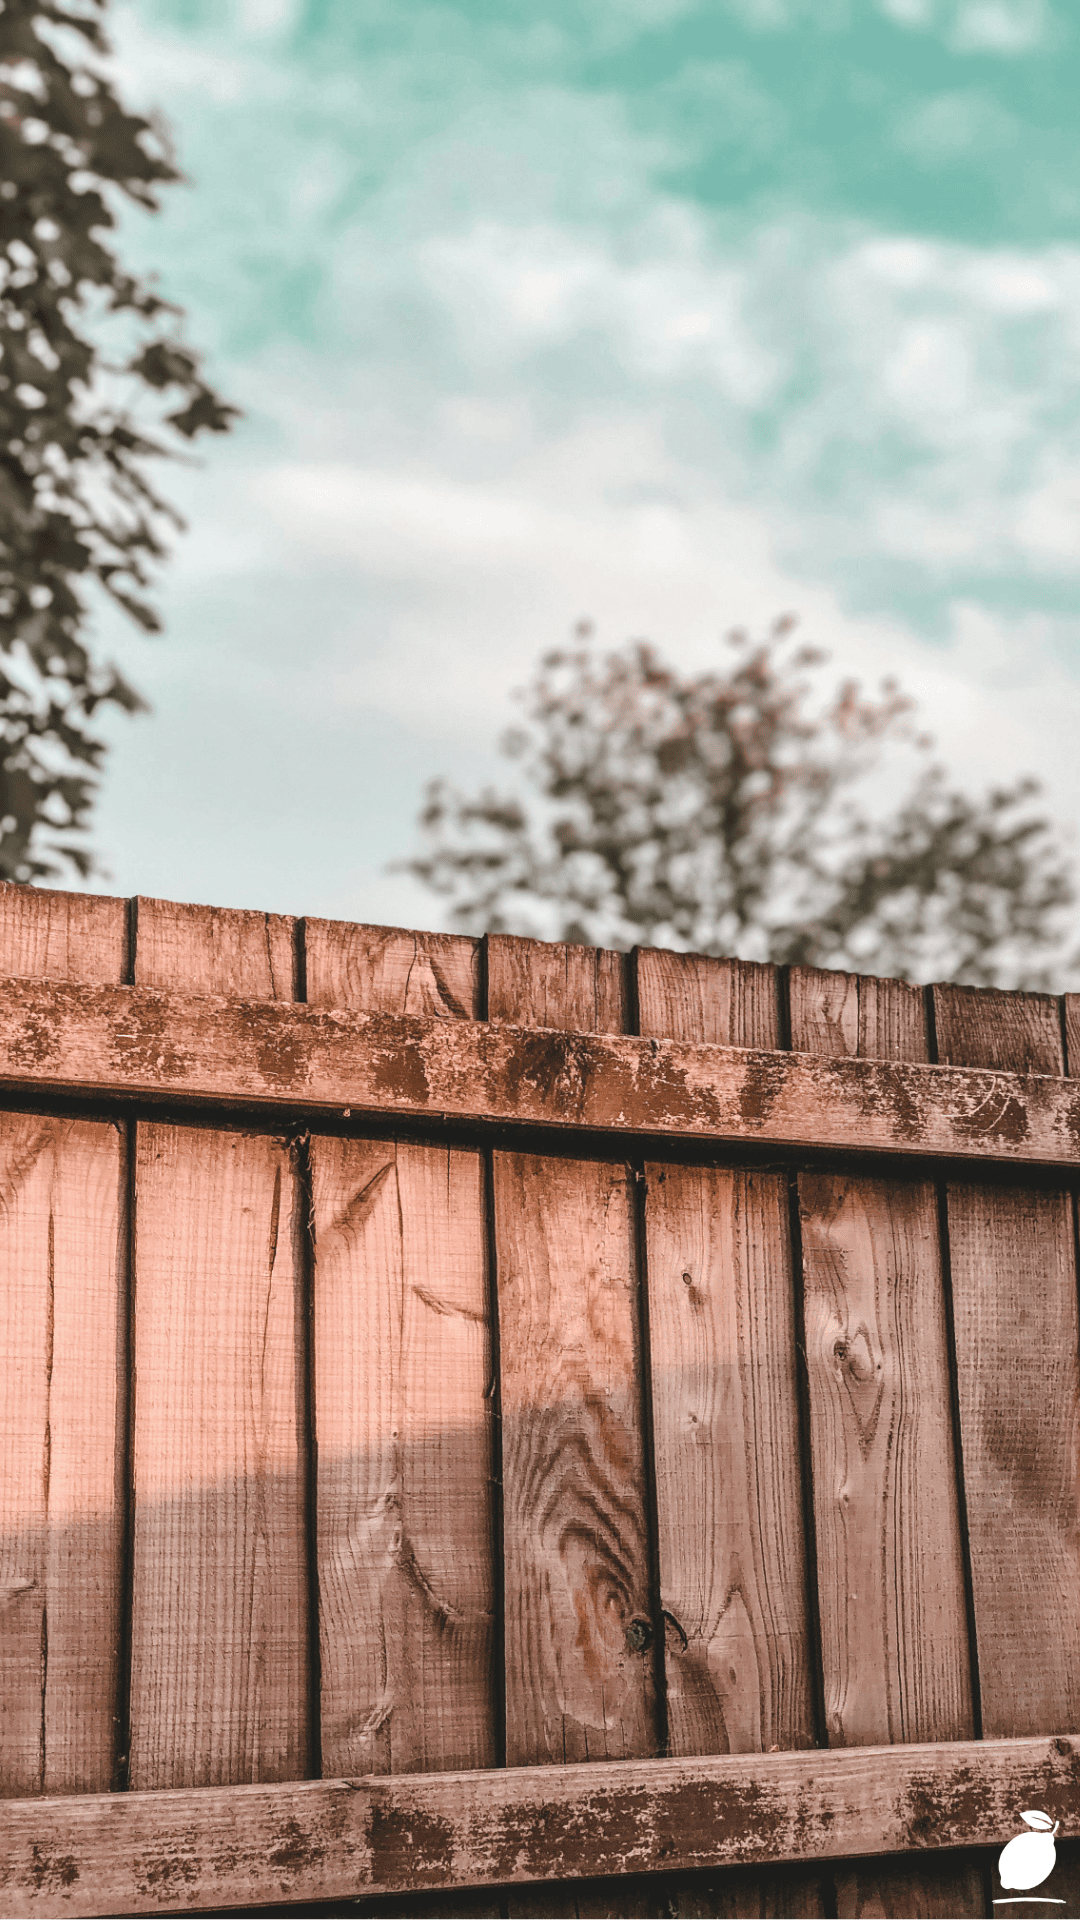
The answer turned out to be simpler than I expected. The image above shows it without complexity: vertical wooden planks, slightly weathered to reveal natural grain and color variation, rising above eye level against a clear blue sky and dense foliage. That fence is simple, honest, and wood is the most fundamental and most effective of all backyard privacy fence ideas. Not the most elaborate, not the most expensive, but the one that works. It creates a visual boundary from the neighbors, a backdrop for the garden planting visible above it, and the specific psychological shift of being in a defined private space rather than a yard that happens to be yours. The weathering on the planks in the image tells you this fence has been standing for years and still reads as right. That’s what good backyard privacy fence ideas look like over time.
This guide covers the full build sequence layout, post setting, framing, plank installation, and finishing for the vertical board privacy fence that the image demonstrates. It also covers the decisions around height, permit requirements, and material selection that make the difference between a backyard privacy fence that stands solid for fifteen years and one that becomes a maintenance problem within five. Backyard privacy fence ideas at this level of simplicity are genuinely DIY-buildable in a weekend. These steps show you how.
The Backyard Privacy Fence Ideas Blueprint
Step 1: Plan the Layout and Check Local Requirements
Every backyard privacy fence project begins with two parallel tasks: marking out where the fence will go and confirming what the local regulations allow. Both matter equally, and both should be resolved before purchasing any material. Backyard privacy fence ideas that skip the regulatory check first frequently run into setback requirements, the mandatory minimum distance from the property line that fences must maintain, which requires relocating an already-started build.
Contact your local planning or building department to confirm: the maximum permitted fence height for a rear yard (typically 180cm to 210cm for residential privacy fences), any required setback from the property line (often 0 to 30cm), whether a permit is required (most jurisdictions don’t require permits for fences under 180cm; some require them for any fence), and any HOA rules if applicable. This inquiry takes a single phone call or website visit and prevents the most common and most disruptive backyard privacy fence idea errors.
Mark the fence line with garden stakes and string at the planned post positions, typically every 240cm for a standard wood privacy fence. Walk the string line from the inside of the yard and assess what it looks like from every angle: from the patio, from the house windows, and from the gate entry point. Backyard privacy fence ideas that look right on paper occasionally need minor routing adjustments once the string line is on the ground and visible from living-use positions.
Step 2: Choose the Fence Material and Height
The vertical wooden planks in the image represent the most widely used and most reliably effective material in any backyard privacy fence build, pressure-treated pine or cedar boards standing vertically at full picket height, creating a continuous solid surface with no gaps between boards. This board-on-board or tight-board style is the backyard privacy fence idea specification that provides complete visual privacy: no line of sight through the fence from any lateral angle.
For material selection in backyard privacy fence ideas, the choice between pressure-treated pine and cedar comes down to budget and aesthetic preference. Pressure-treated pine at $1 to $3 per linear foot for standard 140mm × 38mm fence boards is the most affordable option and takes paint or stain well after the initial drying period of 30 to 60 days. Cedar at $2.50 to $5 per linear foot for equivalent dimensions is naturally rot-resistant without chemical treatment, produces the warm, slightly reddish-brown weathered tone visible in the image’s planks, and is the material of choice for backyard privacy fence ideas where the natural weathered appearance is the intended aesthetic.
For height, the standard backyard privacy fence ideas specification is 180cm (6 feet) tall enough to block a standing adult’s line of sight from a neighboring yard or deck at grade level. For elevated neighboring decks or second-floor windows, 210cm (7 feet) provides more complete privacy. The image’s fence appears to be in the 180cm to 210cm range based on its relationship to the trees visible above it.
Step 3: Set the Fence Posts in Concrete
Post setting is the backyard privacy fence idea step that most determines the fence’s long-term structural integrity. A privacy fence carries a significant wind load across its continuous solid surface far more than an open picket fence, and posts that are inadequately set or sized will lean, shift, and ultimately fail under that wind load within a few seasons. The image’s fence shows no lean and no settlement, indicating correctly sized posts set at an adequate depth in concrete.
Use 10cm × 10cm pressure-treated posts (ground-contact rated) for backyard privacy fence ideas at 180cm to 210cm height, the post size that provides adequate stiffness against the wind load on a solid privacy fence panel. Set posts at 240cm intervals along the fence line, with post holes dug to a depth of 60cm minimum or one-third of the total post length, whichever is deeper.
Use a power auger (rented for $60 to $90 per day) for consistent, clean holes. Pour Quikrete Fast-Setting Concrete around each post, filling to 5cm below grade level. Brace each post plumb in two directions with temporary 2×4 braces while the concrete sets. Check plumb on two adjacent faces with a spirit level, not just one. Allow 24 to 48 hours of cure before attaching any rails or boards.
Step 4: Install the Horizontal Rails
The horizontal rails, the framing members that run between posts and carry the vertical fence boards, are the structural element of backyard privacy fence ideas that bridges the gap between posts and provides the nailing surface for the fence boards. Standard backyard privacy fence ideas use two rails for fences up to 150 cm in height and three rails for fences at 180cm to 210 cm in height. The additional rail in taller privacy fences prevents the boards from flexing and warping in the wind.
Use 5cm × 10cm pressure-treated timber for the rails. Position the top rail 15cm to 20cm below the planned fence top, the bottom rail 30cm to 40cm above the ground level (maintaining clearance from soil contact, which accelerates the rail’s decay), and the middle rail at mid-height between the top and bottom rails for three-rail backyard privacy fence installations.
Attach rails to posts using metal rail brackets (galvanized joist hanger hardware) or by toe-screwing through the rail face into the post with 10cm structural screws. Rail brackets provide stronger, more consistent connections than toe-screwing and are the recommended backyard privacy fence ideas rail connection for fences in high-wind areas or for posts spanned at the full 240cm.
Step 5: Install the Vertical Fence Boards
The vertical plank installation is the backyard privacy fence idea step that produces the fence’s visible surface, the element the image captures in its weathered, grain-varied, sky-against-wood composition. Standard privacy fence board installation uses 140mm wide boards installed tight (no gap) or with a 6mm gap for board-on-board overlap style. For the continuous solid privacy that the image demonstrates, a tight installation with no gap is the specification.
Begin at one end of the fence run (typically the end closest to the house) and work outward. Set the first board plumb with a spirit level, fasten with two 65mm galvanized or stainless exterior screws into each rail (four screws total per board for a three-rail fence), and use a spacing block cut to the planned gap width (or no block for tight installation) to set each subsequent board’s position. Check every fifth board for plumb; small plumb errors accumulate across a long fence run and become visible at the far end if uncorrected.
The boards in the image show visible weathering and natural grain variation, a specific quality of cedar left to weather naturally without staining. For this look, use cedar boards and leave them unfinished; the silver-gray weathering develops within one season. For a more controlled appearance, apply a penetrating cedar oil or semi-transparent stain within the first 60 days of installation to preserve the warm reddish-brown tone of fresh cedar.
Step 6: Finish and Maintain the Backyard Privacy Fence
A backyard privacy fence built from cedar and left to weather naturally, as in the image, requires minimal annual maintenance: a hose-down in spring to remove winter grime and a visual inspection for any boards that have split, warped, or loosened from frost movement. Individual boards can be replaced without disturbing the surrounding boards, which is the primary long-term maintenance advantage of vertical board backyard privacy fence ideas over panel systems where a single damaged section requires full panel replacement.
For pressure-treated pine backyard privacy fence ideas, apply a penetrating deck stain or exterior paint after the initial 30- to 60-day drying period. Reapply every two to three years. Inspect and re-tighten loose fasteners annually, paying particular attention to the bottom rail connections where ground moisture accelerates fastener corrosion in humid climates.
Expert Secrets for Success
Pro-Tips for a Better Result
Dig post holes at least 10cm wider than the post for maximum concrete bearing area. A post set in a narrow, tight hole with just enough concrete to fill the space has less bearing capacity than a post in a wider hole with a full concrete collar. The additional concrete in a wider hole significantly increases resistance to the lateral rocking that wind load applies to solid privacy fences over time.
Install a 3cm gap between the bottom fence board and the soil surface. Fence boards in contact with or embedded in soil accumulate moisture, attract insects, and begin to decay from the bottom upward within two to three seasons, regardless of whether they are pressure-treated. Maintaining a 3cm air gap between the lowest board and the grade below it dramatically extends the bottom board’s lifespan.
Stagger the board top height by cutting alternating boards slightly shorter for a scalloped top profile. The standard privacy fence top is flat, with every board the same height, which produces a functional but visually plain fence profile. Cutting alternating boards 5cm to 10cm shorter creates a gentle scalloped top that adds visual interest without additional material cost. This backyard privacy fence idea’s finishing detail is visible in many cedar privacy fences and takes less than an hour with a circular saw to execute.
Buy 10 to 15 percent more boards than your linear footage calculation requires. End cuts, split boards discovered during installation, and the waste from length-matching at gate openings consistently consume more material than the basic linear footage calculation accounts for. Purchasing the overage from the same production run ensures color and grain consistency across the full fence.
Common Mistakes to Avoid
Don’t set posts at intervals larger than 240cm for a solid privacy fence. Wider post spacing on a solid privacy fence allows the rails and boards between posts to flex significantly under wind load, producing a fence that vibrates, warps, and eventually fails at the connections faster than a correctly spaced installation. The 240cm maximum is the backyard privacy fence ideas post spacing that balances material cost and structural adequacy.
Don’t use standard dimensional lumber for fence posts. Standard dimensional lumber (not pressure-treated and not ground-contact rated) used as fence posts will begin to rot at the below-grade section within two to three years, regardless of any paint or treatment applied to the above-grade portion. Always use ground-contact-rated pressure-treated timber for posts in any backyard privacy fence project.
Don’t install the fence in frozen or waterlogged ground. Post holes dug in frozen ground cannot be accurately augered to the required depth, and concrete poured in sub-zero temperatures does not cure at the required strength. Post holes dug in waterlogged soil produce post bases surrounded by mud rather than concrete, which dramatically reduces bearing capacity. Schedule backyard privacy fence ideas for dry conditions with above-freezing temperatures throughout the installation and initial cure period.
Don’t skip the property line survey if there’s any uncertainty about the boundary. A backyard privacy fence idea that crosses the property line, even by 15cm, can be legally required to be relocated at the homeowner’s expense. If property boundary markers are not clearly visible in the planned fence corridor, a property survey ($300 to $800) before construction is significantly less expensive than relocating a completed fence.
Why Backyard Privacy Fence Ideas Matter
Backyard privacy fence ideas matter because privacy is not a luxury quality in a home’s outdoor space; it is the prerequisite for that space being genuinely restful. The research on outdoor living and residential wellbeing is consistent on this point: people use outdoor spaces more, stay in them longer, and report greater wellbeing from their use when those spaces feel private rather than observed. A backyard that can be seen into from neighboring properties is a semi-public space regardless of whose name is on the deed, and the specific awareness of being visible while trying to relax produces a low-grade social alertness that prevents the genuine unwinding that outdoor time is supposed to provide.
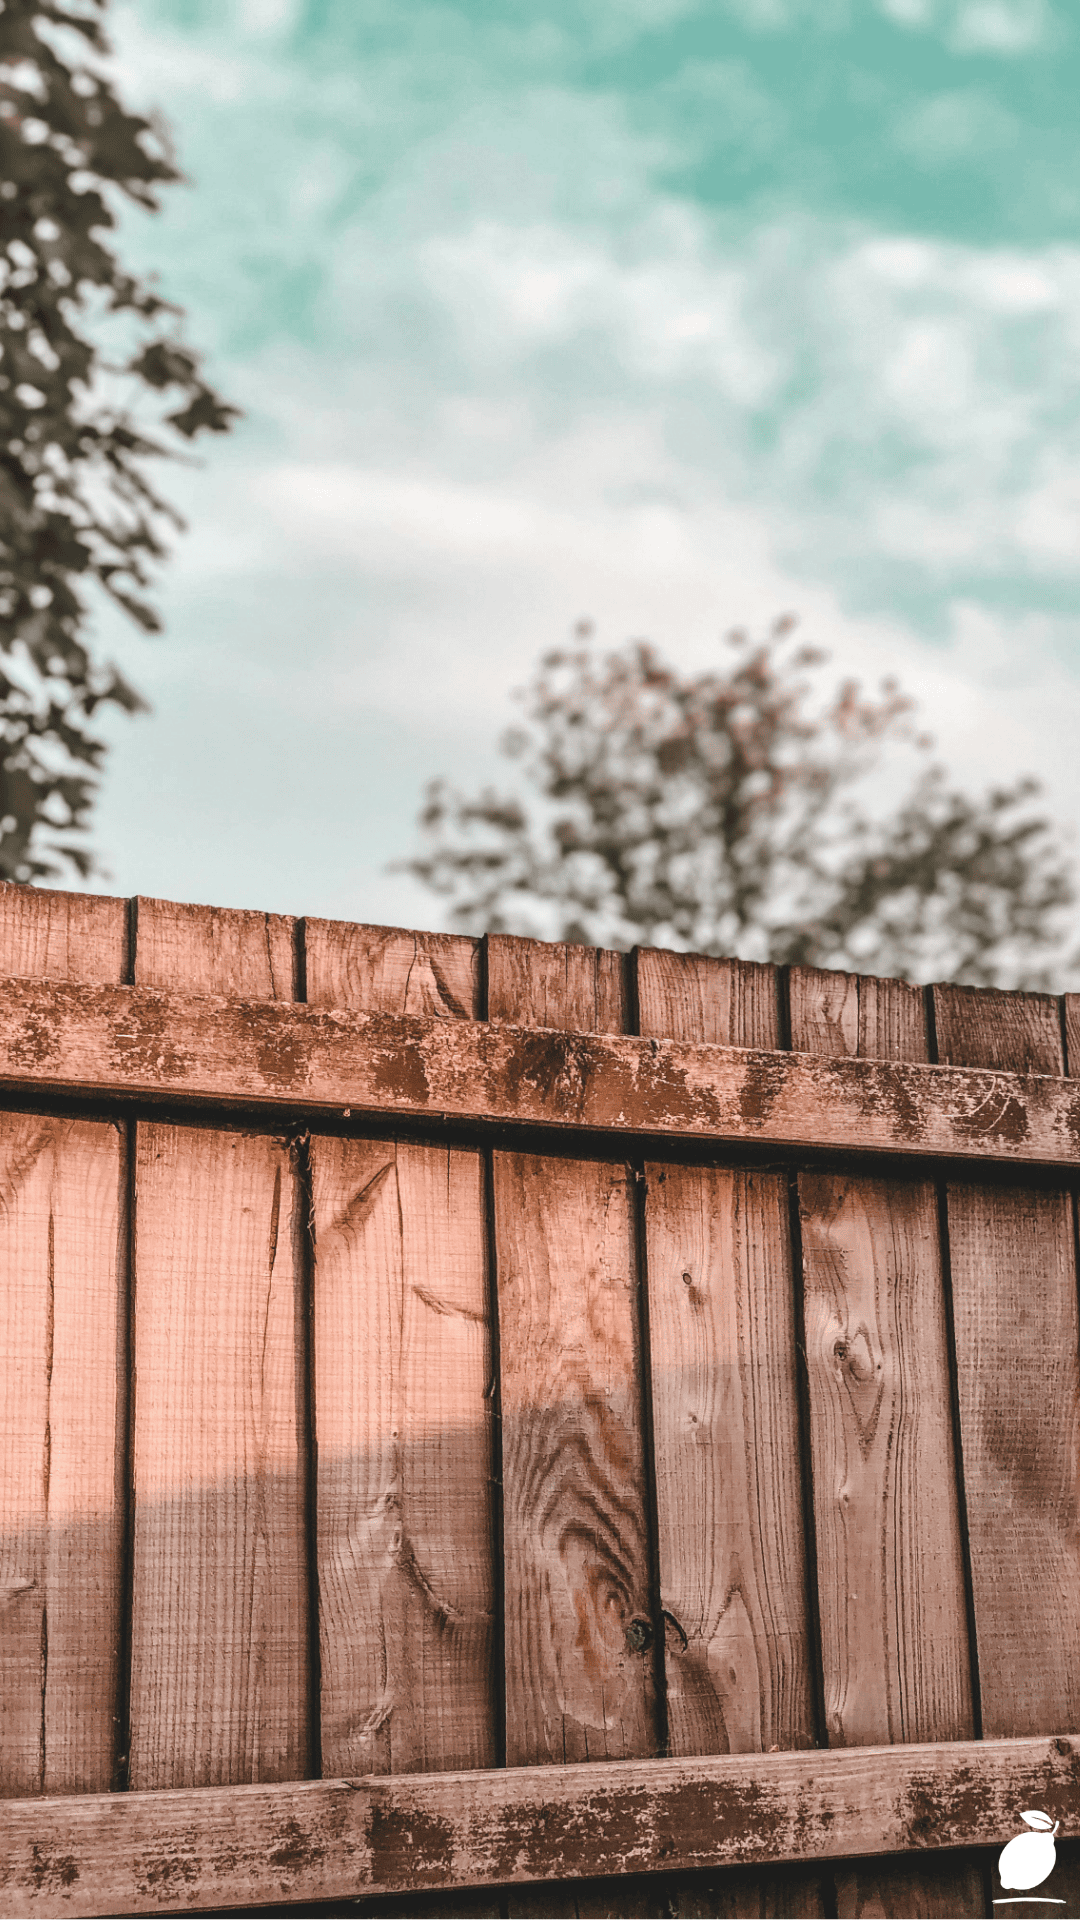
The image’s weathered vertical fence is not trying to be anything more than what it is: a boundary made of wood, standing straight, doing its job. And its job is significant: it creates the conditions under which the backyard becomes a genuine private extension of the home rather than a yard adjacent to public view. Family meals, evening conversations, children’s outdoor play, the specific daily rituals of outdoor living that build household connection, all of them happen more frequently and more freely when the space has been defined by a fence that says, quietly but clearly, that this space belongs to the people inside it.
Easy Peasy Life Matters is built on the conviction that practical home projects built well, with the right materials, in the right sequence, produce lasting improvements to the daily quality of life at home. A properly built backyard privacy fence, like the weathered cedar in the image, requires almost no maintenance once it’s up and delivers its return every single day for fifteen to twenty years. These backyard privacy fence ideas are where that return begins.
Frequently Asked Questions
How tall should a backyard privacy fence be?
The standard backyard privacy fence height is 180cm (6 feet), tall enough to block a standing adult’s line of sight from a neighboring yard at grade level. For neighboring elevated decks or second-story windows, 210cm (7 feet) provides more complete visual privacy. Check local ordinances before building at any height, as many jurisdictions have maximum height limits for rear yard fences, typically 180cm to 210cm that require a variance for taller installations.
What is the most durable material for backyard privacy fence ideas?
Cedar is the most durable natural wood for backyard privacy fence ideas, naturally rot-resistant without chemical treatment, dimensionally stable across seasons, and producing the warm, weathered appearance visible in the image over time. Pressure-treated pine is the most affordable durable option and performs equivalently to cedar when properly finished and maintained. For maximum longevity with minimum maintenance, composite fencing (wood-plastic blend) carries manufacturer warranties of 25 to 50 years and never needs staining, painting, or wood rot repair.
Do I need a permit for a backyard privacy fence?
Most jurisdictions do not require a building permit for residential fences under 180cm in height. Fences above this threshold, fences within certain setback distances of property lines, or fences on corner lots (which may have visibility sightline requirements) sometimes require permits. HOAs may have additional approval requirements regardless of municipal permit rules. Always check local codes and HOA rules before beginning any backyard privacy fence project.
How long does a cedar privacy fence last?
A cedar privacy fence built with correctly sized pressure-treated posts, proper post depth in concrete, and cedar boards maintained with annual inspection and periodic oil or stain reapplication lasts 20 to 30 years before requiring significant structural work. Individual boards can be replaced as needed without rebuilding the full fence. Cedar left to weather naturally (no staining) also lasts 20+ years, but develops the silver-gray color visible in aged cedar rather than maintaining the warm reddish-brown of fresh-finished cedar.
Can I build a backyard privacy fence myself?
Yes, a standard vertical board privacy fence is one of the most accessible major DIY outdoor projects. The skills required are basic: marking straight lines, digging post holes (or renting an auger), checking level and plumb, and driving screws. The most technically demanding step is post-setting, getting posts plumb in concrete and allowing them to cure before loading. Two people working together can complete a 30m perimeter privacy fence in a full weekend, including post setting and board installation.