
Our bathroom had that particular kind of “builder basic” energy that no amount of new towels or a fresh candle could really fix. Plain flat walls, a mismatched mirror we’d never gotten around to replacing, and a general sense that the room was functional but forgettable. Every time I tried to make it feel more finished, I’d add a small accessory here or a new soap dispenser there, and the room stayed the same underneath it all flat, plain, a little tired.
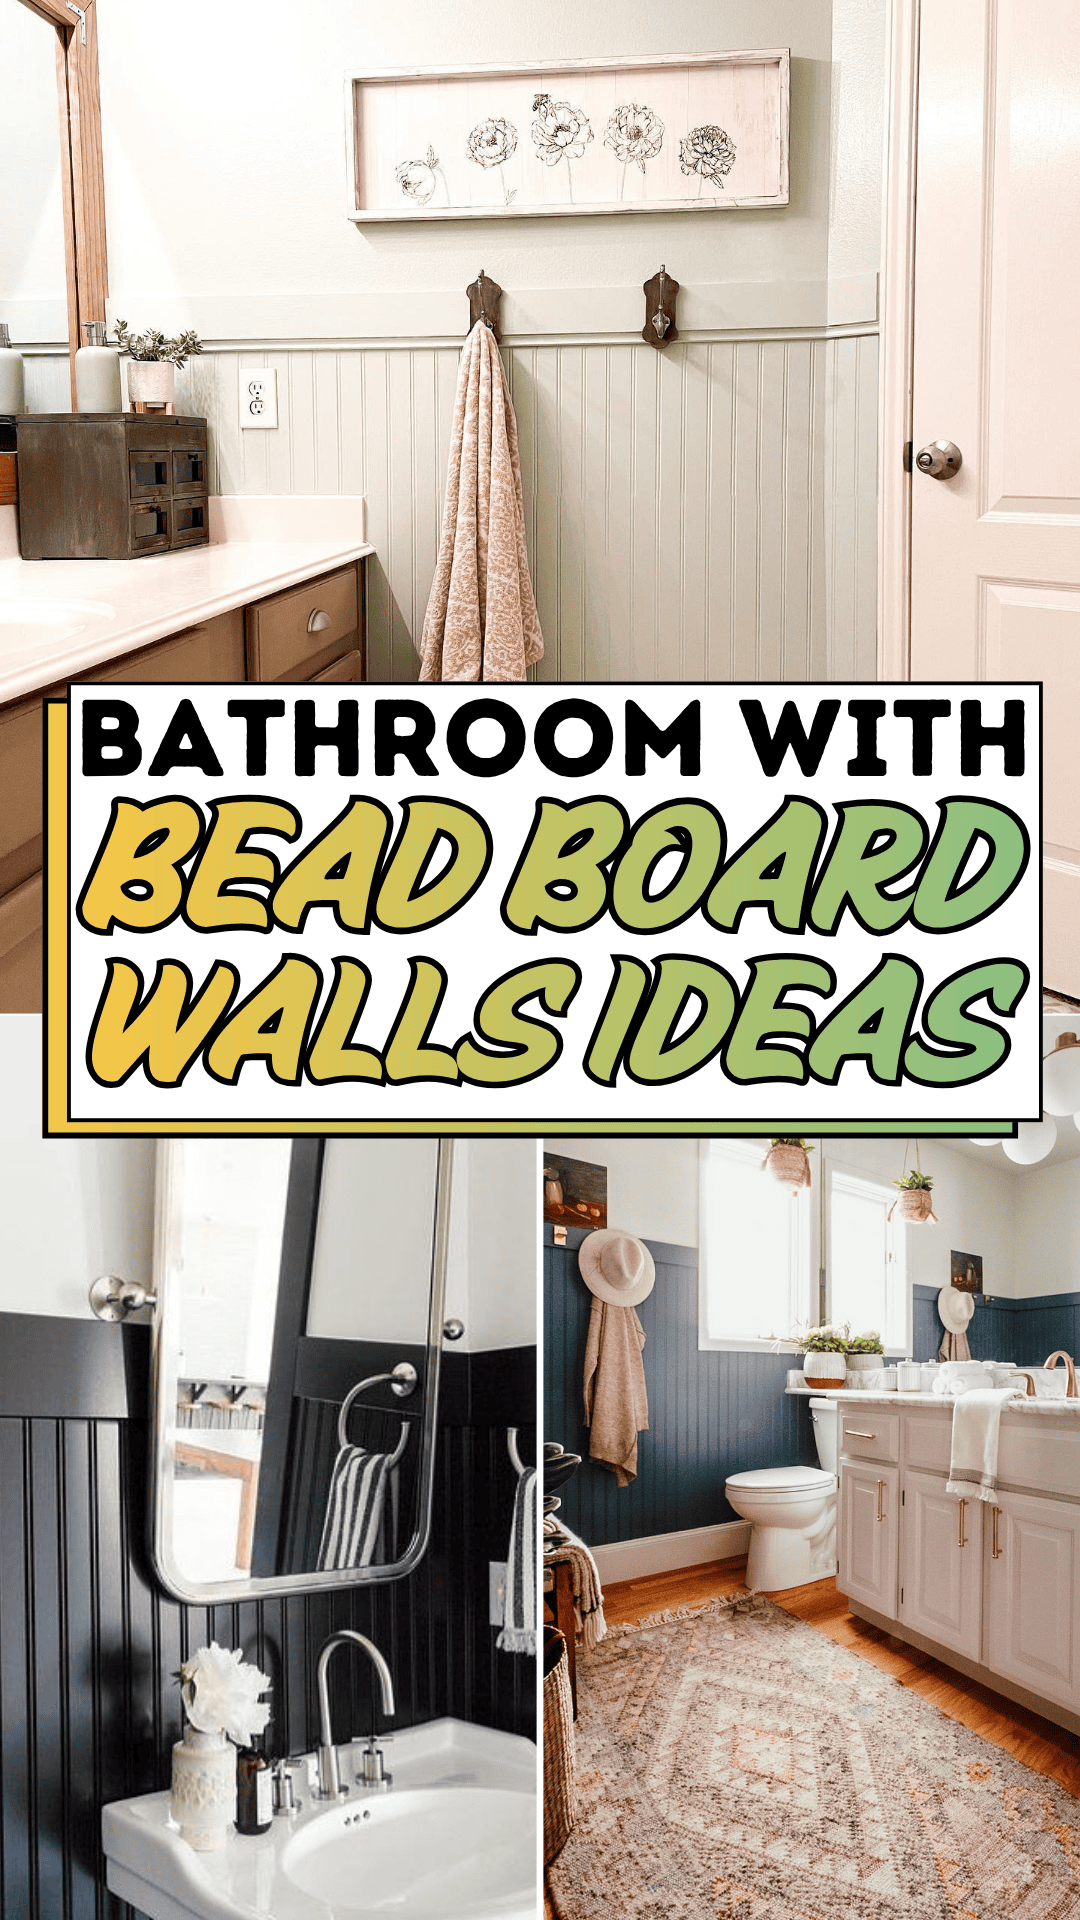
That’s a familiar trap for a lot of bathrooms, especially smaller or older ones. Without any architectural detail on the walls themselves, no amount of styling on top really changes the bones of the space. Accessories can only do so much when the actual wall surface has nothing going on. A full renovation felt like overkill for a room this size, but doing nothing wasn’t working either.
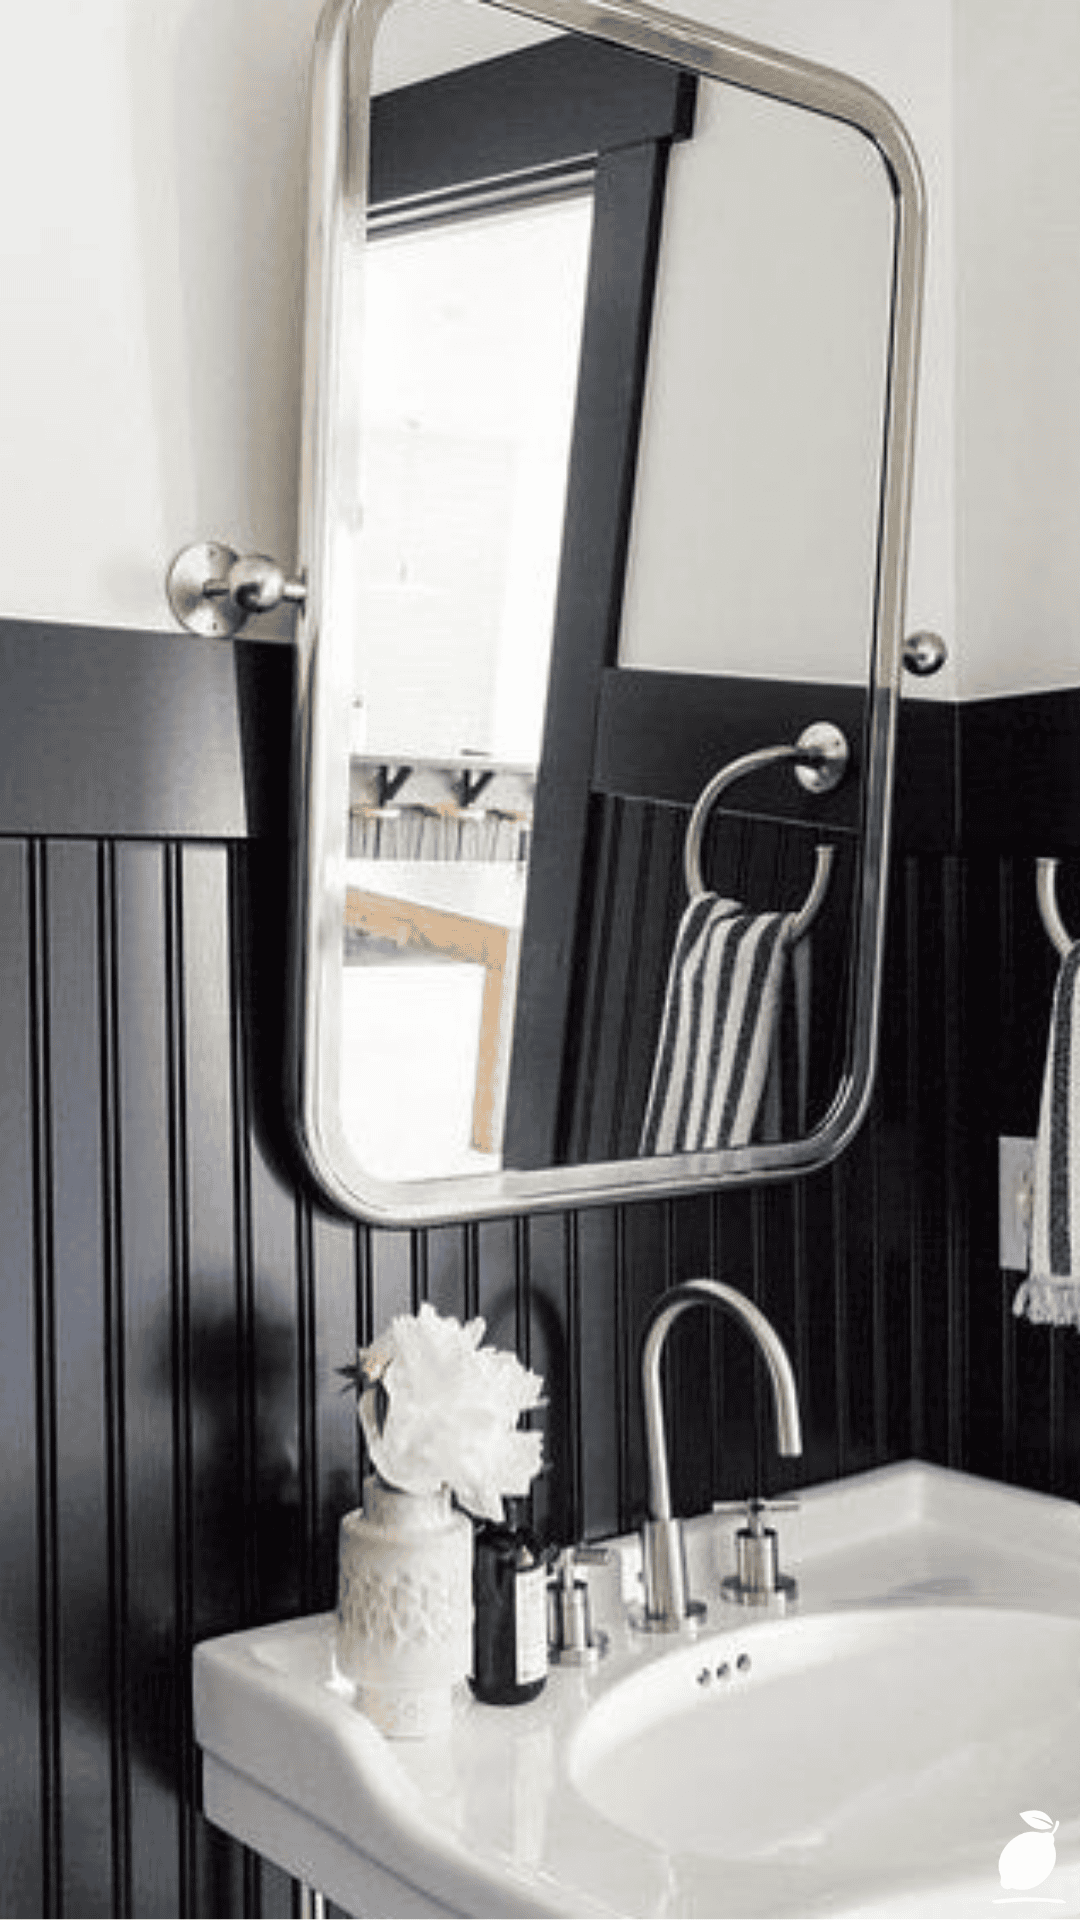
The fix turned out to be simpler than I expected: black vertical bead board wainscoting on the lower half of the walls, paired with crisp white paint above, a simple silver-framed mirror, and chrome fixtures against a classic pedestal sink. That one architectural change gave the whole room instant depth and character, no full renovation required. This guide walks through exactly how to bring that same bathroom with bead board walls look into your own space.
The Bead Board Wall Blueprint
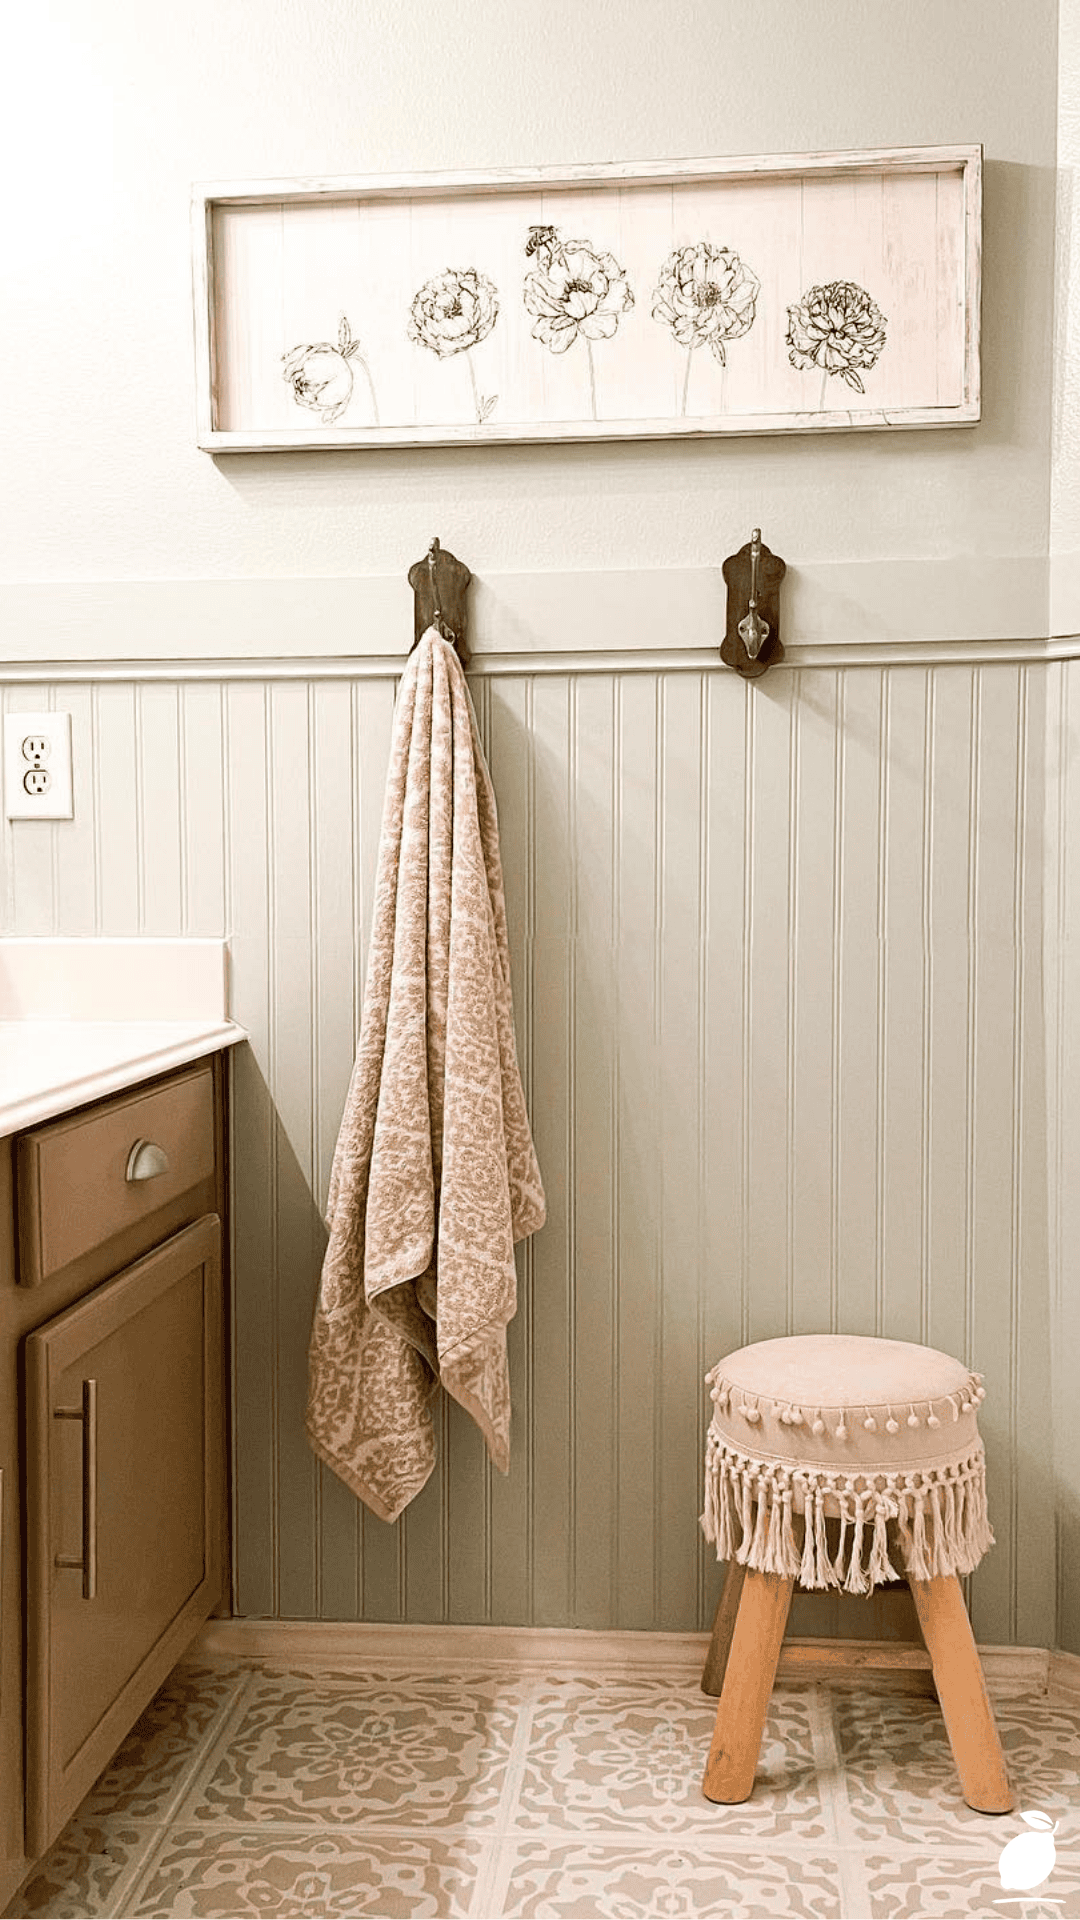
Installing bead board wainscoting is one of the most impactful, achievable bathroom upgrades available, and it typically fits into a single weekend project.
Step 1: Measure and Plan Your Wainscoting Height
Decide how high your bead board wall will run, typically between one-third and half the total wall height, and measure each wall carefully to plan your panel layout before purchasing materials.
Step 2: Choose Your Bead Board Material
Select moisture-resistant bead board paneling, either MDF, PVC, or real wood treated for bathroom humidity, since standard materials can warp quickly in a high-moisture room.
Step 3: Prep the Wall Surface
Clean the wall thoroughly and remove any existing trim, outlet covers, or fixtures in the installation area. A properly prepped surface is essential for a smooth, long-lasting bead board wall installation.
Step 4: Cut Panels to Fit
Measure and cut your bead board panels to match each wall section, accounting for outlets, corners, and any obstacles like pipes or vents.
Step 5: Install the Panels
Attach panels to the wall using construction adhesive and finishing nails, working section by section and checking for level frequently as you go. Careful installation here is what gives a bead board wall its clean, professional appearance.
Step 6: Add a Top Cap Rail
Install a horizontal cap rail or chair rail molding along the top edge of your bead board wall to create a clean transition line between the paneling and the painted wall above.
Step 7: Fill, Caulk, and Sand
Fill nail holes and seams with wood filler, caulk along edges and corners for a seamless finish, and sand any rough spots before painting.
Step 8: Paint and Finish
Apply primer and paint in your chosen color, such as a bold black for contrast against white upper walls, using a moisture-resistant, semi-gloss paint suited for bathroom conditions.
Step 9: Reinstall Fixtures and Style the Space
Once the paint has fully cured, reinstall towel bars, outlet covers, and any wall-mounted fixtures, then style the finished bathroom with a mirror, simple accessories, and coordinated hardware to complete the look.
Expert Secrets for Success
Pro-Tips for a Better Result
Choose moisture-resistant materials without exception. PVC or properly sealed MDF bead board holds up far better in humid bathroom conditions than standard interior paneling.
Use a bold contrast color for visual impact. Painting a bead board wall in black or navy against white upper walls, as shown above, creates a striking, modern contrast that elevates the entire room.
Mount fixtures at varied heights intentionally. Staggering towel bars or hooks at slightly different heights on a bead board wall adds visual interest without looking accidental.
Caulk generously along every seam. Thorough caulking prevents moisture from seeping behind the panels, which is critical for the longevity of any bead board wall in a bathroom.
Keep hardware finishes consistent. Matching chrome or brushed nickel fixtures throughout the room ties the whole space together once your bead board wall is installed.
Common Mistakes to Avoid
Using non-moisture-resistant materials. Standard MDF or untreated wood can warp or swell quickly in a humid bathroom environment, undermining the entire installation.
Skipping proper wall prep. Installing panels over an unclean or uneven surface leads to visible gaps and a less polished final result.
Rushing the caulking step. Incomplete caulking leaves gaps where moisture can penetrate, risking mold or warping behind the bead board wall over time.
Choosing a cap rail that clashes with the room’s style. An overly ornate or mismatched molding can undercut an otherwise clean, modern bead board wall design.
Painting before the caulk fully cures. Painting too soon can cause cracking or an uneven finish once the caulk fully sets and shrinks slightly.
Why a Bead Board Wall Matters
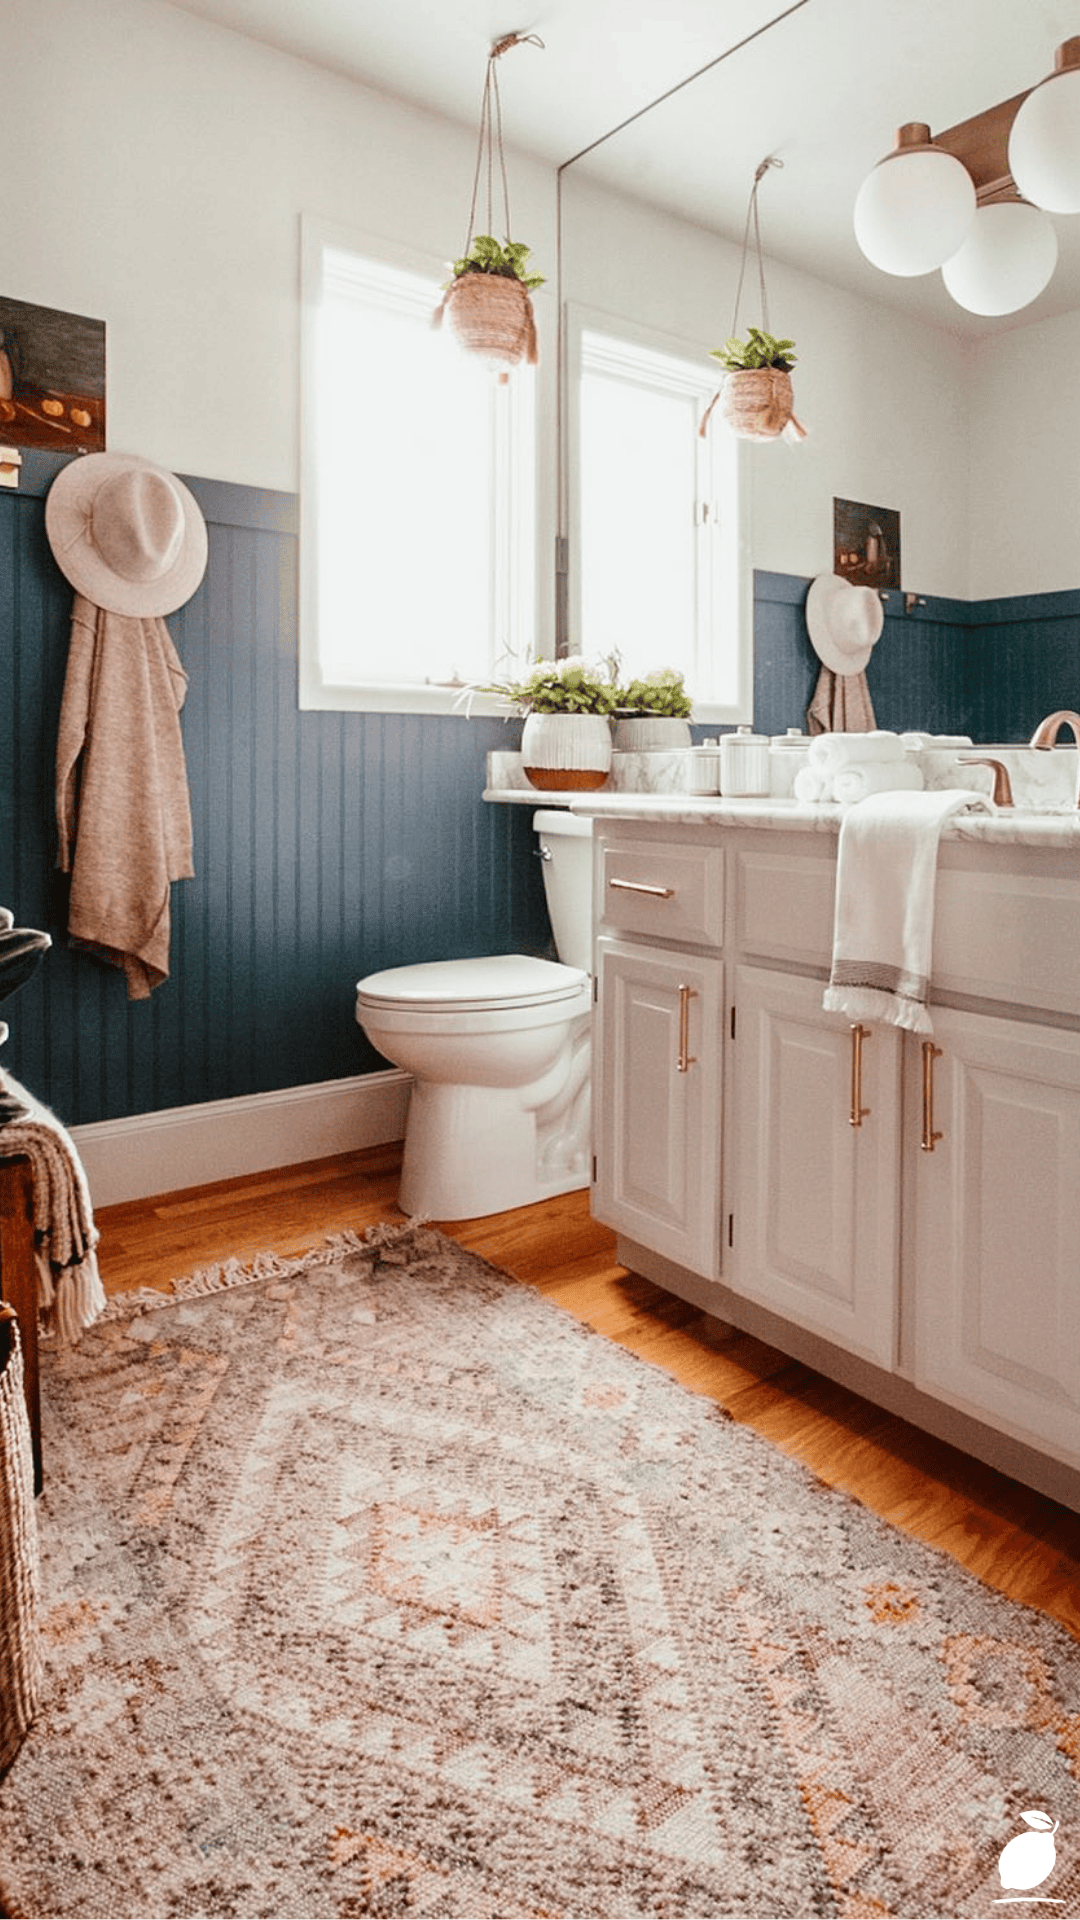
There’s a real shift that happens when a plain, forgettable room suddenly has architectural character. Our bathroom used to feel like an afterthought; now it’s a space I actually enjoy stepping into, thanks to one relatively contained weekend project. A bead board wall doesn’t just add visual interest; it changes the entire feel of a room from generic to genuinely finished.
Home improvement projects like this one offer more than aesthetic payoff. There’s real mental clarity that comes from tackling a space that’s been quietly bothering you and finally resolving it yourself. Completing a bead board wall installation is a tangible, visible accomplishment, and that sense of pride tends to carry into how you feel about the rest of your home, too.
At Easy Peasy Life Matters, this is exactly the kind of transformation we love featuring: not a massive renovation, but one focused, doable upgrade that changes how an entire room feels. A bead board wall is proof that meaningful, lasting home improvement is well within reach of a motivated weekend DIYer.
FAQ
What material is best for a bead board wall in a bathroom?
PVC bead board is often the most moisture-resistant option for bathrooms, though properly primed and sealed MDF can also work well in rooms with good ventilation.
How long does it take to install a bead board wall?
A single bathroom’s bead board wall installation typically takes one full weekend, including prep, installation, caulking, and painting, though dry time between steps may extend the total timeline slightly.
Can I install a bead board wall myself without professional help?
Yes, bead board installation is a very achievable DIY project for most homeowners with basic tools, though rooms with unusual angles or extensive plumbing obstacles may benefit from professional guidance.
What height should a bead board wall be in a bathroom?
Most bead board walls run between one-third and half the total wall height, typically between 32 and 42 inches, though the ideal height depends on your room’s proportions and personal preference.
How do I maintain a bead board wall in a humid bathroom?
Regular cleaning with a mild, non-abrasive cleaner, prompt attention to any caulk cracks, and ensuring good bathroom ventilation all help protect a bead board wall from moisture damage over time.







