
That awkward corner by the side gate had been bothering me for over a year. It wasn’t quite big enough for a real garden bed, too visible from the driveway to just ignore, cedar planter boxes, and every attempt to “fix it” ended the same way: a few clearance-rack annuals in plastic pots that looked fine for a month and then withered, forgotten, while weeds crept in around them. It became the spot I subconsciously avoided looking at whenever I pulled into the driveway, a small but constant reminder of a project I never quite finished.
If you’ve got a corner like that too small for a full landscaping overhaul, too visible to leave bare, too easy to keep putting off, you already know how quickly “I’ll get to it eventually” turns into years. The problem usually isn’t a lack of ideas. It’s that most small-space garden fixes either look flimsy and temporary or require far more construction skill than a weekend project should demand.
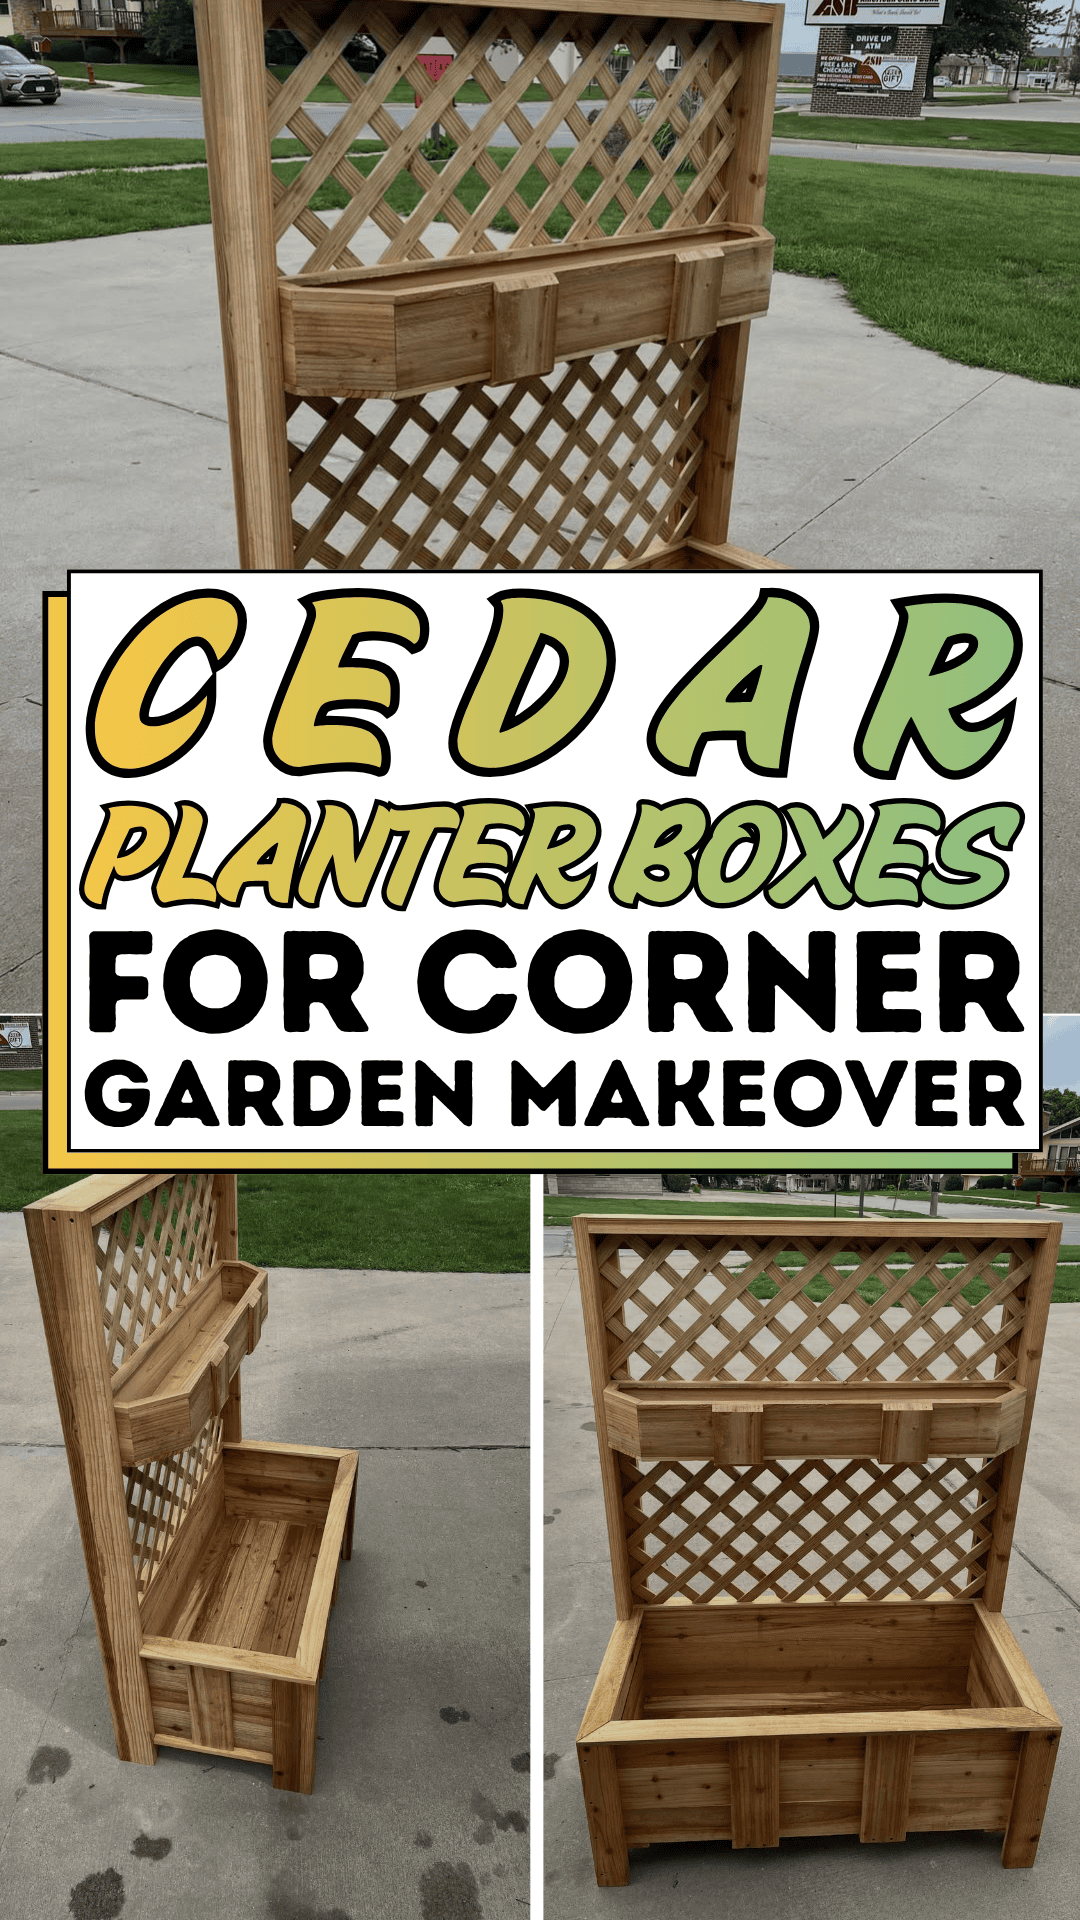
What actually solved it for me was a single structural piece: a tall cedar planter with a lattice trellis back and layered planting boxes, angled neatly into the corner. It gave the space real height, real structure, and real plants that actually stayed alive, all without needing to build out an entire garden bed. If you’ve got a similar problem corner, this is exactly how I used cedar planter boxes to turn it into the best-looking part of the whole yard.
The Cedar Planter Boxes Blueprint
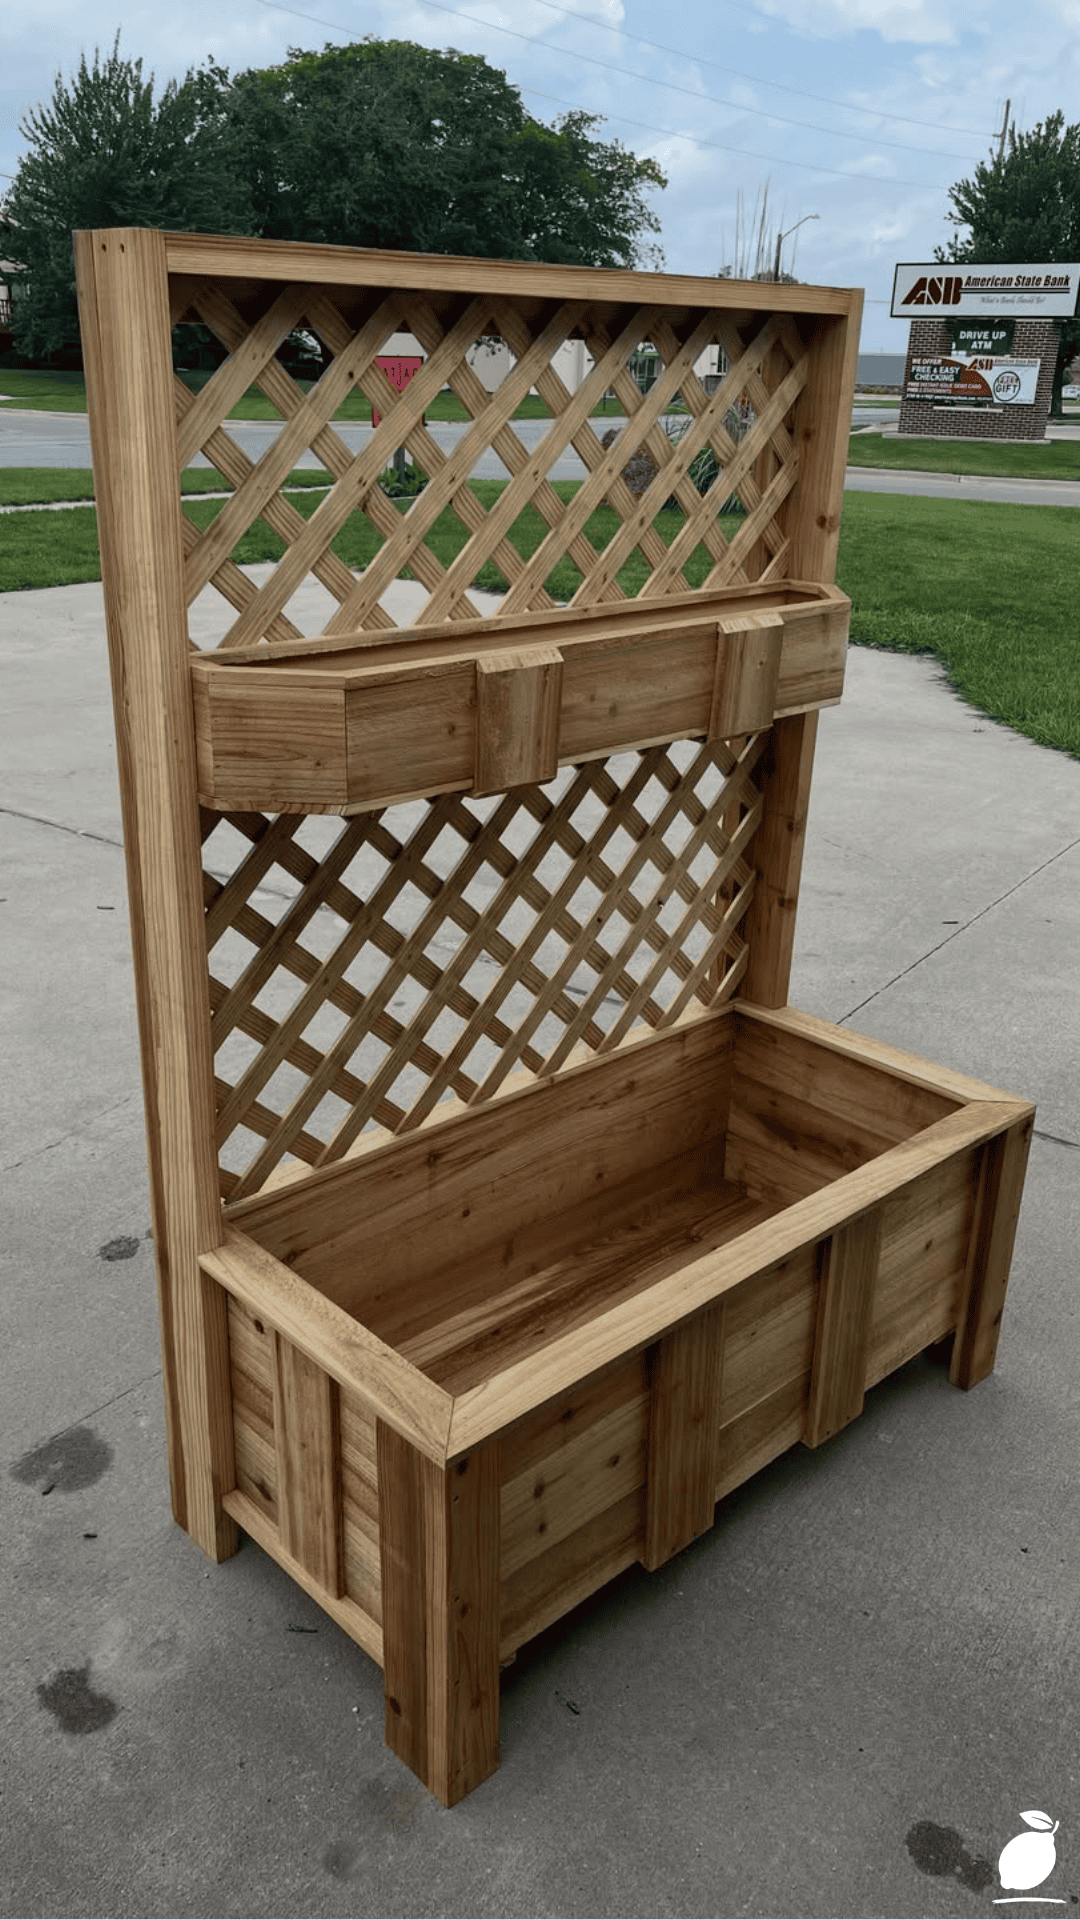
Building and installing a lattice-backed cedar planter is a manageable weekend project, and the payoff for a small, awkward corner is dramatically out of proportion to the effort involved.
Step 1: Measure Your Corner Space
Before buying or building anything, measure the width, depth, and height available in your corner, accounting for foot traffic and sightlines from the street or driveway. This determines the ideal size for your cedar planter boxes and prevents an oversized structure that overwhelms the space.
Step 2: Choose Cedar for Durability
Select naturally rot-resistant cedar boards rather than pine or composite, since cedar holds up significantly better against outdoor moisture and temperature swings over multiple seasons without needing heavy sealants.
Step 3: Build or Buy the Lattice Trellis Panel
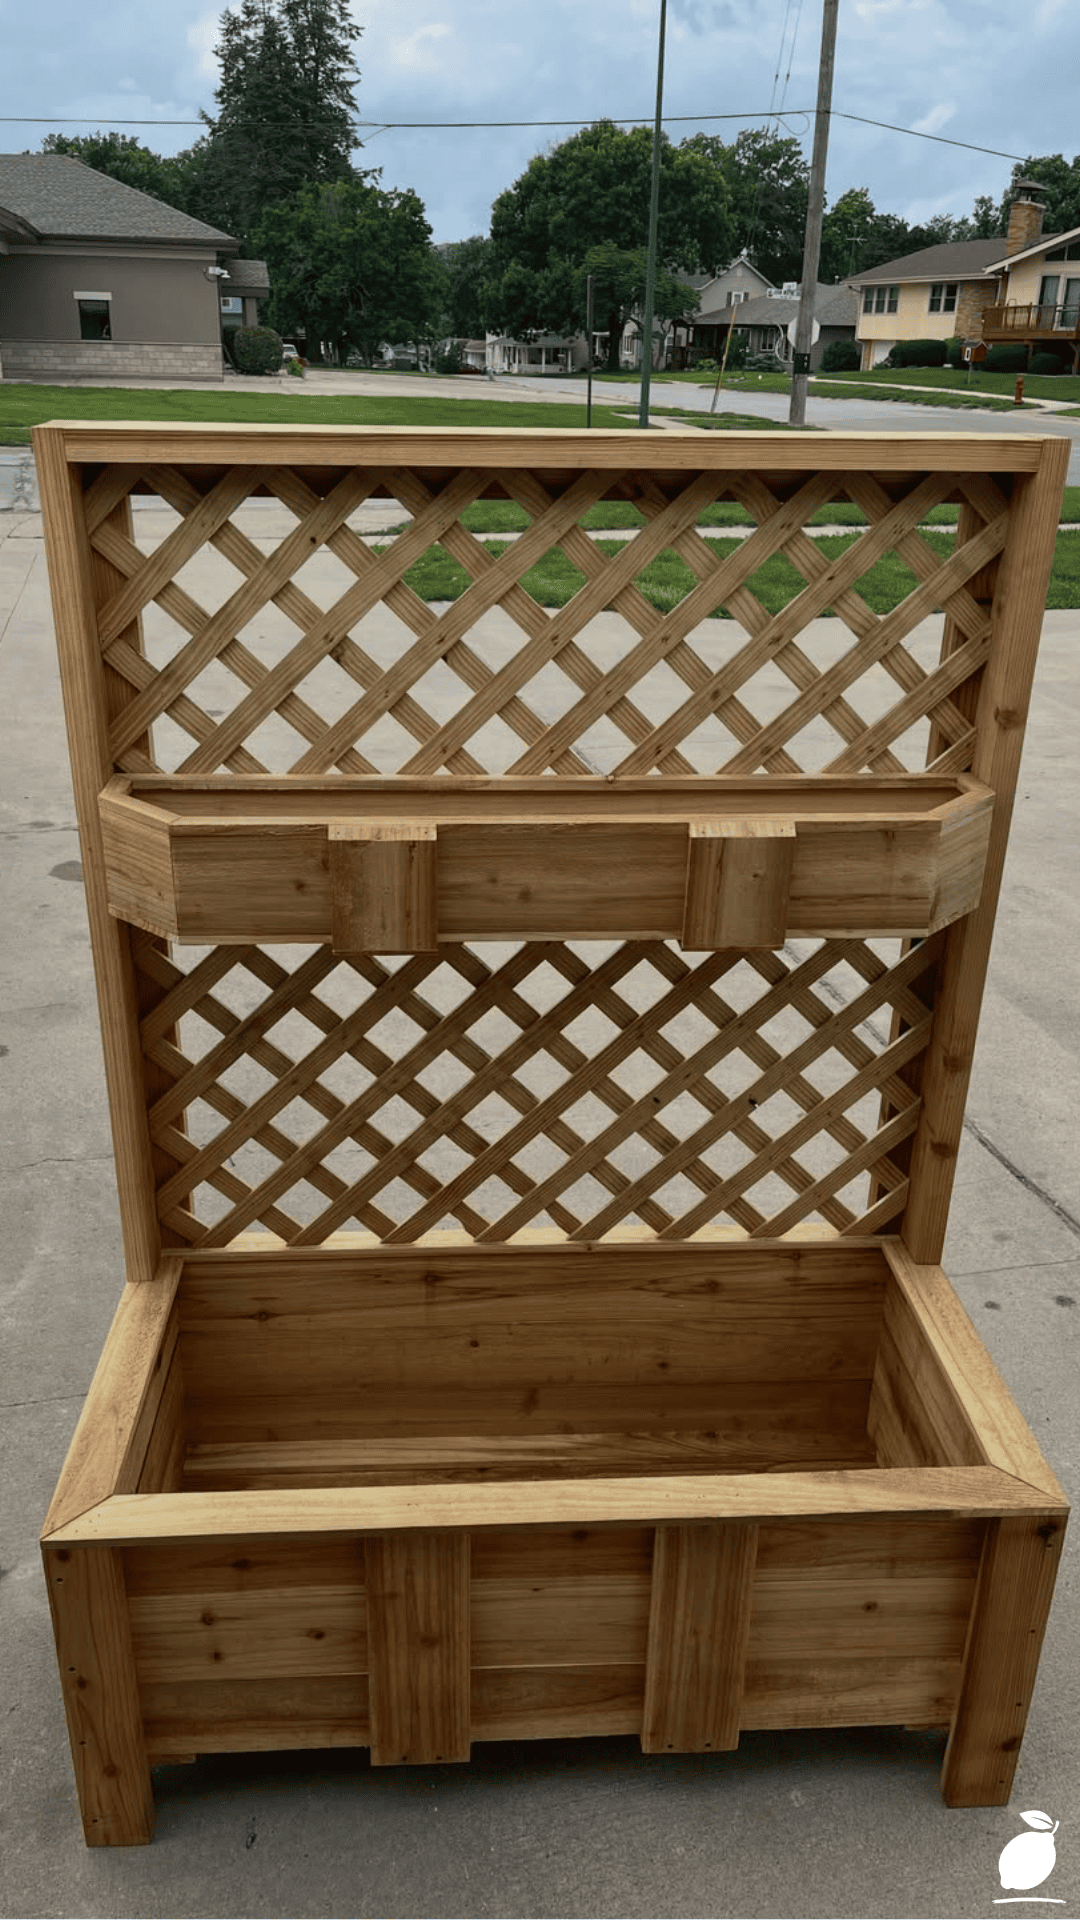
Construct a diagonal cross-pattern lattice panel, or purchase a pre-made cedar lattice section, to serve as the vertical backbone of your planter. This trellis panel is what gives cedar planter boxes their height and visual interest, especially in a narrow corner where a flat, low box alone would look underwhelming.
Step 4: Attach the Upper Planter Boxes
Mount one or two rectangular planter boxes horizontally across the upper portion of the lattice, securing them with exterior-grade screws and brackets rated for outdoor weight loads. These upper boxes are ideal for trailing plants that can spill attractively down through the lattice slats.
Step 5: Build the Base Planter Box
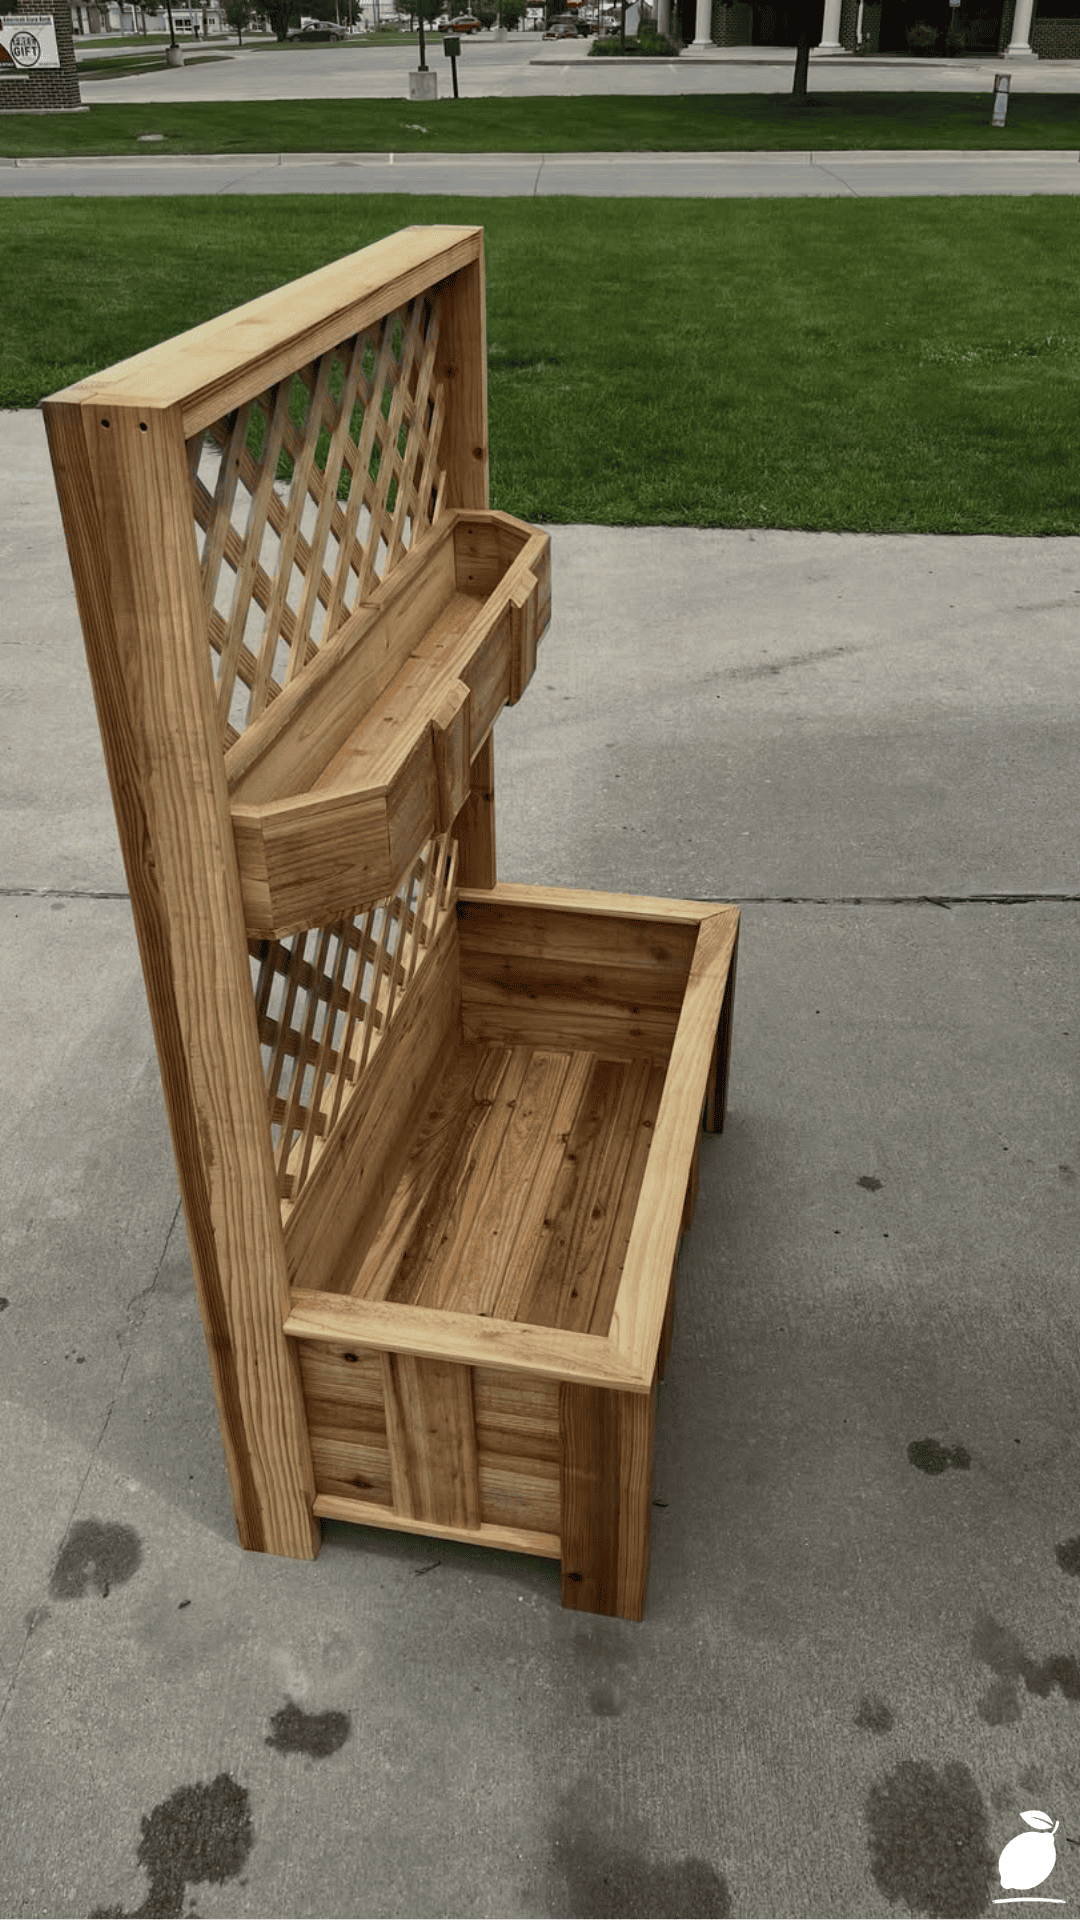
Construct a sturdier, deeper rectangular box at the base with raised panel sides for both structural support and additional planting space. This base box typically holds the bulk of your soil volume and root systems, so give it slightly thicker boards than the upper sections.
Step 6: Add Drainage and Liner
Drill drainage holes along the bottom of every box and add a breathable landscape fabric liner before filling with soil. This step protects the wood from constant moisture contact, extending the life of your cedar planter boxes considerably.
Step 7: Position and Level the Structure
Place your finished planter into the corner at a slight angle if needed to maximize visibility from multiple sides, and check that it’s level front to back and side to side before filling with soil.
Step 8: Fill, Plant, and Finish
Fill each box with quality potting soil, then plant according to sun exposure, trailing plants in the upper boxes, structural or seasonal plants in the base. A quick coat of natural wood sealant helps cedar planter boxes maintain their warm color for years to come.
Expert Secrets for Success
Pro-Tips for Better Results
Angle the planter for maximum visibility. Positioning cedar planter boxes at a slight diagonal, rather than flush against a wall, shows off both the front and side detail from more vantage points.
Choose trailing plants for the upper boxes. Vines or trailing flowers spilling through the lattice slats create a lush, layered look that a flat planting arrangement can’t match.
Seal the wood annually. A yearly application of natural cedar oil or sealant keeps the wood’s warm tone from graying prematurely and adds years to the structure’s lifespan.
Elevate the base slightly off concrete. Small feet or risers under the base box improve drainage and prevent water staining on concrete or patio surfaces beneath cedar planter boxes.
Match plant height to box placement. Taller plants in the base box and shorter, trailing varieties up top keep the overall silhouette balanced and visually appealing.
Common Mistakes to Avoid
Skipping drainage holes. Without proper drainage, soil in cedar planter boxes stays waterlogged, leading to root rot and accelerated wood decay.
Using non-rot-resistant wood. Standard pine or untreated lumber breaks down far faster outdoors than cedar, undermining the whole structure within a season or two.
Overloading the upper boxes. Excess soil weight in the top boxes can stress the lattice attachment points, so keep upper planters slightly lighter than the base.
Ignoring wind exposure. A tall lattice structure in an open, windy corner may need additional anchoring to stay stable over time.
Forgetting seasonal sealant maintenance. Skipping annual wood care shortens the lifespan of cedar planter boxes considerably, even though cedar is naturally more durable than other woods.
Why Cedar Planter Boxes Matter
There’s a particular kind of relief that comes from finally fixing the one spot in your yard you’ve been avoiding. That corner used to make me wince a little every time I walked past it; now it’s the first thing I notice pulling into the driveway, and it’s genuinely satisfying every single time. Cedar planter boxes didn’t just fill space; they turned an ongoing source of low-grade frustration into something I’m actually proud of.
There’s real value in tackling a small, contained project like this rather than an overwhelming full-yard renovation. A weekend build with a clear beginning and end gives you a tangible, visible win, and that kind of small DIY success tends to build genuine confidence proof that you can identify a problem, plan a fix, and follow through on it yourself. That confidence has a way of spilling into how calm and capable you feel about other unfinished projects around the house, too.
At Easy Peasy Life Matters, this is exactly the kind of transformation we love sharing: not a massive landscaping overhaul, but one well-built structure that changes how an entire corner of your home feels. Cedar planter boxes are proof that a small, focused project can deliver outsized peace of mind, one finally-finished corner at a time.
FAQ
How long do cedar planter boxes typically last outdoors?
With proper drainage and occasional sealant maintenance, cedar planter boxes commonly last 15 to 20 years outdoors, significantly outperforming standard pine or untreated lumber options.
Do cedar planter boxes need to be lined before adding soil?
Yes, a breathable landscape fabric liner is recommended to reduce direct soil contact with the wood, which helps prevent premature rot and extends the planter’s lifespan.
What size lumber is best for building cedar planter boxes?
For a sturdy base box, 1-inch-thick cedar boards work well, while thinner cedar slats suit lattice trellis panels and upper box detailing where less structural weight is involved.
Can cedar planter boxes be built without power tools?
Basic construction is possible with hand tools, though a drill and saw will significantly speed up the process and improve precision, especially for the lattice trellis pattern.
What plants work best in cedar planter boxes for a small corner?
Trailing plants like ivy or petunias work beautifully in the upper boxes, while structural options like small shrubs, ornamental grasses, or seasonal flowers suit the deeper base box.







