
The shoe situation in most homes doesn’t fail dramatically. It fails incrementally. One pair by the door becomes three. The closet floor gets claimed by trainers that don’t quite fit on the shelf above. The hall gets a basket that fills in a week and then overflows for months. The bedroom gets a pile that moves from the chair to the floor to somewhere beside the wardrobe that was never meant to become a permanent shoe location. Before long, the act of finding the right pair of shoes the ones needed now, in the right condition, without hunting through a loose heap has become a minor daily obstacle that starts the morning on a note of minor friction. Not catastrophic. Just consistently, exhaustingly present.

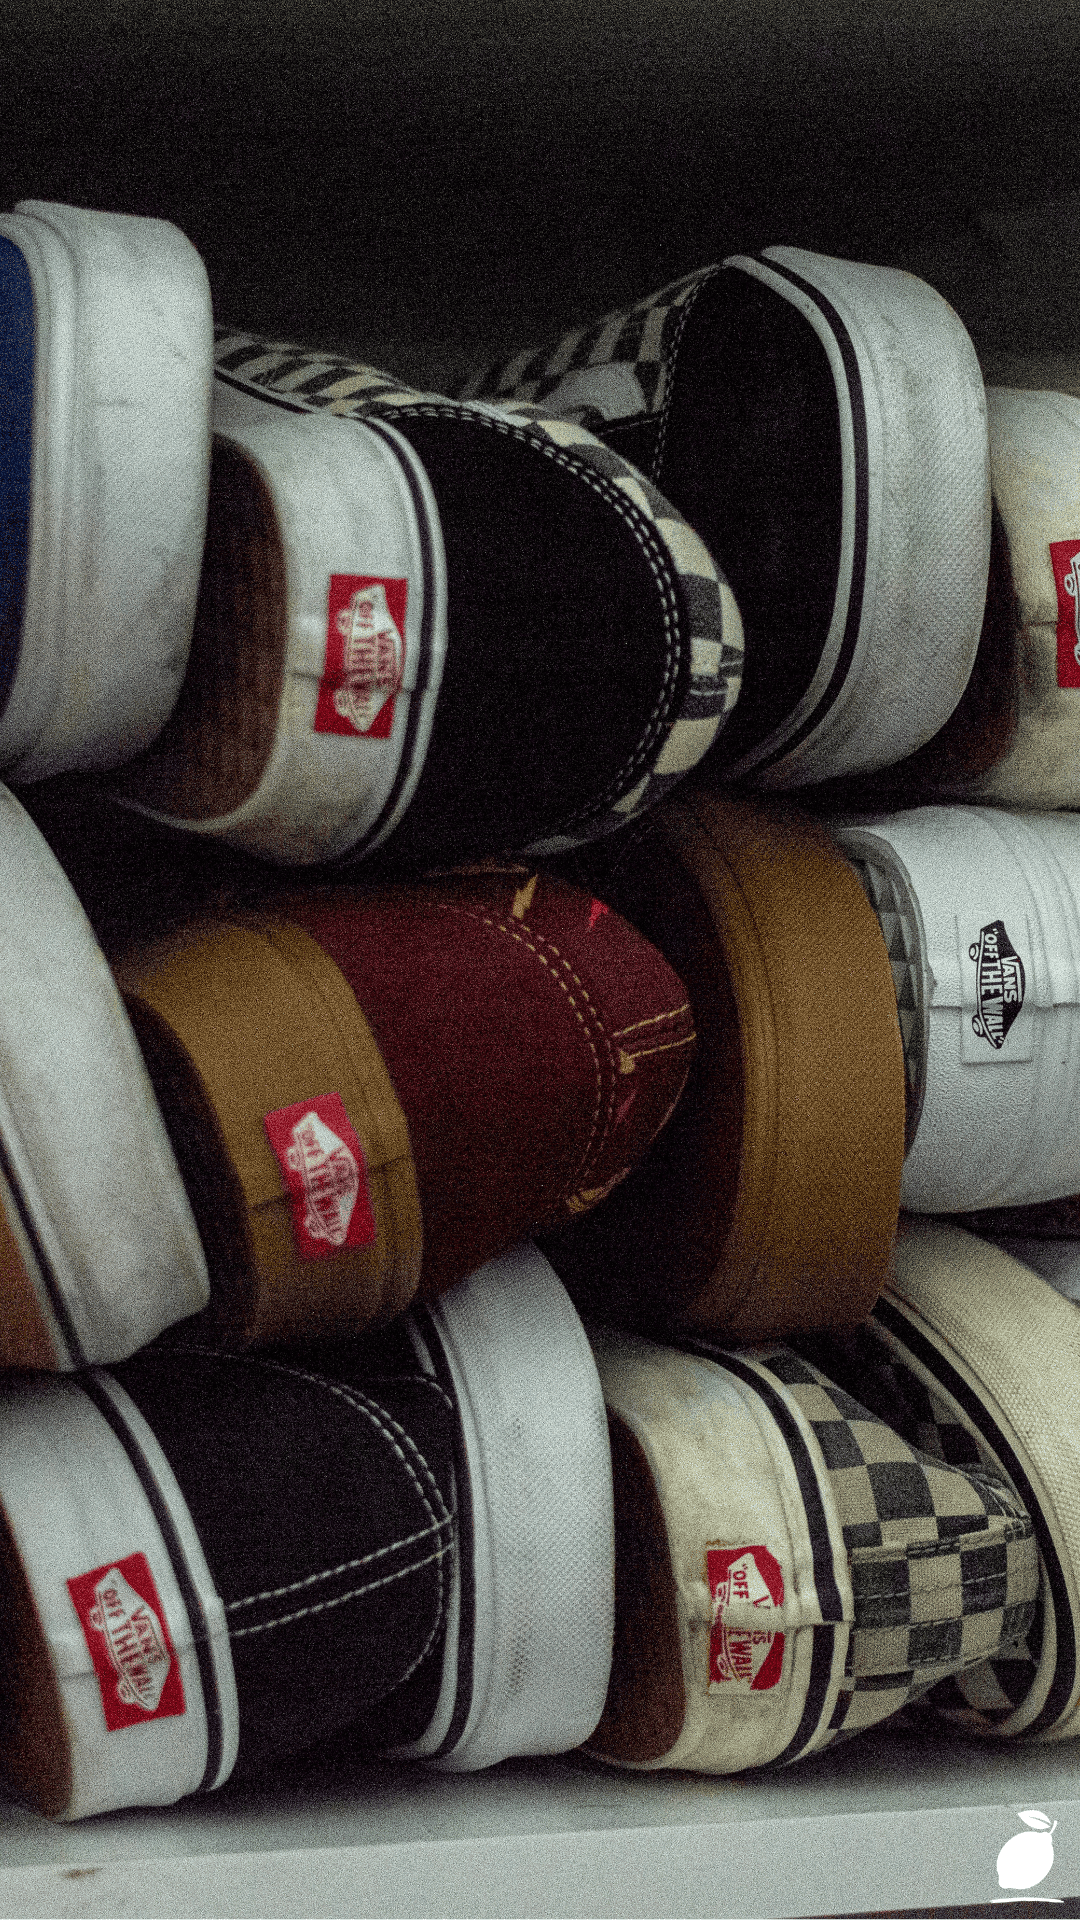
The image above shows what a functional shoe storage system actually looks like: a full storage unit with dedicated shelf space for a varied sneaker collection, each pair facing the same direction, visible at a glance, accessible without disturbing any other pair. Checkered, solid, and graphic designs coexist on the same shelving system in a way that is simultaneously organized and easy to navigate. The collection is clearly loved; there’s variety, there’s personality, and the storage system is what allows the collection to be enjoyed rather than managed. That distinction is the heart of effective shoe storage: a system that serves the collection rather than restraining it.
Clever shoe storage is not about minimalism. It is not about reducing the collection to a capsule wardrobe of five pairs. It is about designing a storage system that is genuinely calibrated to the shoes you actually own, the space you actually have, and the daily pattern of how shoes move through your home from the door to the closet, from the closet to the bedroom, from clean to worn and back again. This guide covers every step of building that system, from the initial audit through to the finishing details that make the shoes storage sustainable rather than aspirational.
The Shoes Blueprint
Step 1: Audit Every Pair of Shoes Before Designing the Storage
The first step in any clever shoes storage project is a complete inventory of every pair of shoes in the household, pulled from every location where shoes currently live, placed on a flat surface where all of them can be seen simultaneously, and assessed with honesty about which pairs are in active rotation and which are not.
A shoe collection laid out in its entirety almost always surprises its owner. Pairs that were forgotten because they were buried. Pairs that no longer fit but were never removed. Duplicates purchased because the original was lost in the existing storage system. The full inventory makes visible what the storage system must actually accommodate, and that number is almost always different from the number the owner would estimate without looking.
Audit each pair in three categories: active (worn regularly and needed in accessible shoes storage), seasonal or occasional (worn infrequently and suitable for secondary storage), and outgoing (no longer needed, to be donated, sold, or discarded). Only the active category belongs in primary shoes storage. Seasonal and occasional pairs belong in secondary storage on higher shelves, labeled boxes, or under-bed storage that doesn’t occupy the premium shoes storage space that frequent-use pairs need.
Count the active pairs by type: flat shoes, heels, trainers, boots, sandals. The type breakdown determines what shelf spacing, storage height, and accessory types the shoes storage system requires. A collection dominated by trainers needs different shelf depth and height than one with significant boot or heel content.
Step 2: Map the Available Shoes Storage Space
With the active shoe inventory counted and categorized, map the available shoes storage space, the specific location or locations where the shoes storage system will be installed. Most homes have shoes arriving and departing through one or two primary entry points; the ideal shoes storage location is proximate to those entry points to support the habitual behavior of removing and replacing shoes as they enter and leave the home.
Measure the available shoes storage space in all three dimensions: width, depth, and height. Note any fixed obstacles, such as electrical outlets, light switches, doorway clearance requirements, and HVAC vents that constrain the shoes storage system’s footprint. For hallway shoes storage, measure the clear passage width that must remain after the shoes storage unit is installed: a minimum of 90cm (36 inches) of clear passage in a hallway, less in a bedroom or walk-in wardrobe context.
Calculate the shelf space required by the active inventory. A standard trainer requires approximately 32 to 35cm (12 to 14 inches) of shelf width and 12 to 15cm (5 to 6 inches) of height clearance. Heeled shoes require the same width and approximately 20 to 25cm (8 to 10 inches) of height. Boots require floor-level storage or a dedicated boot rack section. Use these dimensions against the counted inventory to calculate the minimum shelf linear footage required, then add 20% for collection growth and seasonal additions.
Step 3: Choose the Right Shoes Storage System Type
Shoes storage systems divide into five primary types, each suited to a specific space configuration, collection size, and aesthetic priority. Matching the system type to your specific shoes storage situation rather than purchasing what looks most appealing is the decision that determines whether the installed system functions well long-term or simply looks good initially.
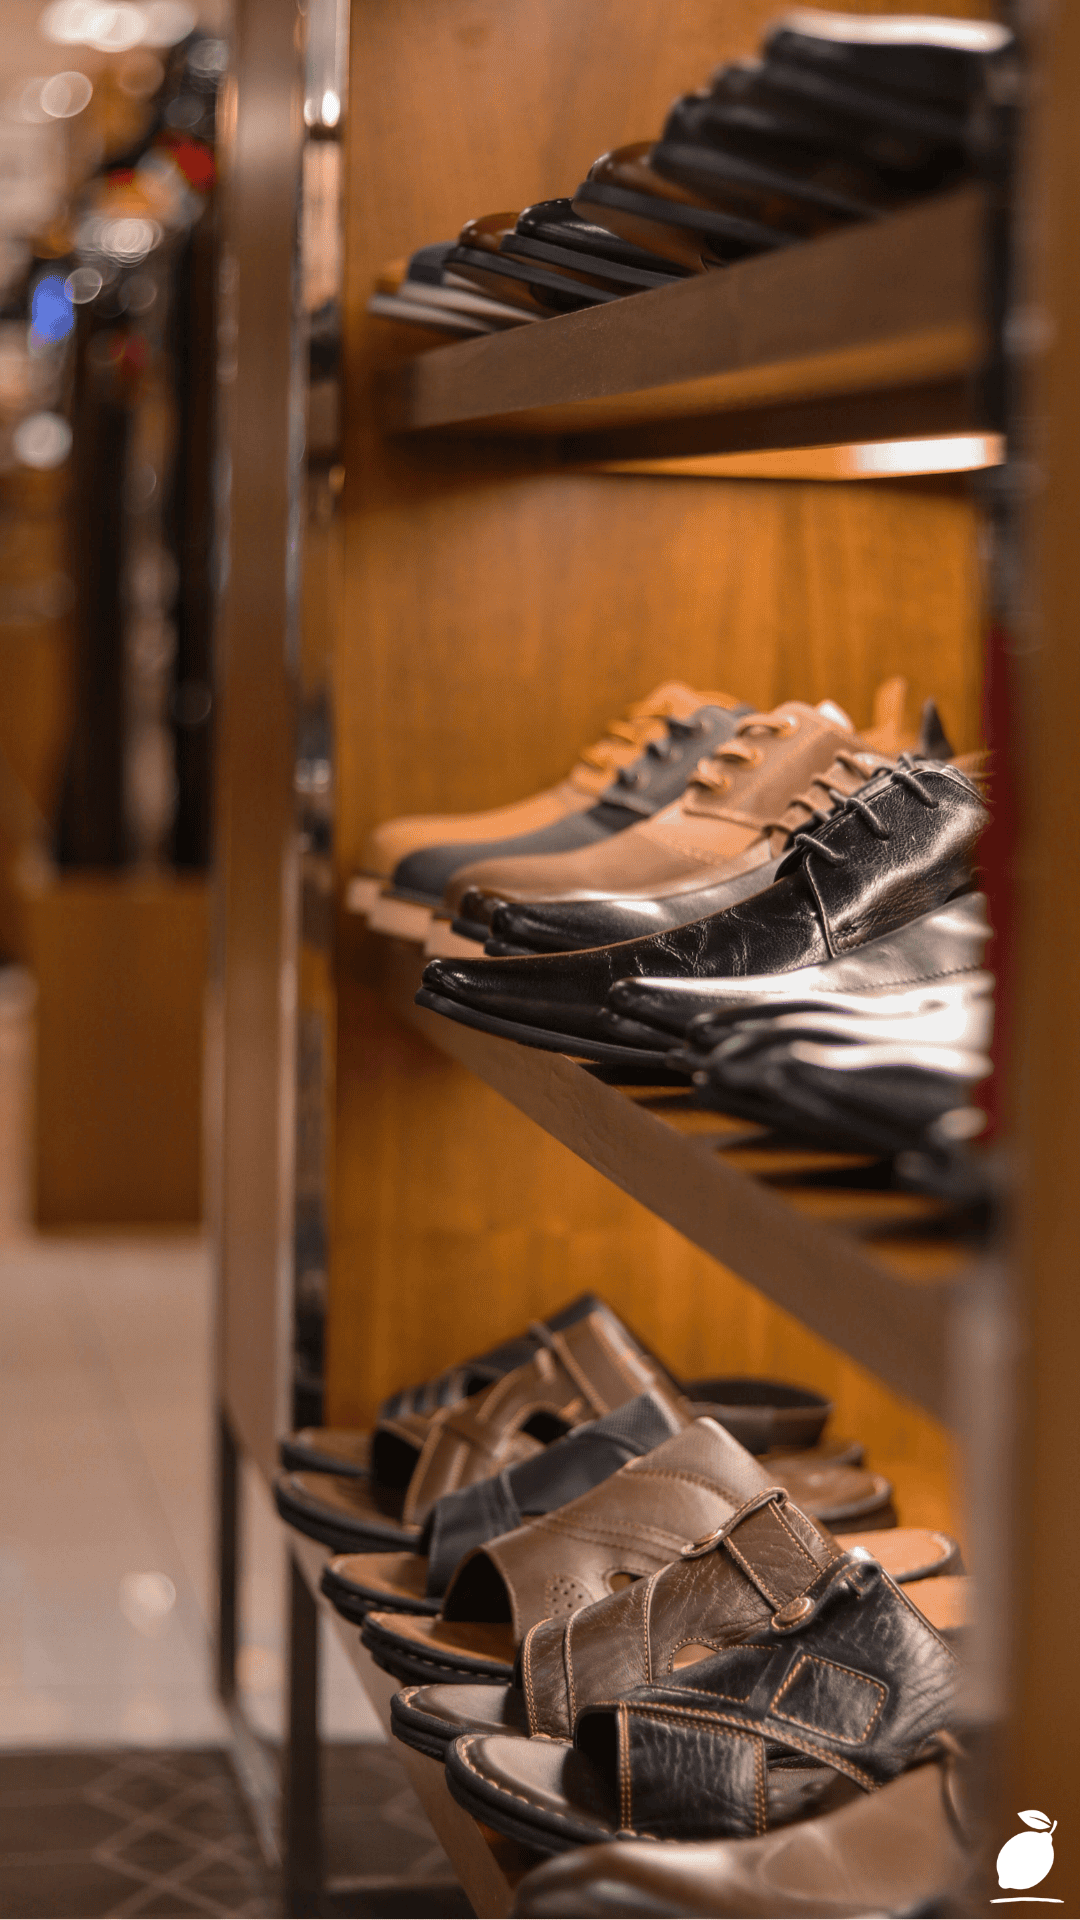
Open shelving is the most accessible shoes storage type: shelves mounted to a wall or freestanding in a unit, with shoes displayed face-forward or angled for visibility. The featured image’s shelving unit is an open shelf system, with every pair visible at a glance; no opening of doors or lifting of lids required. Open shelving works best for a shoe collection that is maintained in rotation and where the aesthetic quality of the collection itself the variety of colors and designs is something the owner wants to see rather than conceal. The limitation is dust accumulation on rarely worn pairs.
Cabinet-style shoe storage conceals the collection behind doors, producing a cleaner visual result in an entryway or hallway but requiring the opening of a door to access any pair. Slim-profile hallway shoe cabinets with tipping-front or pull-out shoe racks are the most space-efficient shoe storage solution for small hallways; they store shoes vertically in a footprint of 15 to 25cm depth while presenting a flat-front appearance when closed.
Over-door shoes organizers use the vertical surface of a door’s back the hallway closet door, the bedroom door, the wardrobe door for shoes storage in hanging fabric or clear-pocket organizers. These are the most accessible shoes storage solution for renters or spaces where wall mounting isn’t permitted, and they add significant shoes storage capacity without requiring any floor or wall space beyond the door itself.
Under-bed shoes storage uses flat rolling drawers or individual clear box storage positioned beneath the bed frame for secondary shoes storage of the seasonal and occasional pairs that don’t need to be immediately accessible. Purpose-built under-bed shoes boxes with lids and clear fronts or photo windows allow easy identification of stored pairs without removing every box.
Modular stackable shoes storage, individual clear boxes or fabric bins stacked to create a custom shoes storage configuration, is the most flexible system available, allowing the storage to be reconfigured as the collection changes and the scale to be adjusted incrementally rather than requiring a full system replacement when needs change.
Step 4: Install the Shoes Storage System
Installation quality determines the long-term performance of the shoes storage system regardless of which type is selected. A poorly installed wall-mounted shoes shelf fails when heavily loaded; a free-standing unit positioned on uneven flooring wobbles and eventually tips; a cabinet-style shoes storage unit with improperly aligned doors becomes difficult to open after the first season.
For wall-mounted open shelving: locate wall studs before marking bracket positions, and anchor all brackets directly into stud material rather than drywall alone. Shelves loaded with shoes are significantly heavier than they appear; a 90cm shelf holding fifteen pairs of trainers carries 15 to 20kg of sustained load, which requires solid stud anchoring at every bracket point. Use a spirit level at every shelf during installation to ensure horizontal alignment; a shelf that tilts even slightly toward the front will migrate shoes toward the edge over time.
For freestanding shoes storage units: level the unit using adjustable feet where provided, or thin shims on uneven floors. If the unit is taller than 90cm (36 inches), anchor it to the wall at the top using the anti-tip bracket typically provided; tall freestanding shoes storage units are a tipping hazard when heavily loaded and when children interact with them.
For cabinet-style shoes storage: ensure the tipping-front mechanism or pull-out rails are correctly adjusted before loading the cabinet. These mechanisms are calibrated to specific weight ranges and require adjustment if the shoes stored are significantly heavier or lighter than the typical range.
Step 5: Organize the Shoes Within the System
With the shoes storage system installed, organize the active shoe inventory within it according to a logical sequence that supports the daily use pattern the way shoes are actually accessed, worn, and returned rather than the way a styled photograph arranges them.
The most functional shoes storage organization sequence places the most frequently worn pairs at the most accessible height: eye level or one shelf below, directly visible and within easy reach. Less frequently worn active pairs go above or below this primary zone. Within each height zone, organize by shoe type (trainers together, flats together, casual together) rather than by color type; this organization supports the way most people select shoes (by occasion and type) more reliably than color-based organization, which is more aesthetically pleasing but less functionally useful.
Face all shoes in the same direction, preferably with the toe toward the viewer so the shoe’s style is immediately identifiable without removing it from the shelf. Angled shoe displays, where alternate pairs face opposite directions to increase density, are common in retail shoe storage and can be replicated on home shelves to increase capacity by approximately 30% per shelf run.
Step 6: Establish a Shoes Rotation and Maintenance Routine
The shoes storage system’s long-term effectiveness depends on a consistent shoes rotation routine: the habit of returning shoes to their designated position after wearing, removing shoes that have left active rotation, and introducing new acquisitions with the simultaneous removal of a displaced pair.
Establish a weekly shoes check: a sixty-second scan of the shoes storage system to identify any pairs that have been worn and not returned to their position, any pairs that have migrated from their zone to a neighboring one, and any pairs that need cleaning before being returned to storage. This weekly check, performed consistently, is the single habit that sustains shoes storage organization over months and years. Without it, the system drifts in approximately the same time it took to install.
Clean shoes before returning them to the storage system, particularly trainers and leather shoes that carry outdoor dirt. A quick brush or wipe before storage prevents the contamination of neighboring pairs and extends the life of the shoes storage system’s shelves and surfaces.
Expert Secrets for Success
Pro-Tips for a Better Result
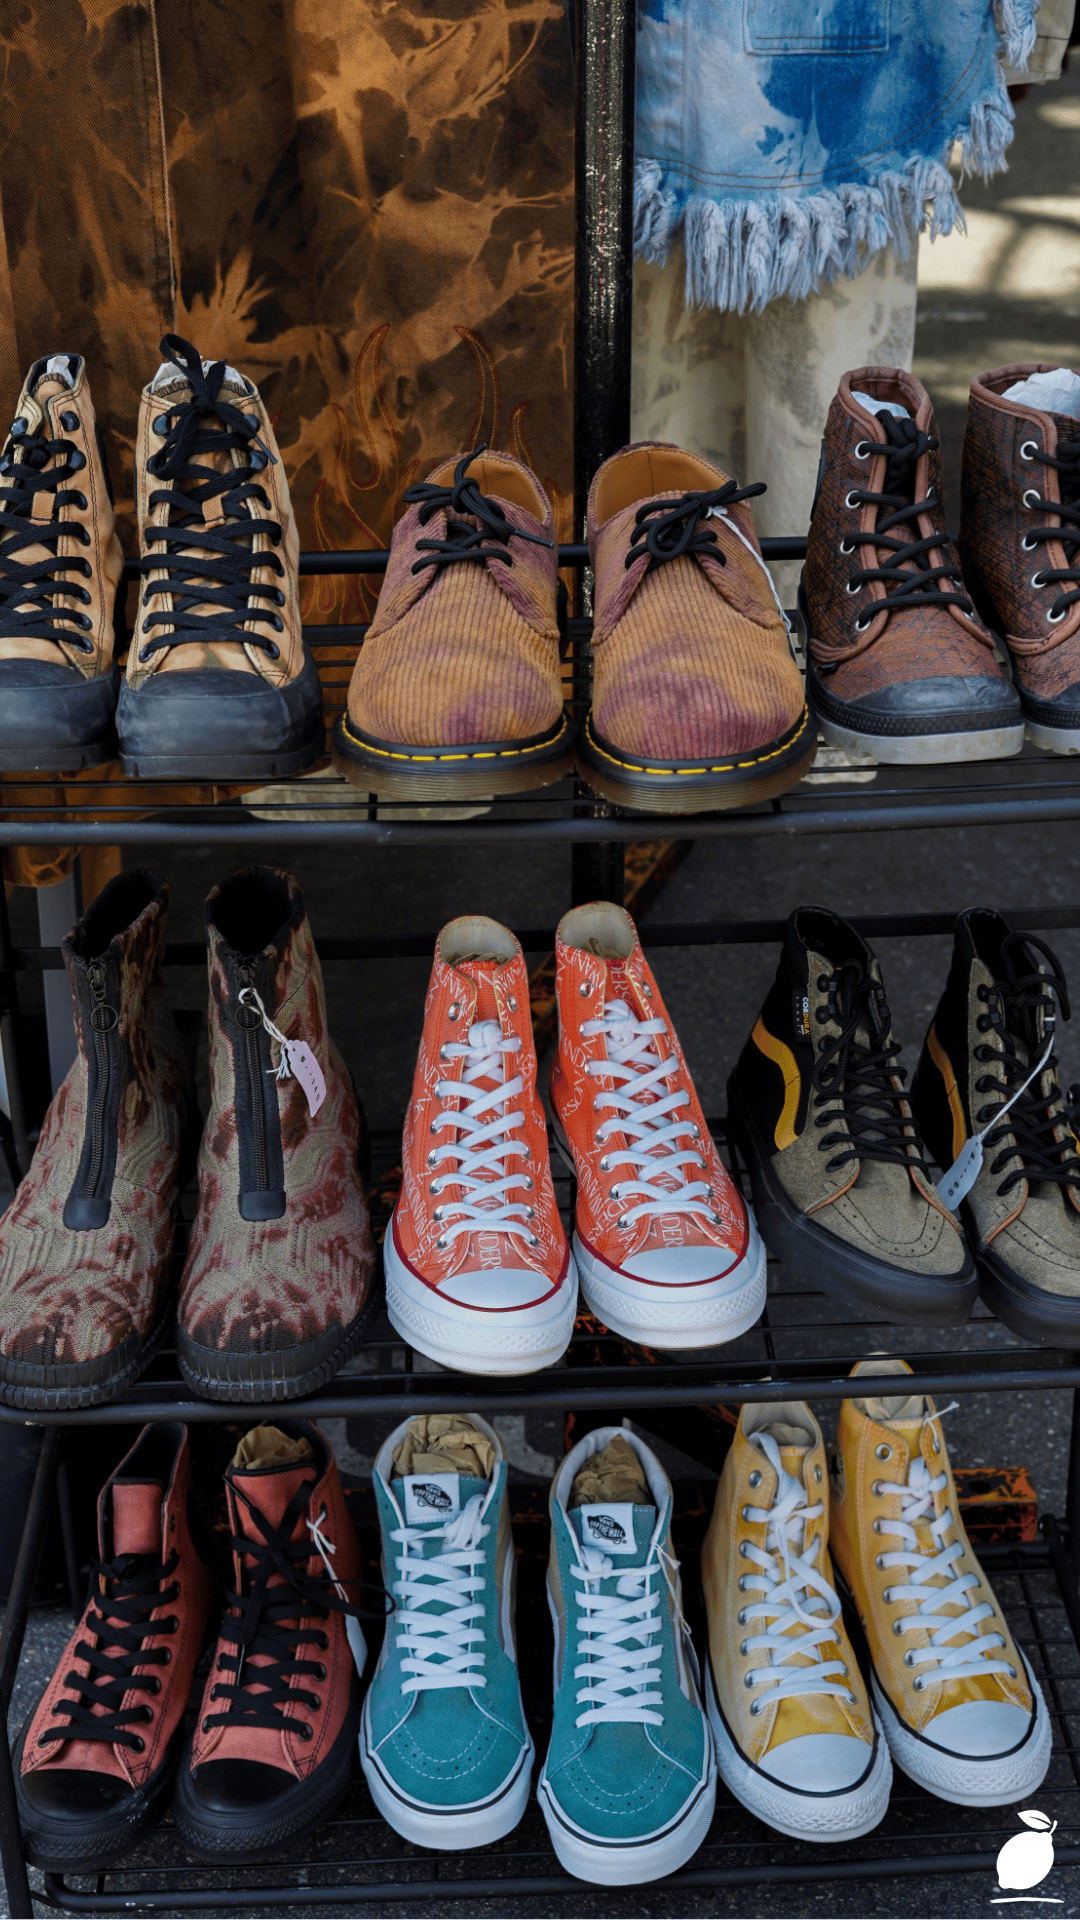
Use clear stackable boxes for occasional-wear shoes storage. The most consistently effective shoes storage approach for seasonal and occasional pairs is individual clear plastic boxes — sized to the shoe’s footprint, stackable, with a polaroid or printed photograph of the shoe affixed to the front of the box. This shoe storage method keeps occasional pairs dust-free, maintains their shape better than stacking on open shelves, and allows identification of the shoe inside without opening the box. The stack of clear boxes becomes a visible inventory of the collection’s full range rather than an opaque storage mystery.
Add a dehumidifying sachet to enclosed shoe storage spaces. Shoes stored in enclosed cabinet-style shoe storage or in boxes in a wardrobe accumulate moisture from the leather and fabric components of the shoes themselves, particularly after wear. This moisture creates the environment in which mold, mildew, and deterioration of adhesives and materials occur. A silica gel dehumidifying sachet in each closed shoes storage zone absorbs this moisture and extends the life of the stored shoes significantly. Replace the sachets every three to four months.
Install LED strip lighting inside enclosed shoes storage cabinets. The most consistent criticism of cabinet-style shoes storage is the difficulty of seeing the collection in a closed cabinet without strong ambient lighting. Adhesive LED strip lighting on the underside of each shelf in an enclosed shoes storage cabinet adds less than ten pounds to the project cost and transforms the visibility and the daily experience of using the shoes storage system significantly.
Dedicate one shelf to shoes that need attention. A single designated “shoes that need attention” shelf in the shoes storage system for pairs that need cleaning, resoling, new laces, or repair prevents these pairs from being returned to the active storage zones in a condition that degrades the system’s organization and the shoes’ longevity. When the attention shelf is full, the existing pairs are addressed before new pairs are added to it.
Common Mistakes to Avoid
Don’t design the shoes storage system around the current collection without accounting for growth. The most consistent shoes storage design failure is a system sized exactly to the current inventory, with no capacity for new acquisitions. A shoes storage system at 100% capacity is a system that fails with the first new pair and immediately begins to overflow. Design for 80% occupancy at installation, leaving 20% capacity for growth before the system requires expansion.
Don’t use open shoe storage for shoes not in active rotation. Open shelving is the most accessible and most visually appealing shoes storage approach for active-wear pairs. It is a poor choice for shoes worn infrequently; they accumulate dust, the leather and fabric can fade in ambient light, and they occupy prime shoe storage real estate that should be allocated to frequently used pairs. Relegate occasional-wear shoes to the secondary storage zone (clear boxes, under-bed storage, higher cabinet shelves) and reserve the primary open shelving for active-rotation pairs.
Don’t ignore vertical space in the shoes storage design. The most common shoes storage space waste is the volume between the top of the shoe on a shelf and the bottom of the shelf above it, the “air gap” that standard fixed-shelf spacing produces when the shelf height is set for the most high-heeled shoes in the collection and shorter pairs leave significant unused vertical space. Adjustable shelving that can be reconfigured to match the actual height profile of each zone’s shoes dramatically increases the storage capacity of a given shoes storage unit without increasing its physical footprint.
Don’t skip the label system for secondary shoes storage. Shoes stored in opaque boxes, at height, or in closed secondary shoes storage locations without labeling become effectively inaccessible; the effort of identifying and retrieving a specific pair outweighs the value of having retrieved them, and the secondary shoes storage gradually becomes a storage zone of last resort rather than a functional part of the system. Label every secondary shoes storage location box, shelf zone, or cabinet section clearly and consistently.
Why Shoes Matter
The state of shoe storage in a home is a surprisingly reliable indicator of the home’s broader organizational health, not because shoes are the most important category of household possession, but because they occupy the transitional zones of the home (the entrance, the bedroom, the wardrobe) where the daily rhythms of leaving and returning converge. A shoes storage system that works smoothly contributes to the quality of every departure and every arrival: the morning that starts without a three-minute search for the right pair, the evening return where shoes go directly to their place rather than being left where they were removed.
For households with children, effective shoe storage is a practical quality-of-life issue that affects the morning routine more than almost any other organizational system. A shoe that can’t be found before school, a mismatched pair discovered at the last moment, the hunt for boots on a rainy morning these are the specific domestic friction points that a well-organized shoe storage system eliminates. Children who have their own designated shoe storage zone low enough to be accessible, clear enough to be navigated independently develop the organizational habits around shoe storage that sustain the household system rather than disrupting it.
Easy Peasy Life Matters is built on the understanding that the organizational systems in a home are not ends in themselves; they are the infrastructure that allows daily life to proceed with less friction and more intention. A shoe storage system that works is a small thing, measured individually. Accumulated across every morning and every evening of a year, multiplied across every member of a household, it is something genuinely significant: the removal of a consistent, low-grade source of daily frustration, and the replacement of it with a system that simply works. The collection in the featured image is organized, visible, and accessible. Yours can be too, starting this weekend.
Frequently Asked Questions
How many pairs of shoes should a shoe storage system accommodate?
The correct shoe storage system capacity is determined by the actual active shoe inventory of the household, not by a prescribed number. The audit in Step 1 establishes the current active inventory; add 20% to that number for collection growth to determine the minimum system capacity. For a single adult with a varied wardrobe, 15 to 25 active pairs is a typical range. For a family of four, the combined active shoes storage requirement is typically 40 to 60 pairs. Design the system to accommodate the full household inventory at 80% capacity; the remaining 20% is the growth buffer that prevents the system from immediately overflowing with the next acquisition.
What is the best shoes storage solution for a small entryway?
The best shoes storage for a small entryway balances maximum capacity against minimum floor footprint. Slim-profile tipping-front shoes cabinets typically 15 to 20cm deep store shoes in a vertical orientation within a footprint that a standard full-depth shelf cannot match, and their closed-front appearance keeps the entryway visually calm. A combination of a slim shoes cabinet for the household’s most-worn pairs and an over-door organizer on the interior side of the coat closet door for secondary pairs provides a two-zone shoes storage solution that accommodates significant capacity without encroaching on the entryway’s clear passage.
How do I stop shoes from smelling in a closed storage system?
Shoe odor in closed shoe storage is caused by the accumulation of moisture and bacteria from wear. Three interventions address it most effectively: allow shoes to air for a minimum of 24 hours before returning them to enclosed storage never store shoes that have been worn recently directly back into a closed cabinet; place cedar shoe trees or cedar blocks inside frequently worn shoes in storage, which absorb moisture and inhibit bacterial growth; and include a dehumidifying sachet in each enclosed shoes storage zone, replaced every three to four months. For persistent odor in existing shoes storage systems, wipe all shelf surfaces with a solution of white vinegar and water, allow to dry completely, and add cedar accessories to each stored pair.
Can I build a shoes storage wall without professional installation?
Yes, and a DIY shoes storage wall is among the more accessible home organization projects available to a confident weekend DIYer. Standard floating shelf brackets with shelf boards, pre-assembled modular shelving systems, and stackable cube storage units all create the visual effect of a full shoes storage wall without requiring carpentry skills beyond bracket installation. The critical skills are accurate measurement, stud location for wall anchoring, and spirit-level shelf alignment, all of which are manageable with standard tools and care. The featured image’s shelving system is achievable as a DIY project using a modular shelving system anchored to the wall with appropriate stud-found brackets.







