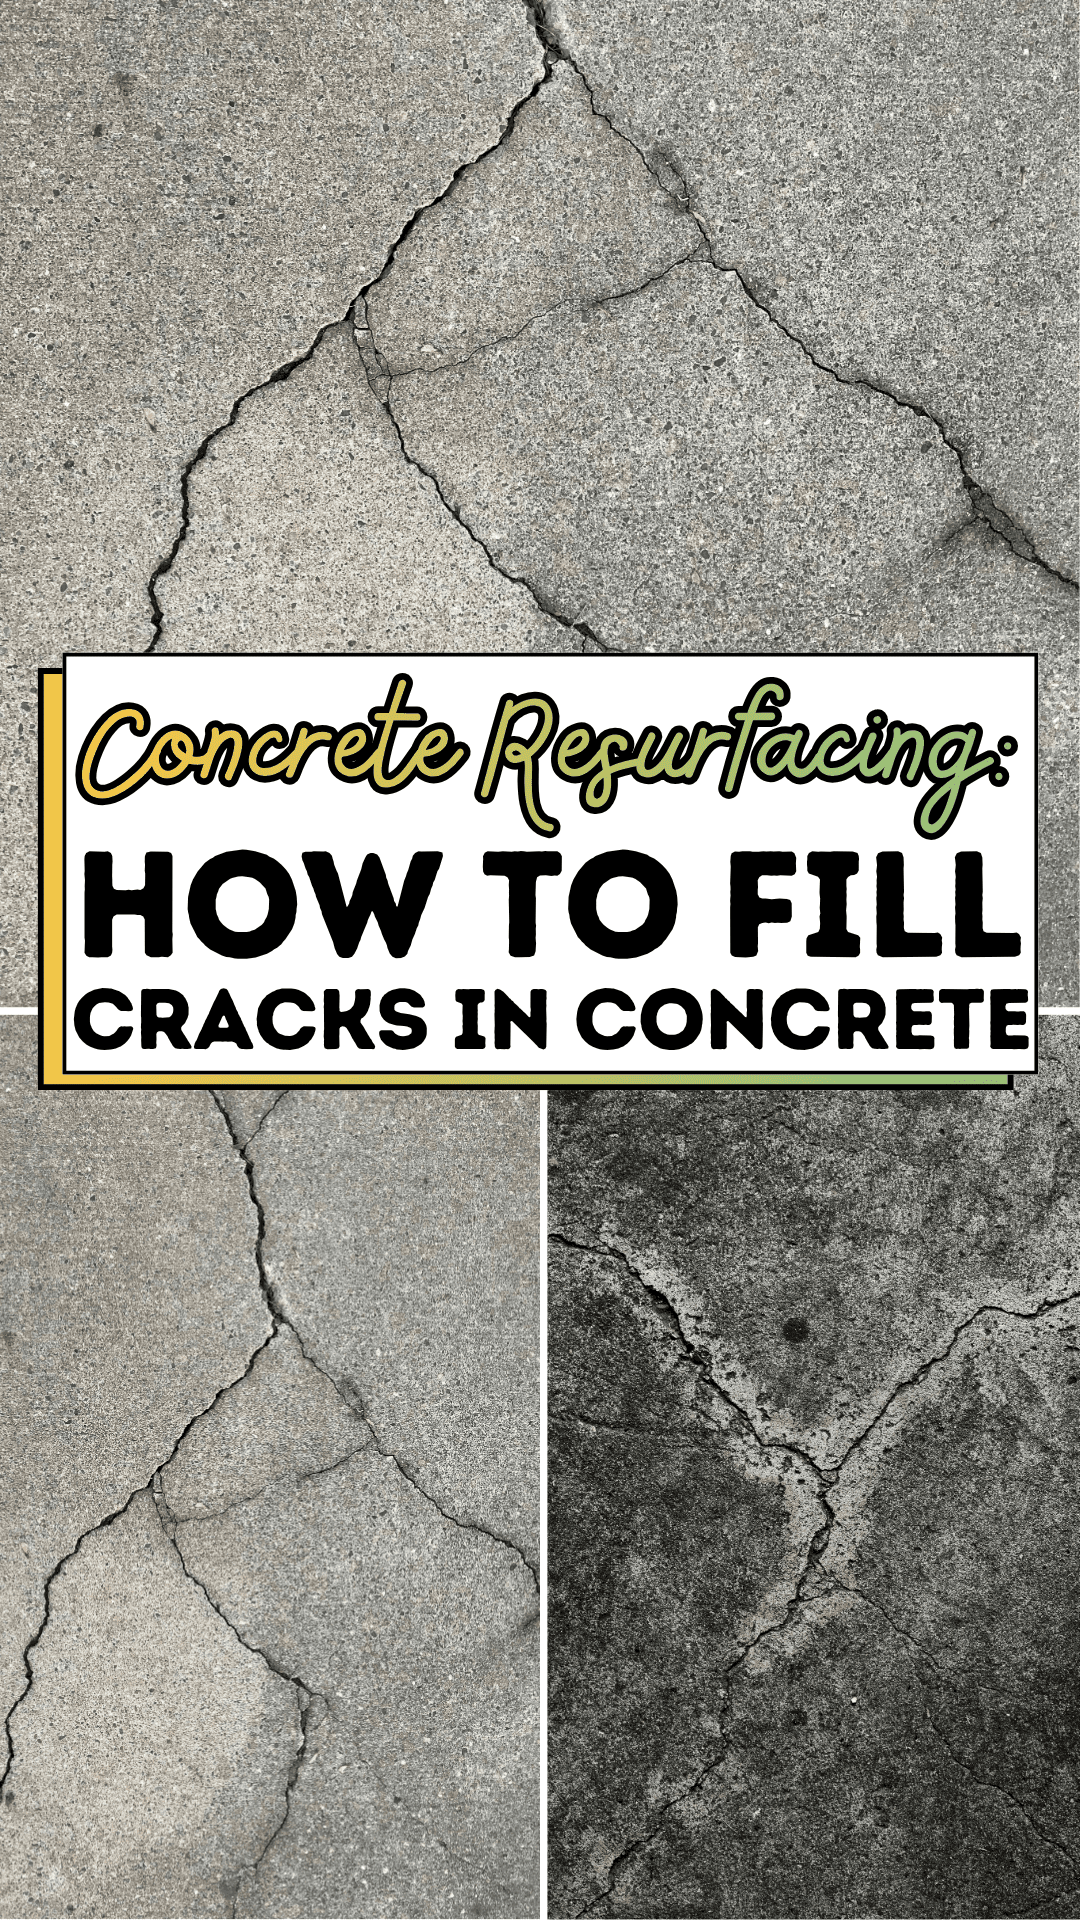
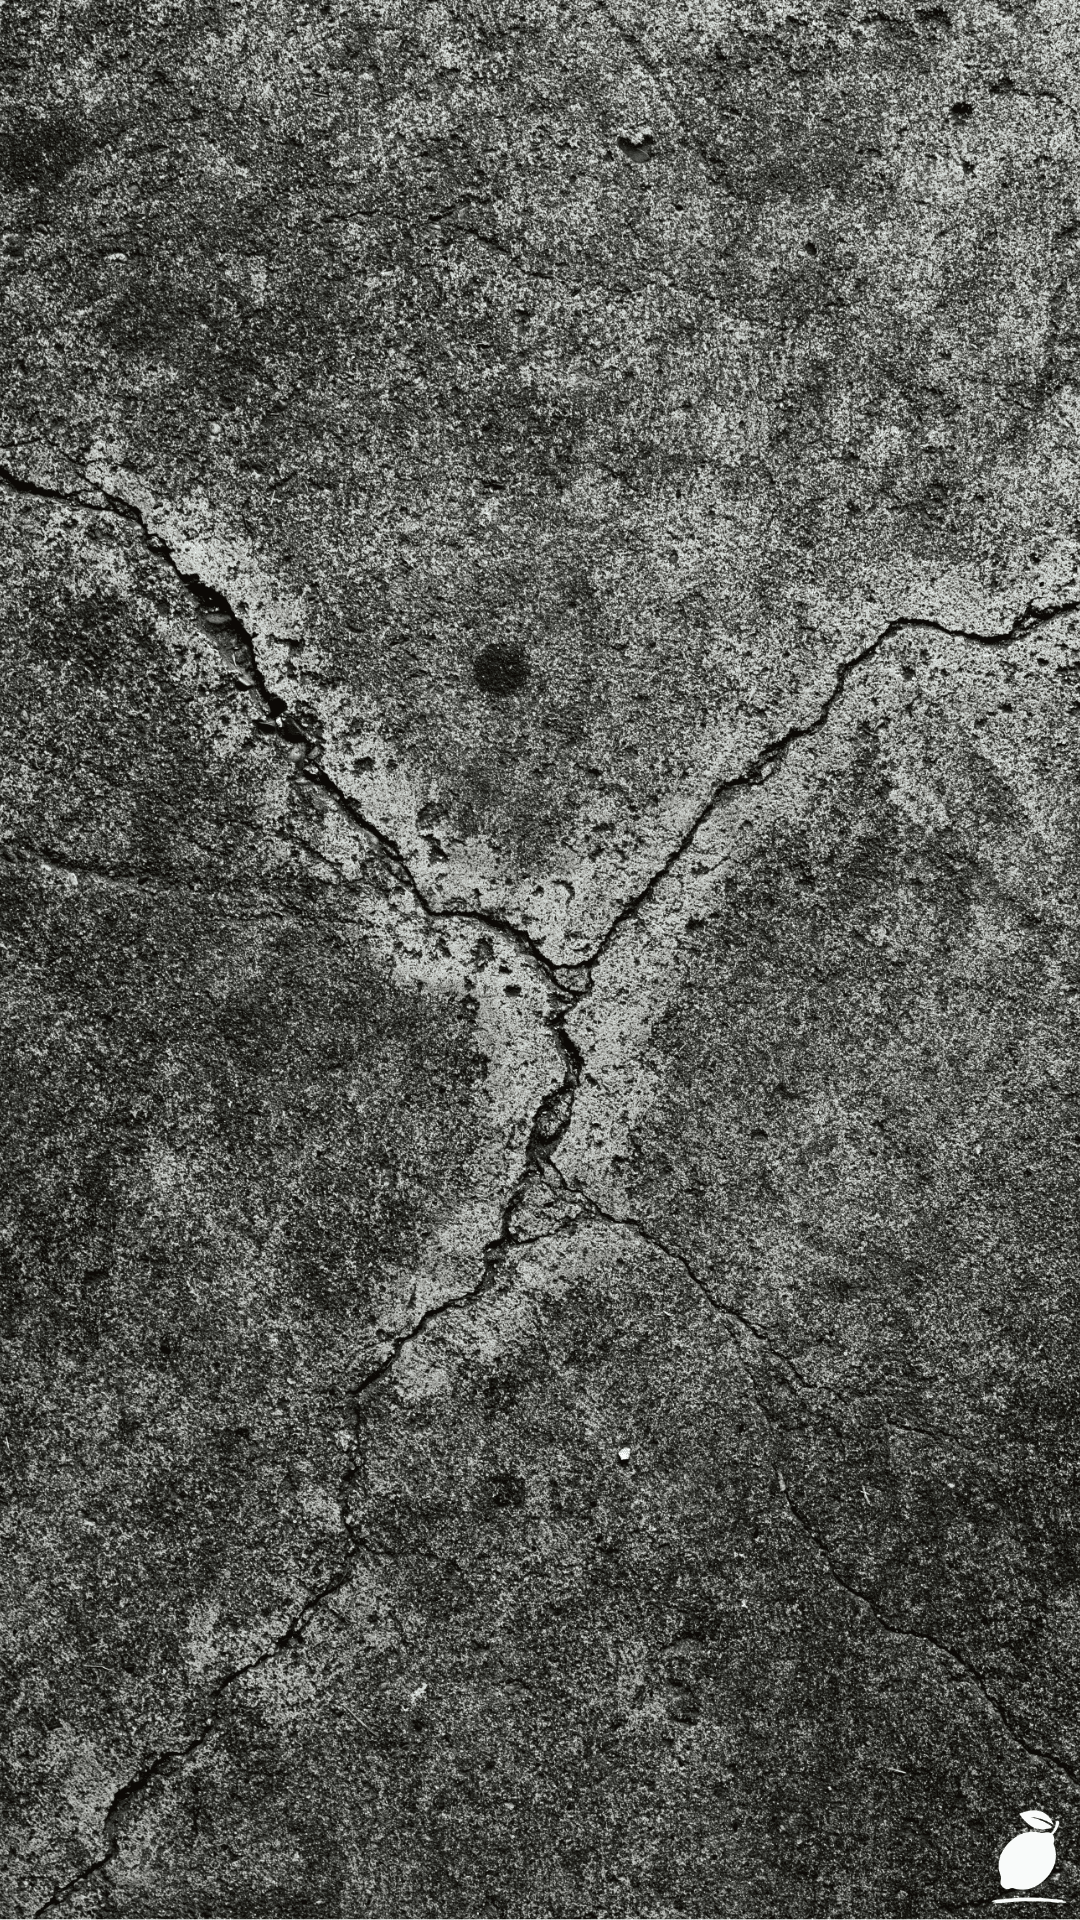
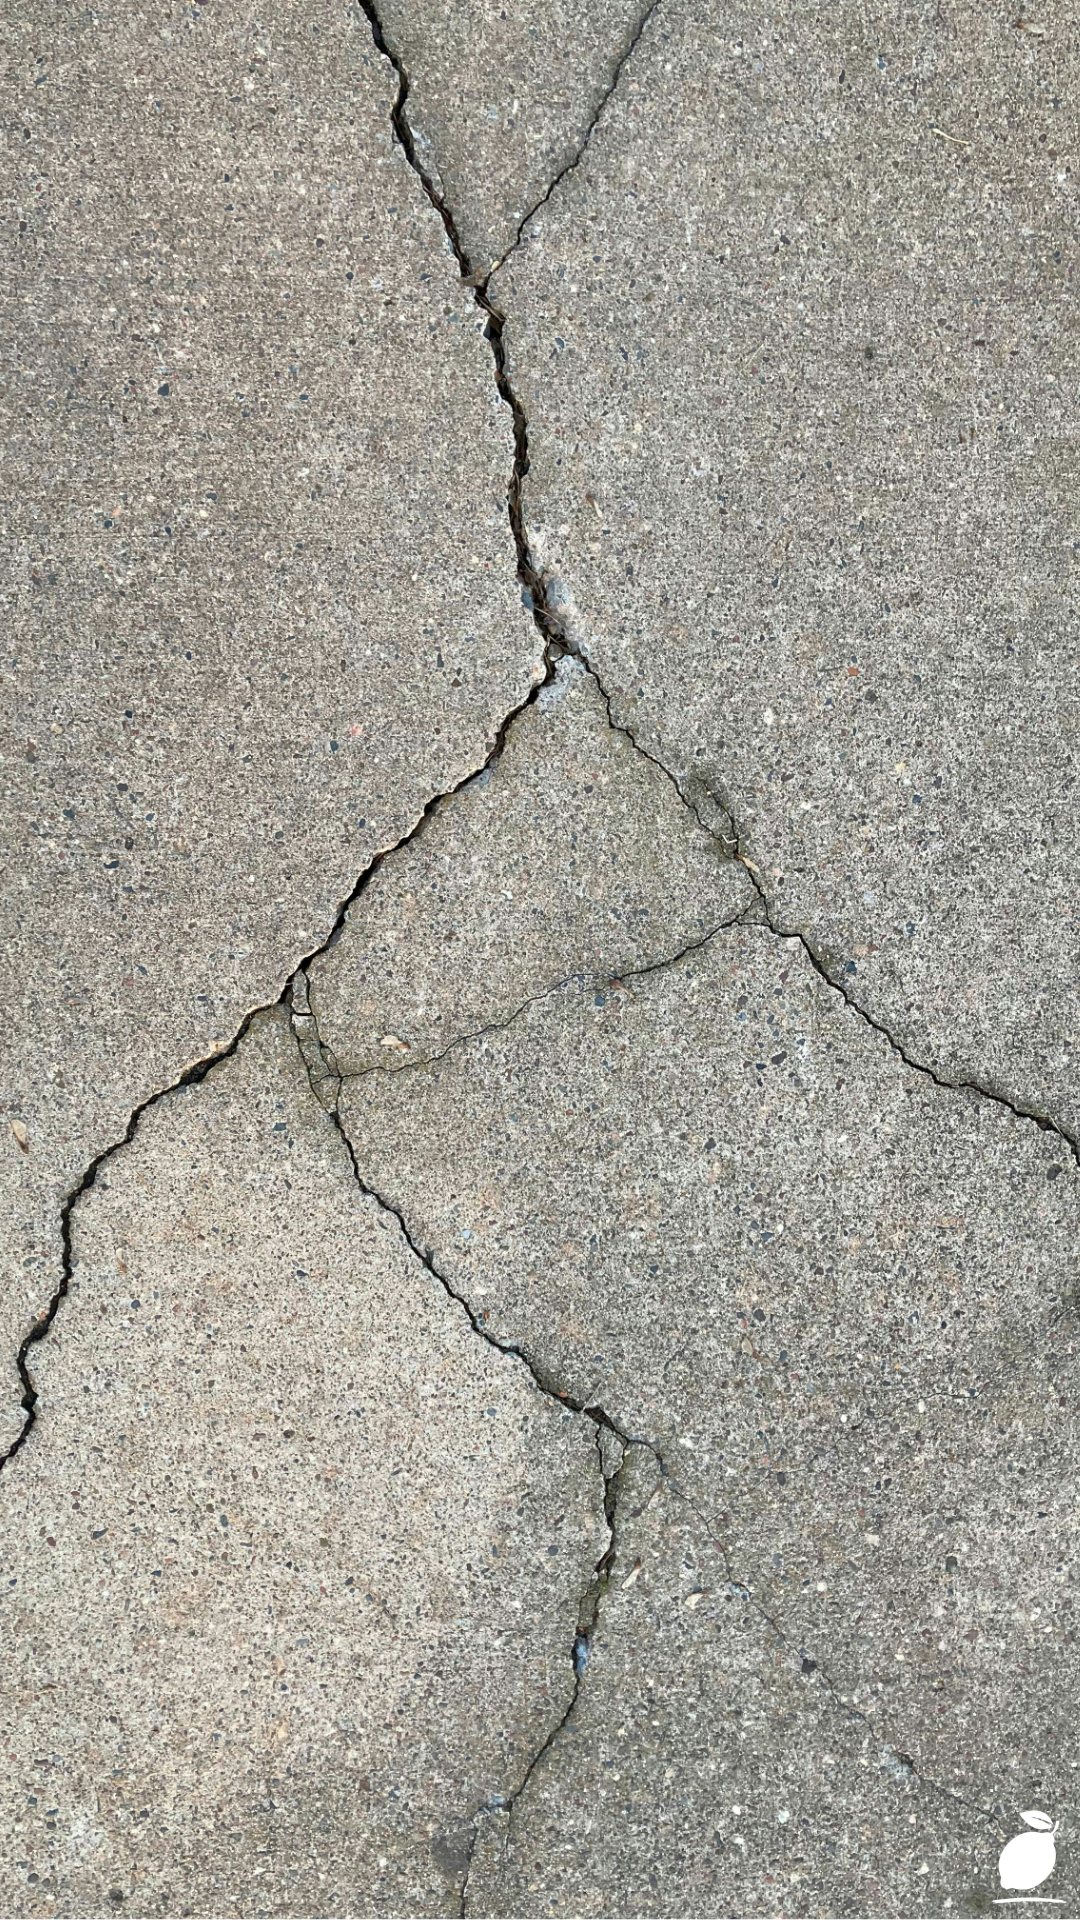
The morning sun usually brings a sense of peace, but today it only highlights the jagged, Y-shaped fracture across. You stand there with a lukewarm cup of coffee, staring at that single crack as if it were a personal affront to your Saturday. It started as a hairline fracture last winter, but now it has grown into a prominent crack that catches the heel and looks like concrete resurfacing, mocking your attempts at a tidy home. That weathered concrete, once a smooth and reliable foundation, now feels like one more thing on an endless list of repairs that you simply do not have the energy to face.
We often tell ourselves that a crack in the pavement is just a cosmetic issue, something that can wait until next season or the year after that. But every time you pull the car in or watch the kids bike over that uneven ridge, there is a tiny flicker of stress that registers in your mind. It is the messy reality of homeownership, the way small, neglected tasks can start to feel like a mountain of chaos. You want your home to be a sanctuary, a place where the surfaces are solid and the path forward is clear, yet that stubborn gap in the cement remains a visual reminder of maintenance deferred.
There is a profound sense of calm that comes from taking a rough, weathered surface and making it whole again. When you finally decide to tackle concrete resurfacing, you aren’t just pouring filler into a void; you are reclaiming your space. Looking at a clean, repaired slab provides a strange but undeniable sense of intentionality. It is the transition from seeing a problem to holding the solution in your hands. By addressing that central crack pattern today, you are turning a textured, gray eyesore into a testament of care and resilience, ensuring your home remains the steady anchor your family deserves.
The Concrete Resurfacing Blueprint
Repairing deep cracks is a foundational skill that prepares your surfaces for a full concrete resurfacing treatment. Follow these steps to ensure a professional-grade finish.
Phase 1: Preparation and Debris Removal
The most common reason for repair failure is poor adhesion caused by hidden dirt. Use a stiff wire brush to scrub the interior of the crack vigorously. You want to remove any loose pebbles, moss, or old filler. For a deep Y-shaped crack like the one described, use a shop vac or an air compressor to blow out the fine dust that brushes cannot reach, and concrete resurfacing. If the concrete is greasy, apply a degreaser and rinse thoroughly, allowing it to dry completely before proceeding.
Phase 2: Widening the Base
It sounds counterintuitive, but sometimes you need to make a crack slightly wider to fix it permanently. Using a hammer and a masonry chisel, gently undercut the edges of the crack so the bottom is slightly wider than the top. This creates a mechanical lock that holds the new concrete resurfacing material in place, preventing it from popping out during temperature shifts.
Phase 3: Applying the Filler or Compound
For cracks wider than a quarter-inch, use a high-quality concrete filler or a sand-cement fortifier. Start at the deepest point of the Y-pattern and work your way outward. Use a putty knife or a margin trowel to press the material firmly into the void. Ensure there are no air pockets trapped beneath the surface, as these will cause the crack to return once weight is applied to the slab.
Phase 4: Levelling and Texturing
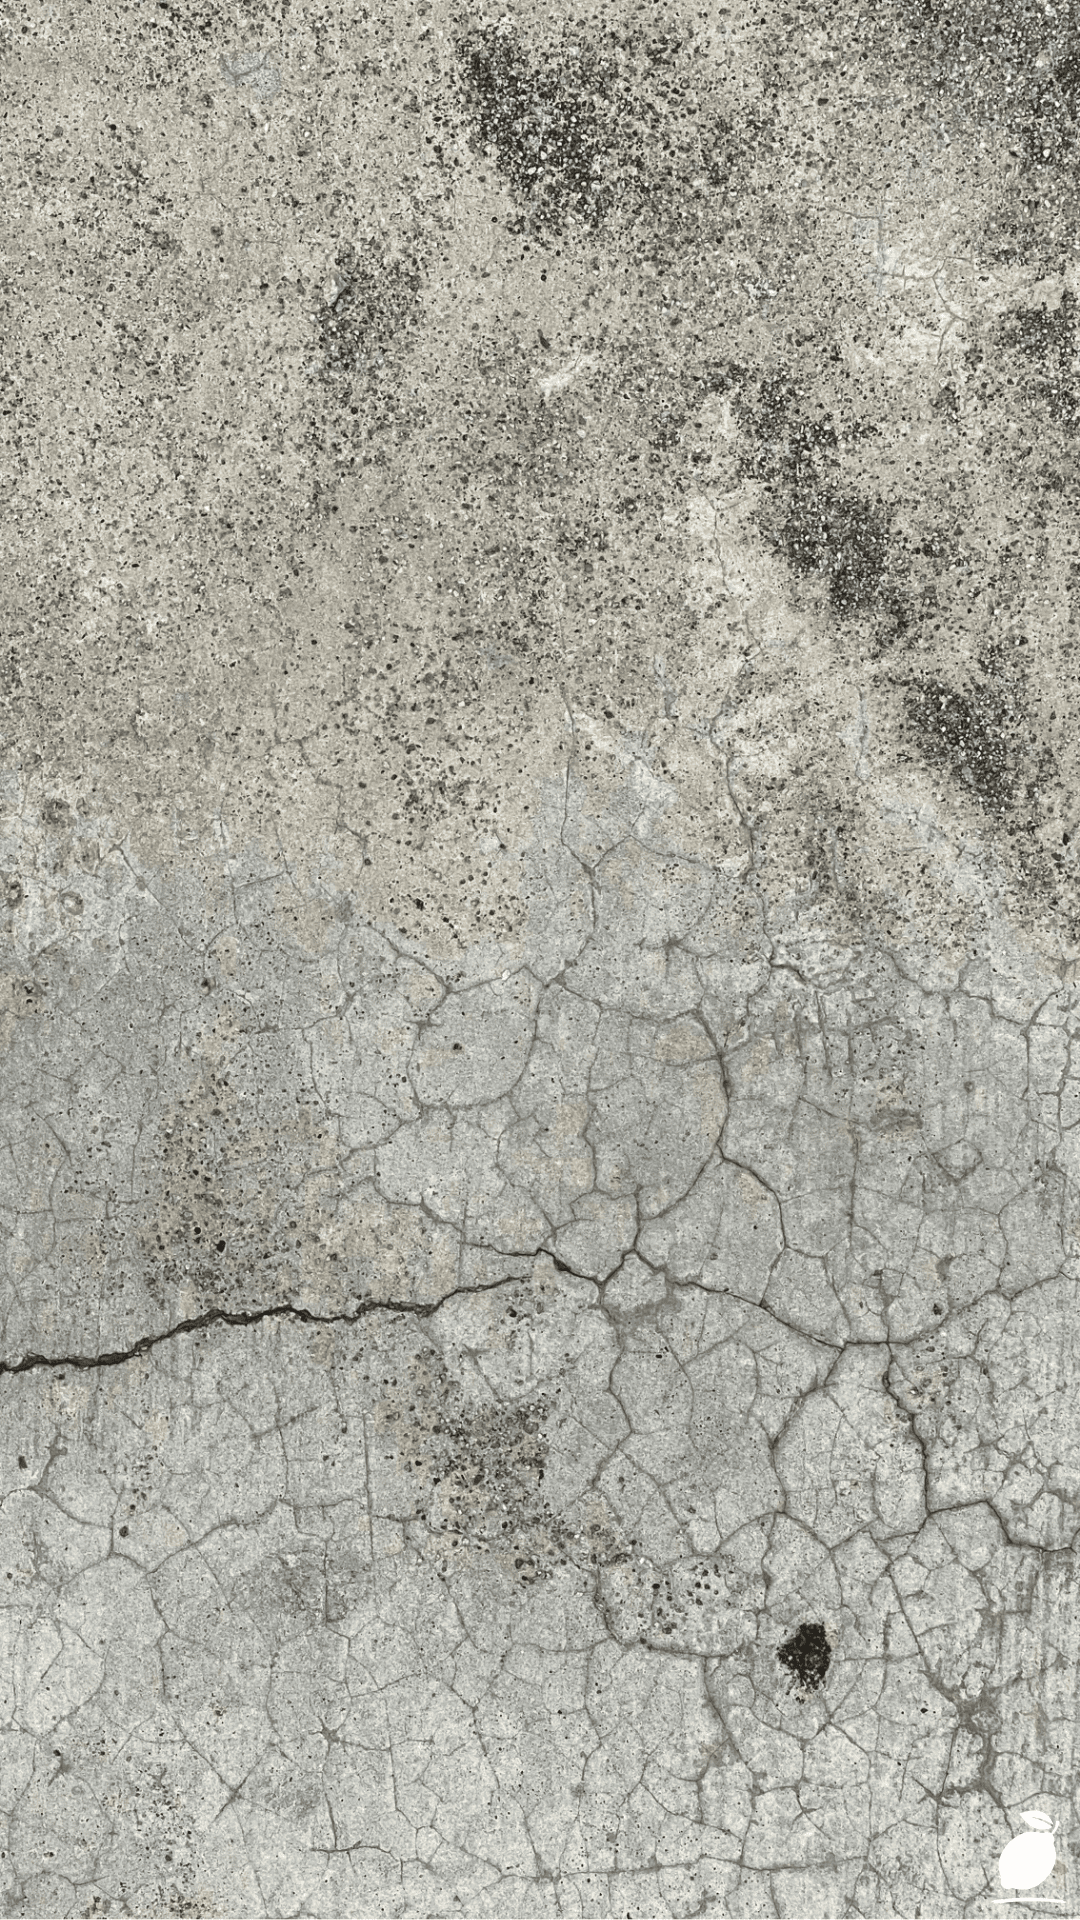
Once the crack is filled, use a straight-edged tool to screed the excess material so it sits flush with the existing weathered concrete. To match the rough, matte gray finish of the surrounding area, wait for the filler to lose its initial wet sheen, then lightly brush it with a stiff broom. This mimics the natural texture and prevents the repair from looking like a shiny scar on your driveway or patio.
Expert Secrets for Success
Success in DIY maintenance lies in the details that professionals use to save time and money.
Pro-Tips for a Better Result
To achieve a seamless look, consider the moisture levels of your concrete. Slightly dampening the edges of the old concrete before applying new filler can prevent the old slab from sucking the moisture out of the repair material too quickly, which often leads to shrinkage cracks. Additionally, if you are working on a vertical wall or a sloped surface, look for non-sag repair strings that stay in place rather than dripping down the texture.
Common Mistakes to Avoid
The biggest mistake homeowners make is ignoring the weather forecast. Applying concrete resurfacing products in direct, scorching sunlight can cause the material to cure too fast and become brittle. Conversely, rain within 24 hours of application can wash away your hard work. Another error is over-filling; it is much harder to sand down dried concrete than it is to level it while wet. Always aim for a flush finish during the initial application.
Why Concrete Resurfacing Matters
Our homes are the physical blueprints of our lives. When we walk across a cracked, crumbling path, our brains subconsciously register a lack of control. Taking the time to master concrete resurfacing is an act of mindfulness that ripples through the rest of your day. It is about more than just aesthetics; it is about safety for your toddlers taking their first steps and the pride you feel when guests arrive.
When the environment around you is solid and well-maintained, mental clarity often follows. A smooth driveway or a pristine patio creates a backdrop for family peace, fewer trips, less dust tracked into the house, and one less to-do weighing on your conscience. By fixing what is broken, you are teaching yourself that you have the agency to improve your world, one square foot at a time.
FAQ
How long does concrete resurfacing take to dry?
Most crack fillers are dry to the touch within 2 to 4 hours, but you should avoid heavy foot traffic for at least 24 hours. If you are driving a vehicle over the repaired area, wait 72 hours to ensure the bond has reached its maximum strength.
Can I paint over the repaired crack immediately?
No. You should allow the repair material to cure fully, which typically takes 28 days for cement-based products. If you use a quick-setting polymer, check the manufacturer’s label, as some can be coated within a few days.
What if the crack returns after I fix it?
If a crack reappears in the same spot, it usually indicates a structural issue or soil movement beneath the slab. In these cases, you may need to look into professional mud-jacking or a more intensive concrete resurfacing project to stabilize the foundation.