
You’re standing in the gift aisle again, staring at the same pre-made basket you’ve bought three birthdays in a row: a little cellophane-wrapped bundle of snacks or lotions that looks exactly like the one you gave last time, gift basket, and the time before that. It’s fine. It’s just… forgettable. You want to give something that actually feels like it was made for this specific person, but every time you try to build your own basket from scratch, you end up with a random pile of items that don’t quite go together, wrapped in whatever cellophane the craft store had left.
This is such a common gifting trap. Store-bought baskets are convenient but generic, while DIY attempts often miss the mark because nobody explains the actual design principles behind a basket that looks intentional instead of thrown together. It’s not about spending more money; it’s about layering color, texture, and a few thoughtful choices in the right order, the same way a florist builds a bouquet rather than just cramming stems into a vase.
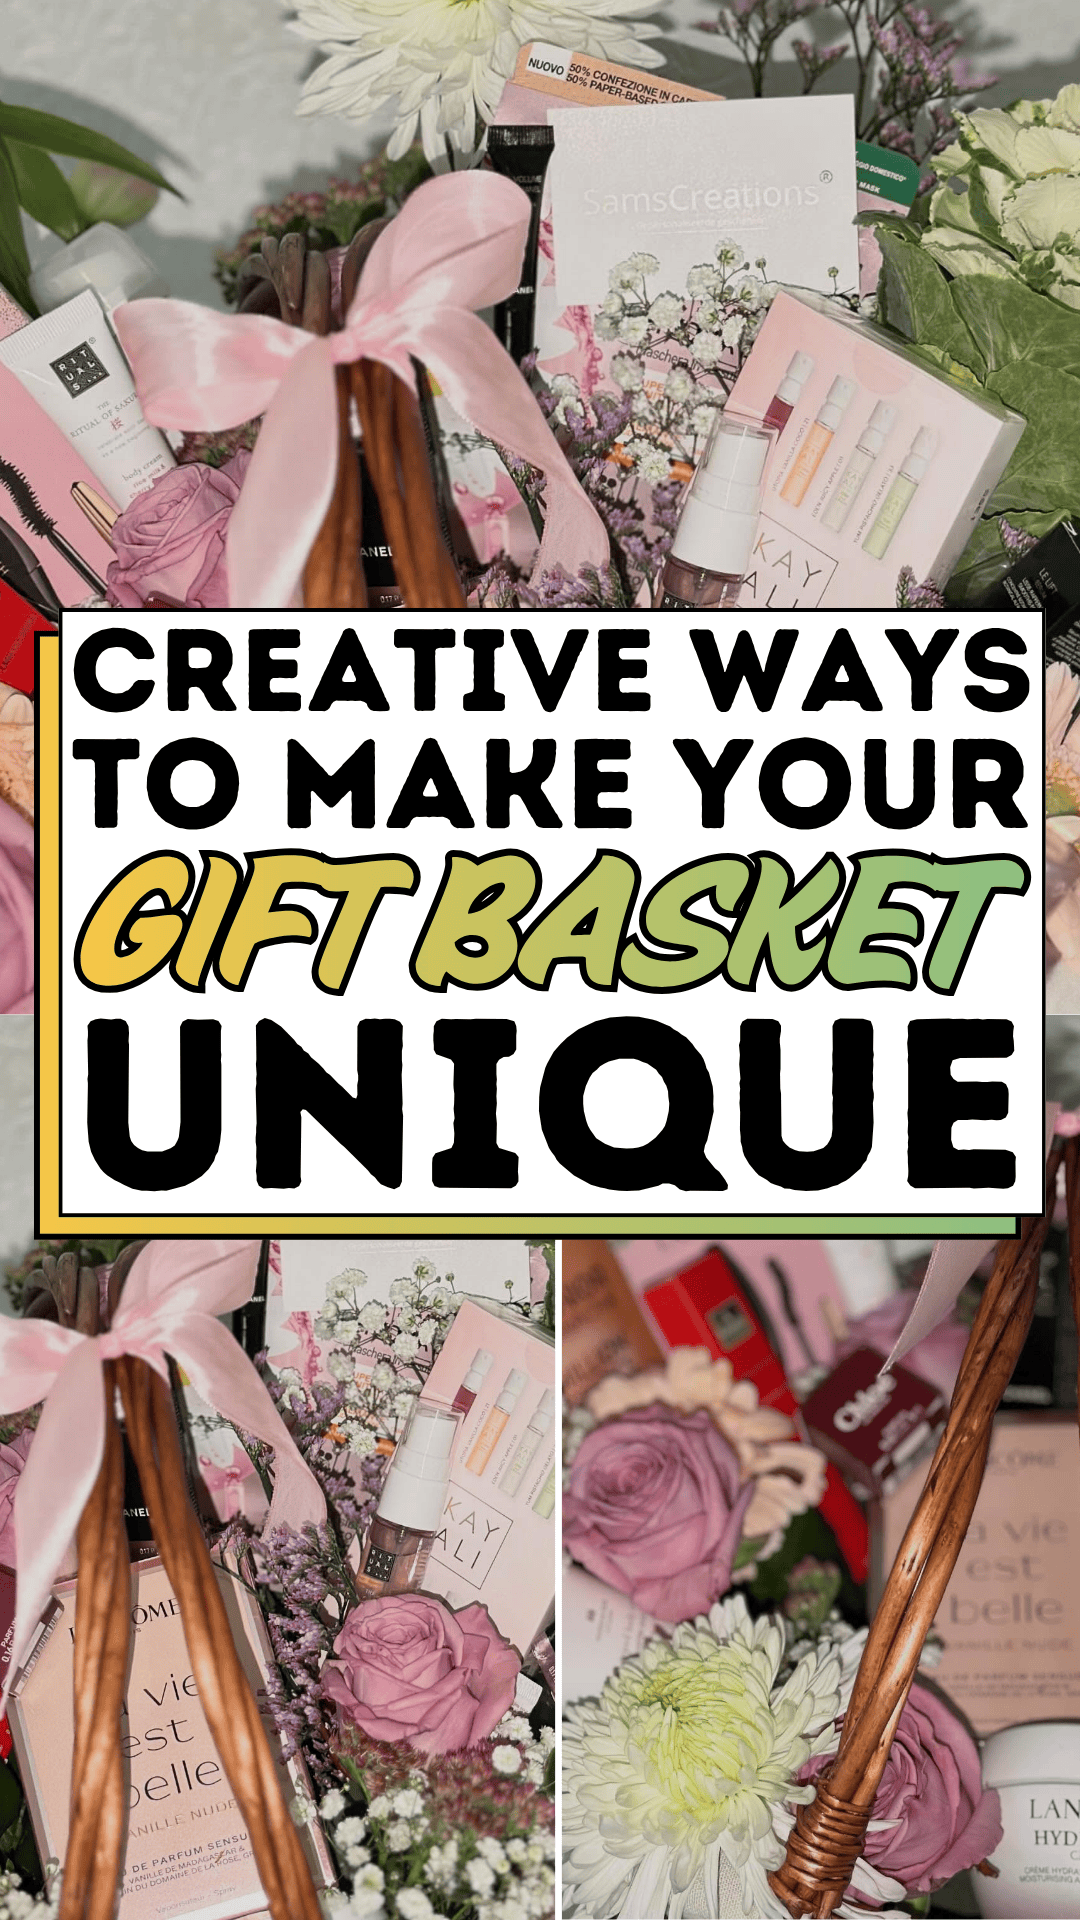
Picture instead a soft, feminine basket arrangement woven of wicker, a satin ribbon bow, a few favorite beauty products nestled among fresh daisies, roses, and chrysanthemums, everything tied together by a soft pink and white color story. That kind of considered, gathered-together look is exactly what elevates a gift basket from generic to genuinely memorable, and it’s far more achievable than it looks. Here are the creative ways to make your gift basket unique, without needing florist training or a big budget.
The Gift Basket Blueprint
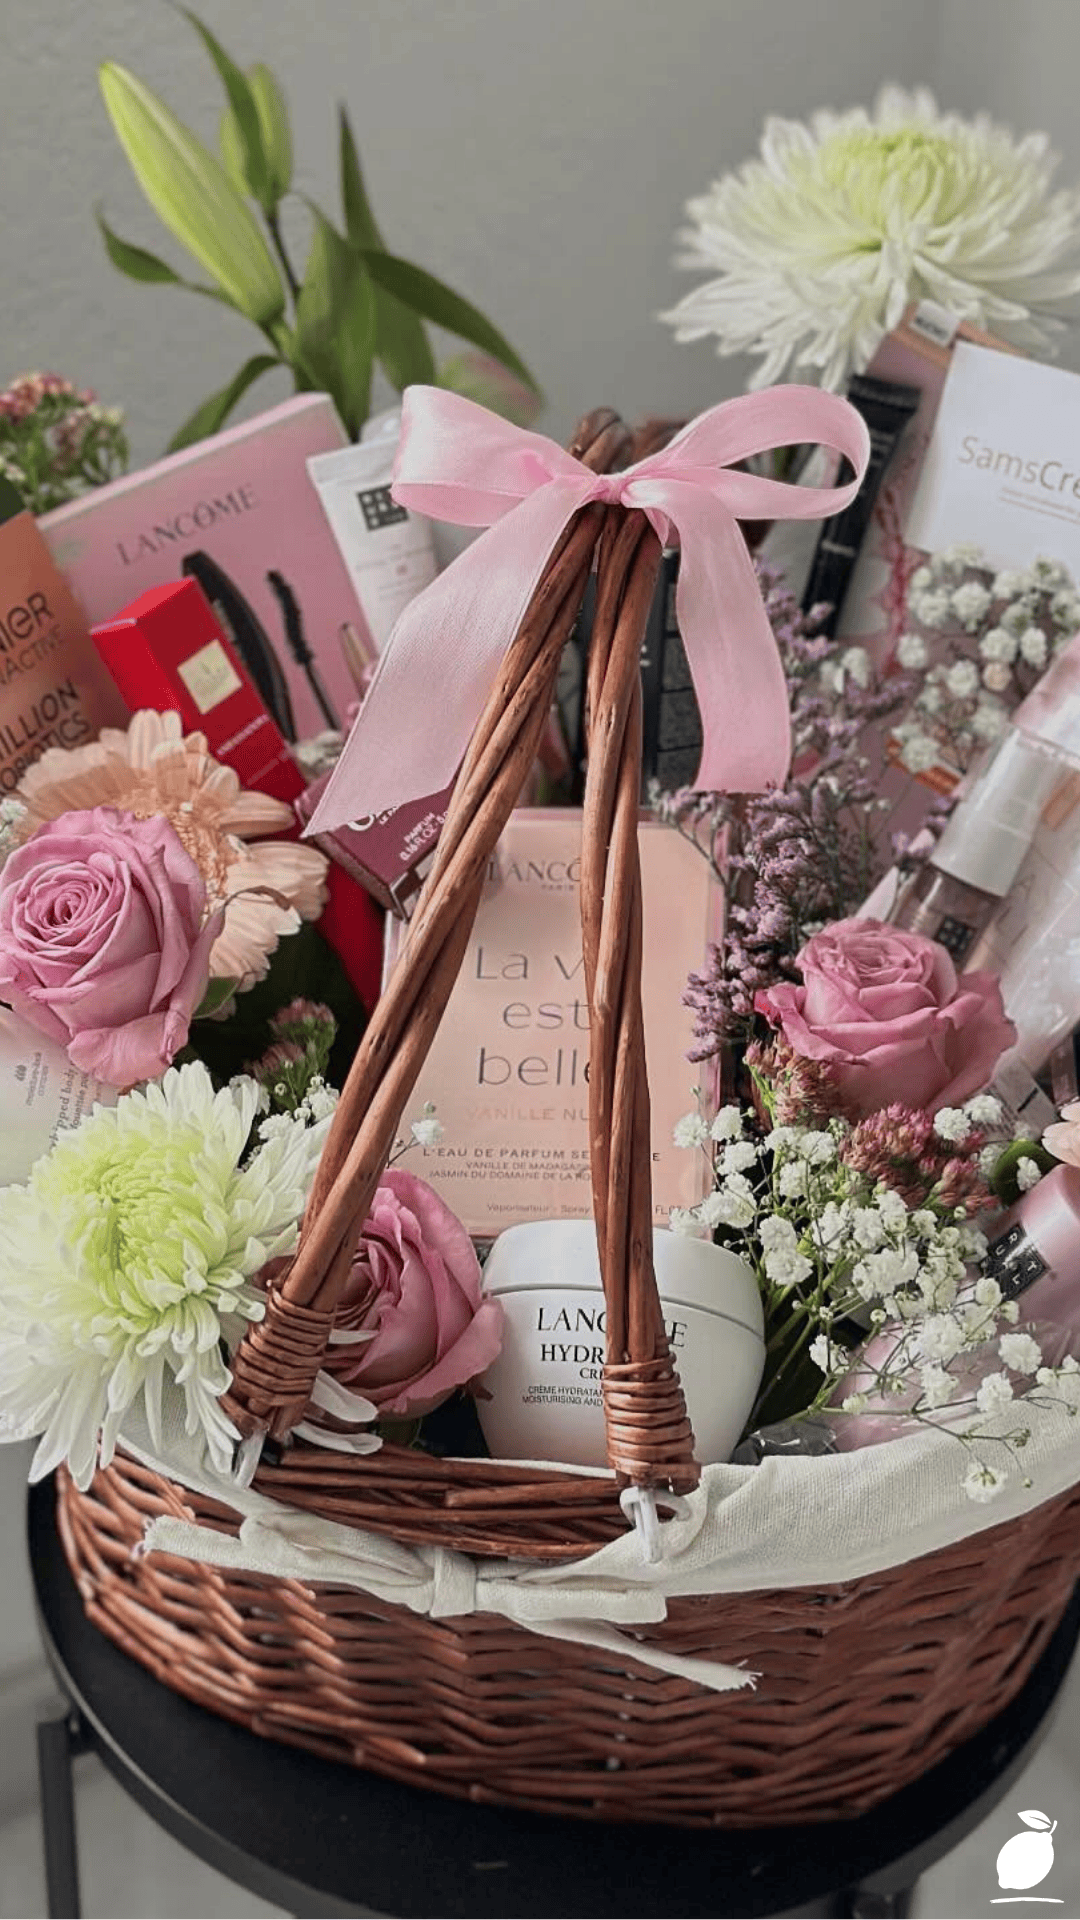
Building a standout gift basket comes down to layering your container, filler, products, and finishing touches in a clear sequence. Here’s the full process.
Step 1: Choose a Container with Character
Start with a basket, box, or vessel that has visual interest on its own; a woven wicker basket, a vintage tin, or a patterned box all work beautifully. The container is the foundation every great gift basket builds on, so skip the plain plastic tub if you want a more elevated result.
Step 2: Select a Cohesive Color Palette
Pick two or three colors to guide every choice that follows, like soft pink, white, and pale yellow. A unified palette is the single biggest factor in making a gift basket look curated rather than randomly assembled.
Step 3: Add a Filler Base
Line the container with tissue paper, shredded paper, or fabric in one of your chosen colors to create a soft, full base for everything else to rest on.
Step 4: Choose Your Centerpiece Items
Select two or three meaningful products that suit the recipient: a favorite fragrance, a skincare item, or a small treat, and place the largest pieces toward the back or center of the basket first.
Step 5: Layer in Smaller Products
Fill in around the centerpiece items with smaller products of varying heights and sizes, distributing them so no single area of the gift basket looks empty or overcrowded.
Step 6: Incorporate Fresh or Faux Flowers
Tuck in a few flowers, like roses, daisies, or small filler blooms, around and between the products. This single addition does more to make a gift basket look soft, feminine, and genuinely special than almost any other design choice.
Step 7: Secure Everything in Place
Use small pieces of tape, floral picks, or hidden ribbon to keep items from shifting during transport, especially if the gift basket needs to travel any distance.
Step 8: Finish with Ribbon and Wrapping
Wrap the finished basket in clear cellophane if desired, and tie a substantial satin ribbon bow at the top in your accent color. This final touch is what ties the whole gift basket together and gives it that polished, ready-to-gift look.
Expert Secrets for Success
Pro-Tips for a Better Result
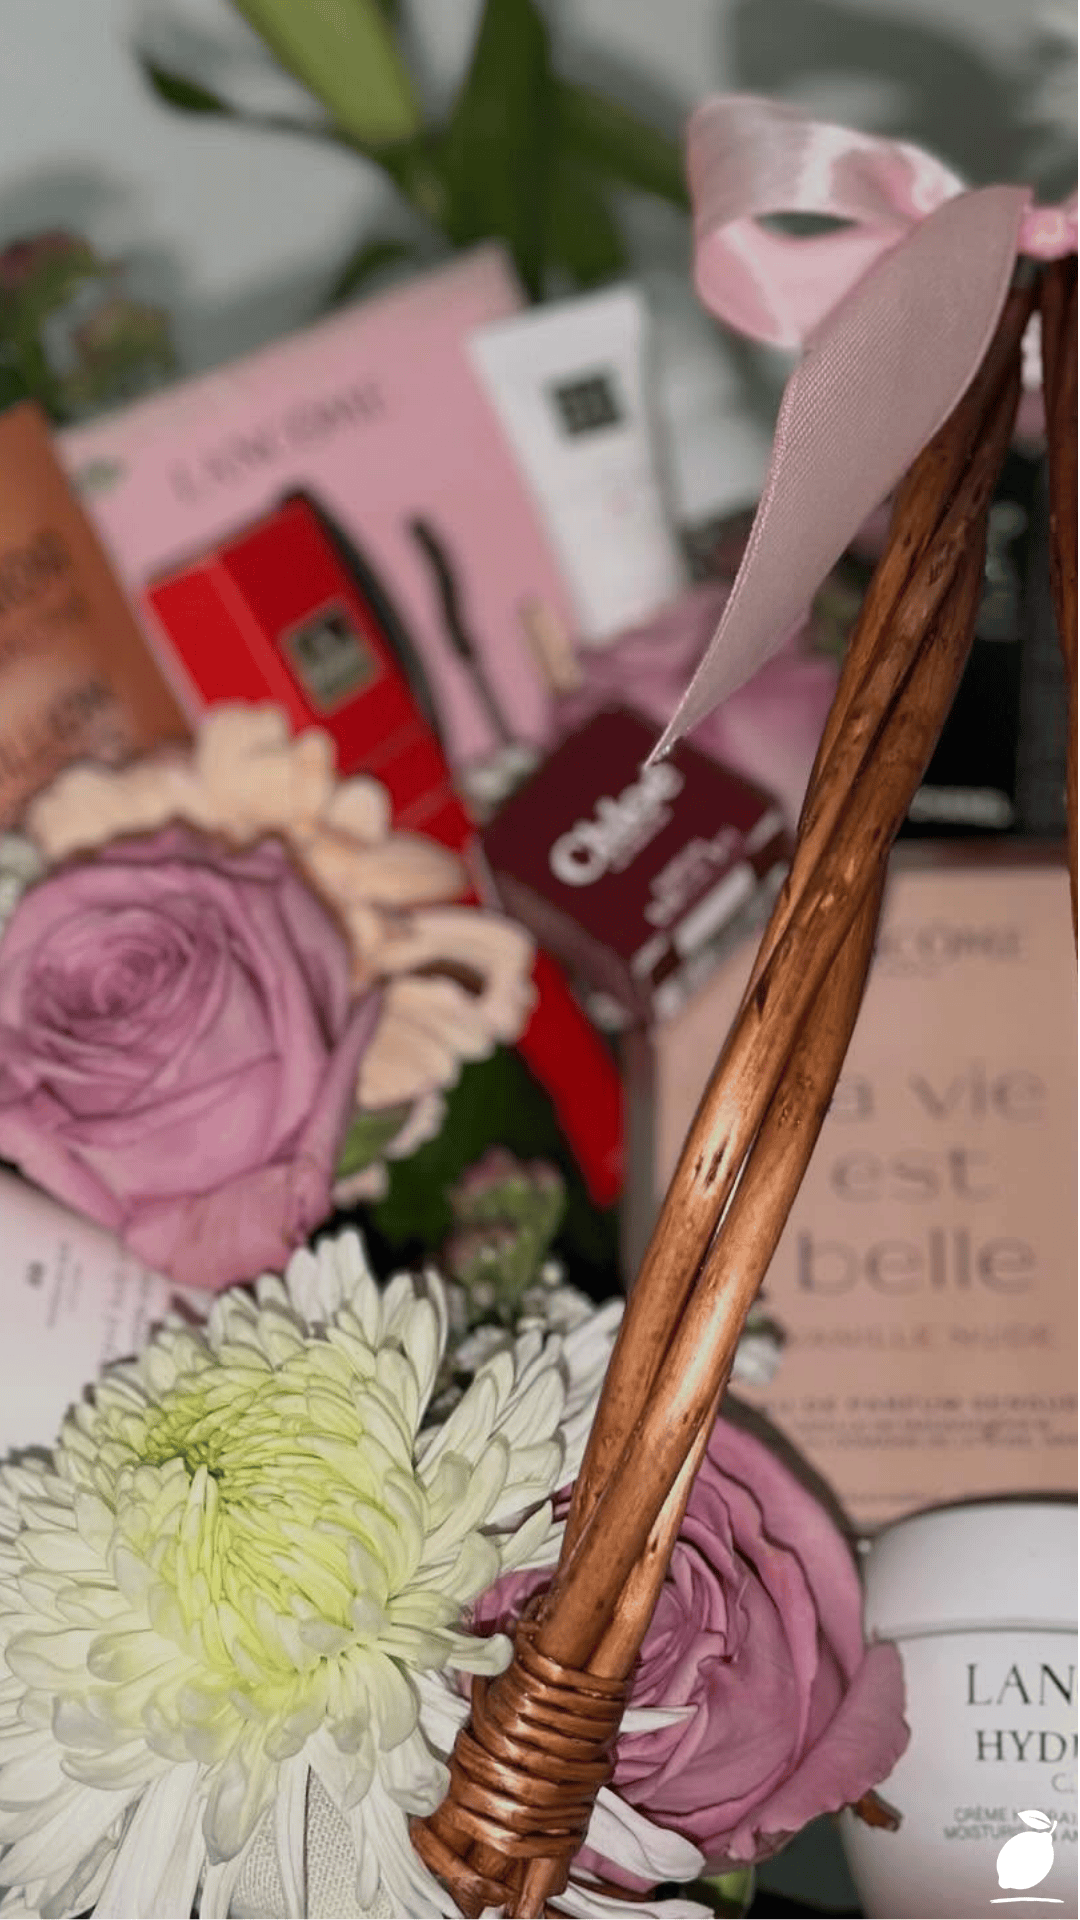
Vary height throughout the arrangement. Placing taller items toward the back and shorter ones toward the front creates natural depth, the same principle florists use for bouquet arranging.
Choose a container that matches the occasion. A woven basket feels warm and classic, while a sleek box or tin can read as more modern, depending on the recipient’s style.
Add one unexpected element. A single fresh flower, a handwritten note, or a small personal trinket tucked among the products is often what a recipient remembers most about a gift basket.
Buy slightly more filler than you think you need. A generously filled basket looks more intentional and full than one with visible gaps or thin coverage.
Photograph the arrangement before wrapping. Snapping a quick photo lets you check the overall balance and color story from a distance before committing to the final wrap.
Common Mistakes to Avoid
Skipping the color plan. A gift basket built without a cohesive palette often looks busy or mismatched, no matter how nice the individual items are.
Overcrowding the container. Packing too many items into too small a space hides individual products and makes the whole gift basket look cluttered rather than curated.
Choosing a container that’s too flimsy. A basket or box without structural support can sag or collapse once filled, undermining an otherwise beautiful arrangement.
Forgetting to secure items for transport. Unanchored products can shift or spill during delivery, disrupting your carefully arranged gift basket before the recipient even opens it.
Neglecting the finishing touches. A gift basket without ribbon, a bow, or any wrapping detail often reads as unfinished, even if the contents themselves are thoughtful.
Why a Gift Basket Matters
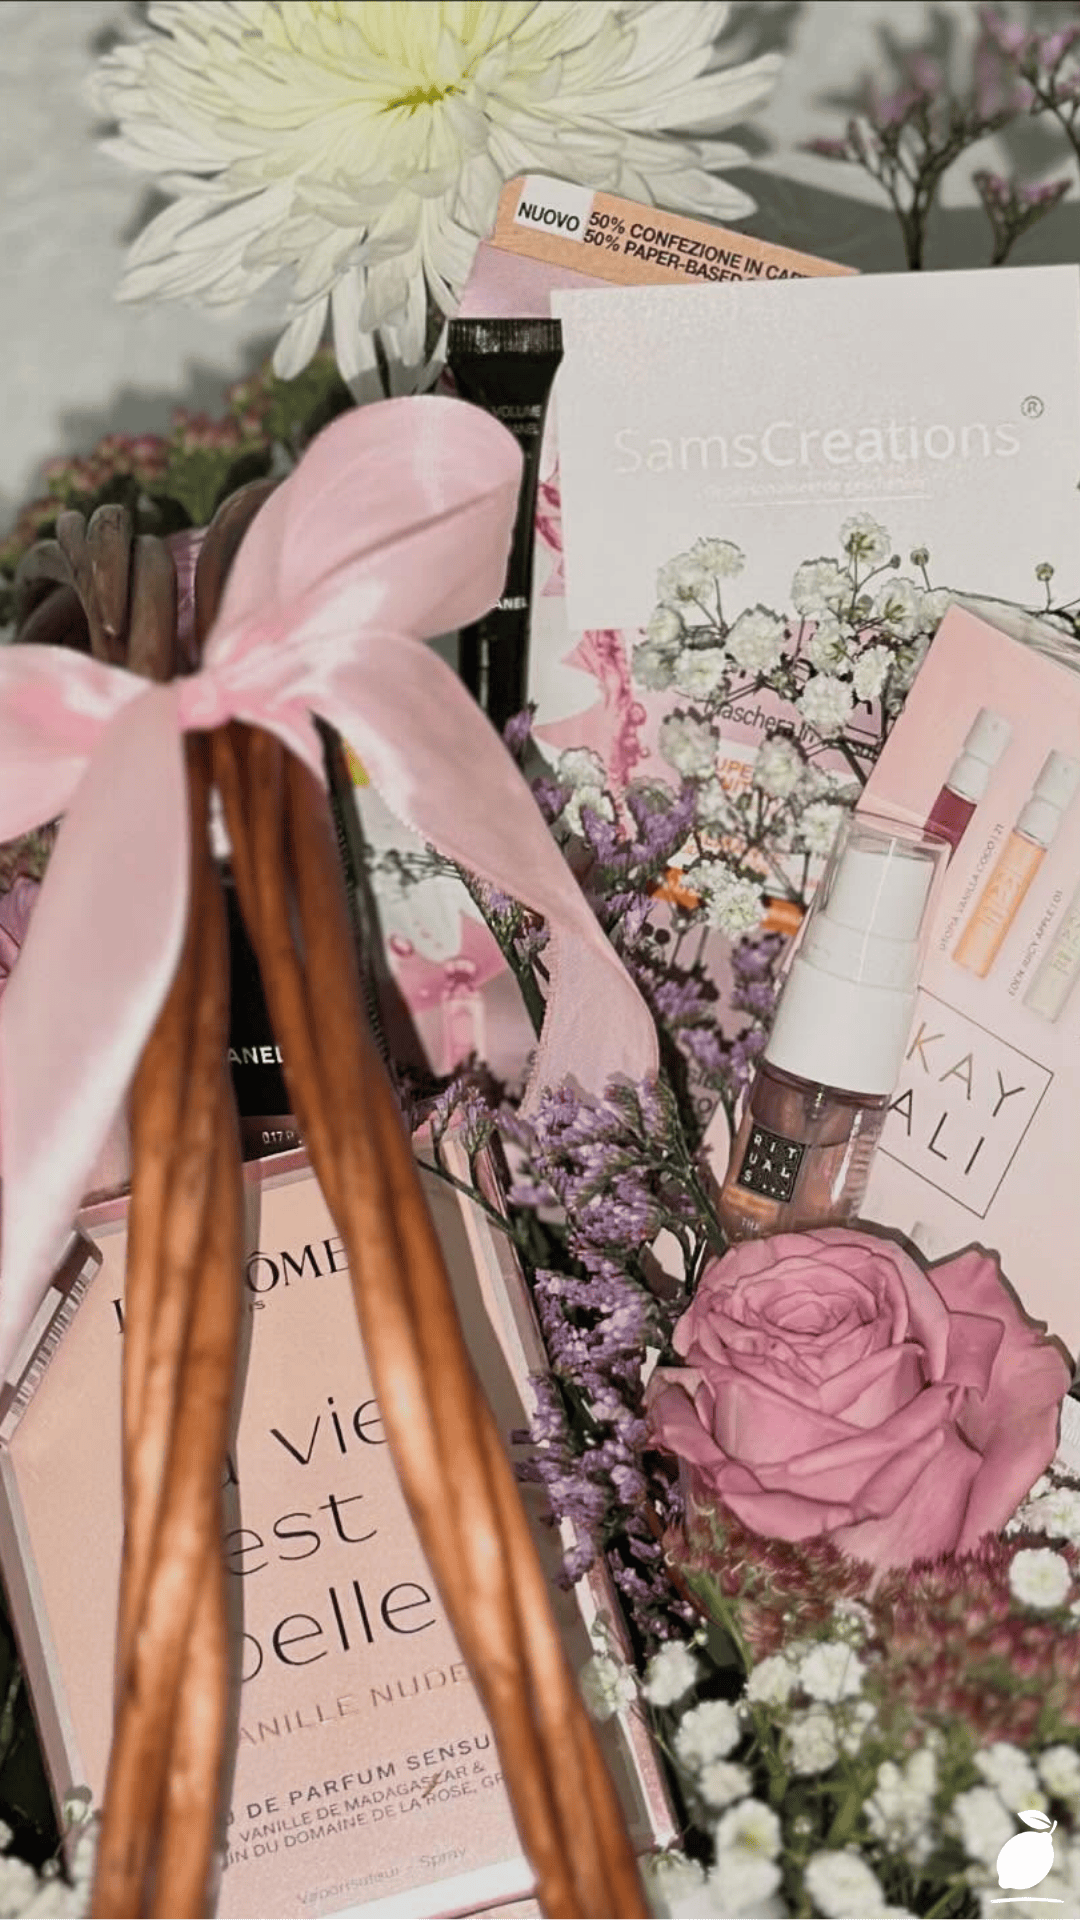
There’s something genuinely special about receiving a gift that was clearly put together with someone specific in mind. A well-designed gift basket communicates care in a way a single generic item often can’t. Every color choice, every product, every flower tucked into place is a small signal that someone thought carefully about what would make you smile.
For the person building it, there’s real satisfaction in the process too. Assembling a gift basket is a slow, tactile, creative task, one that pulls focus away from a busy schedule and into something intentional and personal. That kind of small, hands-on project tends to leave both the giver and receiver feeling a little more connected, especially in a season where thoughtful gestures can get lost in the rush of convenience.
At Easy Peasy Life Matters, this is exactly the kind of project we love supporting: not an expensive or complicated undertaking, just a little creativity and structure applied to something that genuinely strengthens relationships. A well-built gift basket proves that meaningful gifting doesn’t require a big budget just intention, layering, and a few thoughtful finishing touches.
FAQ
How much does it typically cost to build a custom gift basket?
Costs vary widely based on products included, but a thoughtfully assembled gift basket using a mix of small treats, a few flowers, and one meaningful centerpiece item can often be built for $25 to $50, depending on the recipient and occasion.
What container works best for a gift basket?
Woven wicker baskets offer a classic, versatile look suited to most occasions, while decorative boxes or tins work well for a more modern or minimalist aesthetic depending on the recipient’s style.
How do I keep a gift basket looking full without overspending?
Use ample tissue paper or filler to create volume, and choose a few well-chosen products rather than many small, inexpensive items, which often results in a fuller, more polished look for less money.
Can I use faux flowers instead of fresh ones in a gift basket?
Yes, high-quality faux flowers work beautifully and offer the advantage of not wilting, making them a great option if the gift basket won’t be opened or delivered right away.
How far in advance can I build a gift basket if using fresh flowers?
If using fresh flowers, it’s best to assemble the gift basket within a day or two of delivery to keep the blooms looking their freshest, though non-floral elements can be prepared well in advance.







