
There is a specific kind of satisfaction that comes from handing someone a gift you made yourself and a specific kind of panic that precedes it. The idea arrives cleanly: a thoughtful, handmade housewarming gift that says welcome home with more sincerity than a candle from a gift shop. The execution arrives less cleanly. The craft supplies come out. The table gets claimed. Ribbon ends up on the floor. Three different glue gun sticks dried in the trash because the temperature wasn’t right the first two times. The wooden house frame that was supposed to take forty minutes takes two hours and a session of quiet frustration, and by the time the gift is finished, you’re too exhausted to enjoy what is, actually, a genuinely beautiful thing you made with your own hands.
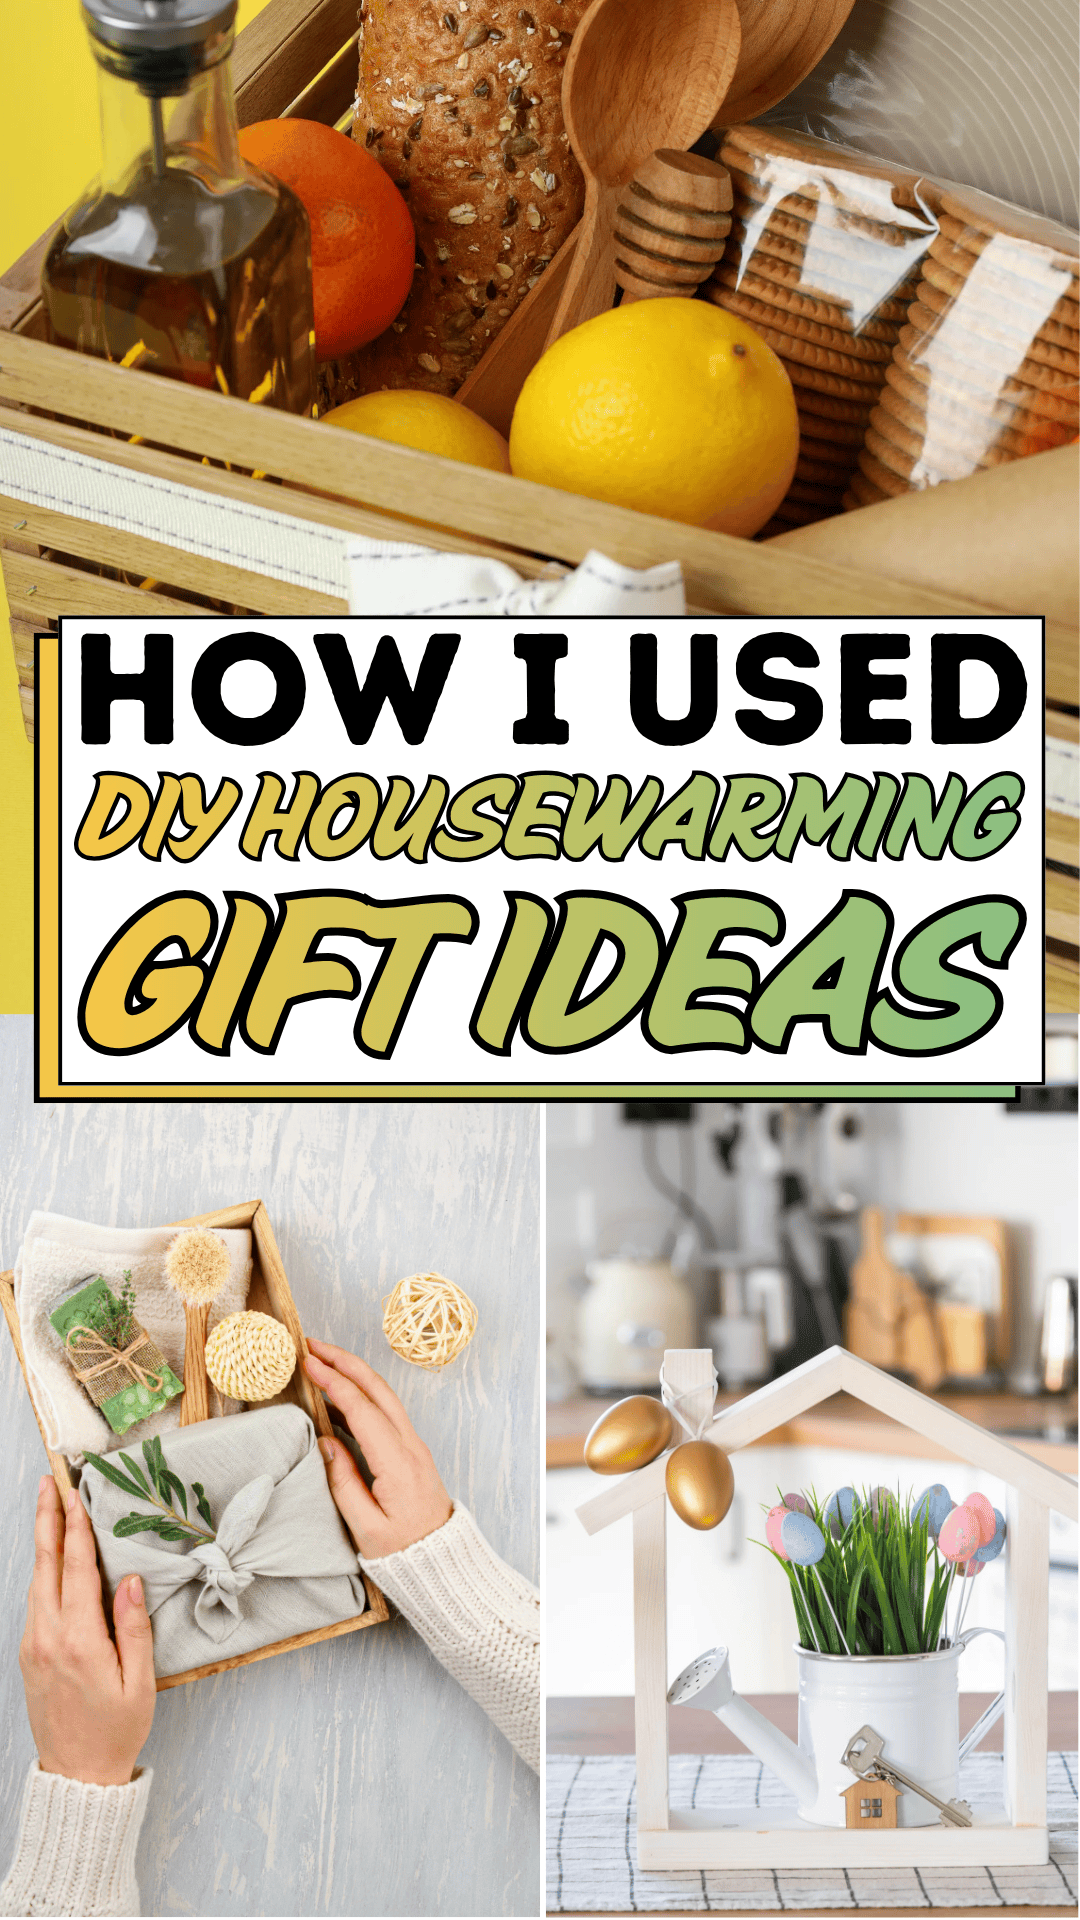
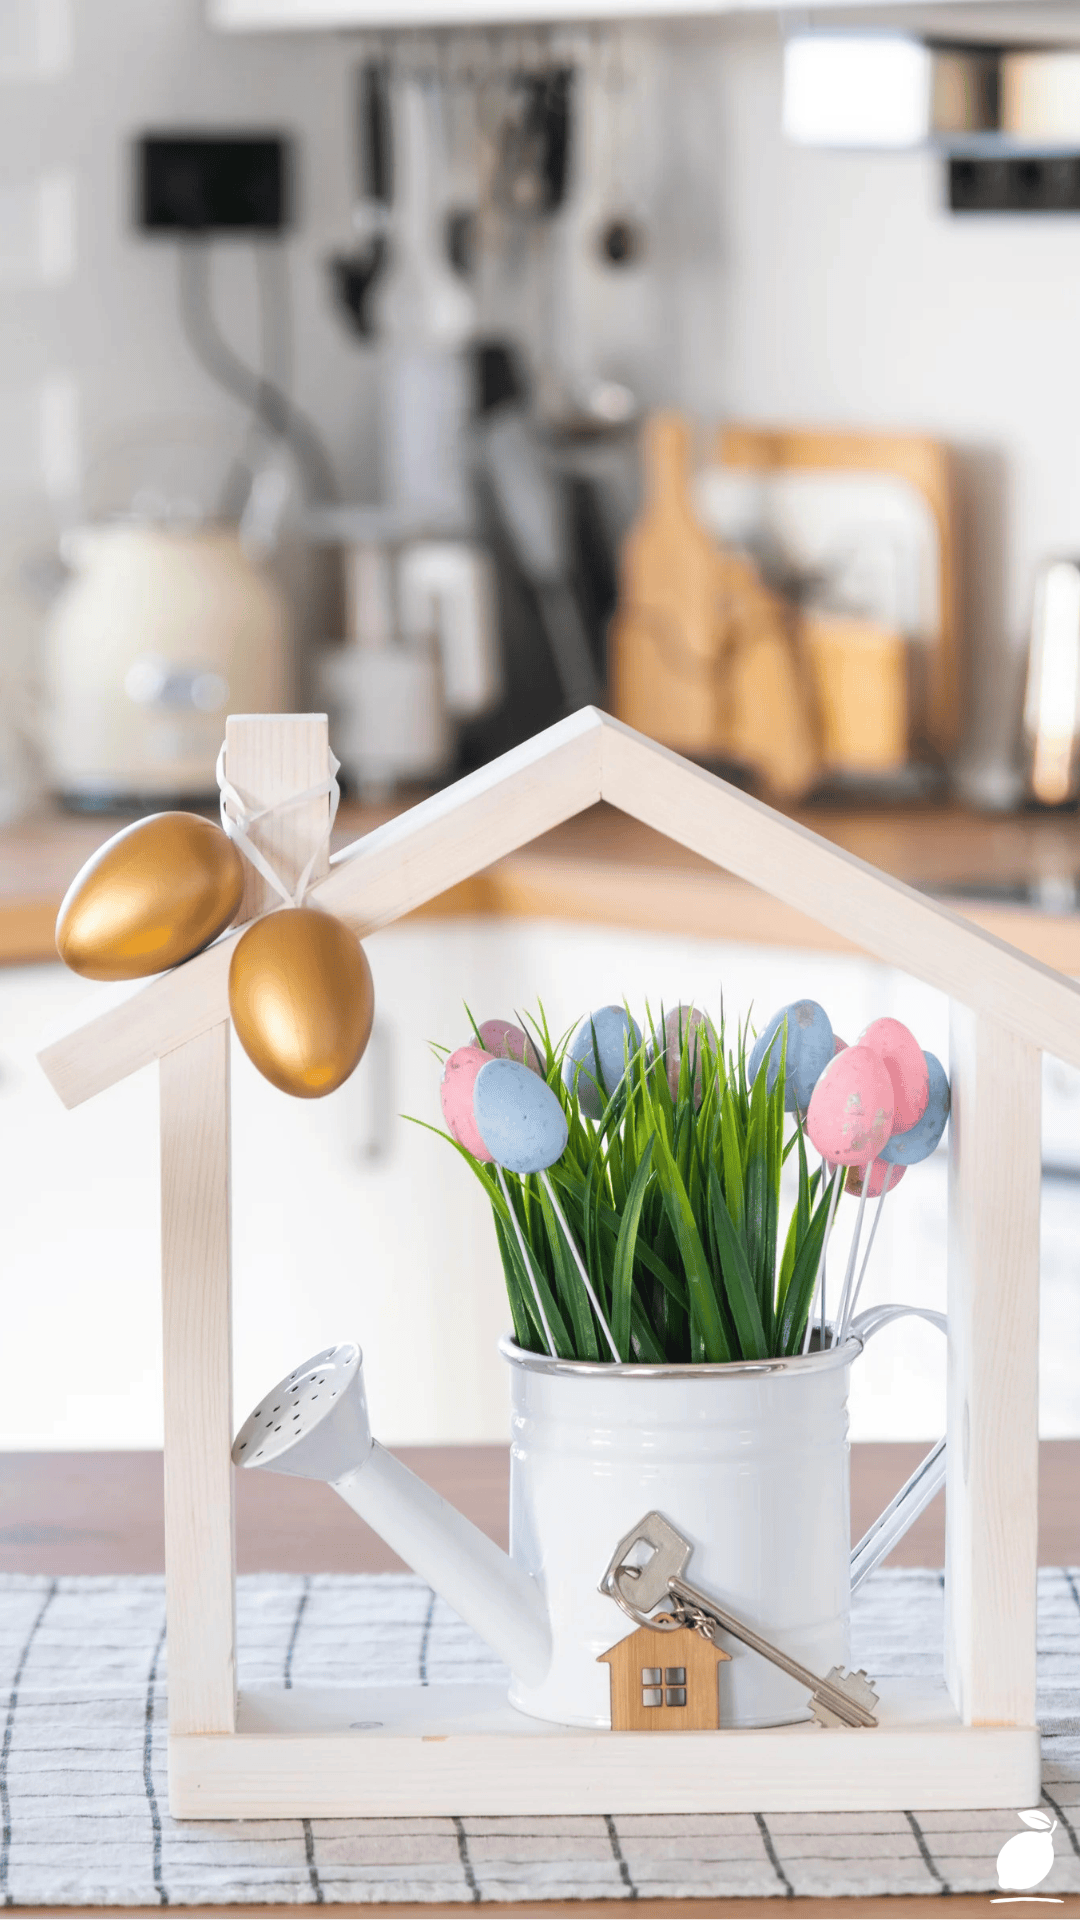
This is the gap that a craft system closes. DIY housewarming gift ideas don’t fail because of limited skill; they fail because the workspace isn’t set up to support creative making, the construction logic isn’t sequenced correctly, and no clean-up plan keeps the project from becoming a domestic incident that takes longer to recover from than the project took to complete. The image above a white wooden house frame with a watering can, a key charm, and a container of artificial grass and Easter eggs, photographed in sharp focus against a soft kitchen backdrop, represents the finished product of a project that went right: clean edges, deliberate details, a cohesive palette of white, green, pink, blue, and gold that communicates warmth and intention simultaneously.
That result isn’t accidental, and it isn’t the exclusive territory of people with craft rooms and unlimited Saturday afternoons. It is the output of a three-step system: workspace preparation, construction logic, and clean-up routine that makes the creative process feel as good as the finished gift looks. This guide is that system. Apply it to the DIY housewarming gift ideas in this post, and you will spend less time managing chaos and more time making something worth giving.
The DIY Housewarming Gift Ideas Setup
Step 1: Prep the Workspace
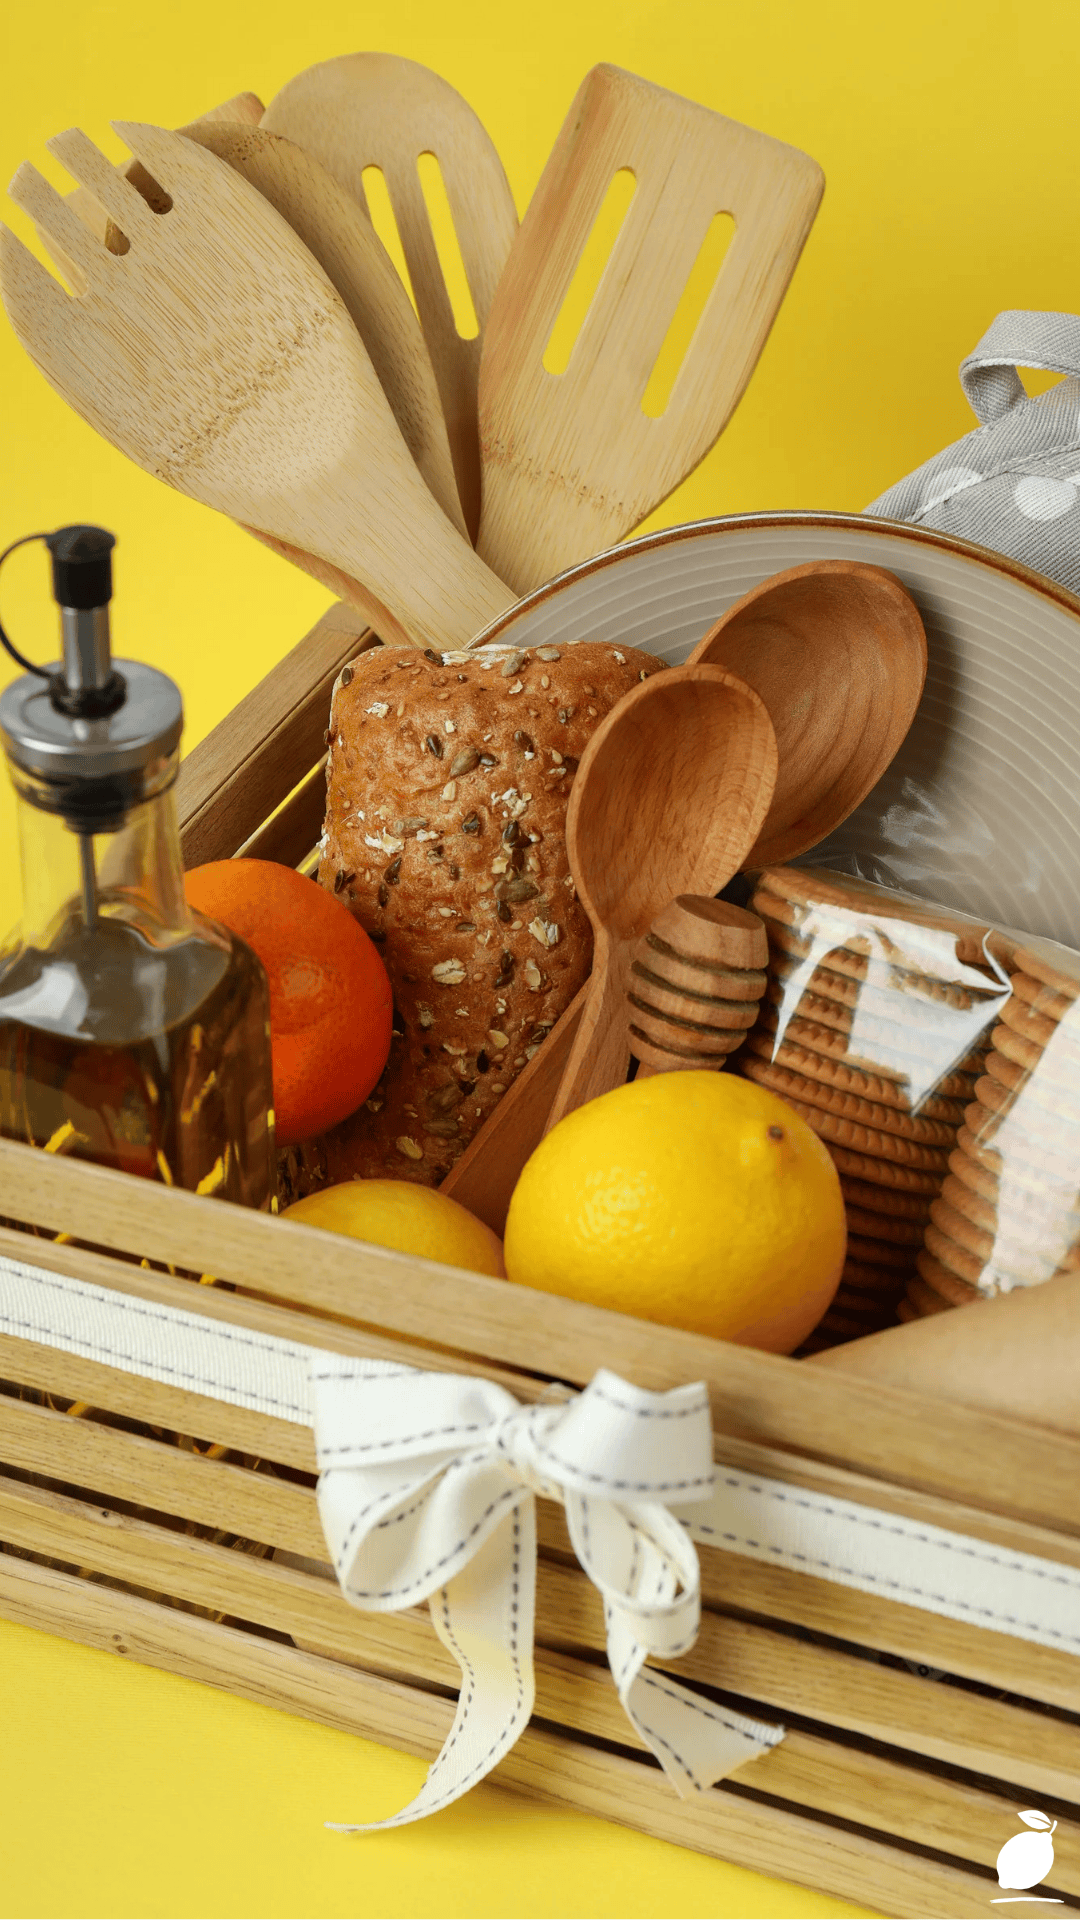
DIY housewarming gift ideas that involve multiple components, such as a house frame, a metal container, decorative filler, charms, ribbon, and adhesive, require a workspace to be organized before the first element is touched. A reactive workspace, where supplies are retrieved mid-project, breaks concentration, creates surface chaos, and turns a forty-minute project into a two-hour one. The organizational principle for DIY housewarming gift ideas is complete material assembly before construction begins.
Clear a hard, stable surface of at least 60 x 90 cm, a kitchen table, a craft desk, or a cleared section of counter. This surface needs to accommodate the finished gift’s footprint plus the tools and materials required to build it, with clear separation between the active construction zone (the central area where the gift is assembled) and the supply staging zone (the back and sides, where materials wait in sequence). For DIY housewarming gift ideas built around a house-frame centerpiece like the featured project, the construction zone sits at center; the artificial grass, eggs, ribbon, charms, glue gun, wire cutters, and any paint or sealant sit organized at the back in the order they will be used.
Lighting matters for the precision work that DIY housewarming gift ideas require. Hot glue placement, charm attachment, and small detail work on the house key on the featured project, and the positioning of Easter eggs in the grass, all require clear visibility of fine-detail areas. Position a daylight-rated desk lamp or work under natural daylight rather than warm overhead lighting, which yellows white and cream elements and makes color matching more difficult. Lay a silicone craft mat or a sheet of parchment paper across the work surface before beginning; this protects the table from adhesive, paint, and any staining from grass filler and makes clean-up a single-step process at the end of the session.
Step 2: The Logic of the Craft
DIY housewarming gift ideas built around a house-frame format like the featured white wooden house with container filler have a construction sequence that, if followed correctly, produces clean results. Followed in the wrong order, the same project produces glue strings on finished surfaces, paint on already-positioned decorative elements, and filler grass displaced by late-stage attachment work. The logic of DIY housewarming gift ideas construction operates on one central principle: structural work before decorative work, and permanent adhesion before filler placement.
Stage one is surface preparation and base finishing. If the house frame requires painting white over raw wood, as in the featured project, paint it first and allow it to dry completely before any attachment or assembly begins. Painting a frame after charms are attached leaves paint on metal hardware and obscures detail work. A completely dry painted surface also accepts hot glue cleanly without the adhesion failures that occur on wet or semi-dry paint.
Stage two is structural assembly. Attach any permanent elements to the watering can, the house key charm, and any ribbon wrapping the frame perimeter before placing filler materials inside the house container. These elements require pressure application during attachment, which disturbs already-placed filler and displaces positioned eggs. In the featured project, the watering can and key are attached to the frame exterior before the grass and eggs are placed inside the metal container. This sequence keeps the structure clean during the attachment stage and the filler undisturbed during the final presentation arrangement.
Stage three is filler placement and final composition. Artificial grass, Easter eggs, dried flowers, or any other loose filler elements for DIY housewarming gift ideas go in last after all structural and decorative attachments are complete and all adhesive has fully cured. The final composition is an aesthetic decision: arrange filler to fill the container volume without overflowing, position accent elements (eggs, flowers, small decorative objects) in odd numbers at varying heights, and check the full composition from the viewing angle, front-facing, as it will be received and displayed before declaring it complete.
Step 3: The Clean-Up System
DIY housewarming gift ideas projects generate a specific and predictable set of residual materials: glue gun strings, clipped wire ends, paint-contaminated water, fabric and ribbon scraps, discarded filler elements, and the general surface debris of a project worked through to completion. A clean-up system that addresses all of these in a single efficient sequence at the end of the session costs eight minutes and recovers the workspace entirely. The alternative, leaving it for later, converts eight minutes of end-of-session clean-up into forty minutes of next-day processing with dried adhesive that requires mechanical removal.
The correct sequence: first, unplug the glue gun and place it in a heat-safe holder to cool completely before touching. Collect all glue strings from the work surface and the finished project. They lift cleanly when fully cooled. Place all material scraps into a single waste container. Wipe the silicone mat or parchment paper clean and store. Return each supply item to its designated storage location immediately, not in a general pile for later sorting. Wipe the table surface with a damp cloth to remove any adhesive residue, paint, or filler debris. The finished DIY housewarming gift idea is placed on a protected surface away from the cleared workspace.
Once a month, for active DIY housewarming gift idea makers, audit the supply storage. Remove any partial glue sticks with less than 5cm remaining; they jam the gun chamber and waste heating time. Replace dried-out paint with fresh product. Check the filler supply inventory against planned upcoming projects and restock proactively rather than discovering mid-project that the material is depleted.
The Secrets to DIY Housewarming Gift Ideas
Three Pro-Tips for a Professional Finish:
Choose a three-color accent palette and don’t deviate from it. The featured project’s pink, blue, and gold eggs against white and green is not a random selection; it is a deliberate three-color accent palette within a neutral dominant. The most common reason DIY housewarming gift ideas look craft-store rather than curated is an accumulation of accent colors without editorial restraint. Select three accent colors that share one quality, all soft and pastel, all metallic, all from the same temperature family, and apply only those three throughout the project, regardless of what other colors are available in the supply kit.
Use a hot glue gun with an adjustable temperature setting. Standard single-temperature glue guns apply at a heat level that scorches delicate materials, such as ribbon, thin paper, and artificial grass fibers, and produces visible glue bleed on white-painted wooden surfaces. An adjustable-temperature glue gun set to low allows precise, clean adhesion on all the materials typical of DIY housewarming gift ideas, including the watering can attachment and charm placement shown in the featured project, without scorch marks or glue spread beyond the intended contact point.
Finish exposed raw wood edges before assembly. The white wooden house frame in the featured project reads as clean and professional because its edges are finished, sealed, or painted to the same standard as the face surfaces. Raw, unstained wood edges on an otherwise painted frame create the visual tell that distinguishes a DIY project from a considered craft piece. Sand all edges to 240 grit, apply wood primer, then two thin coats of the face color, sanding lightly between coats. This process takes fifteen additional minutes and produces a finished quality that is immediately apparent in the completed DIY housewarming gift idea.
Three Mistakes That Ruin the Aesthetic:
Overcrowding the container filler. The artificial grass and eggs in the featured project fill the metal container without overflowing a contained, organized abundance rather than an escaping mass. Overcrowded filler in DIY housewarming gift ideas looks rushed and makes the container appear too small for the project. Fill to the container’s rim level, allowing the decorative elements to sit at varying heights within the boundary rather than piling above it.
Using packaging-quality ribbon rather than wired ribbon. Standard flat ribbon used as a finishing element on DIY housewarming gift ideas collapses and lies flat, losing the dimensional bow or wrap that elevates the presentation. Wired ribbon holds its shape through bow formation and maintains its structure for the display lifetime of the gift. The incremental cost difference between standard and wired ribbon is minimal; the quality difference in the finished DIY housewarming gift idea is immediately visible.
Assembling in inadequate light and discovering alignment errors after the adhesive has cured. Fine-detail attachment positioning a charm, centering a ribbon, and placing a watering can at the exact angle visible in the featured image requires adequate lighting during the assembly stage. Attachment errors discovered after hot glue has cured require mechanical removal that risks surface damage to the white painted frame. Work under daylight-spectrum light for all attachment stages, and confirm alignment visually from the gift’s primary viewing angle before the adhesive sets.
Why Creative Space Matters
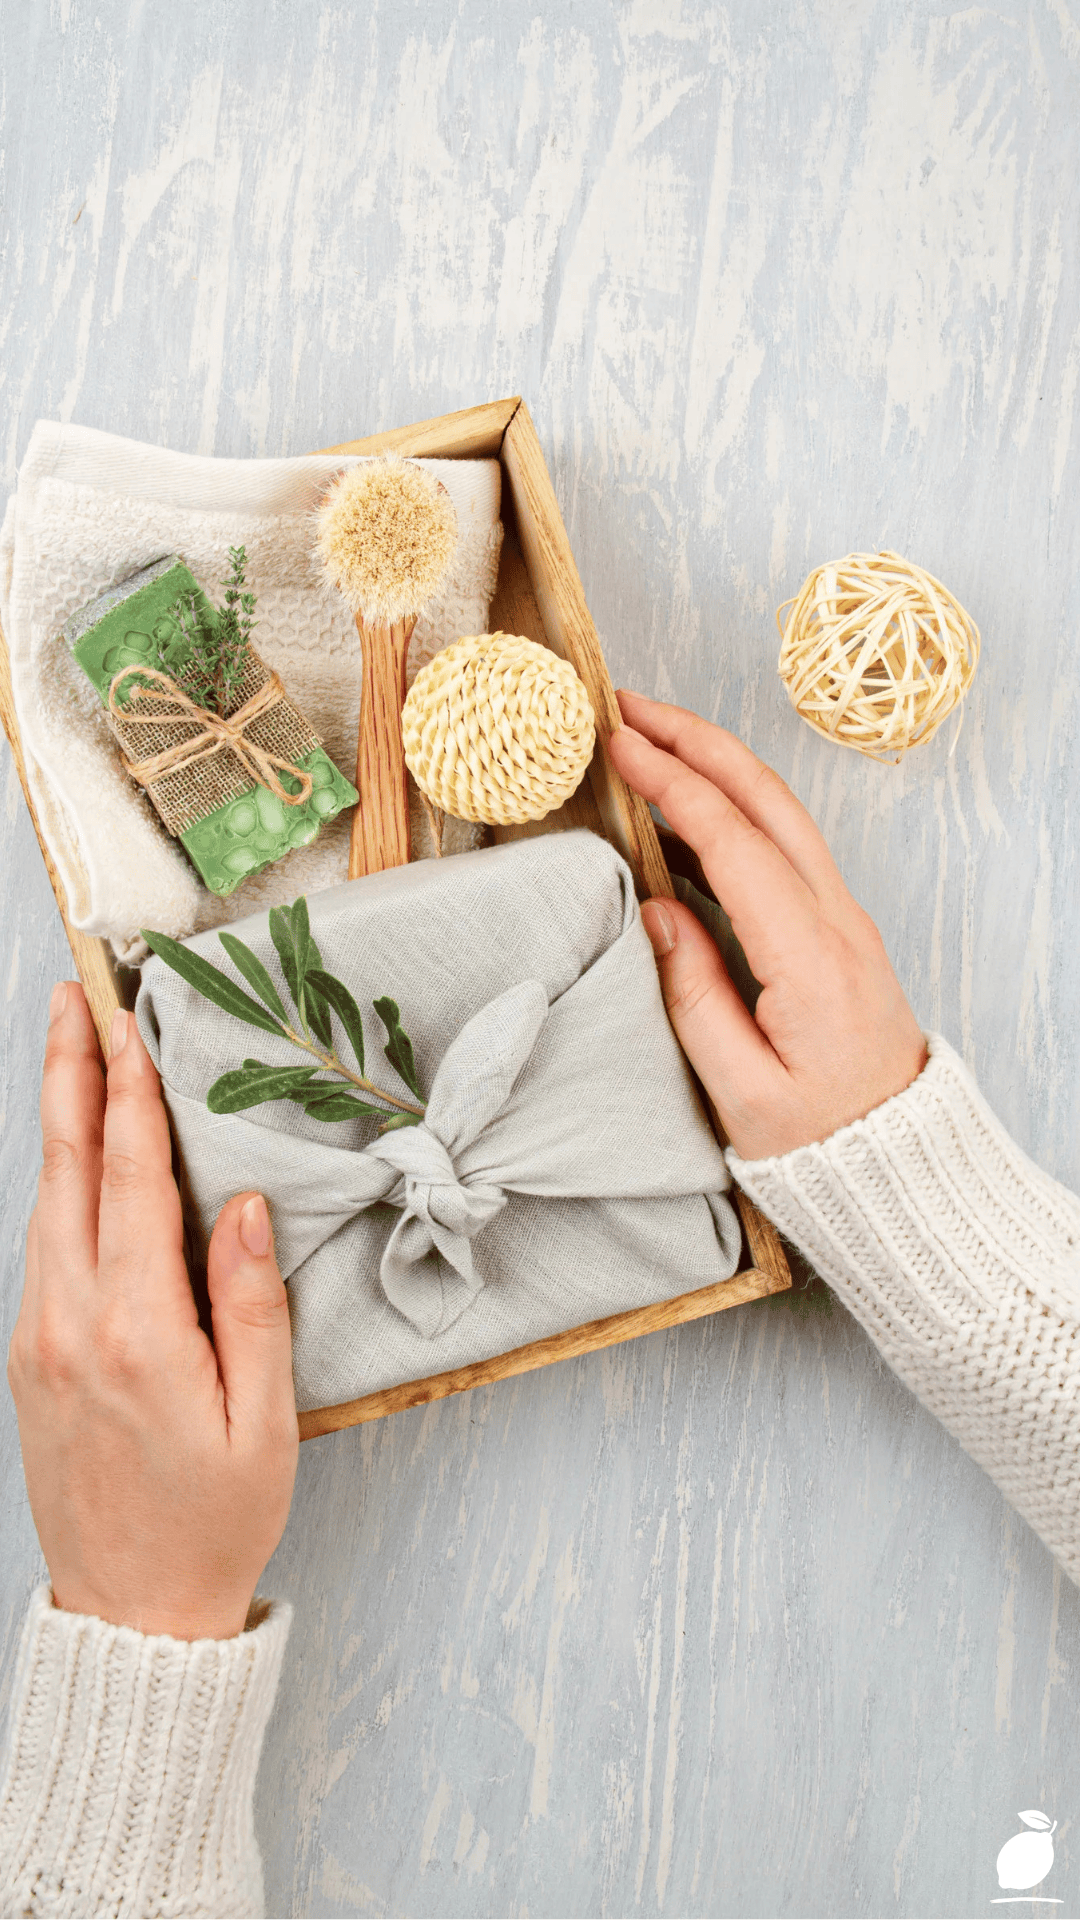
Making something by hand for someone you care about is an act that carries weight disproportionate to its material cost. The DIY housewarming gift ideas in this guide are not expensive to produce. They are, however, expensive in the currency that matters most: time, attention, and the creative energy required to produce something that looks considered rather than assembled. Research in occupational therapy and positive psychology identifies handcraft activity as one of the most reliable activators of the flow state, the condition of deep, absorbing concentration that produces measurable reductions in anxiety and improvements in mood. The creative act of making DIY housewarming gift ideas is not separate from the well-being benefit of the finished object. The making is the benefit.
A workspace that supports the creative process rather than fighting it is the condition under which that benefit is accessible. A cluttered, poorly lit, disorganized workspace converts the flow-inducing activity of craft into a frustrating problem-management exercise, hunting for the wire cutters, scraping dried glue from the table, managing visual noise that fragments concentration before it can deepen. The system in this guide prepares, sequences, clean removes that friction. It creates the workspace condition in which thirty minutes of DIY housewarming gift ideas assembly feels genuinely restorative rather than depleting. The gift is better for it. The maker is better for it.
Easy Peasy Life Matters is built on the observation that the activities most worth doing are the ones most undermined by the environments in which we attempt them. A DIY housewarming gift ideas session in a prepared, organized workspace is a different experience and a different creative output than the same session in an improvised, accumulated mess. The gift in the featured image looks the way it does because someone made it in a space that was ready for making. This guide gives you that space. The making is yours.
Frequently Asked Questions
How should I store the materials for DIY housewarming gift ideas projects between sessions?
Store materials by project category rather than by material type. All elements for a single DIY housewarming gift ideas project, the house frame, the container, the filler, the charms, and the ribbon, should live in a single labeled box or clear bin that can be retrieved and placed on the work surface as a complete unit at the start of a session. Separating materials across multiple storage locations requires a retrieval sequence that adds preparation time and creates the missing-item discovery mid-project that disrupts creative flow. Within each project bin, position materials in the construction sequence described in Step 2: structural elements at the bottom, decorative elements in the middle, filler on top.
What is the minimum tool set for a beginner making DIY housewarming gift ideas of this type?
The functional minimum for DIY housewarming gift ideas built around a house-frame format is: one adjustable-temperature glue gun with a minimum of six glue sticks, a pair of fine-point wire cutters for charm and ribbon work, a small flat craft brush for paint application to the frame, 240-grit sandpaper for surface preparation, and a silicone craft mat for the work surface. Optional but significantly value-adding: a pair of fine-point tweezers for precise charm positioning, and a small spray bottle of water for cleaning paint brushes between colors without requiring a sink trip mid-session. Resist the purchase of specialty tools not required for this specific project category. The beginner’s kit for DIY housewarming gift ideas should be contained, purposeful, and stored completely within a single small toolbox or pouch.
How do I prevent hot glue strings from appearing on the finished DIY housewarming gift project?
Hot glue strings form when the gun is moved away from the work surface before the glue has stopped flowing, a timing issue rather than a technique issue. Allow the gun tip to pause at the attachment point for one full second after application before moving, which allows the flow to stop completely before the gun is lifted. Cool glue strings that have already formed on the project surface lift cleanly with a dry finger or a piece of tape pressed against them and pulled away. They do not adhere permanently to painted wood or metal surfaces once fully cooled. For projects with extensive attachment work, keep a piece of packing tape looped sticky-side-out around two fingers throughout the session and use it for ongoing string removal rather than leaving it to accumulate until the clean-up stage.







