
The outdoor cooking setup started as a portable gas grill on a plastic side table and evolved, over several summers, into something that was technically functional and visually chaotic. A folding table for prep work. A cooler that doubled as extra counter space because there wasn’t enough. A shelving unit from the garage holding condiments in a configuration that had never been planned and never quite worked. Every time someone came over for a cookout, there was a moment before they arrived, moving things, hiding things, compensating for the absence of a real setup that made the whole enterprise feel like a workaround rather than a decision. The food was good. The space around it was an afterthought.
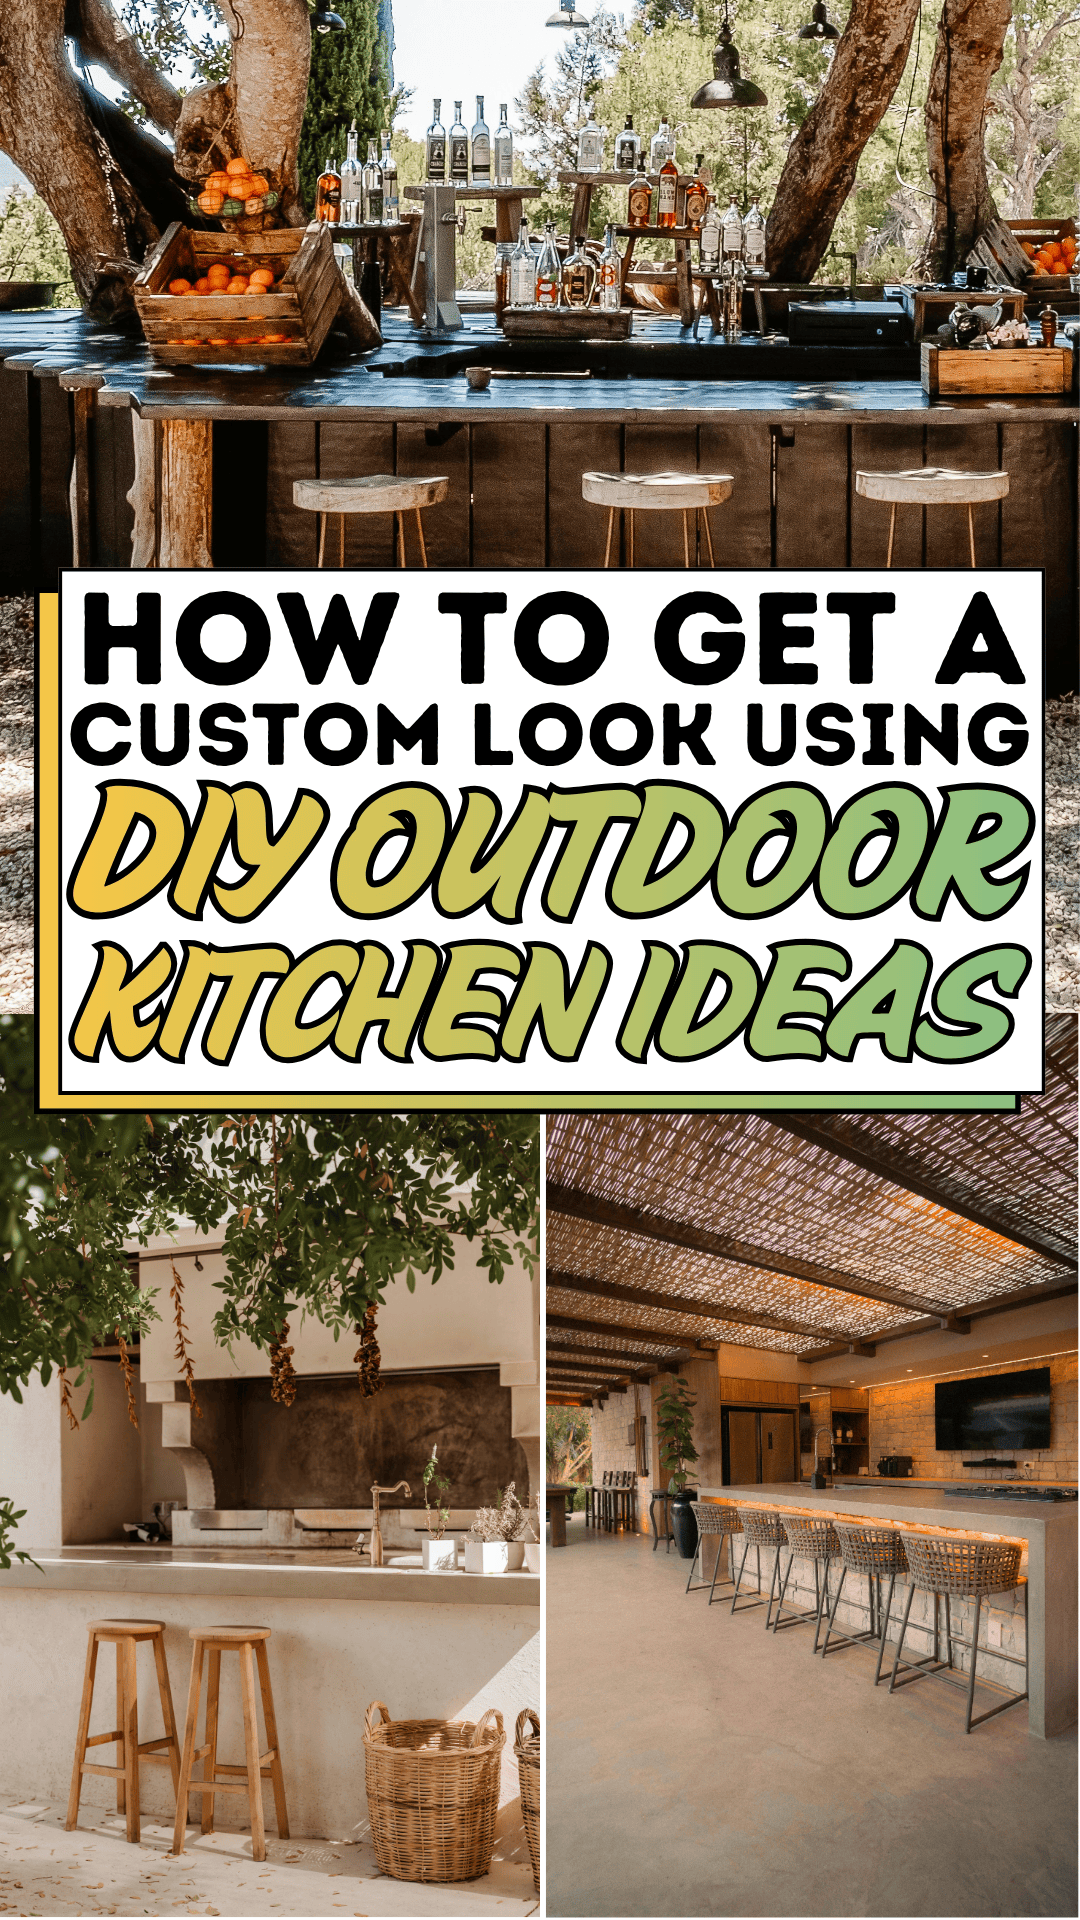
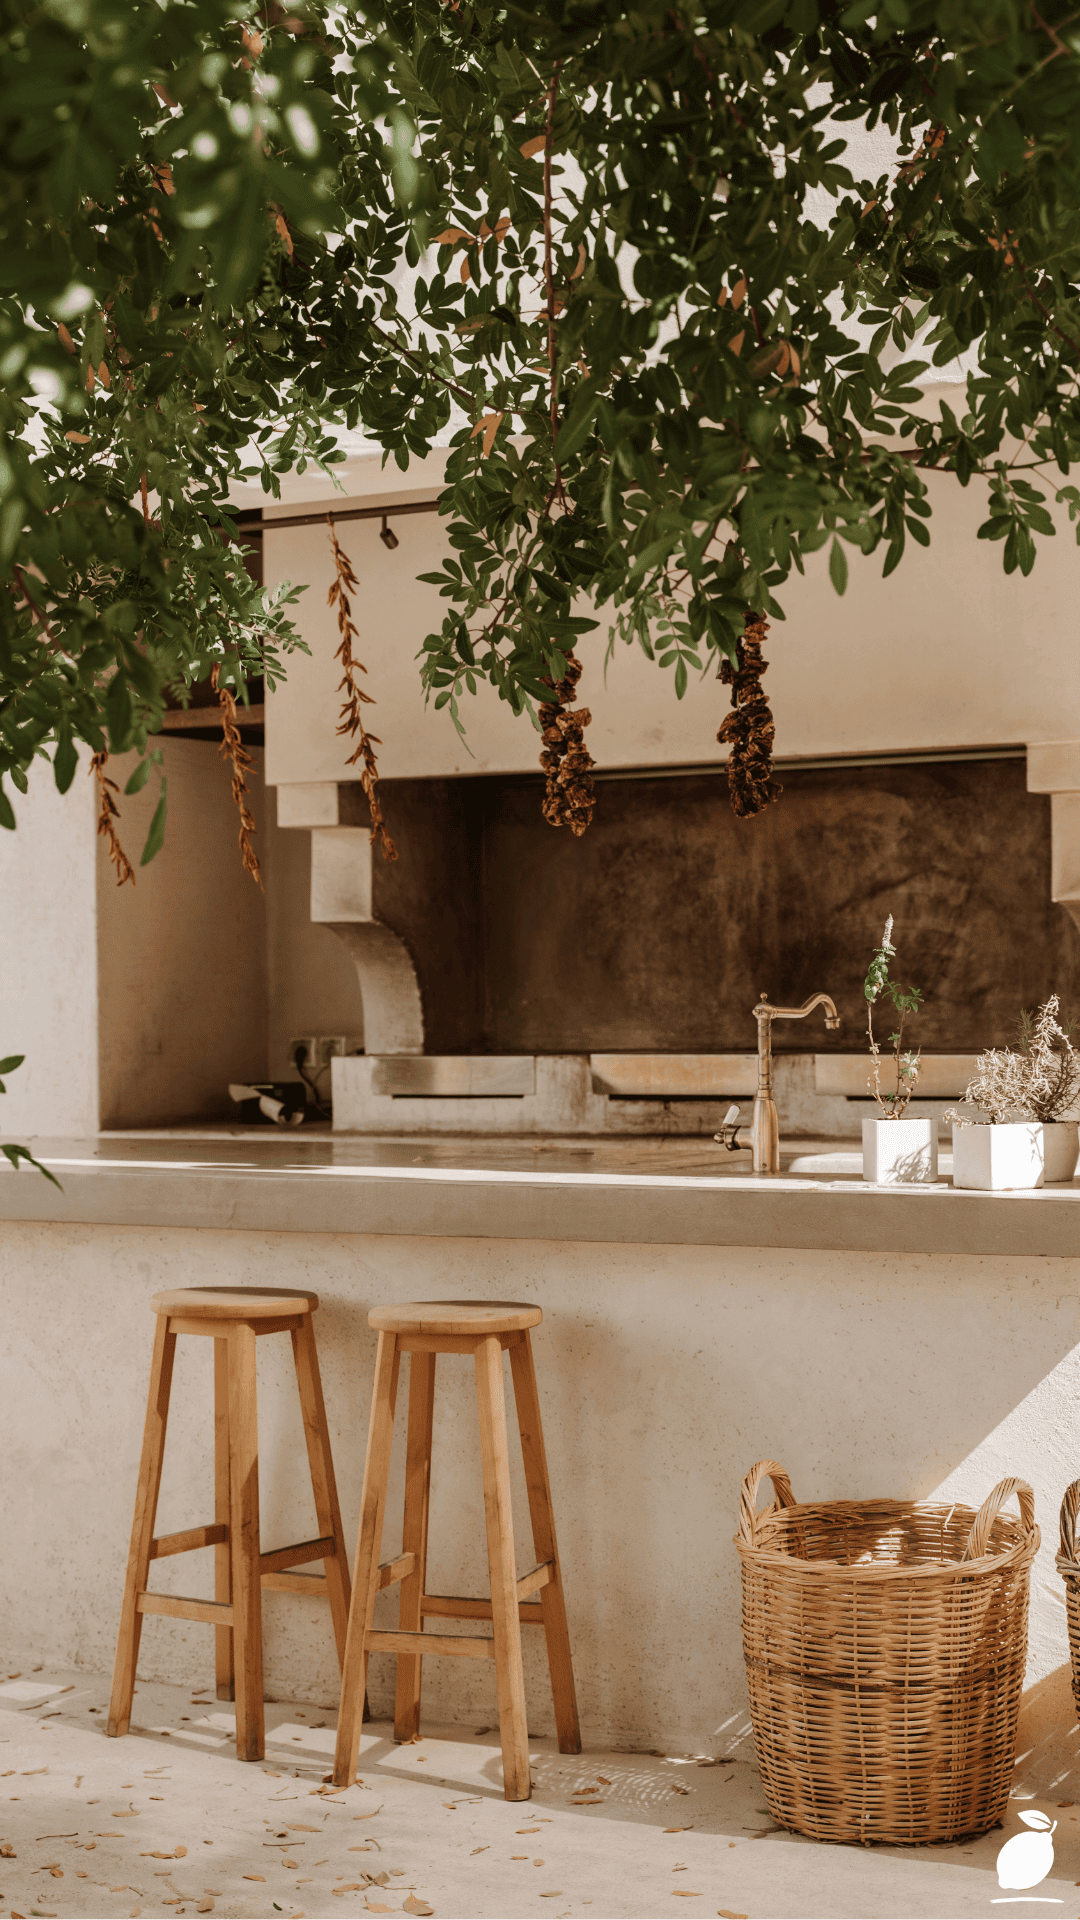
The gap between an improvised outdoor cooking setup and a DIY outdoor kitchen is smaller than it looks and wider than a simple equipment upgrade can close. What DIY outdoor kitchen ideas provide isn’t more surface area or a better grill; it’s the spatial organization and material permanence that transform cooking outside from an activity into an experience. The Mediterranean-style outdoor kitchen in the image above demonstrates this with quiet authority: a white stucco counter with a dark stone cooking area, two wooden bar stools at a concrete bar surface, dried chili peppers hanging from green foliage overhead, ceramic planters with herbs on the counter, woven rattan baskets holding produce. Nothing in this kitchen is complicated. Everything in it is intentional, and the cumulative effect is a space so well-resolved that guests arrive and don’t leave.
DIY outdoor kitchen ideas have become one of the most searched home improvement categories in 2026 precisely because the alternatives to professional landscape kitchen installations have become eye-wateringly expensive, and the quality differential between a well-executed DIY outdoor kitchen and a professionally installed one has narrowed significantly as materials and modular systems have improved. This guide covers the complete process: from site selection and structural planning through to the finishing details that give a DIY outdoor kitchen the custom, designed quality of the kitchen in the image above, achieved with your own hands, at a fraction of professional installation cost.
The DIY Outdoor Kitchen Ideas Blueprint
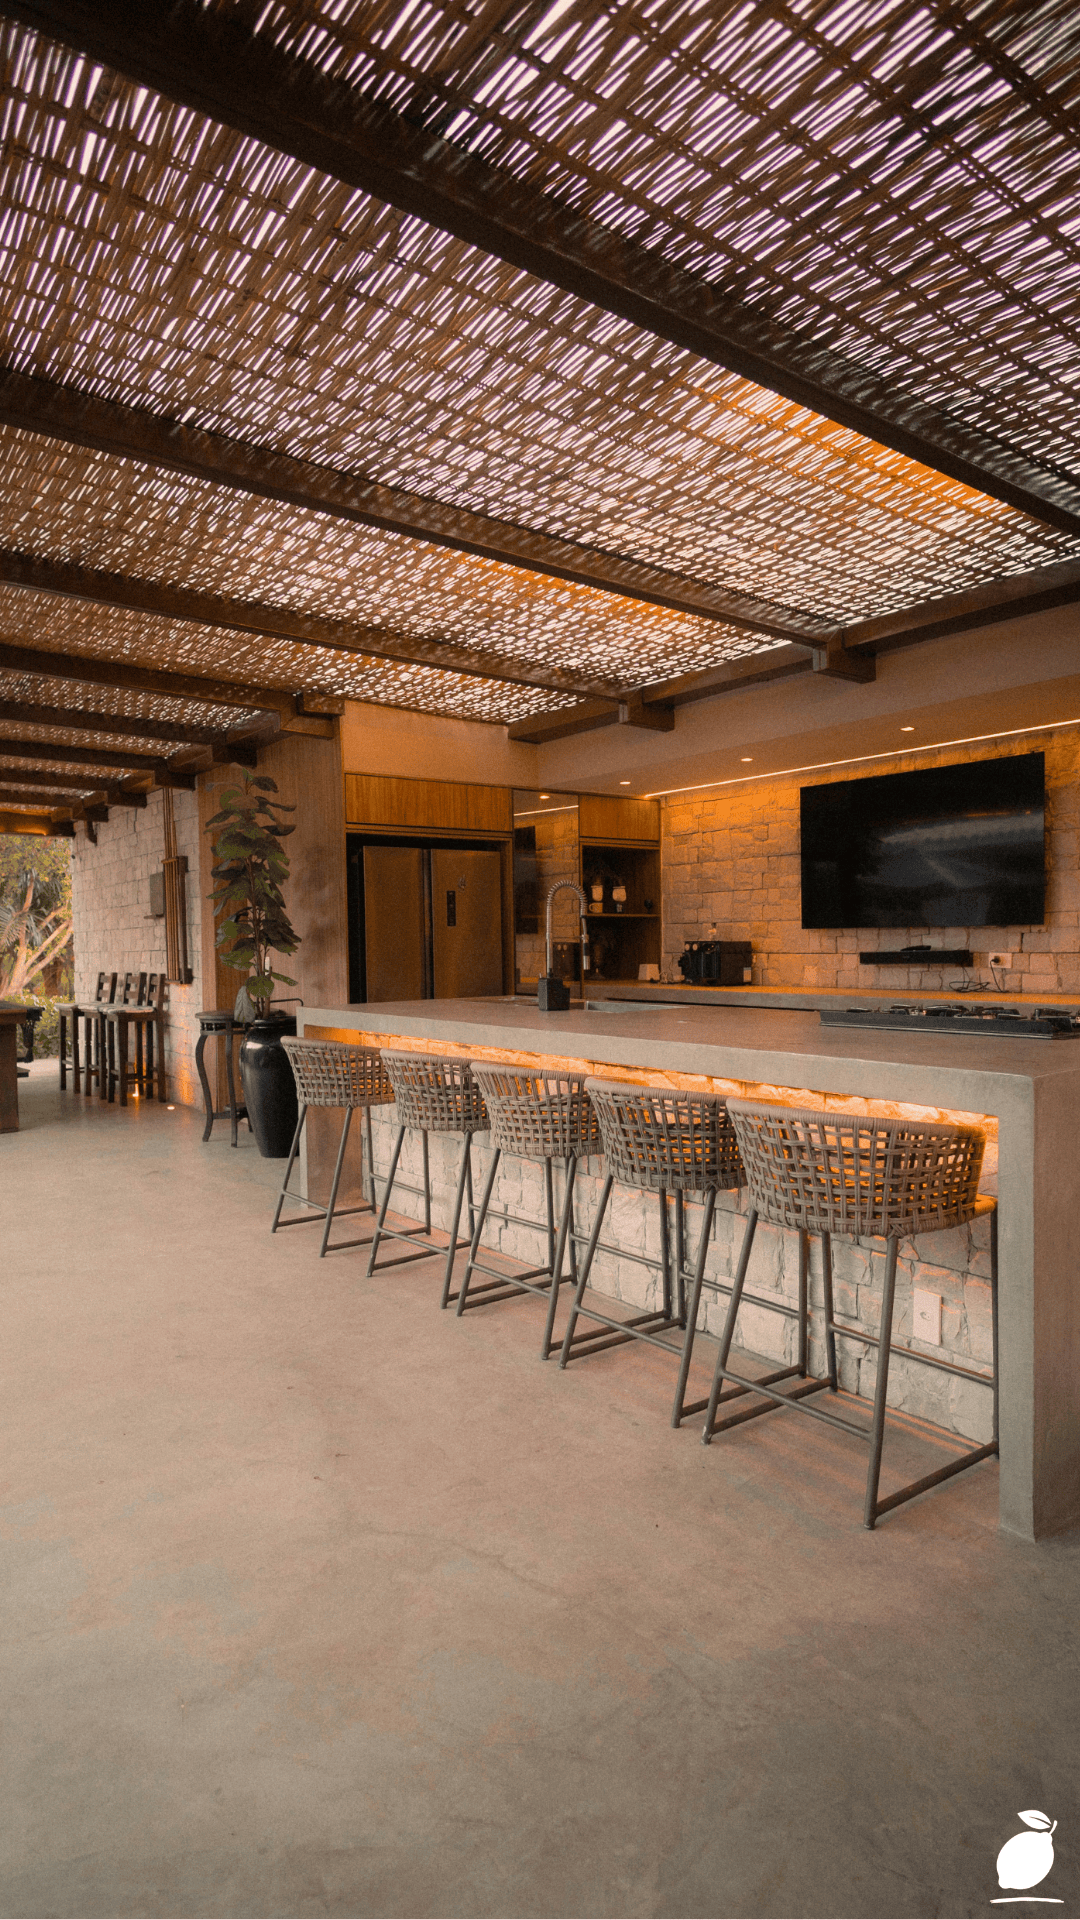
Step 1: Define Your DIY Outdoor Kitchen’s Functional Brief
Every successful DIY outdoor kitchen project begins not with a product list or a layout sketch but with a clear functional brief, a specific description of what the outdoor kitchen will do, for how many people, and how frequently. DIY outdoor kitchen ideas that are built for a vague notion of “outdoor entertaining” without a specific functional definition produce spaces that are either under-built for actual use patterns or over-specified for the way the household actually cooks and gathers.
The functional brief for a DIY outdoor kitchen should answer five questions. How many people will use the kitchen simultaneously during cooking, one primary cook or multiple? How many guests does the outdoor kitchen need to serve regularly? Will the primary cooking method be grilling, wood-fired cooking, pizza, or a combination? Does the DIY outdoor kitchen need cold storage and running water, or will ice coolers and a hose-down suffice? Will the outdoor kitchen be used year-round or seasonally, and if seasonally, what climate protection does it require?
The Mediterranean-style DIY outdoor kitchen in the featured image answers these questions clearly through its form: a single primary cooking zone with a dark stone surround for one or two cooks, a concrete bar counter with two stools for immediate guest seating, no visible cold storage or plumbing suggesting a simplified service approach, and a covered canopy of natural foliage providing seasonal shade in a warm, dry climate. This is a DIY outdoor kitchen idea design built for relaxed social cooking in a warm climate, not for catering, not for year-round use in a cold climate, not for multiple simultaneous cooks. The clarity of the brief is visible in its design.
Step 2: Choose the Site and Assess the Structural Requirements
Site selection for DIY outdoor kitchen ideas is the decision with the most long-term consequences and the one that most consistently receives the least deliberate attention. A DIY outdoor kitchen in the wrong location functions poorly regardless of how well it is built, because the fundamental conditions of its use, its relationship to the house, its sun exposure, its wind exposure, its connection to power and water are determined by where it sits rather than what it contains.
The optimal DIY outdoor kitchen ideas site sits within ten to fifteen feet of the house’s indoor kitchen, close enough to make supply trips manageable, far enough that grill smoke doesn’t enter through windows and doors. It should be on the leeward side of the house relative to the prevailing wind direction, which keeps smoke away from the seating area and prevents the grill’s heat from being interrupted by gusts. It should receive shade during the hours of primary use, midday and afternoon for weekend lunches, late afternoon for weeknight cooking, either from the house itself, from a tree canopy as in the featured image, from a pergola, or from a purpose-built shade structure integrated into the DIY outdoor kitchen design.
Assess the ground conditions at the chosen site before planning the DIY outdoor kitchen’s foundation. A flat, well-drained site requires the least preparation and the least structural investment. Sloped sites require leveling either by cutting into the slope and retaining or by building up with a concrete slab before any DIY outdoor kitchen structure is built on them. Sites with poor drainage accumulate standing water beneath the outdoor kitchen structure after rain, accelerating corrosion of metal components, deteriorating mortar in masonry structures, and creating unpleasant conditions for outdoor kitchen use. Address drainage before building.
Identify the proximity to utility connections. A DIY outdoor kitchen project that includes a built-in grill with a gas supply requires a gas line run from the house, a task for a licensed gas engineer regardless of DIY competence in other areas. Running water at the outdoor kitchen requires plumbing from the house supply, manageable as a DIY project with appropriate skills and permits in some jurisdictions, but requiring a licensed plumber in others. Electrical outlets for lighting and small appliances require weatherproof exterior wiring and GFCI protection, always installed by a licensed electrician.
Step 3: Design the DIY Outdoor Kitchen Layout
The layout of a DIY outdoor kitchen follows the same ergonomic principles as an indoor kitchen: a connected sequence of preparation space, cooking zone, and serving surface that allows the cook to move efficiently without unnecessary steps or surface conflicts. The most effective DIY outdoor kitchen ideas layouts arrange these three zones in either an L-shape, a straight run, or a U-shape, depending on the site dimensions available.
A straight-run DIY outdoor kitchen, a single linear counter with cooking at one end and prep/serve at the other, is the most space-efficient and the most accessible for a first-time DIY outdoor kitchen builder. The featured image’s kitchen is essentially a straight run: the dark stone cooking area on one side, the concrete bar counter extending from it, with the seating zone at the bar’s end. This layout works because the cooking and serving zones share a single counter run, eliminating the need to carry food across an open gap.
Design the DIY outdoor kitchen with the following minimum dimensions: counter depth of 24 to 26 inches (60 to 65cm) for a comfortable work surface, counter height of 35 to 36 inches (89 to 91cm) for standing food preparation, and bar height of 42 to 44 inches (107 to 112cm) if a bar seating zone is included. Allow a minimum of 36 inches (90cm) of clear passage width beside any DIY outdoor kitchen counter run that will be used simultaneously from both sides during cooking. The featured image’s bar stools are positioned on the exterior face of the counter, leaving the cook’s working side completely clear, a fundamental DIY outdoor kitchen ideas layout principle that makes the space functional rather than cramped during active cooking.
Step 4: Build the DIY Outdoor Kitchen Frame and Structure
The structural frame of a DIY outdoor kitchen is the most consequential construction decision in the project because every subsequent element, the counter surface, the appliance installation, and the finish cladding, is only as durable as the structure beneath it. DIY outdoor kitchen ideas built on inadequate frames deteriorate rapidly, particularly in climates with significant moisture, temperature variation, or freeze-thaw cycling.
The two most widely used framing materials for DIY outdoor kitchen ideas are concrete block (CMU) and steel stud framing sheathed in cement board. Each has distinct advantages.
Concrete block DIY outdoor kitchen frames are the most durable, fire-rated option and the traditional approach for the Mediterranean-style outdoor kitchen visible in the featured image. CMU frames require no additional fire protection around the cooking zone, are completely immune to moisture damage, and provide a substrate for direct plaster, stucco, or stone tile application without additional sheathing. The primary challenge is weight: a concrete block DIY outdoor kitchen requires a substantial concrete slab foundation to prevent settling, and the time investment in laying courses of block with mortar joints that must cure fully before the counter and appliances are installed.
Steel stud DIY outdoor kitchen frames sheathed in cement board are the most accessible approach for DIY builders without masonry experience. Steel studs are lightweight, do not rot or burn, and can be framed in a single day for a standard outdoor kitchen run. Cement board sheathing provides the moisture-resistant, fire-resistant substrate for finish materials, and the completed frame accepts tile, stucco, or stone veneer with appropriate bonding mortar. The primary limitation is the requirement for additional fire-rated insulation around the grill cavity and any other open-flame cooking zone. Building codes in most jurisdictions require this regardless of the frame material.
Step 5: Install the Cooking Appliances and Utilities
The cooking appliance installation stage of DIY outdoor kitchen projects is where building codes, safety standards, and manufacturer specifications converge and where the most important instruction is to follow every specification precisely rather than improvising.
Built-in gas grills must be installed with the clearances specified by the manufacturer, a minimum distance from the grill’s sides, back, and top to any combustible or non-combustible adjacent surface. These clearances are not conservative suggestions; they are safety requirements derived from the grill’s heat output under normal and worst-case operating conditions. A DIY outdoor kitchen grill installation that violates these clearances creates a fire risk that may not be apparent during normal low-wind conditions but becomes acute in high-wind conditions that deflect heat in unexpected directions.
For the wood-fired or charcoal cooking zone visible in the featured image’s dark stone cooking area, the primary installation requirement is a fire-rated surround of natural stone, fire brick, or refractory mortar that contains the heat of the fire without thermal shock or degradation. Natural stone with high thermal mass, as used in the featured image, provides excellent heat retention and visual character simultaneously. Avoid limestone and sedimentary stones with high moisture content in cooking zones; they can spall (explosively fracture) when heated rapidly.
Install a weatherproof GFCI-protected electrical outlet at the outdoor kitchen for lighting, blender, and small appliance use during the same construction stage as the structural work, running conduit within the structure while it is still open. Retrofitting electrical to a completed DIY outdoor kitchen is significantly more disruptive and expensive than incorporating it during construction.
Step 6: Apply the Counter Surface and Exterior Finish
The counter surface and exterior cladding are the DIY outdoor kitchen ideas elements that produce the most visible design quality, the details that determine whether the finished kitchen reads as custom and considered or as improvised and basic.
Counter surfaces for DIY outdoor kitchen ideas must be rated for outdoor use: resistant to UV fading, thermal shock from adjacent grill heat, moisture cycling, and the chemical exposure of outdoor cooking. Natural stone granite, quartzite, slate, and bluestone are the most durable and aesthetically rich countertop options for DIY outdoor kitchen ideas. Concrete countertops, poured-in-place or precast and installed, provide the white-grey surface visible in the featured image’s bar counter and deliver a clean, contemporary texture that suits both minimalist and Mediterranean aesthetic references. Porcelain tile in a large format is the most accessible DIY outdoor kitchen counter option, with lower material cost, available in colors and textures that reference stone, marble, and concrete, and installable by a competent tile setter without specialist tools.
For exterior cladding, the white stucco visible in the featured image is the most authentic Mediterranean reference and the most compatible with a warm, earthy outdoor kitchen aesthetic. Stucco application to a cement board substrate requires a scratch coat, a brown coat, and a finish coat applied in sequence with appropriate curing time between a technically demanding finish that rewards investment in a plasterer’s tool kit and practice on scrap board before applying to the outdoor kitchen structure. White exterior masonry paint over a smooth cement board substrate is a more accessible alternative that references the white stucco quality without requiring full three-coat plaster skill.
Expert Secrets for Success
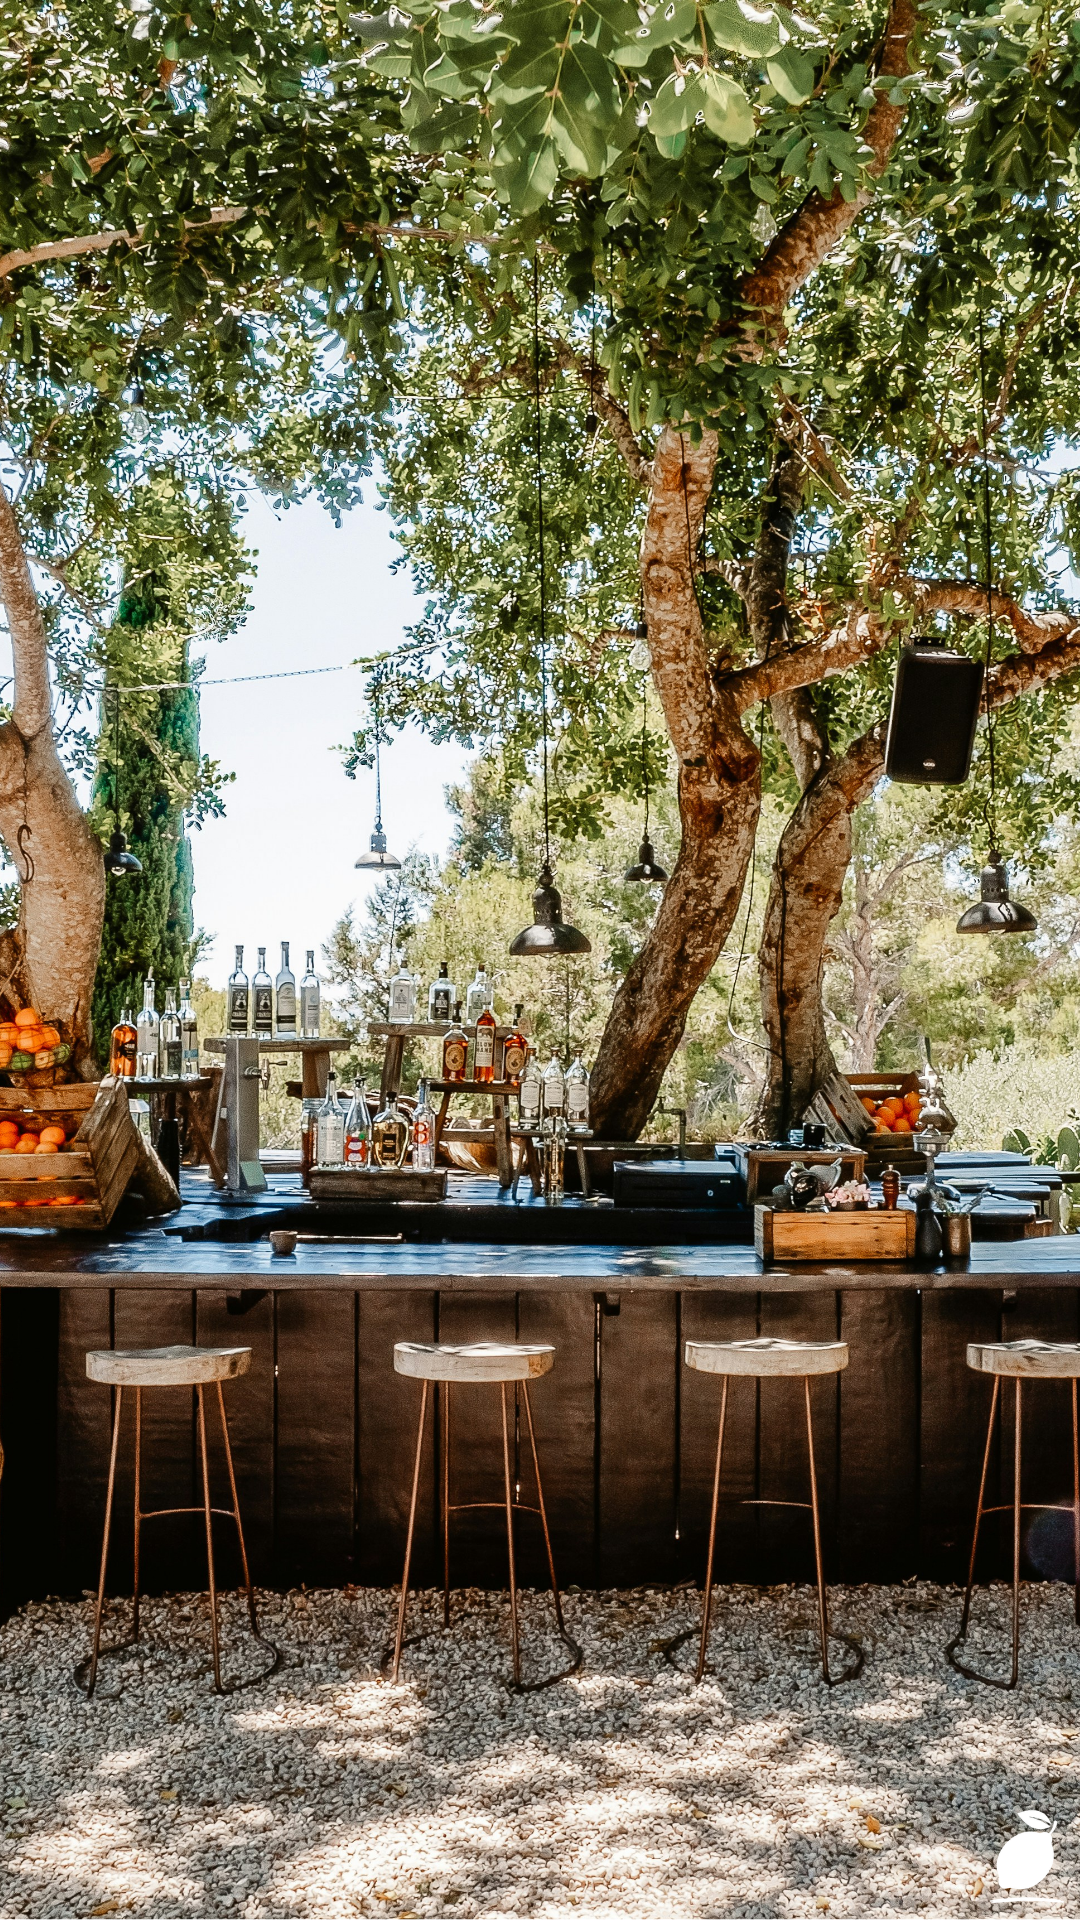
Pro-Tips for a Better Result
Build the DIY outdoor kitchen counter six to twelve inches deeper than you think you need. The most consistent feedback from DIY outdoor kitchen idea owners after their first full season of use is that they need more counter space than they designed for. The food staging, the utensil holding, the condiment placement, and the plating area that outdoor cooking requires during an active cooking session consistently exceed the available surface in undersized outdoor kitchens. Build deeper rather than longer, extending the counter depth from 24 to 30 inches (60 to 76cm) requires less additional structural investment than extending the counter run by several feet and delivers a more practically useful result.
Source natural materials locally for the most authentic regional character. The Mediterranean-style DIY outdoor kitchen in the featured image derives much of its authentic quality from materials that are local to its context: the specific character of its stone, the ochre undertones of its stucco, the particular weave of its rattan baskets. DIY outdoor kitchen ideas that use materials with genuine regional character, such as local stone from a nearby quarry, river cobbles from the landscape, and hand-thrown ceramic planters from a local potter, achieve a sense of place that no catalog purchase can replicate.
Install a weatherproof pendant light above the primary cooking zone. A DIY outdoor kitchen without adequate task lighting over the cooking zone becomes unusable after dark, a significant limitation for a kitchen intended for evening entertaining. A weatherproof pendant or two focused downlights above the grill and prep zone extend the outdoor kitchen’s daily usable hours into the evening and transform the space’s atmosphere after dark. Plan the electrical conduit position during the structural build to accommodate ceiling or overhead mounting of the cooking zone lighting.
Grow or hang herbs within direct reach of the cooking zone. The dried chili peppers hanging from the canopy in the featured image are not decorative; they are part of the DIY outdoor kitchen’s functional system, providing ingredients in immediate reach of the cooking zone. Ceramic planters of rosemary, thyme, basil, and chili on the counter surface, or a hanging herb garden from the overhead structure, integrate the kitchen with the garden in a way that no purchased element achieves and add sensory richness, scent, texture, and color that make cooking in the space a genuinely different experience from cooking indoors.
Common Mistakes to Avoid
Don’t use interior-grade materials in any part of the DIY outdoor kitchen. Interior lumber, interior tile adhesive, interior grout, and interior paint all fail rapidly in outdoor conditions. The moisture cycling, UV exposure, and temperature variation of an outdoor kitchen environment are significantly more demanding than interior conditions, and materials not specifically rated for exterior use deteriorate within one to two seasons, requiring replacement at a cost that exceeds the initial savings from using the wrong material. Every material in a DIY outdoor kitchen project must be specified as exterior-grade or outdoor-rated.
Don’t install a DIY outdoor kitchen without a dedicated gas shut-off accessible without tools. A gas-supplied DIY outdoor kitchen must have a dedicated shut-off valve accessible at the outdoor kitchen itself, not only at the house’s main supply, so that the gas can be turned off immediately in an emergency without requiring tools or entry to the house. This requirement is both a safety standard and a code requirement in most jurisdictions. Position the shut-off in a visible, accessible location within the outdoor kitchen structure, not concealed behind a door or panel that requires opening.
Don’t neglect drainage beneath and around the DIY outdoor kitchen structure. Water accumulating beneath a DIY outdoor kitchen structure from rain, grill cleaning, and food preparation creates persistent moisture conditions that accelerate the deterioration of the frame, the mortar, and any embedded fixtures. Grade the ground beneath and around the outdoor kitchen to drain away from the structure, install a gravel drainage layer beneath any concrete slab, and ensure the counter surface has a slight fall to the front edge so that cleaning water runs off rather than pooling.
Don’t over-specify the DIY outdoor kitchen for a single event. The most common DIY outdoor kitchen ideas sizing mistake is designing the kitchen around the largest event the household can imagine hosting, a party for forty people, a catered gathering, and building a structure that is disproportionate to weekly use. An outdoor kitchen used by the household three times a week for family cooking for four to six people should be sized for that primary use pattern. The occasional larger gathering is served by the well-designed everyday kitchen; a kitchen designed for the exceptional gathering is underused and overbuilt for the ordinary occasions that constitute the majority of its use.
Why DIY Outdoor Kitchen Ideas Matter
Building something with your own hands that changes how your family uses its home is one of the most quietly profound experiences available in domestic life. A DIY outdoor kitchen project is not a renovation that a household barely notices; it creates a space where things happen that wouldn’t have happened otherwise. The family dinner that moves outside because the kitchen is there. The Saturday morning when one person cooks breakfast outdoors while another reads and a child plays in the garden within sight. The neighbor who stays longer than expected because the space itself is the kind of place people don’t want to leave. These are the outcomes of a well-executed DIY outdoor kitchen, and they compound over years into a genuinely different pattern of domestic life than the one that existed before the kitchen was built.
The act of building the DIY outdoor kitchen matters as much as the finished structure. Research in positive psychology identifies mastery experiences, the completion of a complex, skilled project with a lasting, visible result, as among the most reliable sources of sustained confidence and well-being. A DIY outdoor kitchen built from a concrete block foundation through to a plastered stucco finish represents exactly that kind of mastery experience: a project complex enough to require learning, physical enough to require real effort, and permanent enough to remain as evidence of that effort long after the completion day. That evidence the outdoor kitchen you made changes the relationship between the maker and their home in a specific and lasting way.
Easy Peasy Life Matters is built on the conviction that the homes we make with intentional effort are the homes we inhabit most fully. A DIY outdoor kitchen built from the framework in this guide, site-selected with care, structurally sound, materially authentic, and finished with the details that distinguish a considered design from a functional one, is a home improvement that returns its investment in daily enjoyment for every year it stands. The Mediterranean kitchen in the featured image looks the way it does because someone made it that way. So can yours.
Frequently Asked Questions
How much does a DIY outdoor kitchen project typically cost?
The cost of a DIY outdoor kitchen project varies significantly based on size, materials, appliance specifications, and utility installation requirements. A basic DIY outdoor kitchen with a concrete block or steel stud frame counter run with a built-in grill, concrete or tile countertop, and stucco exterior finish without plumbing or electrical typically costs between $2,000 and $5,000 in materials for a standard 8- to 10-foot (2.4 to 3m) run. Adding a built-in sink with plumbing, refrigeration, and comprehensive electrical adds $1,500 to $3,000 to the material cost, plus the professional installation fees for licensed tradespeople. A premium DIY outdoor kitchen project with natural stone counter, custom cabinetry doors, built-in pizza oven, and full utility services can reach $10,000 to $20,000 in materials, still significantly below the $30,000 to $60,000 cost of equivalent professionally designed and installed outdoor kitchen systems.
What is the most durable counter material for a DIY outdoor kitchen?
Granite is consistently the highest-performing natural stone countertop material for DIY outdoor kitchen ideas: hard, dense, resistant to thermal shock, UV-stable, and available in colors that suit both contemporary and traditional outdoor kitchen aesthetics. Quartzite provides similar performance with a more varied, dramatically veined visual character. Concrete countertops — sealed with a penetrating outdoor-rated concrete sealer perform well in sheltered outdoor kitchen applications but require re-sealing every one to two years to maintain their stain resistance and moisture barrier. Porcelain tile in a through-body finish (where the color runs all the way through the tile rather than being a surface glaze) is the most durable tile option and the most forgiving DIY outdoor kitchen counter material for first-time installers.
Do I need a permit to build a DIY outdoor kitchen?
Permit requirements for DIY outdoor kitchen projects depend on jurisdiction, the scope of the project, and the utilities involved. In most US jurisdictions, a DIY outdoor kitchen that includes gas line work, electrical installation, or plumbing requires permits for those utility systems regardless of whether the structural work requires a permit. The structural frame itself may or may not require a permit depending on its size, permanence, and local building code. In the UK, outdoor kitchen structures are typically permitted development for residential properties, but gas and electrical work must be completed by Gas Safe registered engineers and Part P certified electricians respectively, with associated certification. Always check local permit requirements before beginning construction, as building without required permits can affect property insurance and create complications at the point of sale.
Can a DIY outdoor kitchen be built without concrete blocks or masonry skills?
Yes, steel stud framing with cement board sheathing is specifically designed for builders without masonry experience and produces a structurally sound DIY outdoor kitchen frame that accepts all the same finish materials as a concrete block structure. Steel studs are cut with standard metal snips or a circular saw with a metal-cutting blade, connected with self-tapping screws, and sheathed with cement board using the same screws and joints used in interior tile installation. The resulting frame is lighter than a concrete block equivalent, faster to build, and more forgiving of the minor dimensional variations inevitable in DIY construction. For DIY outdoor kitchen ideas, builders who want the authentic stucco or stone finish of a Mediterranean-style kitchen without concrete block laying skills, steel stud and cement board framing is the accessible entry point to that aesthetic.







