
Every October, my front door became the one part of the house I avoided looking at too closely. A single sad string of orange lights drooped from the frame, half of them burned out, and a plastic pumpkin bucket sat lopsided on the mat like it had given up on the season entirely. Meanwhile, I’d drive through the neighborhood and see doors that looked like they belonged in a magazine: simple, seasonal, put-together, while mine looked like decorating had happened to it rather than for it. What I really needed, I eventually realized, was a proper pumpkin door hanger, not another armful of clearance-bin clutter.
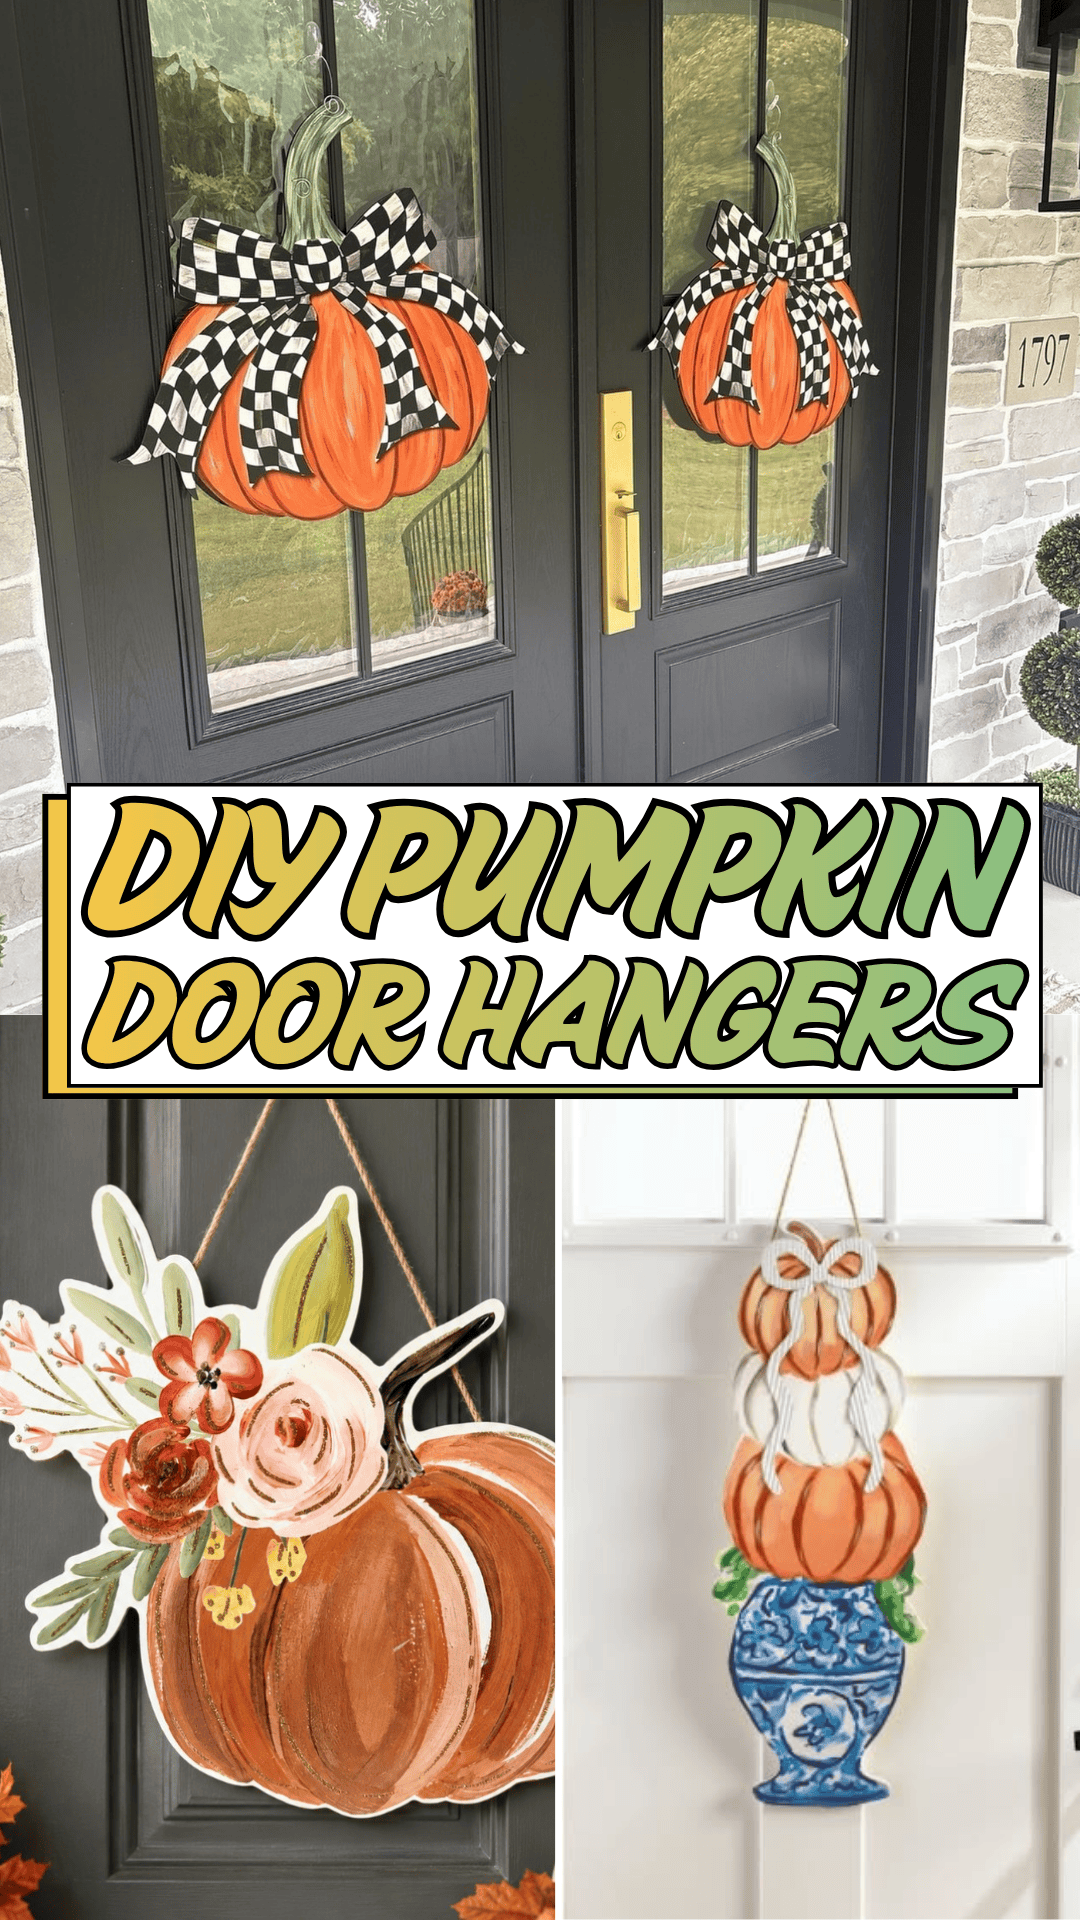
The frustrating part was that I actually loved fall. I just never had a plan, so every year I’d grab whatever was left on the clearance shelf at the last minute and hope it looked intentional. It never did. What I actually wanted wasn’t more decorations; it was one good, simple statement piece that made the whole entrance feel finished without turning my porch into a seasonal storage unit. A single, well-made pumpkin door hanger, I realized, could do more for my entryway than an entire bin of mismatched extras ever had.
That’s when a photo of a classic front entrance stopped my scrolling: dark, moody double doors, a pair of small checkered-bow pumpkins hanging right at eye level, a lantern glowing softly to the side, and a “Welcome” mat anchoring it all. It wasn’t loud or overdone; it was one confident, repeatable idea. That’s exactly what a good pumpkin door hanger does, and it’s exactly what I set out to make. Here’s the full process, from start to finish, so you can build your own pumpkin door hanger this weekend.
The Pumpkin Door Hanger Blueprint
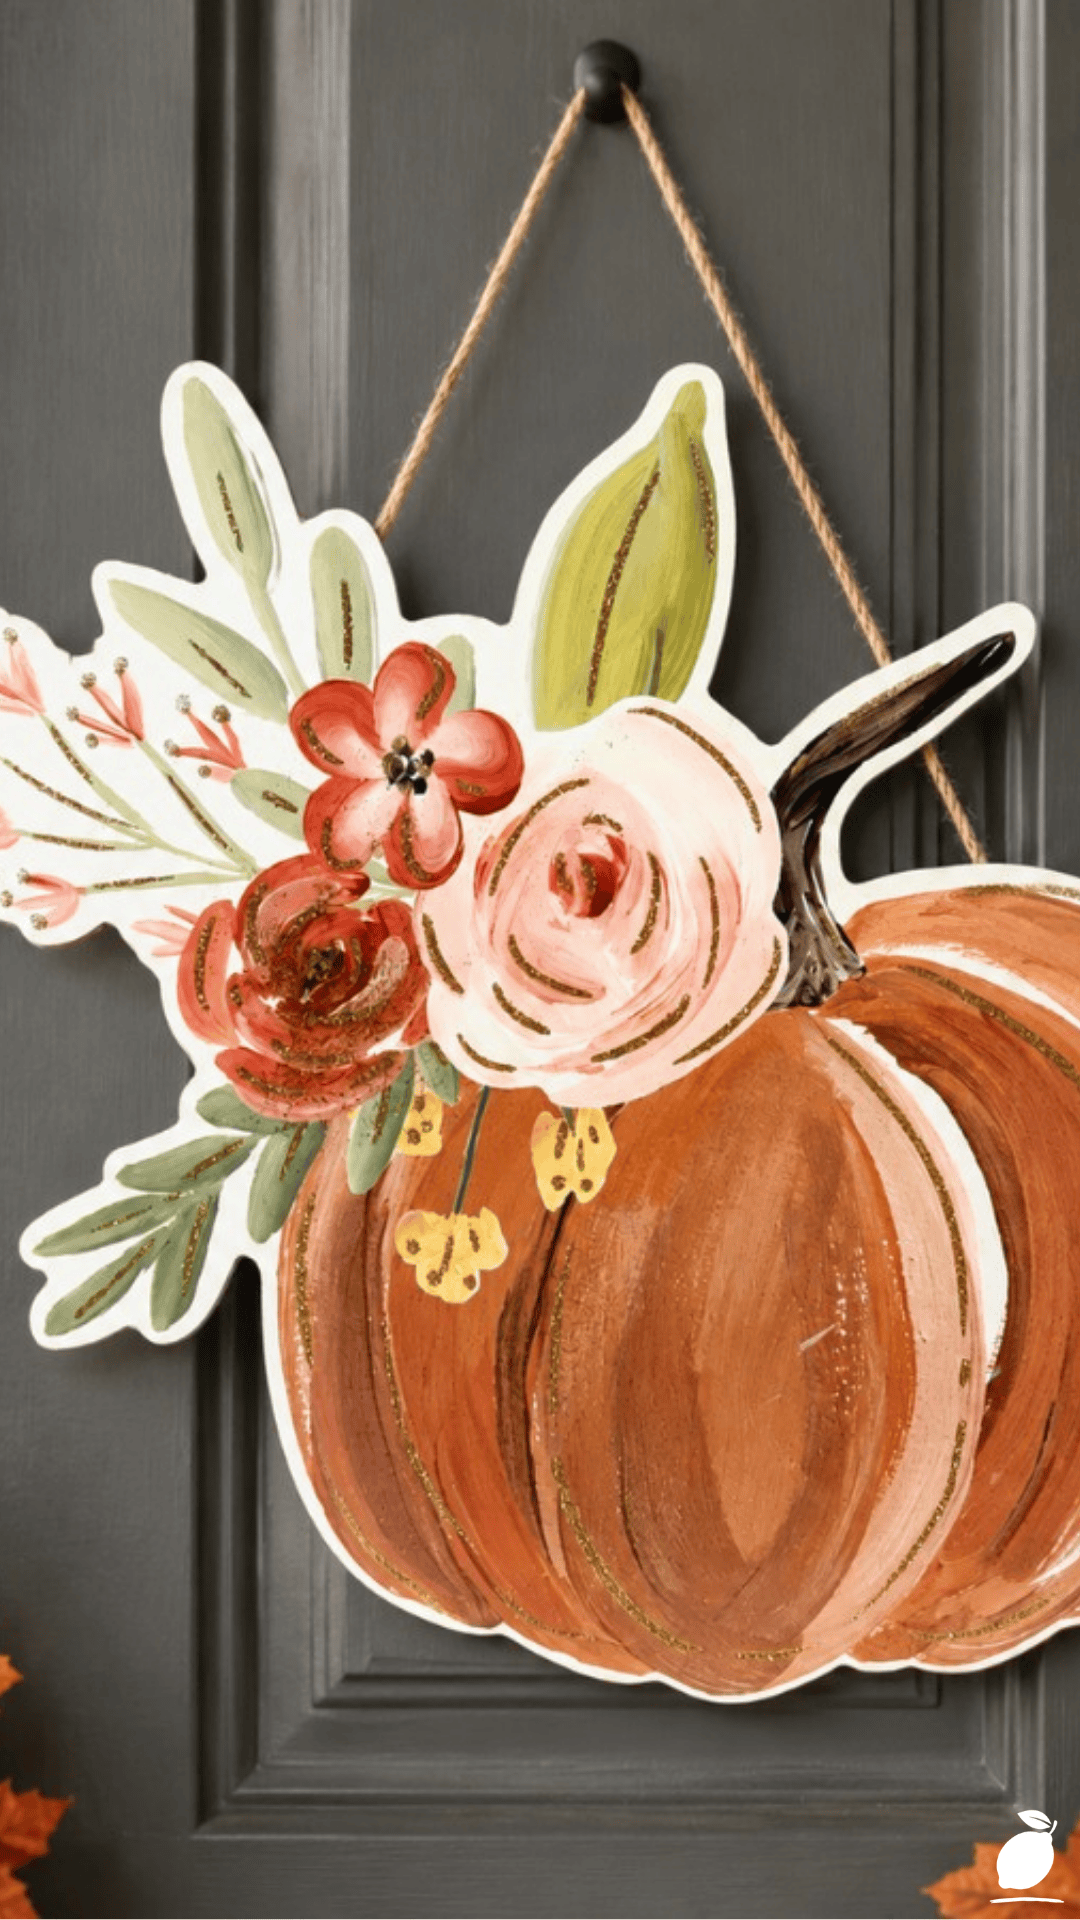
Making your own pumpkin door hanger doesn’t require advanced craft skills; it just requires the right order of steps. Each stage below builds toward a finished hanger that looks like it came from a boutique, not a craft store clearance bin.
Step 1: Choose Your Base Pumpkin Style
Decide between a natural-look faux pumpkin, a smooth painted pumpkin, or a fabric-wrapped foam pumpkin. Foam pumpkins from craft stores are lightweight, easy to hang, and hold paint or fabric well, making them the most beginner-friendly base for a pumpkin door hanger project.
Step 2: Gather Your Core Materials
You’ll need one or two faux pumpkins, a sturdy ribbon or wired bow material, hot glue or a glue gun, a small drill or screwdriver (if adding a hook), and an S-hook or wreath hanger sized for your door thickness. Having everything laid out before you start keeps the pumpkin door hanger project from stalling halfway through.
Step 3: Prep the Pumpkin for Hanging
If your pumpkin doesn’t already have a stem loop or attachment point, drill a small pilot hole through the top near the stem and insert a sturdy eye screw. This becomes the anchor point for your ribbon or hanging cord, so make sure it’s secured tightly before moving forward with the rest of your pumpkin door hanger build.
Step 4: Attach a Hanging Ribbon or Cord
Thread a length of ribbon, twine, or wired cord through the eye screw and tie it securely, leaving enough length to loop comfortably over your door’s hanger or wreath hook. Double-knot it for durability, especially if your pumpkin door hanger will be exposed to wind.
Step 5: Add Your Decorative Bow
Tie or wire a checkered, plaid, or solid ribbon bow just below the hanging point, positioning it so it sits neatly against the top of the pumpkin. A wired ribbon holds its shape better than standard ribbon and keeps the bow on your pumpkin door hanger looking crisp through wind and weather.
Step 6: Personalize With Paint or Accents
Add a coat of matte paint, a stenciled monogram, or small glued-on accents like mini leaves or berries if you want a more custom look. Let any paint fully cure before hanging to avoid smudging your pumpkin door hanger during installation.
Step 7: Install the Hook and Hang
Attach an over-the-door hook or a small adhesive hanger rated for outdoor use, positioning it at a height that feels balanced with your door’s proportions; generally, just above the center point of the door looks most intentional for a pumpkin door hanger.
Step 8: Style the Surrounding Entryway
Once your pumpkin door hanger is in place, add a coordinating doormat, a lantern-style light, or small potted plants nearby to complete the look. A single well-placed pumpkin door hanger often looks even better with a little supporting detail around it.
Step 9: Check and Reinforce Before the Season Sets In
A week or two after hanging, inspect your pumpkin door hanger for loose ribbon, weakened glue points, or a shifted hook. Reinforcing it early prevents an embarrassing mid-season fall and keeps your pumpkin door hanger looking fresh for the entire month.
Expert Secrets for Success
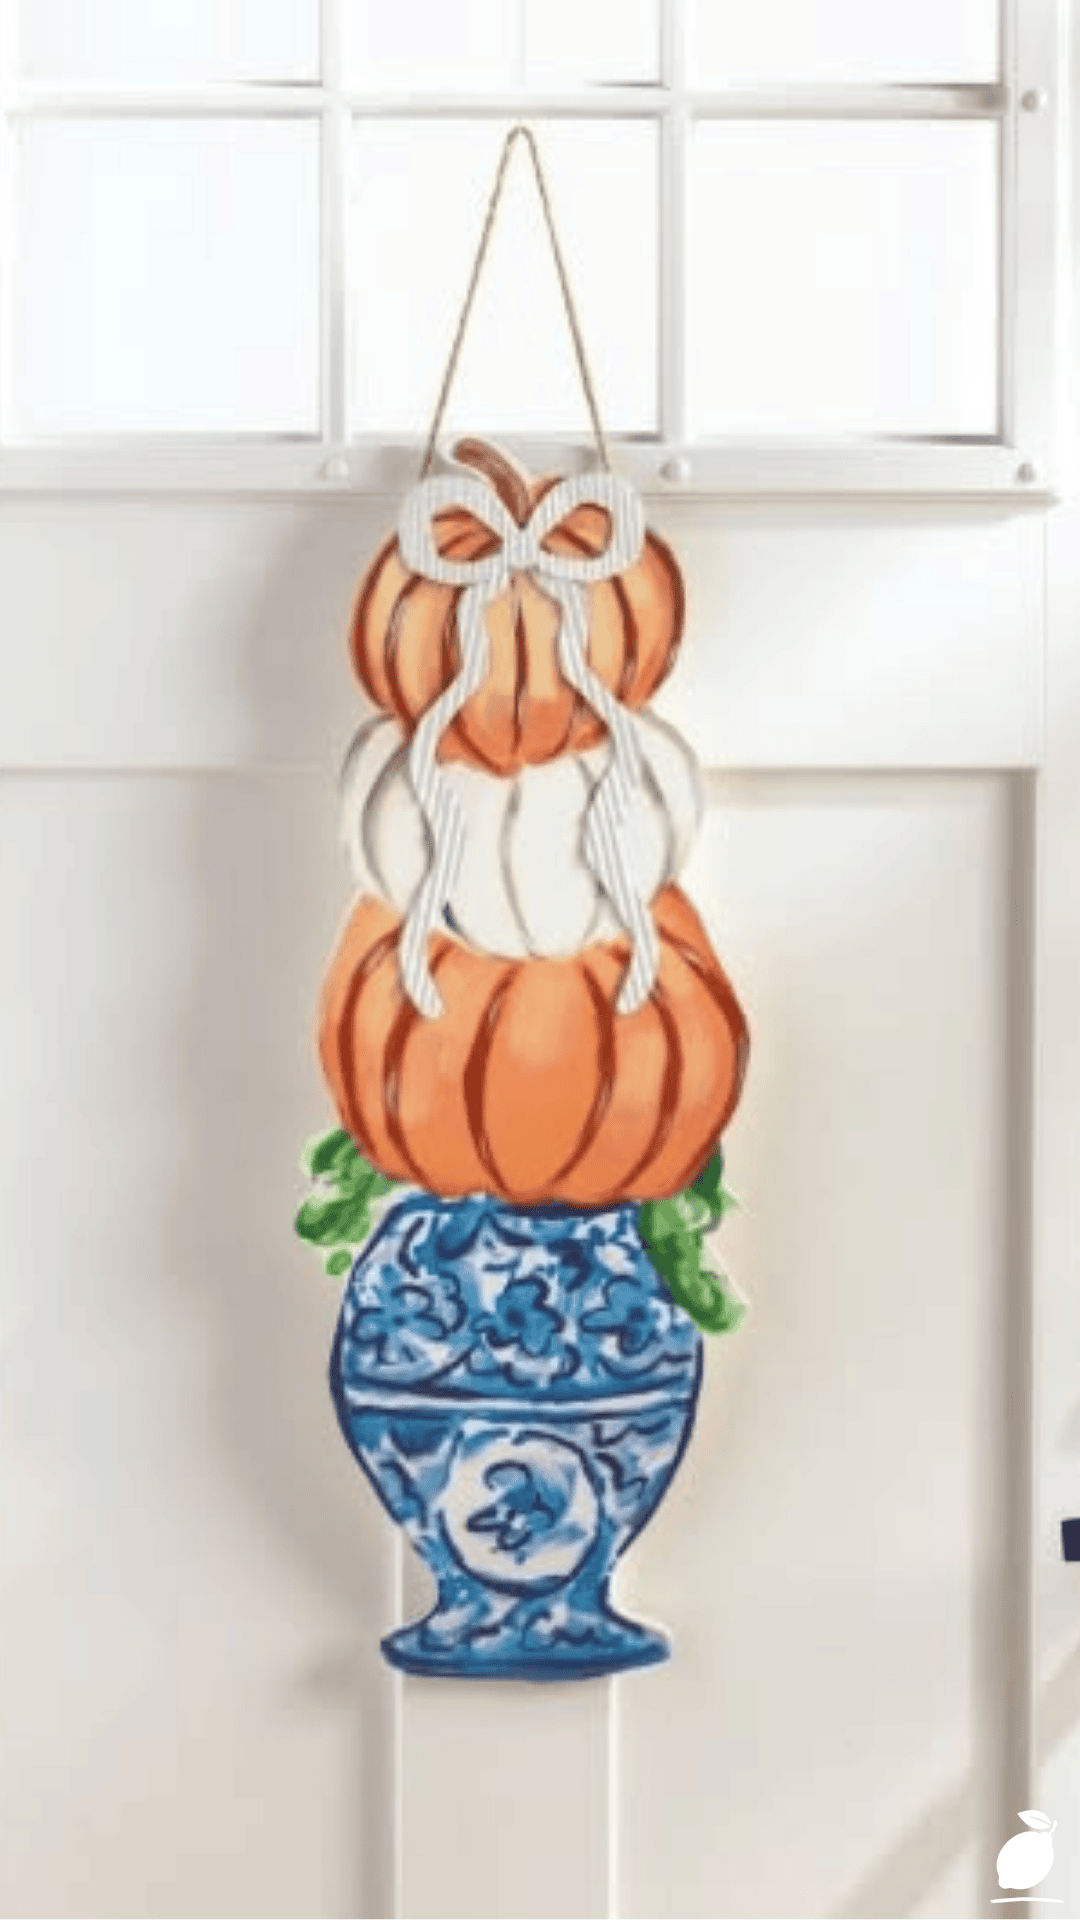
Pro-Tips for a Better Result
- Choose weather-resistant faux pumpkins and ribbon specifically labeled for outdoor use, since indoor craft materials can fade or warp quickly in sun and rain, ruining an otherwise beautiful pumpkin door hanger.
- Match your pumpkin door hanger’s color palette to your existing exterior details like your door color, house numbers, or lantern finish for a more cohesive entrance.
- Use E6000 or a similar strong craft adhesive in addition to hot glue for any accents exposed to wind, since hot glue alone can loosen over time in cold weather.
- If hanging two matching pumpkins (one per door), measure and mark placement on both doors before installing hooks to keep your pumpkin door hanger pair perfectly symmetrical.
- Add a small drop of clear sealant over any exposed wood or drilled areas on your pumpkin door hanger to prevent moisture damage over the season.
- Keep a spare length of matching ribbon on hand in case wind or weather damages the original bow partway through the season.
Common Mistakes to Avoid
- Don’t use real pumpkins for a hanging pumpkin door hanger; they’re heavy, prone to rot, and can stain or damage your door over time.
- Avoid oversized hooks or hangers that show above the door frame; a low-profile hanger keeps the finished pumpkin door hanger look clean and intentional.
- Don’t skip a trial hang before final assembly; check that the pumpkin doesn’t swing into the door or scratch the paint when the door opens and closes.
- Resist overcrowding the design with too many accents; one well-made pumpkin door hanger with a simple bow often looks more polished than one covered in mixed embellishments.
- Don’t forget to weatherproof any painted details; unsealed paint on a pumpkin door hanger can chip or run after a single heavy rain.
- Avoid hanging your pumpkin door hanger too close to the door’s edge, where it can catch wind and swing into the frame repeatedly.
Why a Pumpkin Door Hanger Matters
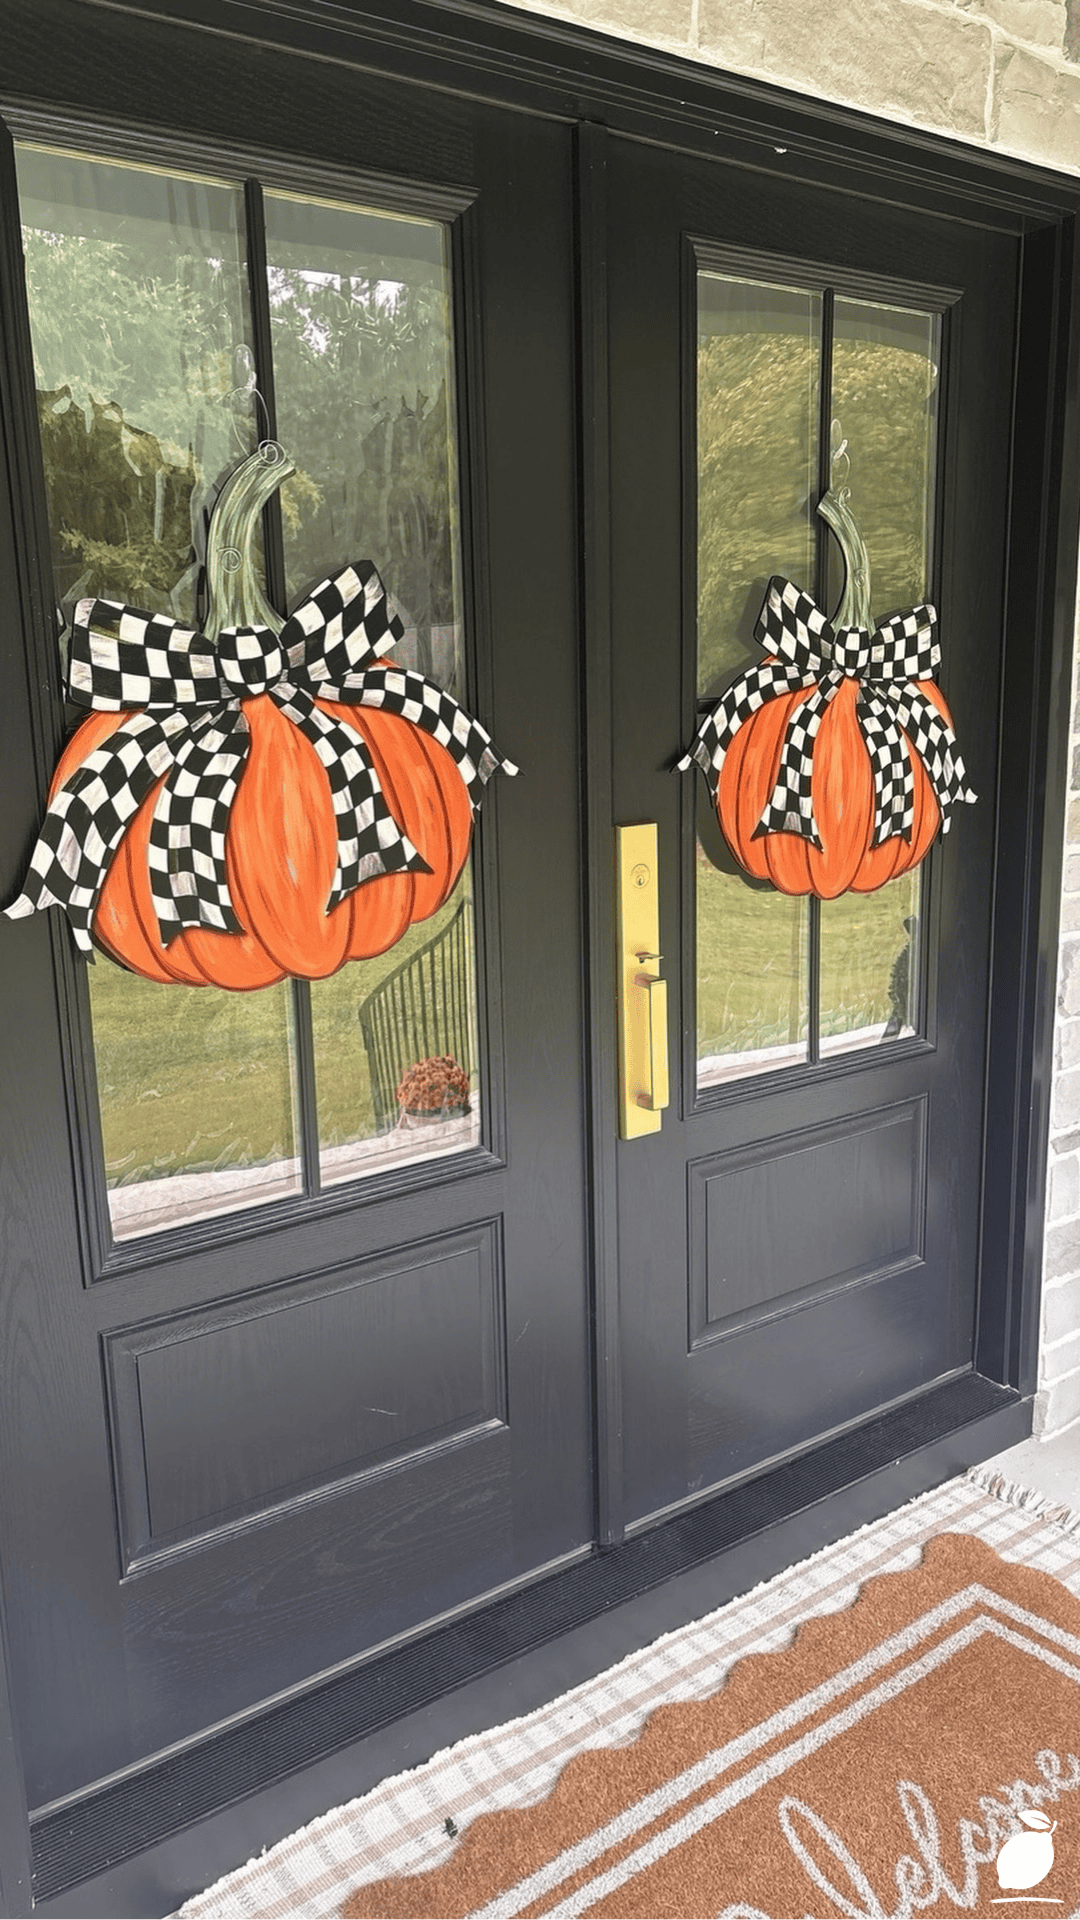
A front door sets the tone for your entire home before anyone even steps inside. A cluttered, mismatched entrance quietly signals stress and postponed decisions, while a simple, well-made pumpkin door hanger signals care and intention with almost no ongoing effort. It’s a small project, but it’s one of those rare home touches that changes how you feel every single time you walk up to your own front door.
There’s a real sense of calm that comes from finishing a small seasonal project instead of letting it linger as another item on the list. A pumpkin door hanger you made yourself carries a little more warmth than anything store-bought, and it becomes something the whole family notices and enjoys walking past. That small, completed win has a way of making the rest of the season feel a little more settled too.
That sense of calm tends to ripple outward. A front door that finally looks finished, thanks to nothing more than a thoughtfully made pumpkin door hanger, becomes a small daily source of pride instead of a lingering reminder of an unfinished task. Guests notice it. Neighbors notice it. And most importantly, you notice it every single time you come home.
FAQ
How long does a DIY pumpkin door hanger typically last?
A well-made faux pumpkin door hanger with weather-resistant materials can last several fall seasons with proper storage between uses, especially if kept out of direct, prolonged rain exposure.
What’s the best way to store a pumpkin door hanger after the season ends?
Store it in a labeled bin in a cool, dry space, ideally with the bow protected from crushing by placing it on top of other items rather than underneath.
Can I make a pumpkin door hanger without a glue gun?
Yes, wired ribbon, twine, and small screws or eye hooks can secure most elements without hot glue, though a glue gun does make attaching smaller decorative accents to your pumpkin door hanger faster and more secure.
Is it safe to hang a pumpkin door hanger on a glass-paneled door?
Yes, as long as the hook or hanger is designed for the door’s specific thickness and doesn’t require drilling into the glass itself; over-the-door hooks are generally the safest option for glass-paneled entries.
How heavy should a pumpkin be to hang safely on a standard door hook?
Most standard over-the-door hooks safely support lightweight foam or faux pumpkins under a few pounds; always check the hook’s weight rating before hanging anything heavier or adding multiple accents to your pumpkin door hanger.
Can I reuse the same pumpkin door hanger for multiple years?
Yes, as long as the pumpkin, ribbon, and hardware are made from weather-resistant materials and stored properly between seasons, a single pumpkin door hanger can easily be reused for three to five years or more before needing a refresh.







