By September, the birds had basically claimed my vegetable garden as their personal buffet. I’d walk out with my morning coffee to find pecked tomatoes, scattered seed hulls across the mulch, and entire rows of sunflowers stripped bare before I ever got to enjoy them. I tried shiny tape, a plastic owl that fooled no one, even an old CD hung from string; none of it worked for more than a few days before the birds figured out it was harmless and went right back to business. Every “solution” I bought online promised results and delivered maybe forty-eight hours of peace before the garden was back to being an all-you-can-eat buffet.
If you’ve ever watched months of careful gardening get picked apart by birds in a matter of days, you know exactly how deflating it feels. Store-bought deterrents are hit-or-miss at best, and most of them look about as charming as a strip of caution tape. What I actually wanted wasn’t just something that worked; I wanted something that added a little character to the garden while it did its job, instead of one more ugly gadget clipped to a stake. I wanted a solution that felt like part of the garden, not something bolted on as an apology for a problem I hadn’t solved, and that’s exactly what well-made scarecrows deliver.
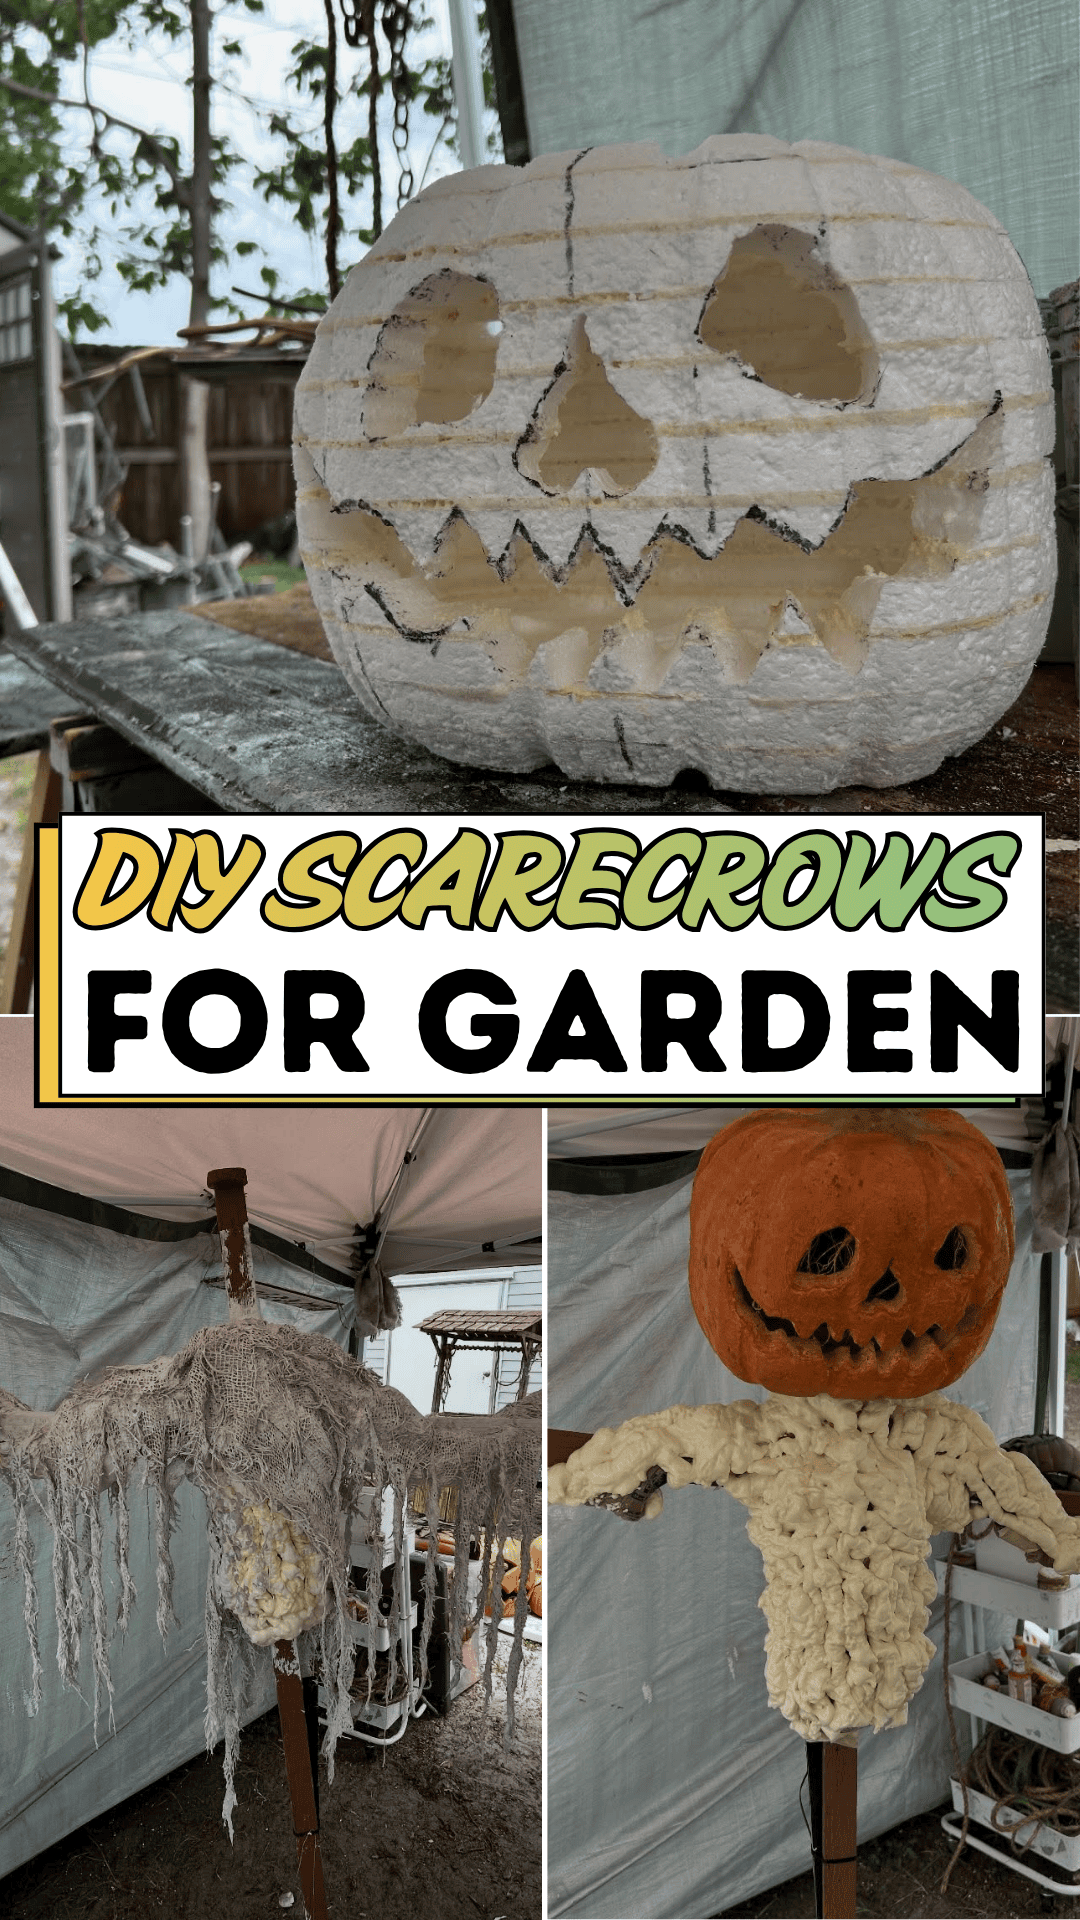
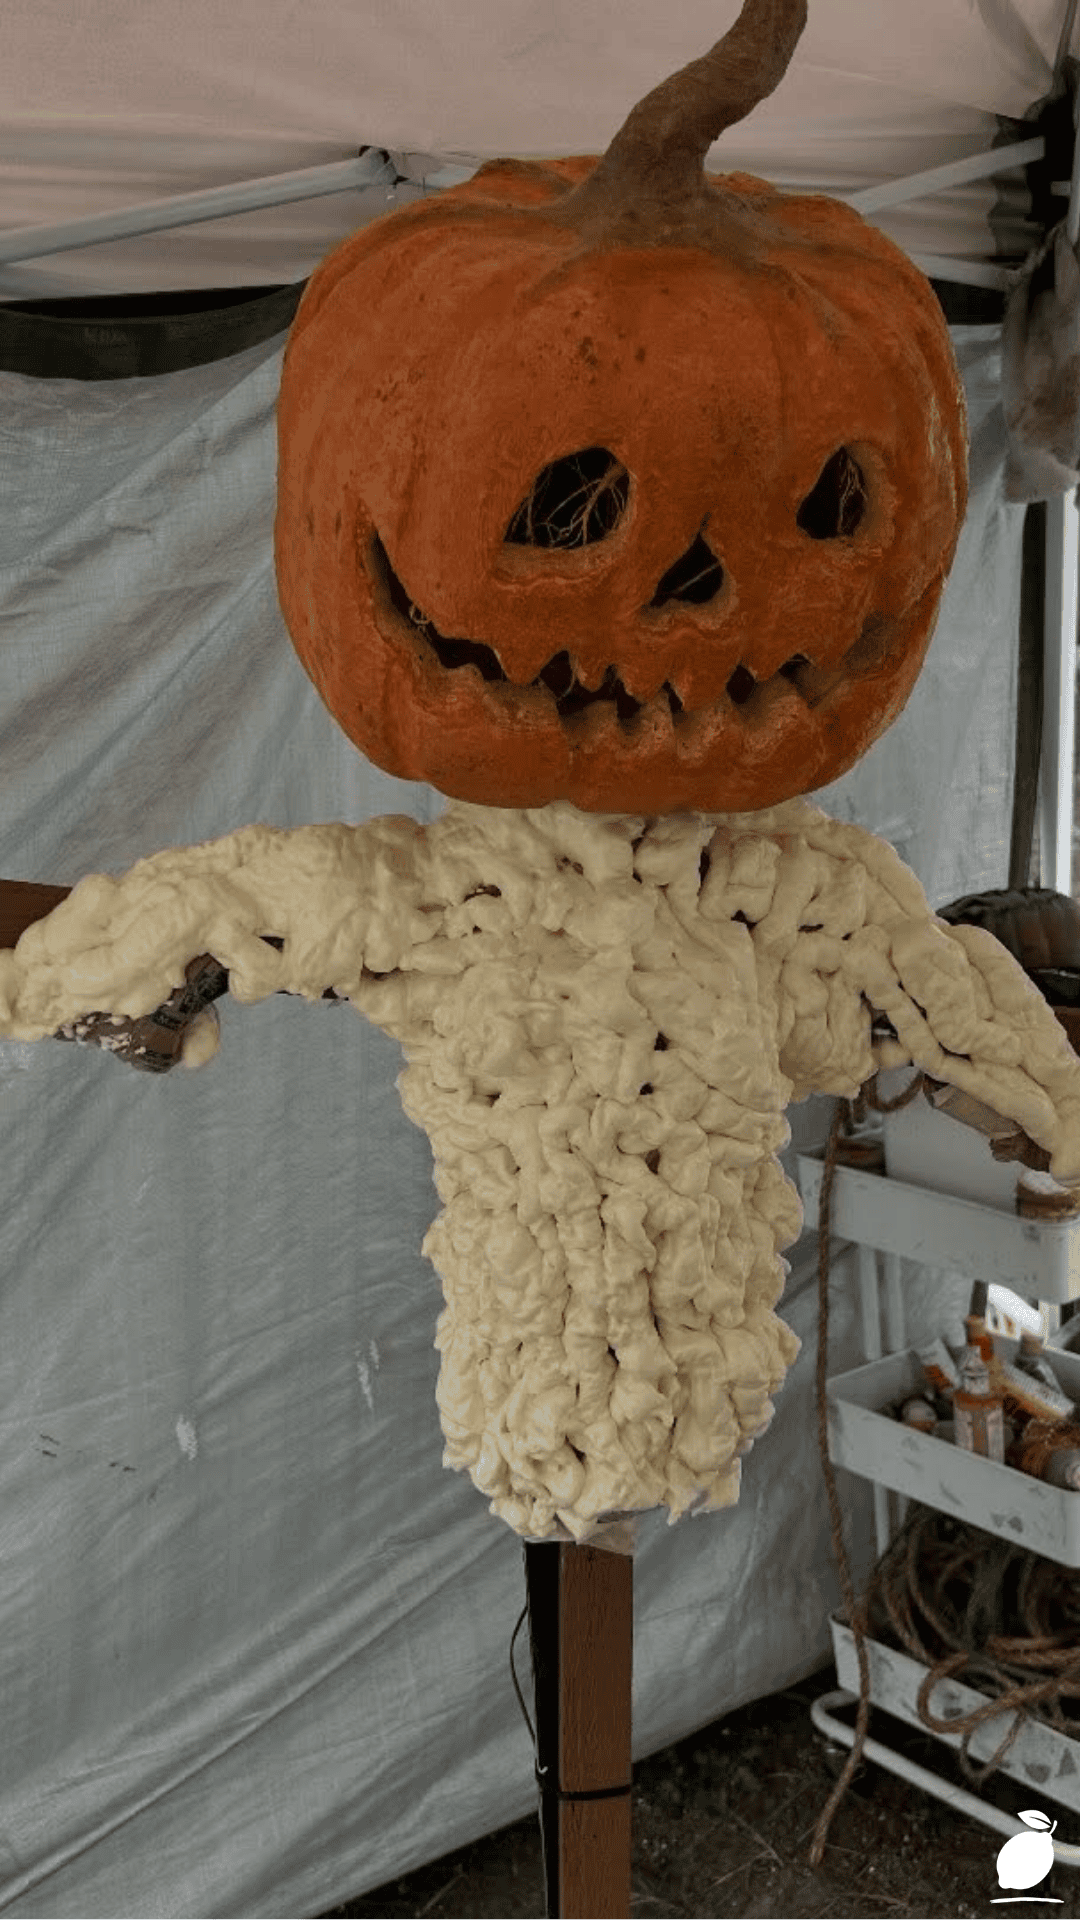
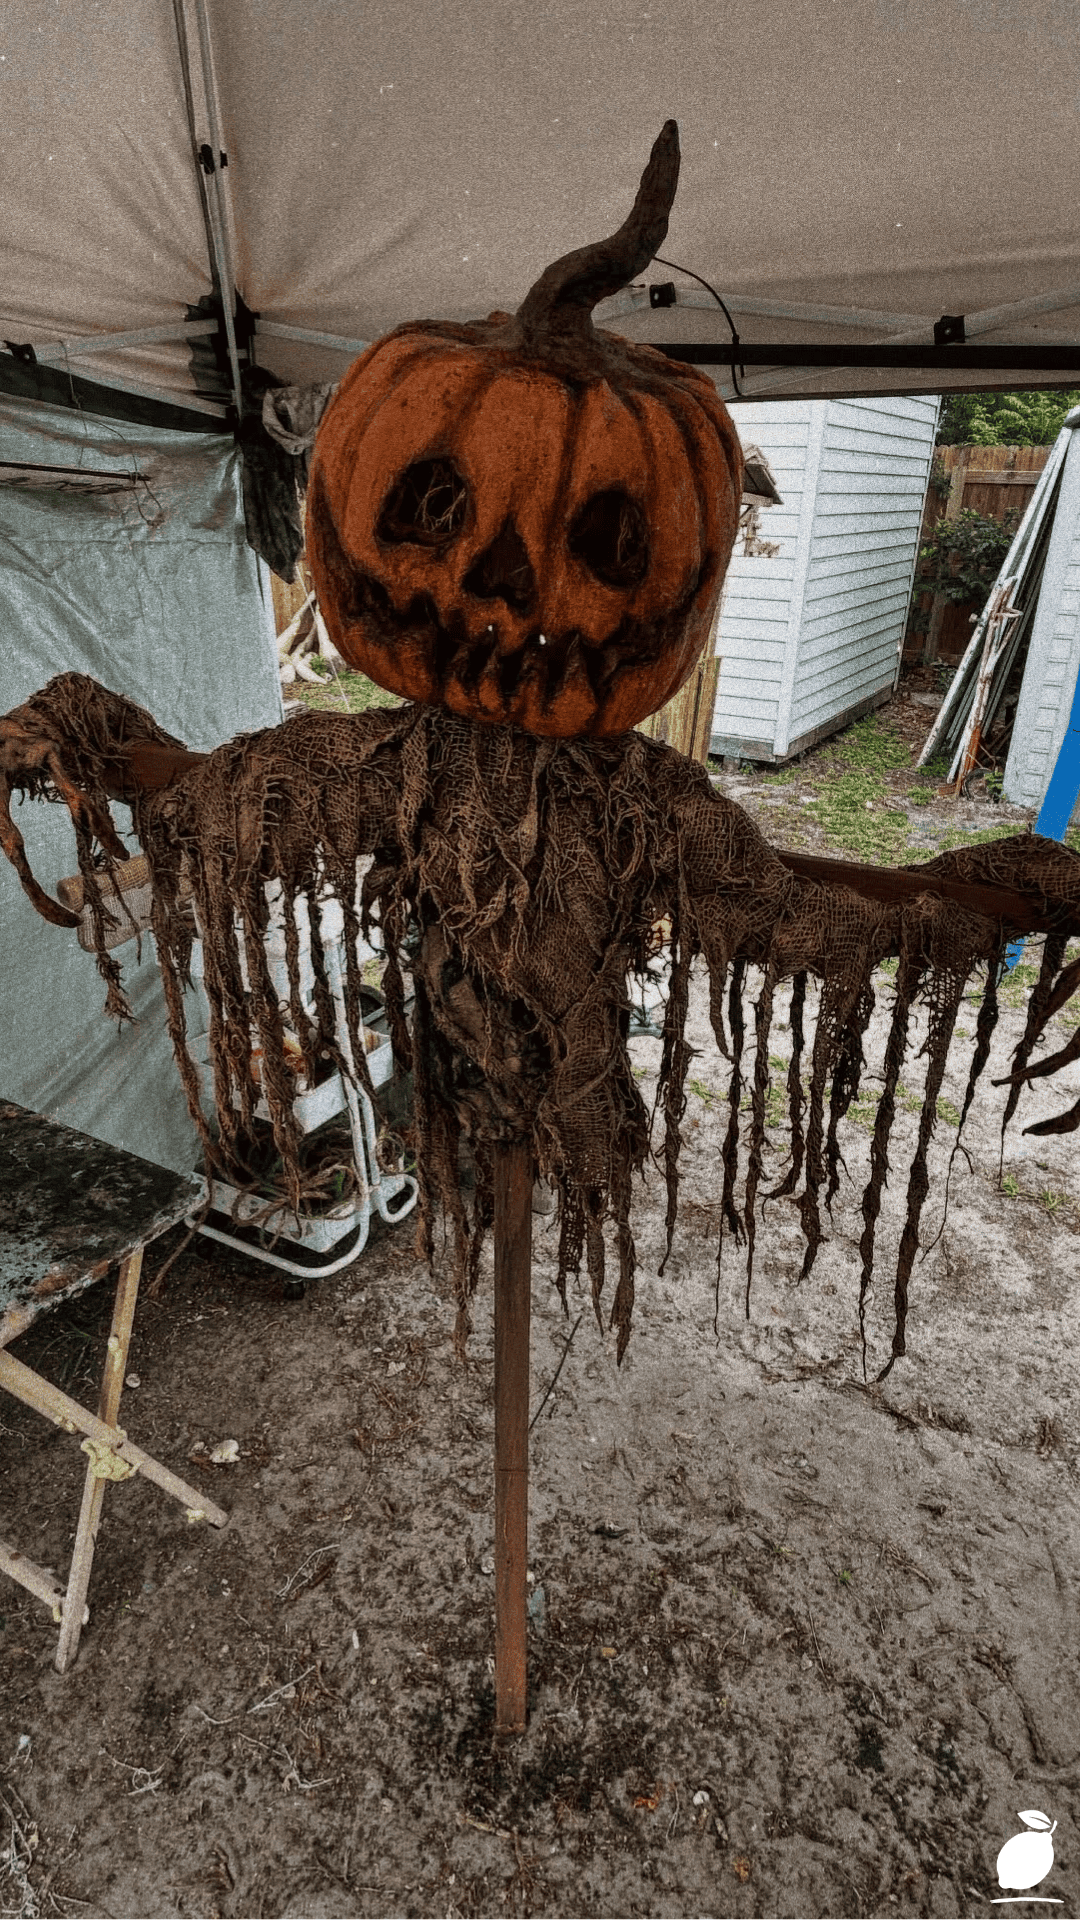
That’s what led me back to the oldest garden trick in the book: proper DIY scarecrows. I found inspiration in a photo of a scrappy, homemade scarecrow standing under a makeshift canopy, a carved pumpkin head with a curved stem “neck,” tattered cloth draped over dangling arms, propped near a garden shed. It was rustic, a little spooky, and clearly handmade with whatever materials were on hand. That’s exactly the kind of low-cost, high-charm project I wanted to recreate, and here’s exactly how to build your own, from the first stake in the ground to the final weatherproofing touch.
The Scarecrow’s Blueprint
Good scarecrows aren’t complicated to build, but a few extra details make the difference between something that actually deters birds and something that just sits there looking silly after week one. Work through these steps for the best results.
Step 1: Gather Your Base Materials
Collect two sturdy wooden stakes or dowels for the frame, old clothing (a shirt, pants, or overalls), stuffing material like straw or dried leaves, and twine or wire for securing everything together. Most of this can come from items already on hand around the house or yard, which is part of what makes this such an affordable weekend project.
Step 2: Build the Cross Frame
Nail or tie one shorter stake horizontally across a taller vertical stake to form a simple cross shape; this becomes the “shoulders and spine” your scarecrow’s clothing will hang from. Make sure the frame is sturdy enough to be pushed firmly into garden soil, since a wobbly base undermines the whole project before it even gets dressed. Most DIY scarecrows fail structurally right here, at the frame stage, rather than later in the build.
Step 3: Dress the Frame
Slide old clothing onto the frame, buttoning or tying it in place so it doesn’t slip during windy days. Stuff sleeves and pant legs loosely with straw or leaves to give the scarecrow a filled-out, lifelike silhouette. Overstuffing can make limbs look stiff and unnatural, so aim for a loose, slightly slouched fill that moves more convincingly in the wind.
Step 4: Create the Head
Use a pumpkin, a stuffed pillowcase, or a foam form as the head, attaching it securely to the top of the vertical stake. A pumpkin head, like the one in the inspiration photo, adds seasonal charm and can be carved with a simple face for extra character. If you’d rather skip carving, a painted pillowcase head works just as well and lasts considerably longer through the season.
Step 5: Add Facial Features and Details
Carve, paint, or attach simple facial features to the head eyes, a nose, a mouth, using materials like buttons, fabric scraps, or paint. Even a minimal, slightly abstract face reads clearly as “scarecrow” from a distance, which is really all that matters for deterring birds. Exaggerated features, like large button eyes or a jagged carved mouth, tend to read more clearly from across a garden bed than subtle, realistic detailing.
Step 6: Attach Tattered or Textured Fabric
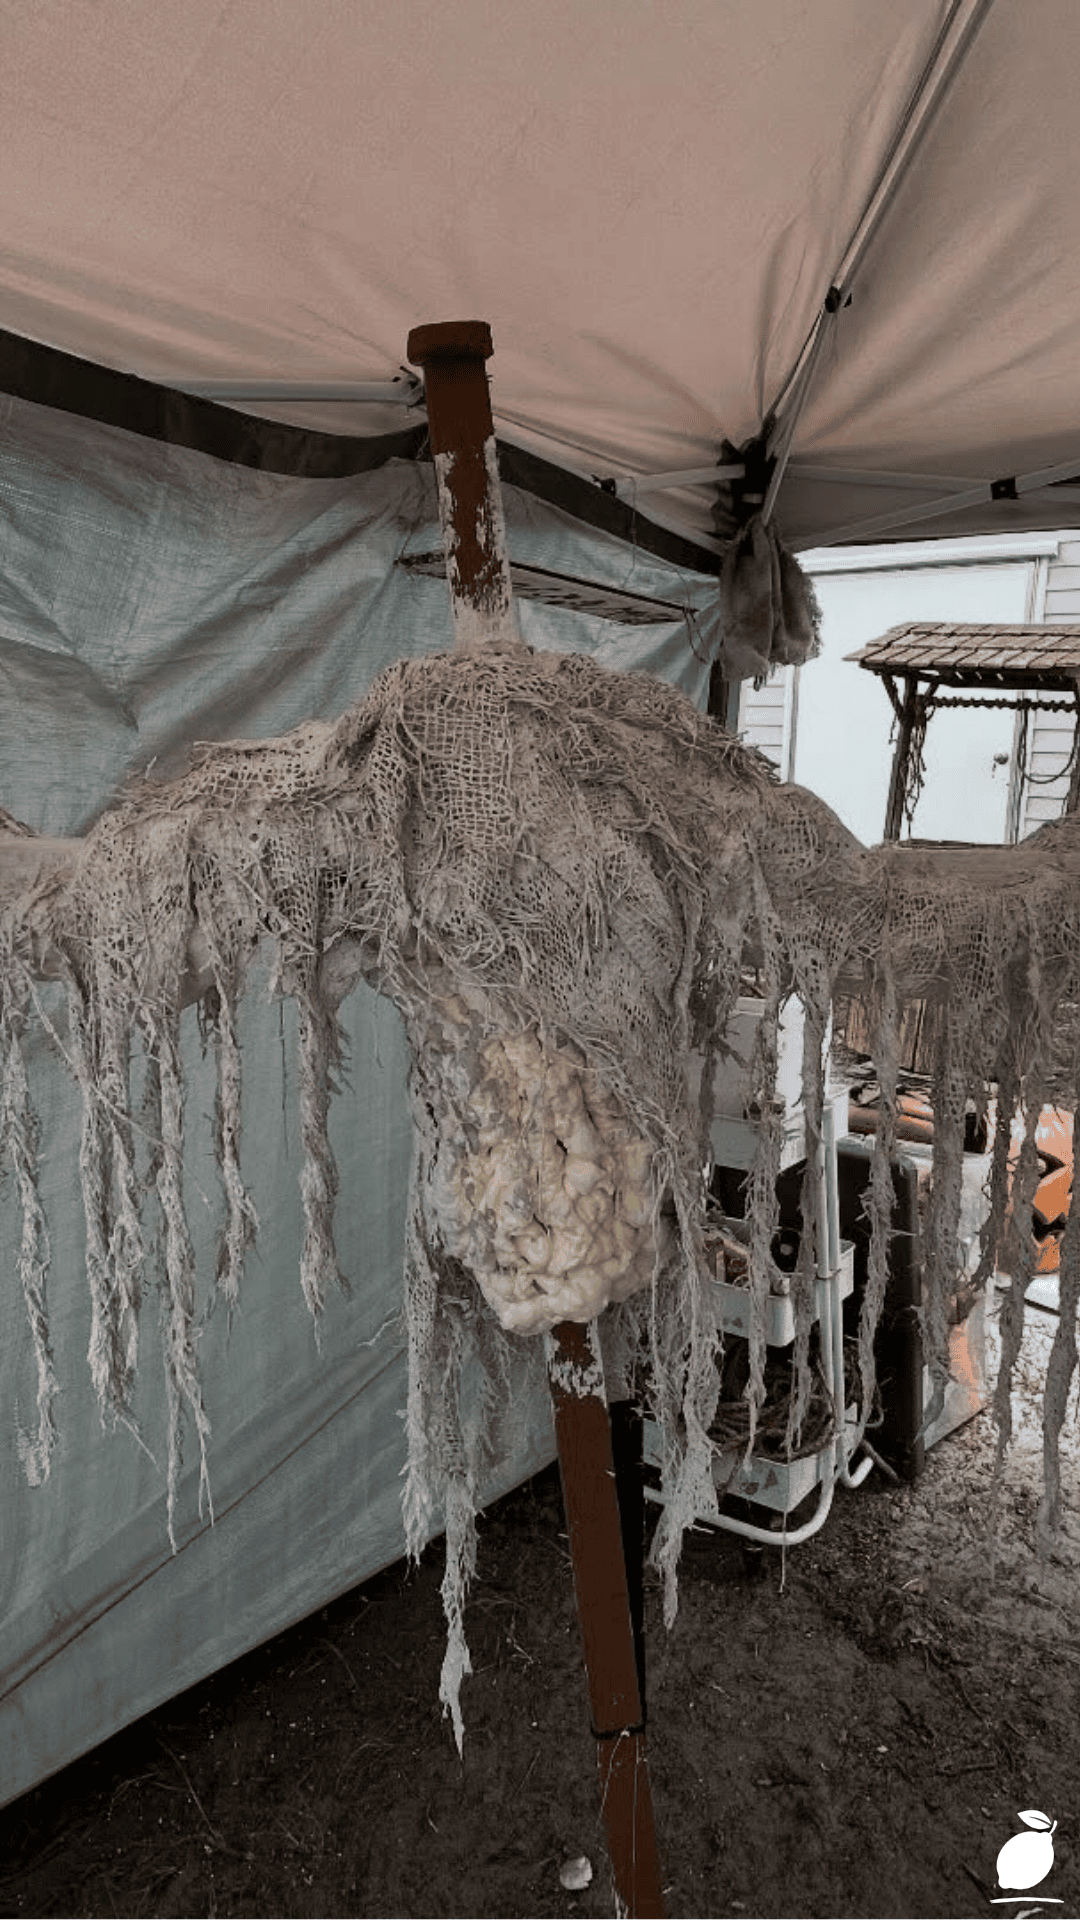
Drape strips of torn fabric, burlap, or an old scarf over the shoulders and arms for movement and texture. Fabric that flutters in the wind adds an extra layer of visual disturbance that helps keep birds on edge, since sudden, unpredictable movement is one of the most effective natural deterrents available.
Step 7: Position the Scarecrow in Your Garden
Push the base stake firmly into the ground in a visible, central location, ideally somewhere with a clear line of sight across the crops you’re trying to protect. Reposition it every week or two, since birds can get used to a stationary figure over time. Consider placing it slightly upwind of your most vulnerable crops so any fluttering fabric moves toward the area you most want to protect.
Step 8: Weatherproof for Longevity
Seal any painted details with a clear outdoor sealant, and choose weather-resistant fabric where possible so your scarecrow holds up through rain and wind rather than falling apart after the first storm. A quick weatherproofing pass at the start of the season saves considerable rebuilding time later on.
Step 9: Refresh and Reinforce Throughout the Season
Check on your scarecrow every few weeks, tightening loose joints, restuffing sagging limbs, and touching up any faded paint. A little seasonal maintenance keeps handmade scarecrows looking convincing and structurally sound through wind, rain, and the occasional curious raccoon.
Expert Secrets for Success
Pro-Tips for Better Results
- Move your scarecrow’s position every one to two weeks; birds quickly learn to ignore a stationary figure, but a slightly relocated one keeps them cautious.
- Add reflective elements, like small strips of foil or an old CD, alongside your scarecrow for an extra layer of visual deterrent.
- Choose bright or high-contrast clothing for better visibility from a distance, which makes the scarecrow more effective as a deterrent across a larger garden area.
- Replace a real pumpkin head partway through the season if it begins to soften or rot, or opt for a faux pumpkin for a longer-lasting build.
- Pair your scarecrow with a second, smaller figure elsewhere in the garden; multiple scarecrows placed around a large garden are often more effective than one isolated figure.
- Add a bell or wind chime to the frame for a subtle auditory deterrent that works alongside the visual effect, especially on breezy days.
Common Mistakes to Avoid
- Don’t use flimsy stakes that can’t withstand wind; a scarecrow that tips over regularly stops being intimidating and starts being a maintenance chore.
- Avoid leaving the scarecrow in the same spot and pose for the entire season; birds adapt quickly to unchanging “threats.”
- Don’t skip securing clothing tightly to the frame; loose fabric can blow away in storms, leaving an oddly bare frame that no longer reads as a figure.
- Resist using a real pumpkin head without considering how quickly it may soften or attract pests of its own, especially in humid climates.
- Don’t place the scarecrow too far from the crops you’re actually trying to protect; its effectiveness drops significantly with distance.
- Avoid neglecting seasonal upkeep; slumped, faded, or partially collapsed scarecrows lose their deterrent power far faster than well-maintained ones.
Why scarecrows Matters
There’s something quietly satisfying about solving a garden problem with a handmade, slightly whimsical solution instead of another plastic gadget. DIY scarecrows protect the vegetables and flowers you’ve spent a whole season nurturing, but they also add personality and charm to the garden itself a small, seasonal project that makes the whole space feel more like yours.
For families, building scarecrows together can become its own small tradition, especially heading into fall. It’s a simple, low-stakes project that gets everyone outside, using their hands, and adding something a little playful to the yard. That combination of usefulness and creativity is exactly the kind of small win that makes a garden feel less like a chore and more like a source of genuine enjoyment.
There’s also a certain calm that comes from finally solving a problem that’s been quietly frustrating you all season. Watching birds leave a protected garden alone, after weeks of losing tomatoes and stripped sunflowers, brings a real sense of relief. It’s a small project, but it closes an open loop that’s been nagging at you every time you walked outside, and that kind of resolution is worth more than the modest cost of materials.
FAQ
Do scarecrows actually work to keep birds away?
Scarecrows can be effective, especially when combined with movement, reflective elements, and periodic repositioning, since birds are naturally wary of unfamiliar or unpredictable shapes in their environment.
How often should I move my scarecrow to keep it effective?
Repositioning a scarecrow every one to two weeks helps prevent birds from becoming accustomed to it, keeping the deterrent effect stronger for a longer period.
What materials work best for a long-lasting DIY scarecrow?
Weather-resistant fabric, a faux pumpkin or sealed wooden head, and sturdy wooden stakes tend to hold up best through an entire fall season of wind and rain.
Can I use a real pumpkin for my scarecrow’s head?
Yes, though real pumpkins will eventually soften or decay, especially in humid or rainy conditions, so many gardeners replace them partway through the season or opt for a faux pumpkin for durability.
Is building a DIY scarecrow a good family project?
Absolutely, gathering materials, assembling the frame, and decorating the face and clothing are all simple, hands-on tasks that work well for gardeners and kids of nearly any skill level.
How much does it typically cost to build a DIY scarecrow?
Most DIY scarecrows can be built for very little, often under $20, since many of the core materials old clothing, stakes, and stuffing are things most households already have on hand.