
By the time October rolled around, our garage always looked like a graveyard of half-used craft supplies, leftover paint, a drawer of mismatched ribbon, and inevitably, a couple of stray pool noodles left over from summer that nobody quite knew what to do with. Every year I’d consider buying real Halloween decorations, then balk at the price for something that would sit in a bin for eleven months. I wanted something festive, something handmade, without spending a fortune or adding more clutter to a garage that already had enough of it.
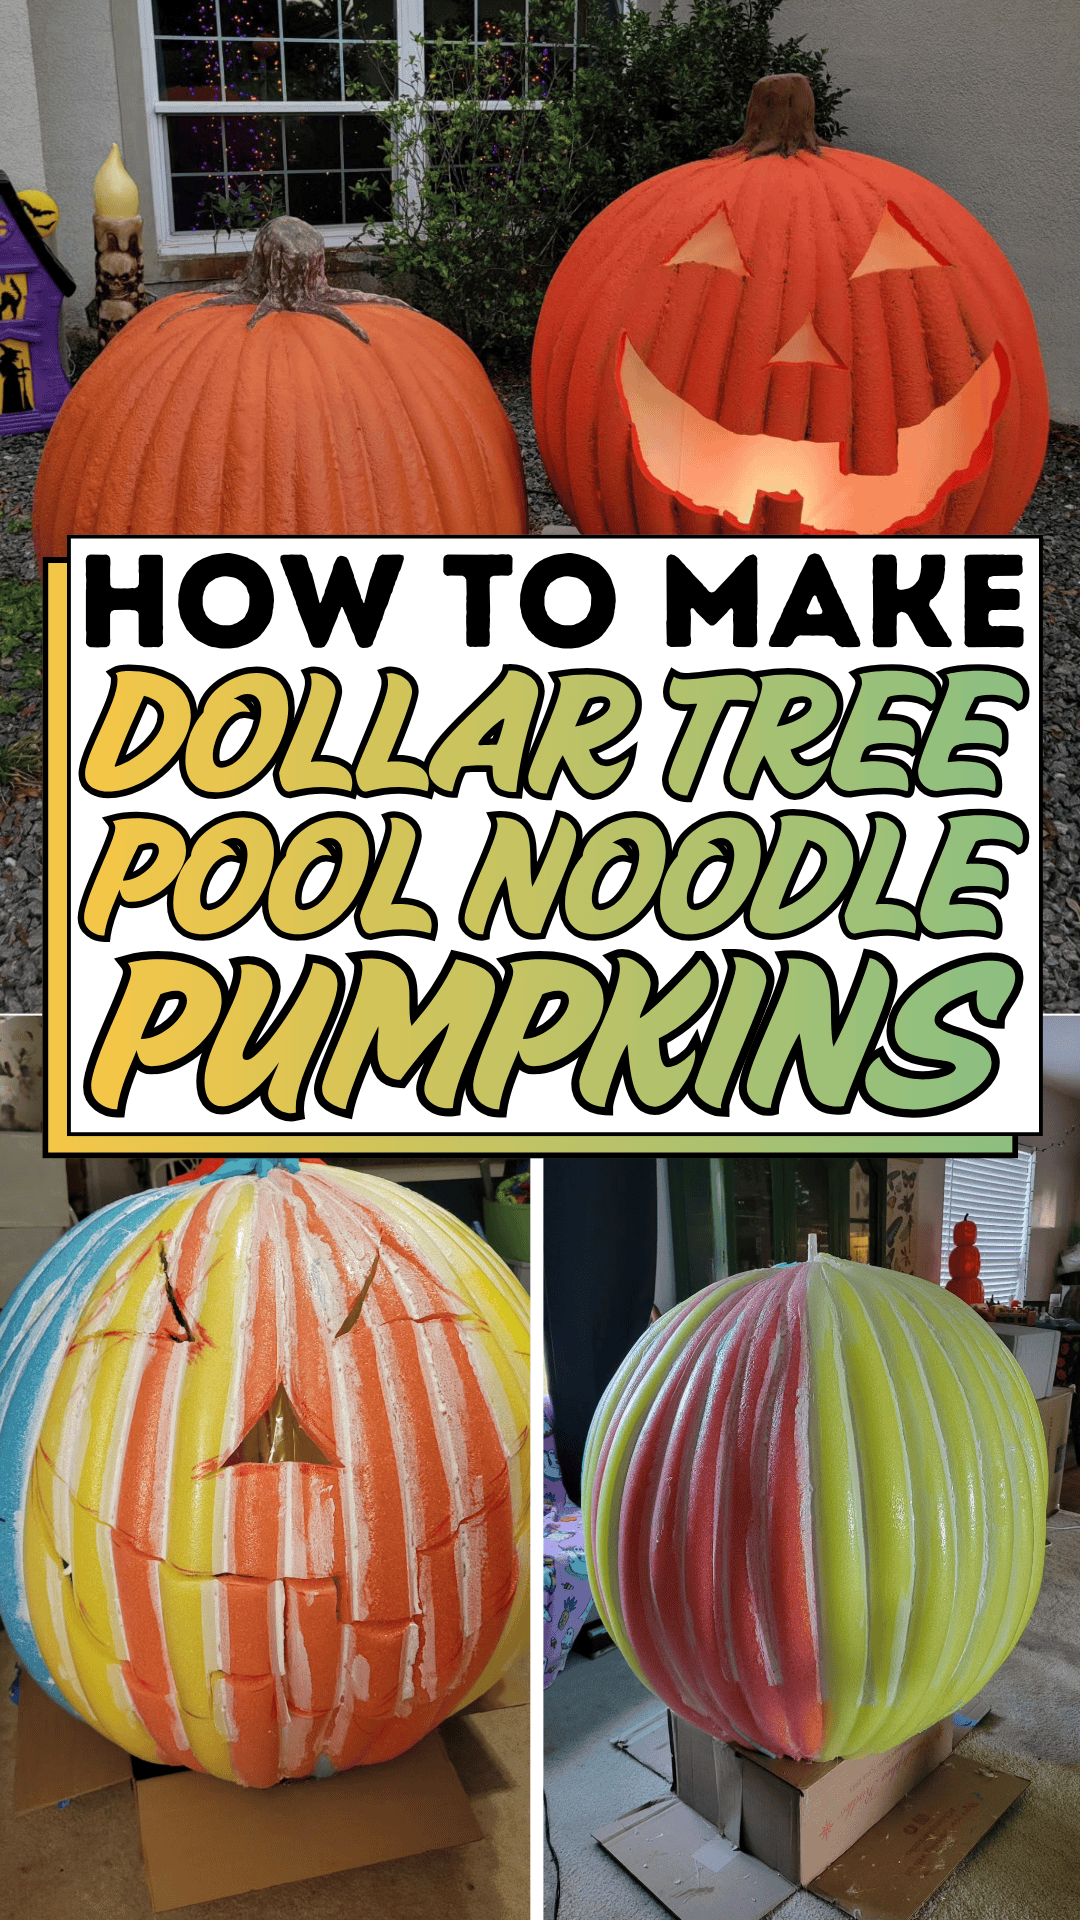
If you’ve ever stared at a pile of random leftover supplies wondering if there’s actually a use for them, or found yourself reluctant to spend real money on decorations you’ll only display for a few weeks, you’re definitely not the only one. Dollar store crafting has become such a popular category for exactly this reason: it lets you build something genuinely charming and seasonal without a big investment, using materials that are cheap, widely available, and surprisingly versatile. Pool noodles, it turns out, are one of the best-kept secrets in that category.
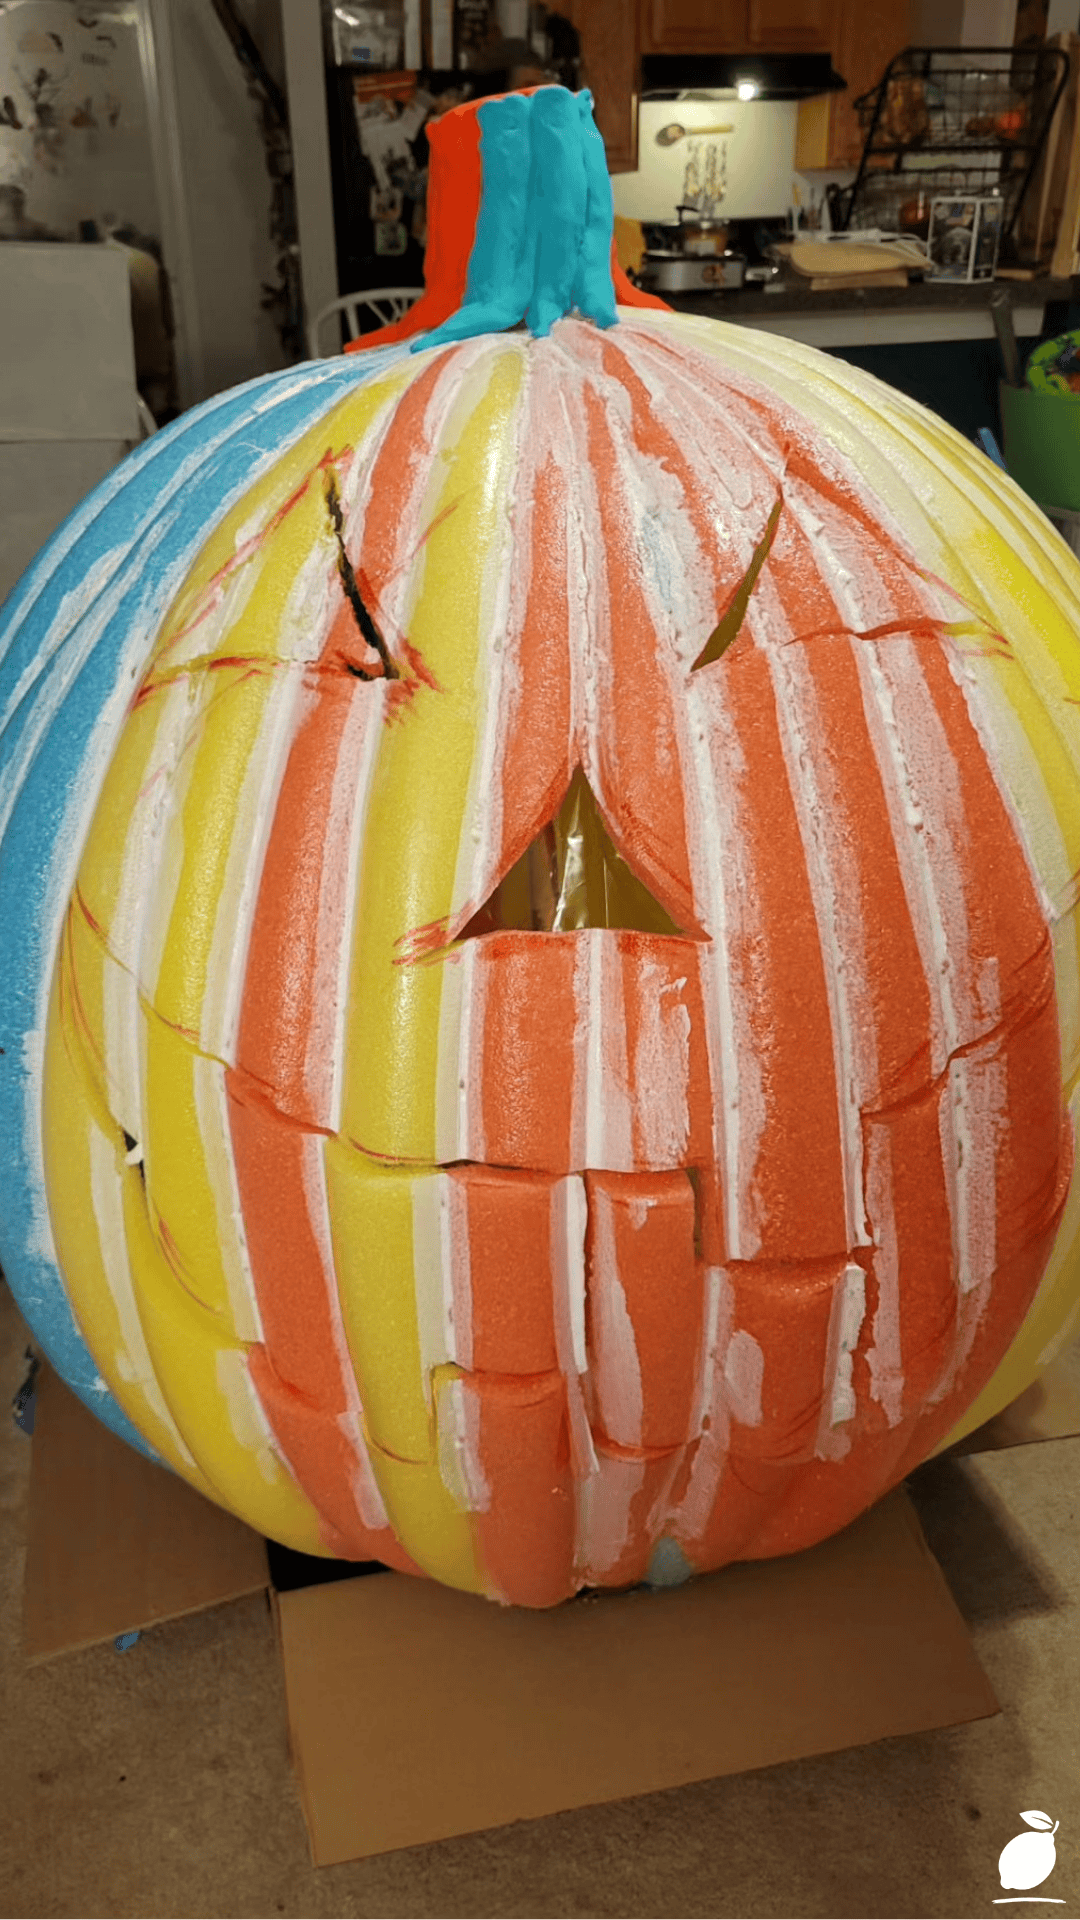
That’s exactly what led me to the noodle pumpkin trend in the first place. I found real inspiration in a photo of a decorative foam pumpkin hand-painted in cheerful vertical stripes of light blue, yellow, and orange, with a classic carved jack-o’-lantern face and visible, slightly imperfect brush strokes that gave it real handmade charm. It reminded me exactly of the layered, ringed look a pool noodle naturally creates once it’s sliced and reassembled. That single image became my blueprint for a full afternoon of Dollar Tree pool noodle pumpkin crafting, and here’s exactly how to make your own noodle pumpkin from start to finish.
The Noodle Pumpkin Blueprint
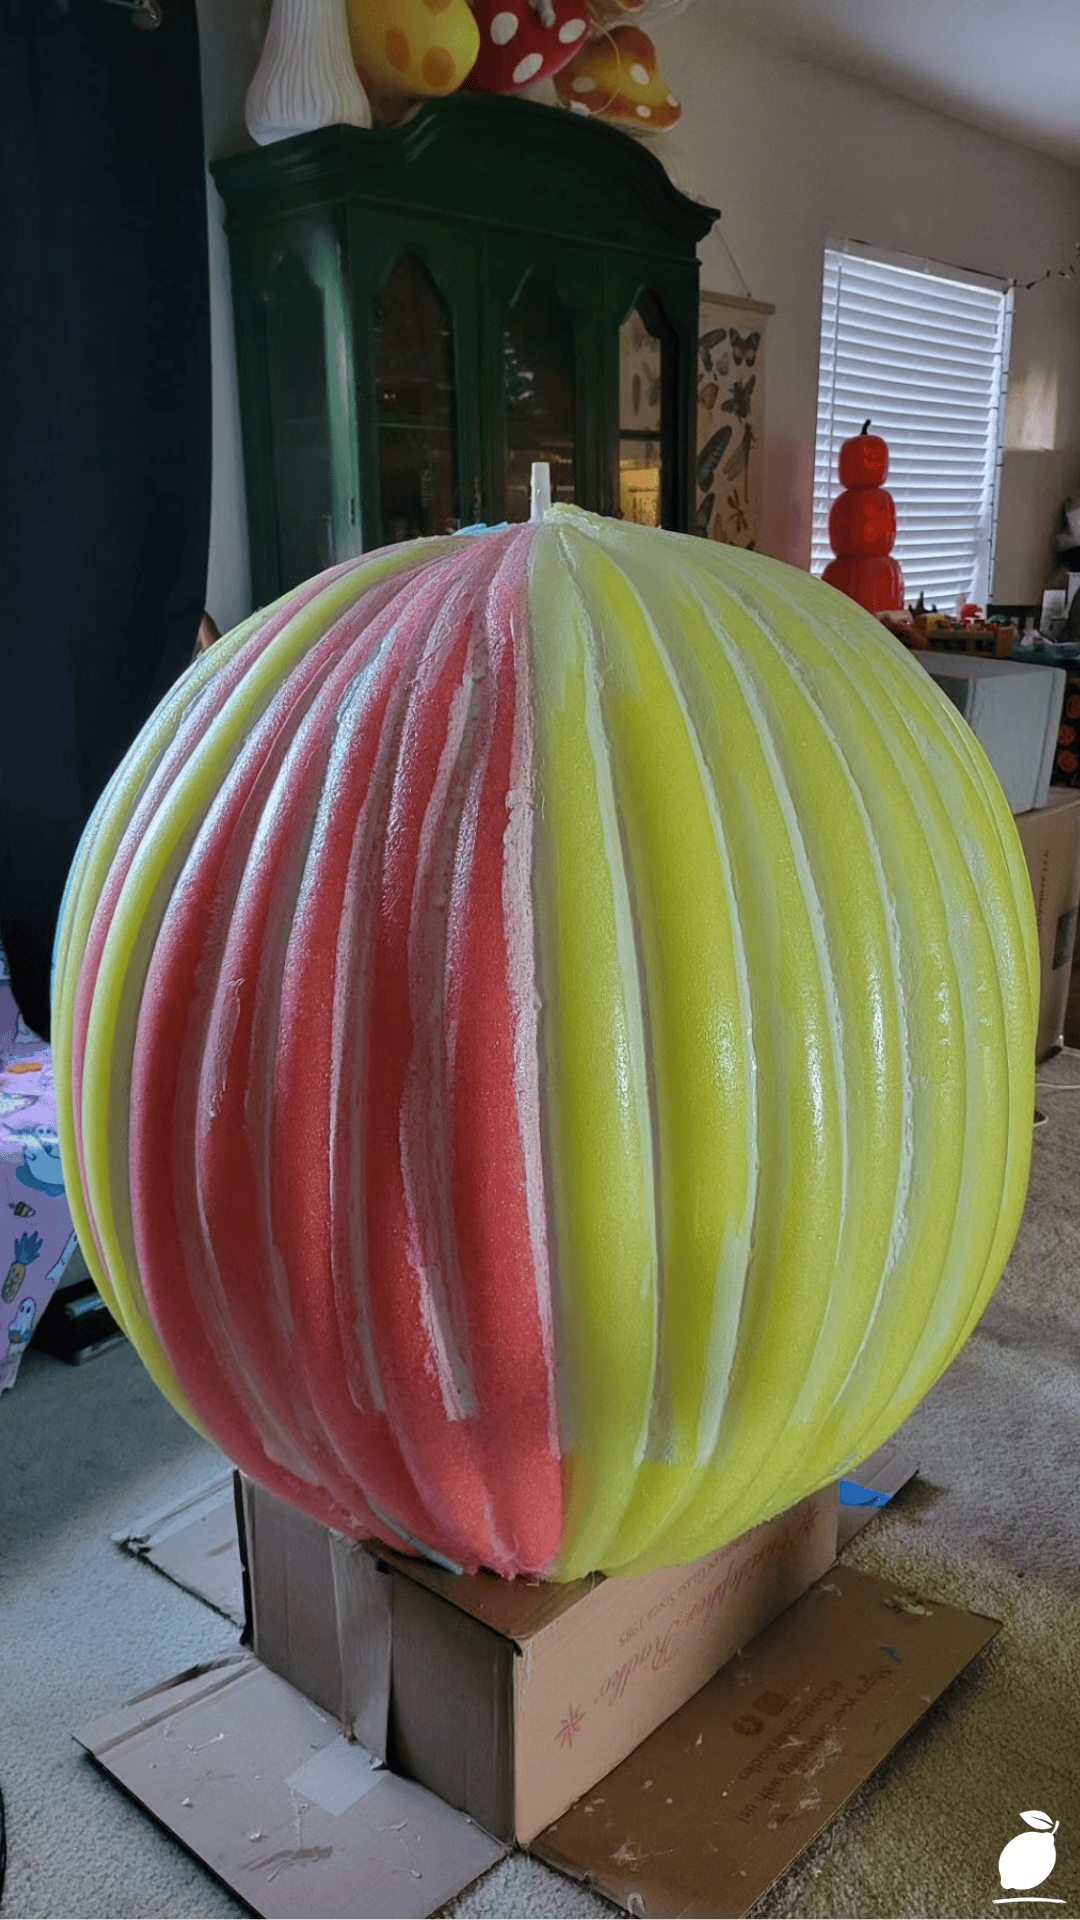
Making a noodle pumpkin is a beginner-friendly project that comes together in a handful of clear stages: cutting, threading, shaping, and painting. Work through the following steps for the cleanest, most professional-looking result, and don’t be afraid to make a couple of test pumpkins before committing to your final color scheme.
Step 1: Gather Your Materials
You’ll need one or two Dollar Tree pool noodles (depending on your desired pumpkin size), a length of sturdy string, twine, or a wooden dowel to thread the pieces onto, scissors or a sharp craft knife, acrylic paint in your chosen colors, paintbrushes, and a small stick or twig for the stem. Nearly every material for this noodle pumpkin project can be sourced from a single dollar store trip, which is part of what makes this such an accessible weekend craft.
Step 2: Cut the Pool Noodle Into Rings
Using a sharp craft knife or scissors, slice your pool noodle into rings roughly half an inch to one inch thick, working slowly to keep each cut as even as possible. The number of rings you’ll need depends on your noodle’s diameter and how full you want the final noodle pumpkin to look, but most projects use 8 to 12 rings. Laying the noodle flat on a cutting board and using a sawing motion rather than a single hard push tends to produce cleaner, more consistent slices.
Step 3: Thread the Rings Onto Your Center Support
Thread your cut rings onto a length of sturdy string, twine, or a wooden dowel, pushing them together snugly so there are no visible gaps between rings. This central support becomes the internal structure that holds your noodle pumpkin’s shape once assembled, so choose a support material sturdy enough to handle the compression of the foam without bending or breaking.
Step 4: Shape Into a Pumpkin Silhouette
Gently bow or bend the threaded rings outward at the center and inward at the top and bottom, mimicking the classic rounded, slightly flattened silhouette of a real pumpkin. Tie off the string or secure the dowel ends once you’re happy with the shape, cinching tightly enough to hold the curve in place.
Step 5: Secure the Final Shape
Add a dab of hot glue between a few of the rings at key contact points to lock the pumpkin’s shape permanently, preventing the rings from sliding or losing their curve over time with regular handling.
Step 6: Prime the Surface (Optional but Recommended)
Apply a thin coat of white or light-colored primer over the foam rings if you’re using darker paint colors afterward, since raw pool noodle foam can sometimes affect how vividly certain paint colors show up. This step is optional for lighter paint palettes but recommended for the truest color results.
Step 7: Paint Your Noodle Pumpkin
Apply acrylic paint in your chosen colors, using either a solid coat for a classic pumpkin look or vertical stripes for a more playful, decorative style similar to the inspiration photo. Allow each coat to dry fully before adding additional colors or layers, and use painter’s tape to mask off clean stripe lines if you want a crisp, professional-looking striped design.
Step 8: Add Face Details or Patterns
Once your base coat is dry, add a painted jack-o’-lantern face, simple polka dots, or another decorative pattern using a fine-tipped brush. Keep designs simple for the cleanest look, since intricate detailing can be tricky on a curved foam surface, and sketching the design lightly in pencil first can help you commit to the placement before adding permanent paint.
Step 9: Attach the Stem
Insert a small wooden stick or twig into the top center of the assembled noodle pumpkin, securing it with hot glue. A slightly curved or irregular stem adds the most natural, charming finishing touch.
Step 10: Seal and Display
Apply a light coat of clear sealant spray if you want extra durability and a subtle sheen, then let your finished noodle pumpkin cure fully before placing it in your Halloween or fall display, whether on a porch, mantel, or entry table.
Expert Secrets for Success
Pro-Tips for a Better Result
- Use a serrated knife rather than plain scissors for the cleanest, most even cuts through thicker pool noodle foam.
- Choose Dollar Tree pool noodles specifically for their consistent diameter and low cost, making it easy and affordable to build multiple noodle pumpkins for a full seasonal collection.
- Paint your rings before final assembly if you want more precise color control, especially for striped or multi-colored designs that are easier to apply on a flat ring than a fully assembled curved shape.
- Let each paint layer dry completely before handling; rushing this step is one of the most common reasons finished noodle pumpkins end up with smudged or uneven color.
- Keep a damp paper towel nearby while painting to quickly clean up small mistakes before the acrylic paint fully sets.
- Practice your desired stripe or pattern on a spare scrap of pool noodle before committing to the final piece, especially if you’re new to painting on curved foam.
Common Mistakes to Avoid
- Don’t skip priming if you’re using dark or saturated paint colors over light-colored foam; skipping this step can result in patchy, uneven coverage that requires extra coats to fix.
- Avoid cutting rings that are too thin; overly thin rings are harder to shape and hold their curve less effectively than slightly thicker ones.
- Don’t overtighten the center string or dowel before you’re happy with the pumpkin’s shape; you’ll want some flexibility to adjust the curve before locking everything in place with glue.
- Resist adding too many painted details at once; overly busy designs can look cluttered on a small, curved surface, while simpler patterns tend to read more clearly from a distance.
- Don’t forget to account for drying time in your overall project schedule; rushing a still-wet noodle pumpkin into a display or storage bin can smudge the paint or flatten fine details.
Why Noodle Pumpkin Matters
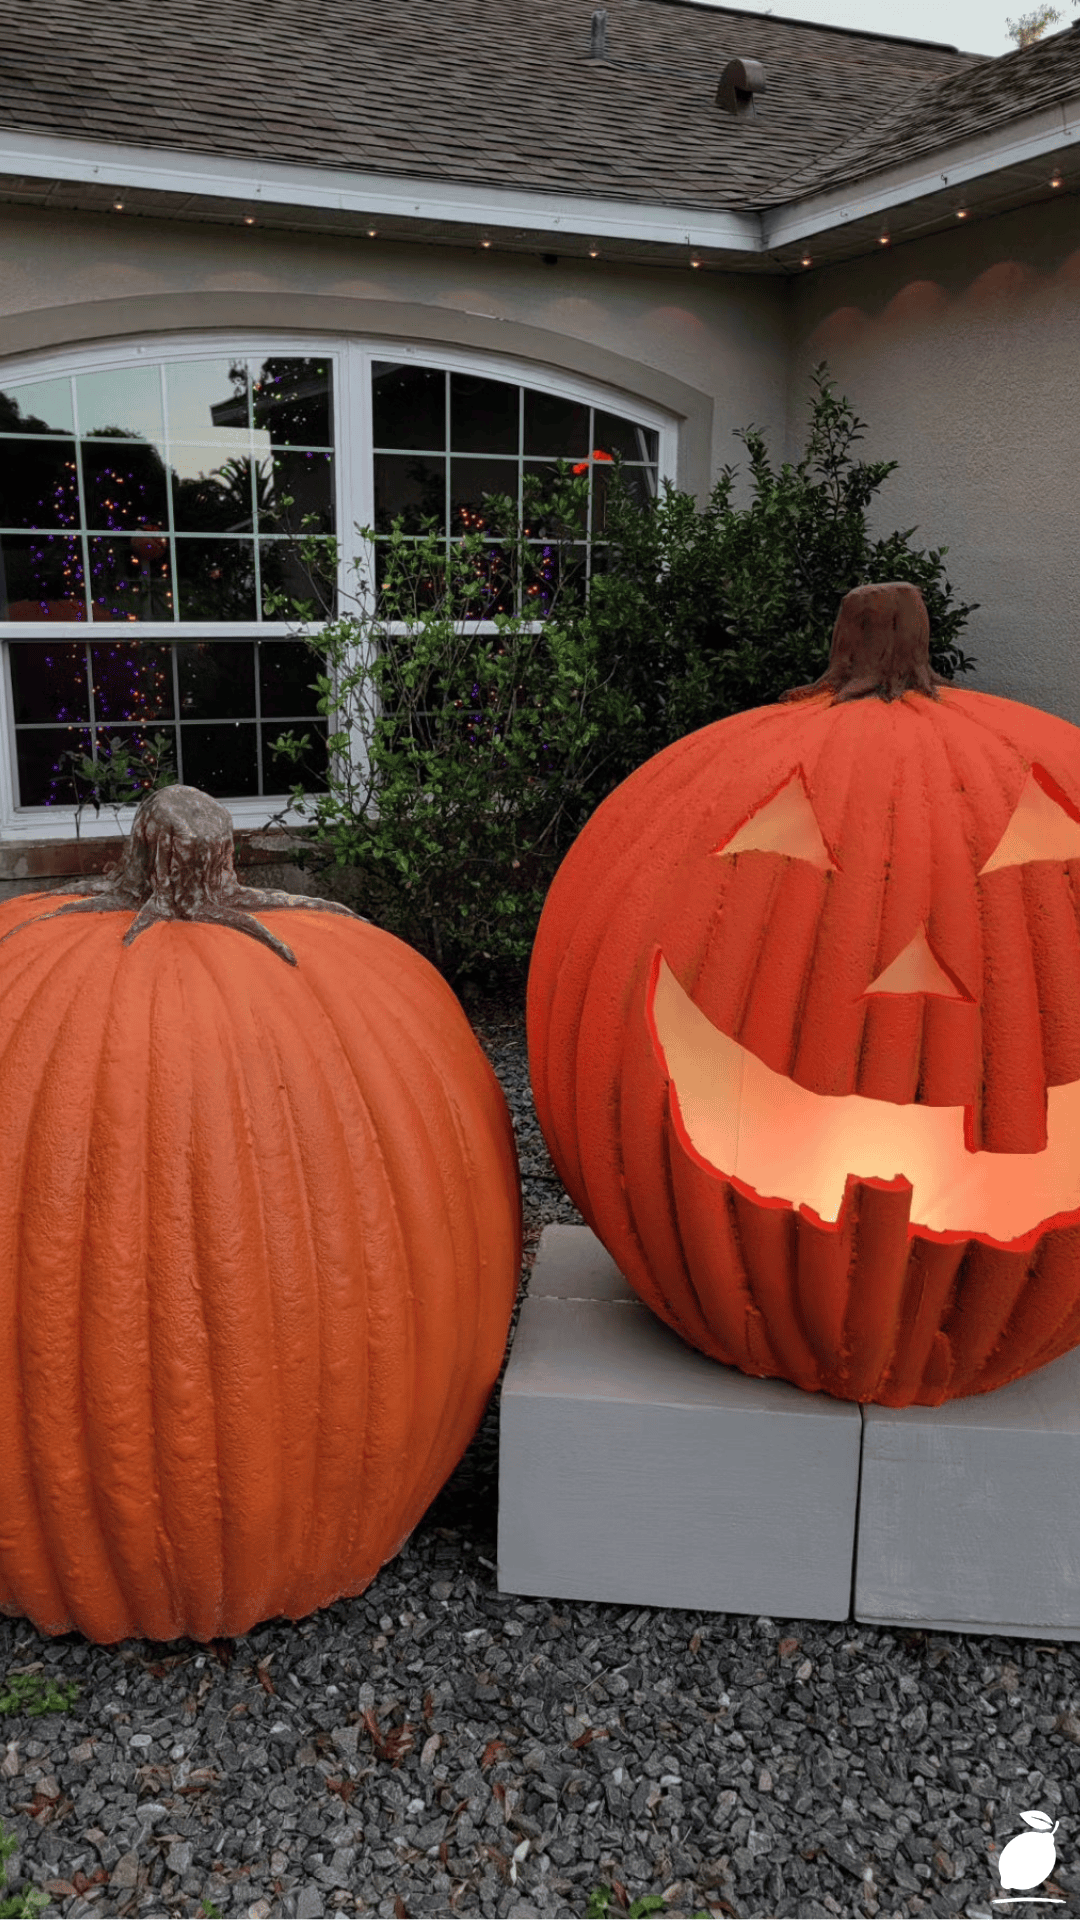
There’s something genuinely satisfying about transforming a leftover summer pool noodle an item most people forget about the second swim season ends into a cheerful, handmade fall decoration. A noodle pumpkin isn’t just a clever craft hack; it’s proof that creativity and a little patience can turn nearly anything into something worth displaying, without needing to spend much money or buy anything new at all.
For families, this kind of project offers a low-pressure, genuinely fun way to spend an afternoon together heading into the Halloween season. Kids especially enjoy the painting stage, and there’s a real sense of pride in displaying decorations you made together rather than something pulled straight off a store shelf. That small, shared creative win adds a layer of warmth and connection to the season that store-bought decor simply can’t replicate.
Beyond the fun of the project itself, there’s also a quiet satisfaction in practical, budget-conscious resourcefulness. Building an entire seasonal display from a handful of dollar store materials proves that meaningful, festive decorating doesn’t require a big budget — just a little imagination and the willingness to see potential in materials most people would overlook entirely. That mindset, once it clicks, tends to carry over into other areas of home decorating and DIY projects well beyond just Halloween.
There’s also something to be said for the sheer novelty of the transformation. Watching a plain foam pool noodle, something so closely associated with summer swim days, turn into a cheerful autumn decoration is genuinely fun in a way that’s easy to underestimate until you’ve actually done it yourself. That element of surprise tends to make a noodle pumpkin project feel more like play than work, which is exactly the kind of low-stakes creativity most busy households could use more of.
FAQ
What materials do I need to make a Dollar Tree pool noodle pumpkin?
You’ll need a pool noodle, string or a dowel for threading, scissors or a craft knife, acrylic paint, paintbrushes, and a small stick or twig for the stem, nearly all of which can be found at a dollar store for just a few dollars total.
How many pool noodles do I need for one noodle pumpkin?
Most standard-sized noodle pumpkins require just one pool noodle, though larger pumpkins may need a second noodle for extra rings or a fuller, rounder shape.
Can I make a noodle pumpkin without painting it?
Yes, though painting adds significant visual interest and allows for personalization; some crafters prefer to leave a natural foam texture or wrap the rings in fabric or yarn instead of paint for a different aesthetic.
How long does it take to make a pool noodle pumpkin?
Most noodle pumpkins take 30 to 45 minutes to assemble, with additional drying time needed between paint coats, so plan for a couple of hours total if you’re painting a detailed design.
Are pool noodle pumpkins durable enough to reuse next year?
Yes, with a coat of sealant and careful storage in a cool, dry place, most noodle pumpkins hold up well for multiple Halloween seasons without needing significant repairs.
Can I make noodle pumpkins in different sizes?
Yes, using a shorter section of pool noodle or fewer rings creates a smaller pumpkin, while a full noodle or two combined noodles produces a larger, more dramatic statement piece for a bigger display.
What’s the best way to display a finished noodle pumpkin?
Grouping several noodle pumpkins of varying sizes and colors on a porch step, mantel, or table creates the most visually interesting display, especially when paired with other natural fall elements like leaves or gourds.
Can I make noodle pumpkins for other holidays besides Halloween?
Yes, the same basic technique can be adapted for other seasons by simply changing the paint colors and pattern, making pool noodle crafts a flexible, reusable skill for spring, summer, or winter decorating projects as well.







