
Your kitchen table is dusted in fine white powder, there’s a lump of clay hardening in the shape of nothing in particular, and the “quick, fun weekend project” you promised yourself has turned into an hour of frustrated squishing and re-squishing. You wanted something simple: no kiln, no pottery wheel, no special studio membership, just clay, your hands, and maybe your kids joining in for a little quiet creativity. Instead, the clay keeps cracking, sticking to the table, or collapsing the second you try to hollow it out, and you’re starting to wonder if “easy” clay crafts are actually easy for anyone but the person in the tutorial video.
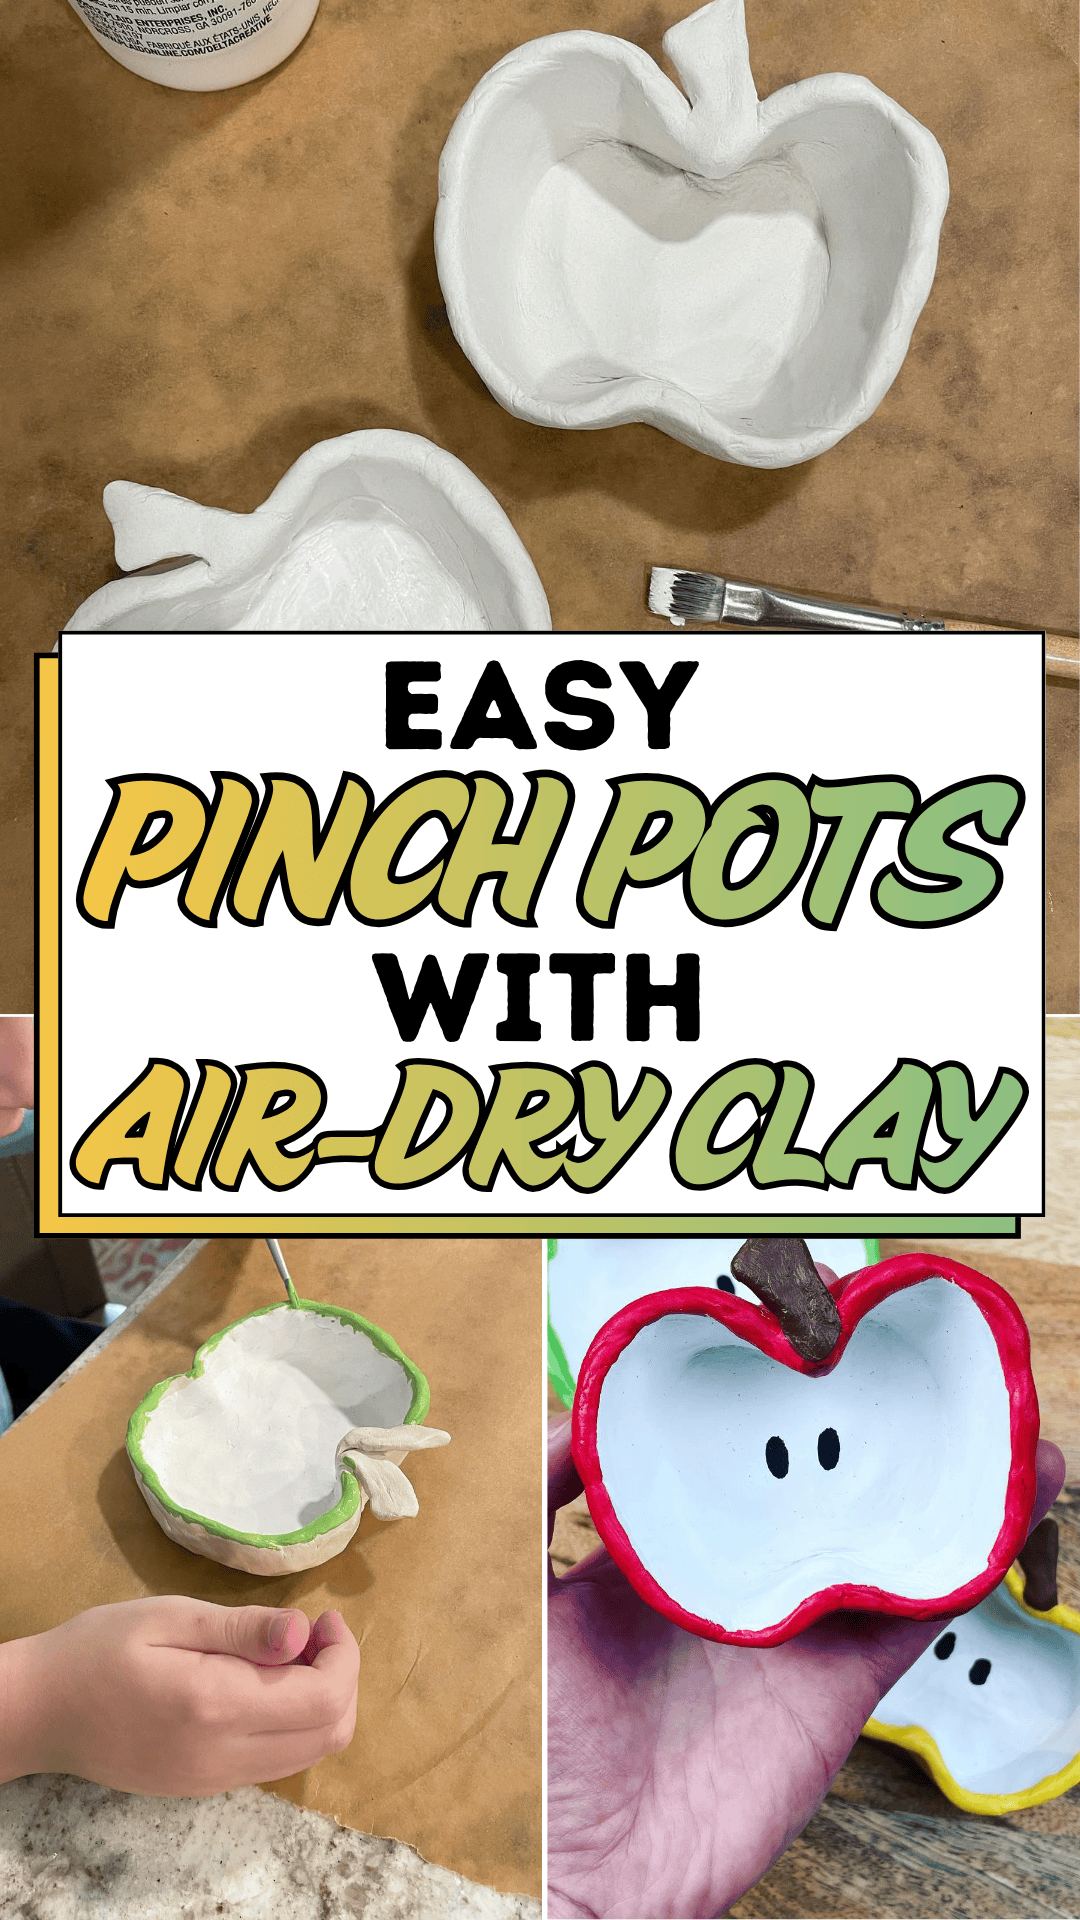
That gap between the promise and the reality is incredibly common, and it usually comes down to one missing piece: nobody explained the actual technique clearly, step by step, before handing you a lump of clay and a vague “just pinch it into a bowl shape.” Air-dry clay is genuinely one of the most forgiving, beginner-friendly materials out there no kiln required, no firing schedule, no specialized equipment but only if you understand the handful of small habits that separate a smooth, sturdy bowl from a cracked, lopsided mess.
Now picture the calm version of this project: two simple, smooth apple-shaped bowls resting on a warm wooden surface, a paintbrush waiting nearby, nothing rushed, nothing chaotic just quiet, steady hands shaping something small and satisfying. That’s exactly what a well-made pinch pot looks like when the process is understood from the start. This guide walks you through t
he full, simple sequence for making your own beautiful pinch pot with air-dry clay, no studio or special tools required.
The Pinch Pot Blueprint
Making a pinch pot with air-dry clay is one of the most accessible hand-building techniques out there, and the entire process can be done at your kitchen table in a single sitting.
Step 1: Gather Your Materials
You’ll need a block of air-dry clay, a bowl of water for smoothing, a soft cloth or sponge, and a clean, non-porous work surface. Having everything within reach before you start keeps your pinch pot project moving smoothly from one step to the next.
Step 2: Condition the Clay
Knead your clay gently for a minute or two to warm it up and remove any air pockets before shaping. This small prep step matters more than it seems, since trapped air is one of the leading causes of cracks in a finished pinch pot.
Step 3: Roll a Smooth Ball
Roll the clay between your palms until you have a smooth, crack-free sphere, roughly the size of a small orange for a standard-sized pinch pot, or smaller if you’re aiming for something petite and delicate.
Step 4: Press In the Opening
Push your thumb slowly into the center of the ball, stopping about half an inch from the bottom. This forms the hollow interior of your pinch pot, and keeping that base thickness even helps prevent cracking as the clay dries.
Step 5: Pinch and Rotate
Using your thumb inside and fingers outside, gently pinch the clay while slowly rotating the piece in your palm. Work your way around evenly rather than focusing on one section at a time; even, patient pinching is what gives a pinch pot its smooth, balanced shape.
Step 6: Smooth the Surface
Once your walls reach an even thickness, dip your fingers lightly in water and smooth both the interior and exterior surfaces, softening any fingerprints or ridges left from shaping.
Step 7: Shape Any Final Details
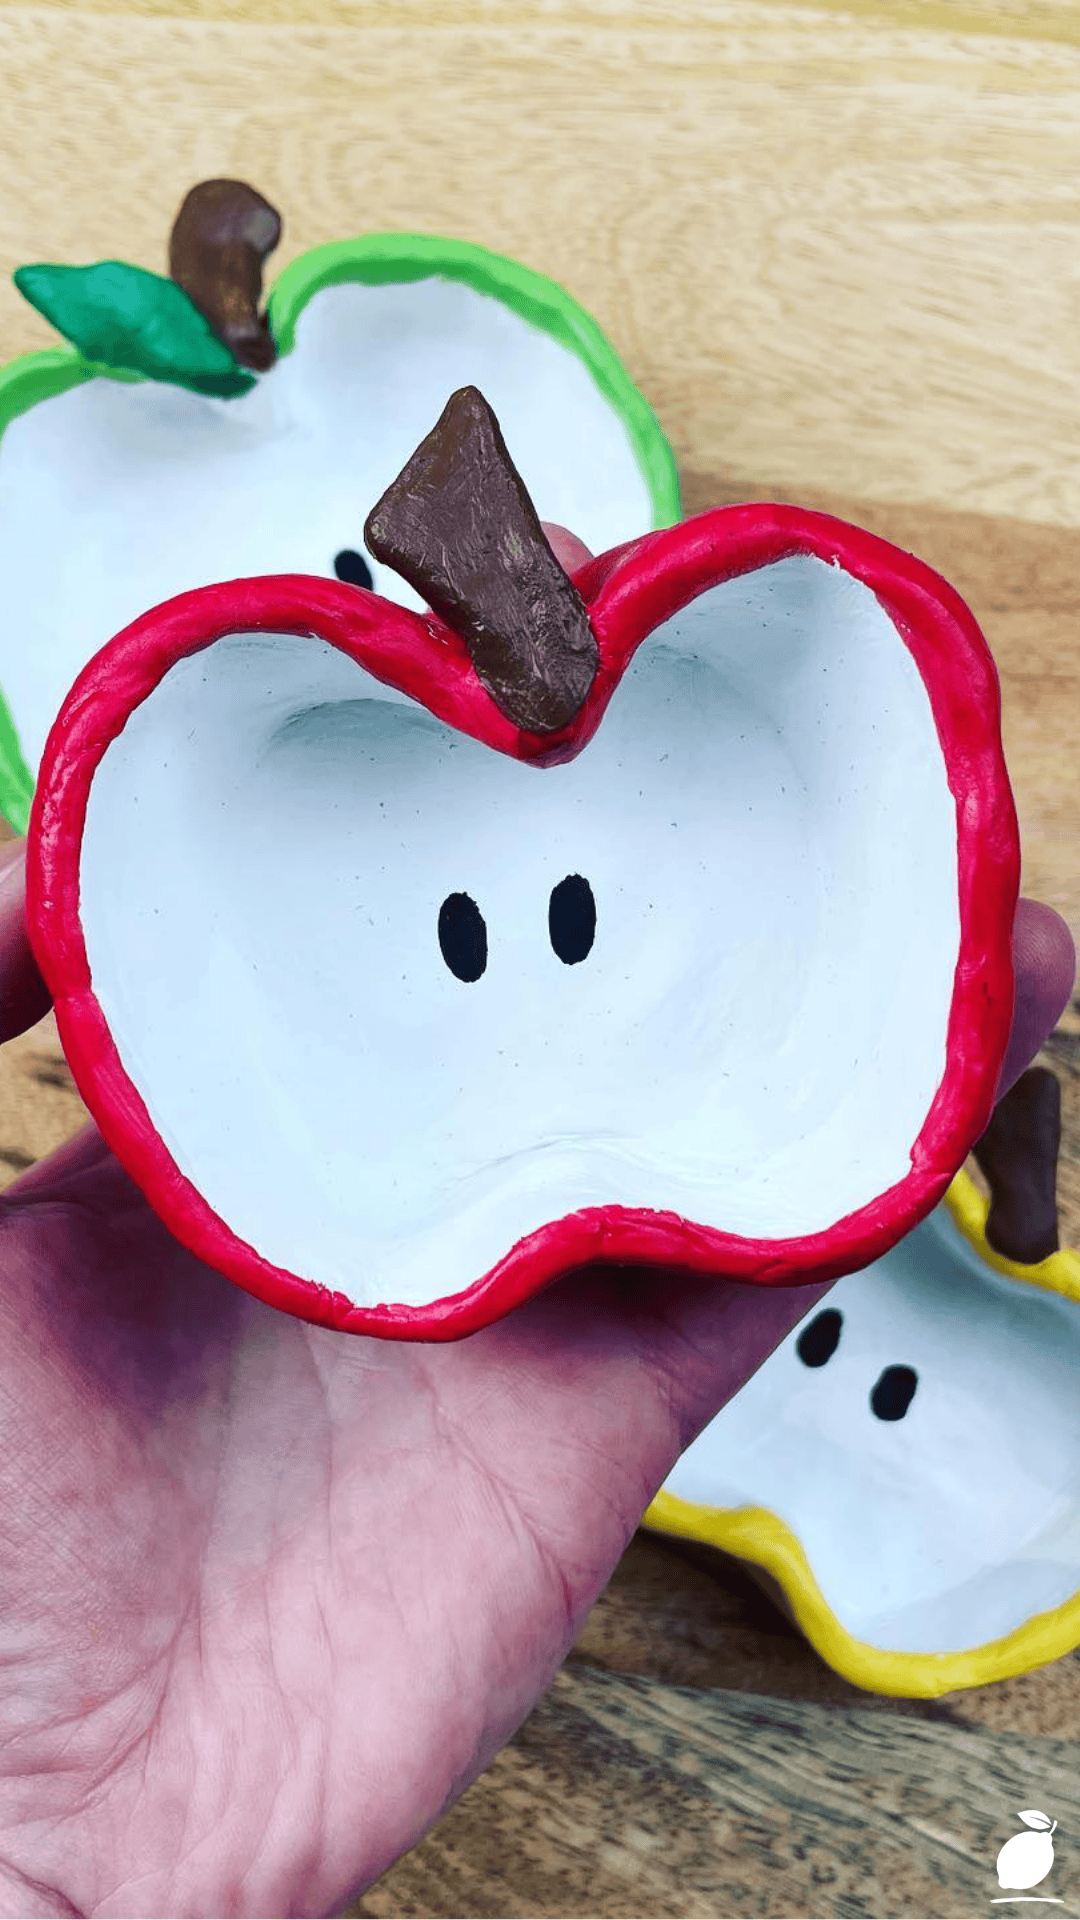
If you’d like a rounded, apple-style silhouette like the bowls in the reference photo, gently curve the rim inward slightly and add a small rolled coil at the top to mimic a stem. This small detail turns a simple pinch pot into a charming, decorative piece.
Step 8: Let It Air Dry Completely
Set your finished pinch pot on a flat, ventilated surface and let it air dry fully, typically 24 to 72 hours depending on thickness. Avoid moving it too soon, since air-dry clay is most fragile before it’s fully set.
Step 9: Paint and Seal
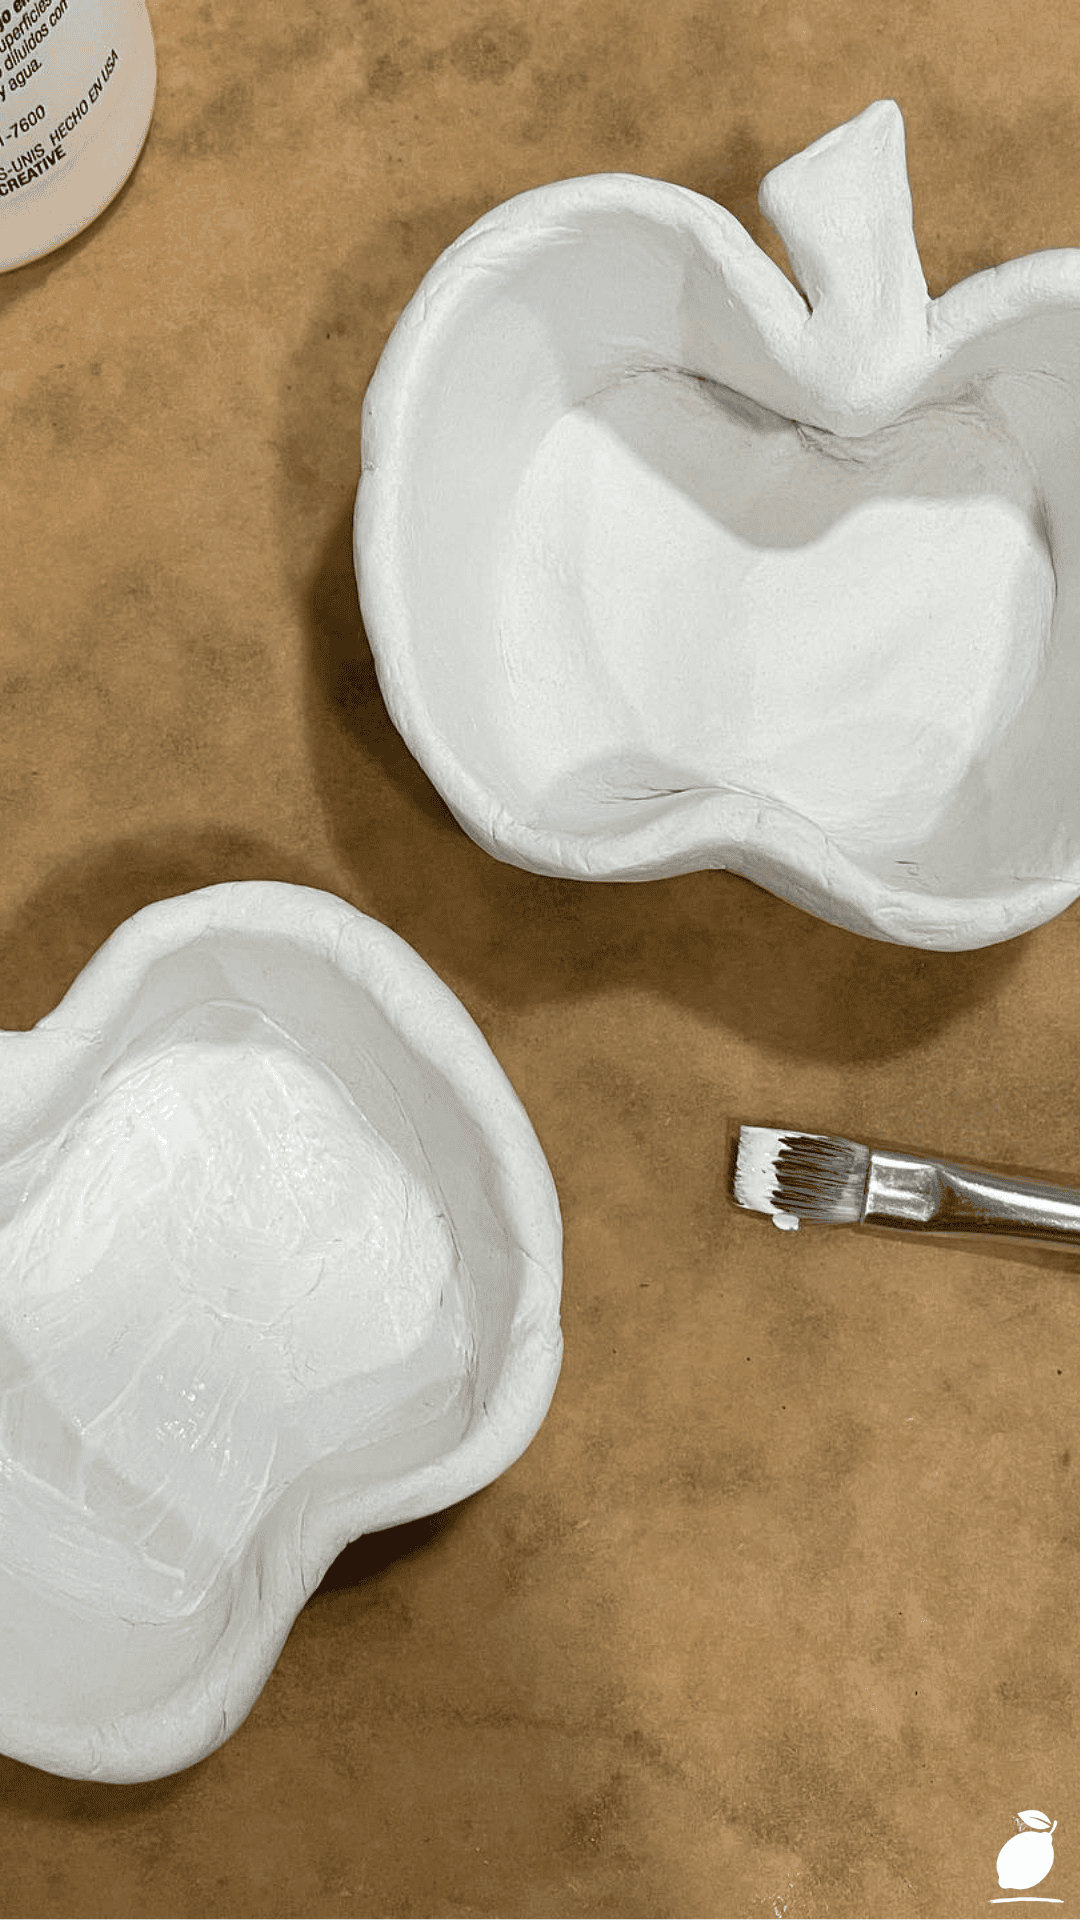
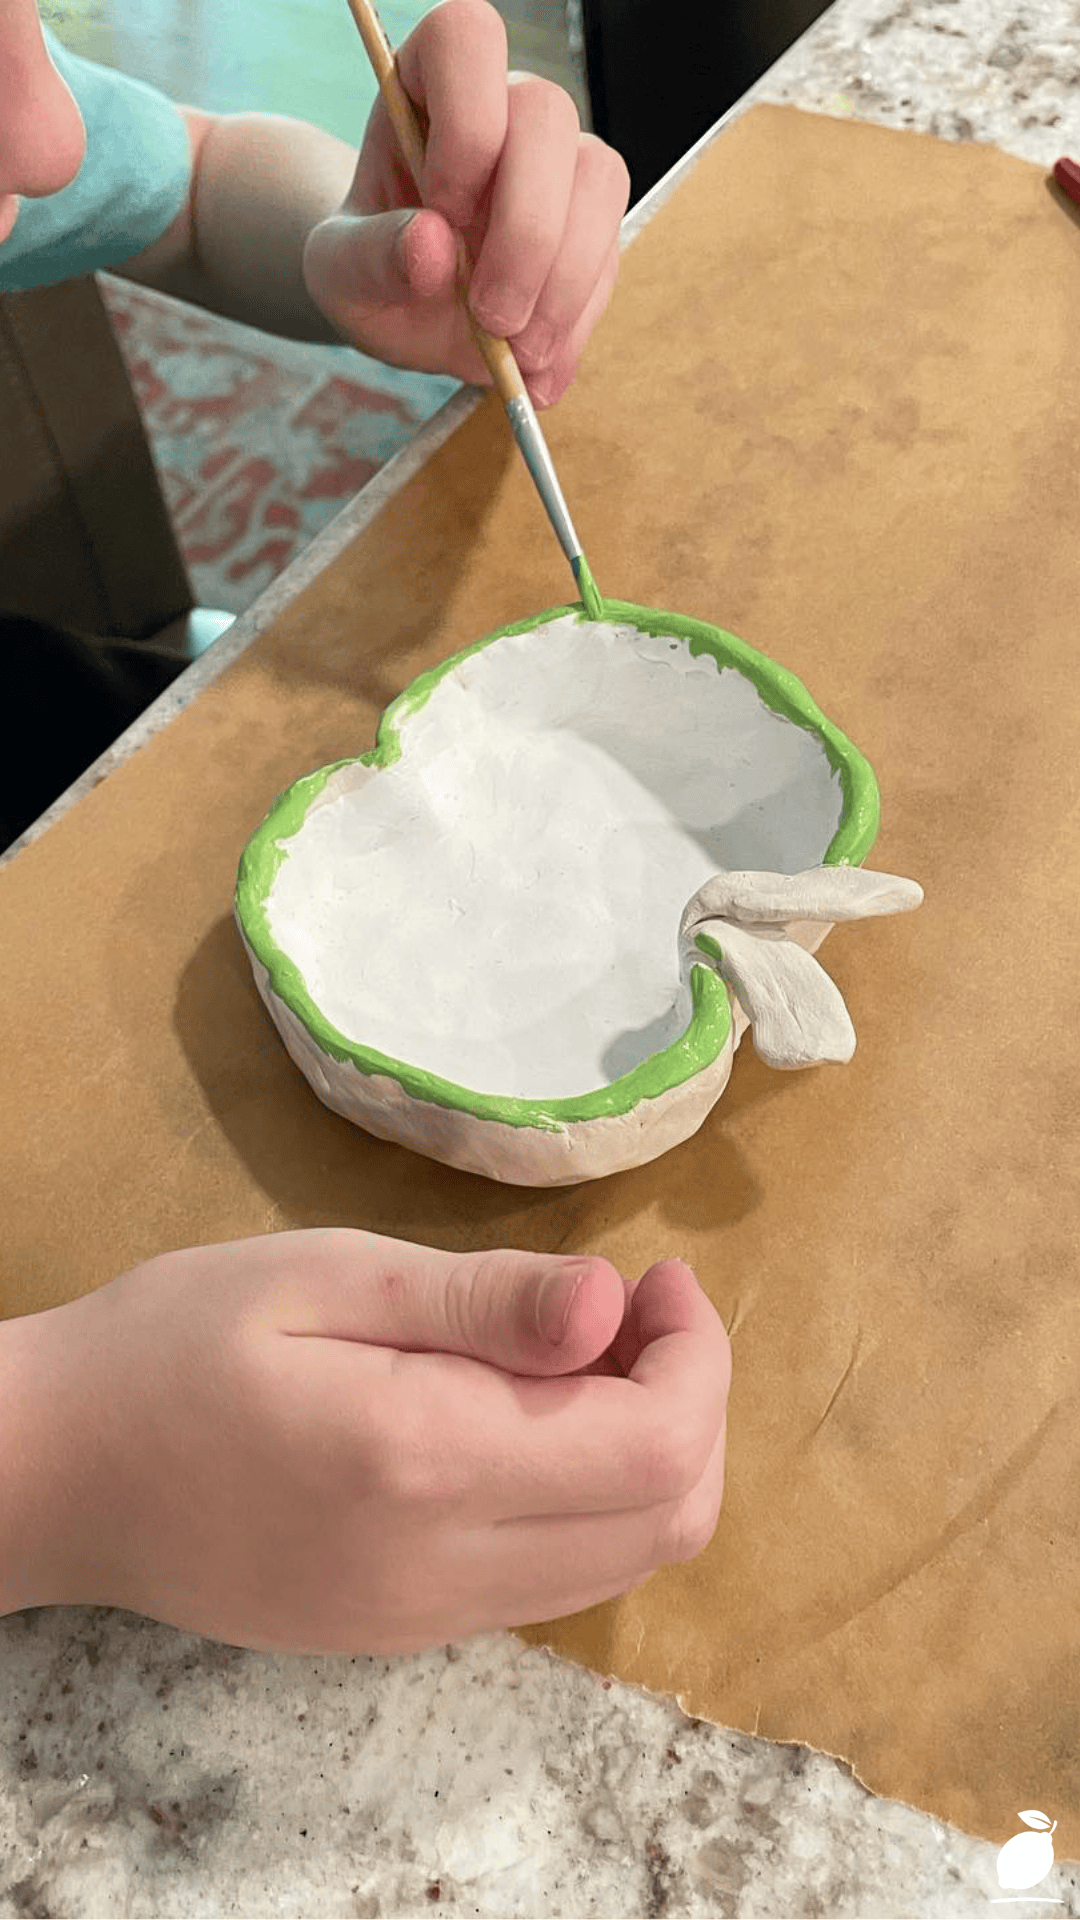
Once completely dry, paint your pinch pot with acrylic paint and finish with a clear sealant if you’d like a glossy, food-safe-adjacent finish for decorative use. A simple paintbrush, just like the one shown resting between the finished bowls above, is all you need for this final step.
Expert Secrets for Success
Pro-Tips for a Better Result
Keep your hands lightly damp, not wet. A small dip of water on your fingertips is enough to smooth air-dry clay without making your pinch pot too soft or slippery to control.
Work on a non-porous surface. A plastic mat, glass, or laminate surface keeps air-dry clay from sticking, unlike wood or fabric, which can pull moisture out unevenly.
Rotate constantly while pinching. Turning your pinch pot steadily in your palm as you shape it is the single best habit for achieving even wall thickness.
Make a matching pair. Shaping two pinch pots in one sitting, as shown in the reference photo, gives you a coordinated little set instead of a single standalone piece.
Store unused clay properly. Wrap leftover air-dry clay tightly in plastic to keep it workable for your next pinch pot project.
Common Mistakes to Avoid
Letting the clay dry out while shaping. Air-dry clay begins hardening as soon as it’s exposed to air, so work efficiently and re-moisten your hands as needed to keep your pinch pot workable.
Leaving the walls too thick. Overly thick walls take much longer to dry evenly and are more prone to cracking as the outside dries faster than the inside.
Skipping the smoothing step. Fingerprints and ridges left unsmoothed will remain visible in the final, dried pinch pot, since air-dry clay doesn’t self-level the way wet-fired clay can.
Moving the piece too soon. Handling a pinch pot before it’s fully dry is one of the most common reasons beginners end up with cracks or dents in an otherwise well-shaped piece.
Using too much water at once. Oversaturating the clay makes it slippery and structurally weak, which can cause your pinch pot to slump or lose its shape while drying.
Why The Pinch Pot Matters
There’s a quiet kind of therapy built into the simple act of shaping clay with your own hands. Making a pinch pot slows you down almost immediately; you can’t rush pinching without ruining the shape, so the process naturally pulls your attention away from a busy mental to-do list and into something small, tactile, and immediate.
That shift matters more than it might seem. A short, low-pressure creative task like this gives you a real sense of accomplishment without demanding hours of your day or any special expertise. Whether you’re making a pinch pot solo as a quiet reset or sitting down with your kids for a shared afternoon activity, the result is the same: a calmer household, a little pride in something handmade, and a tangible reminder afterward that sits on a shelf.
At Easy Peasy Life Matters, that’s exactly the kind of small, doable project we love sharing: simple crafts that offer real mental clarity, not just a finished object. A pinch pot made from air-dry clay is proof that peace and creativity don’t require a studio, just a little patience and clean, honest technique.
FAQ
Do I need to bake or fire a pinch pot made with air-dry clay?
No. Air-dry clay hardens naturally at room temperature over one to three days, so a pinch pot made this way never needs a kiln or oven.
How long does an air-dry clay pinch pot take to fully harden?
Most pinch pots fully dry within 24 to 72 hours depending on thickness, though thicker pieces or humid environments may take a bit longer.
Can I make a pinch pot with air-dry clay food-safe?
Not reliably. Air-dry clay isn’t waterproof or food-safe even when sealed, so a finished pinch pot is best used for decorative purposes rather than holding food or liquid.
Why did my pinch pot crack while drying?
Cracking usually happens from uneven wall thickness, drying too quickly, or trapped air bubbles in the clay. Kneading thoroughly and drying slowly in a shaded, ventilated spot helps prevent this.
Can kids make a pinch pot with air-dry clay too?
Yes, this is a wonderful beginner project for kids, since air-dry clay is soft, forgiving, and requires no special tools. Just plan for a little extra supervision during the smoothing and detailing steps.







