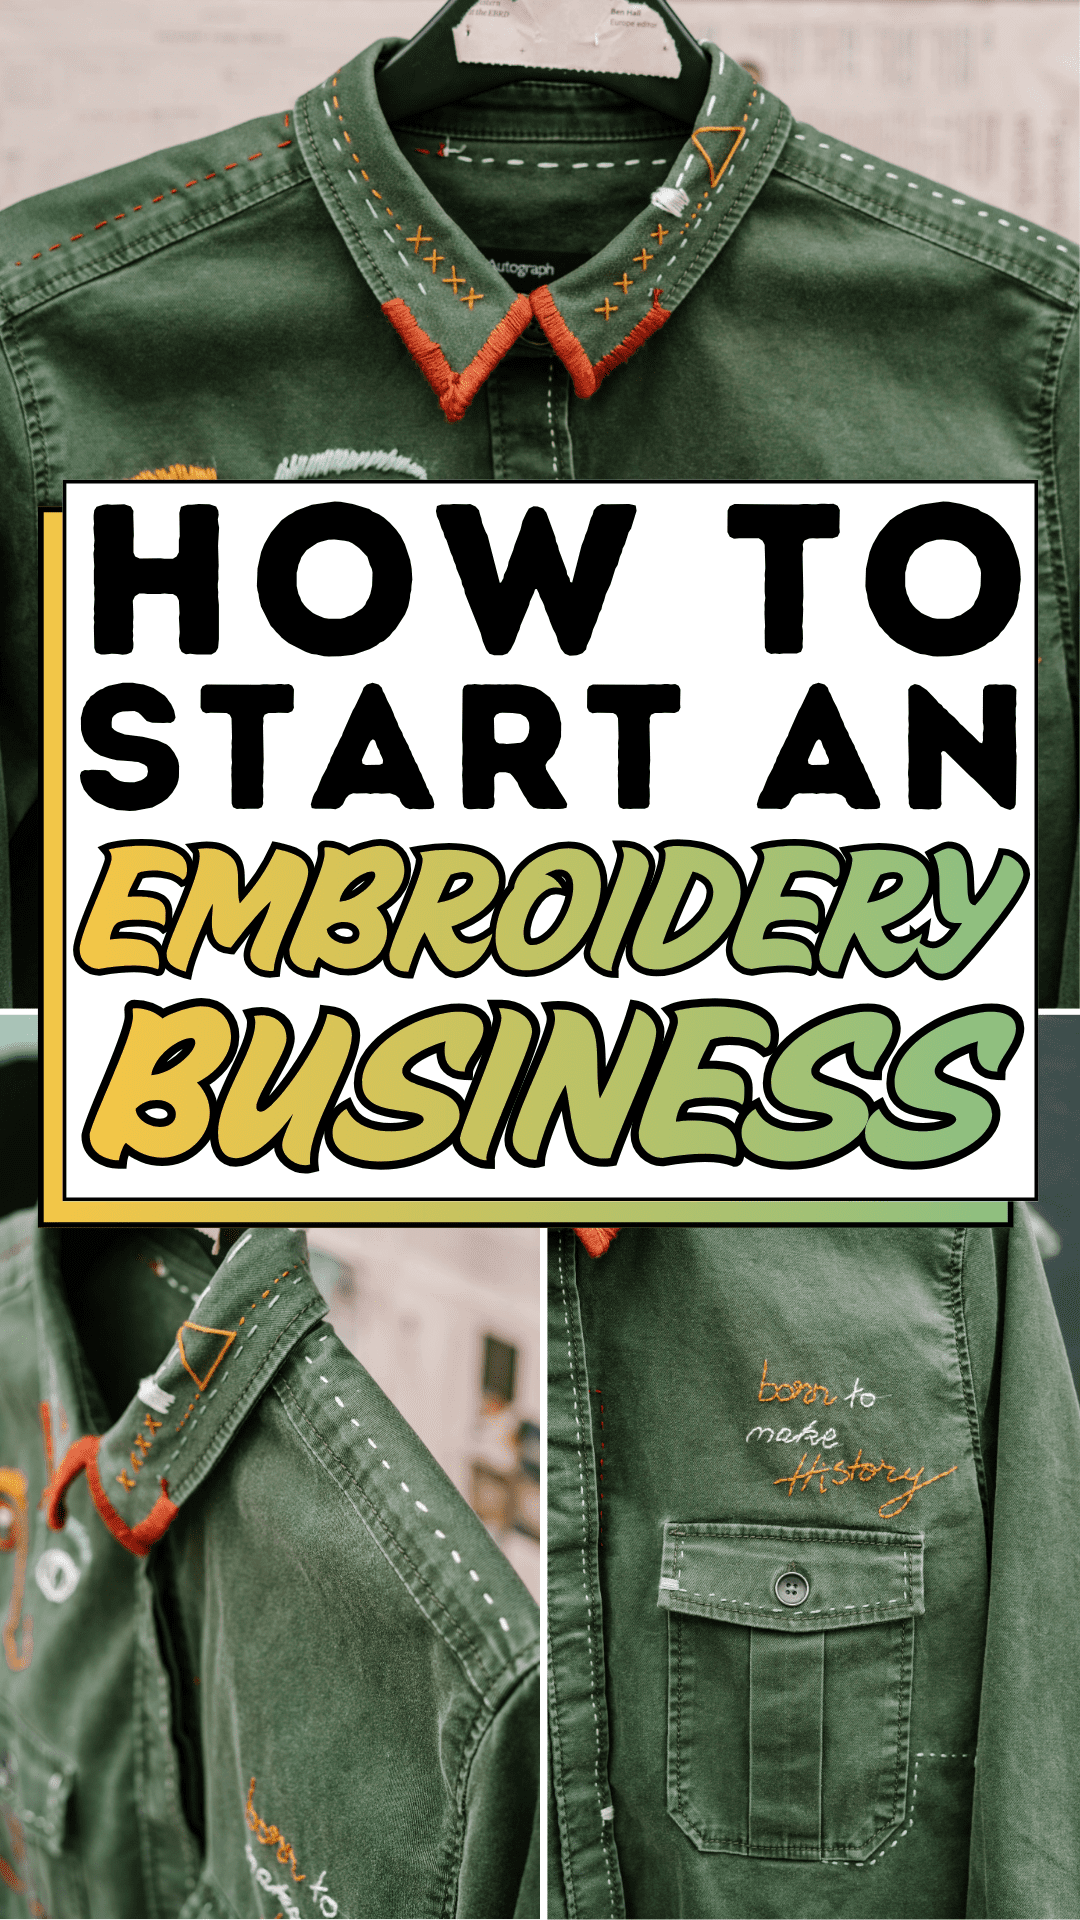
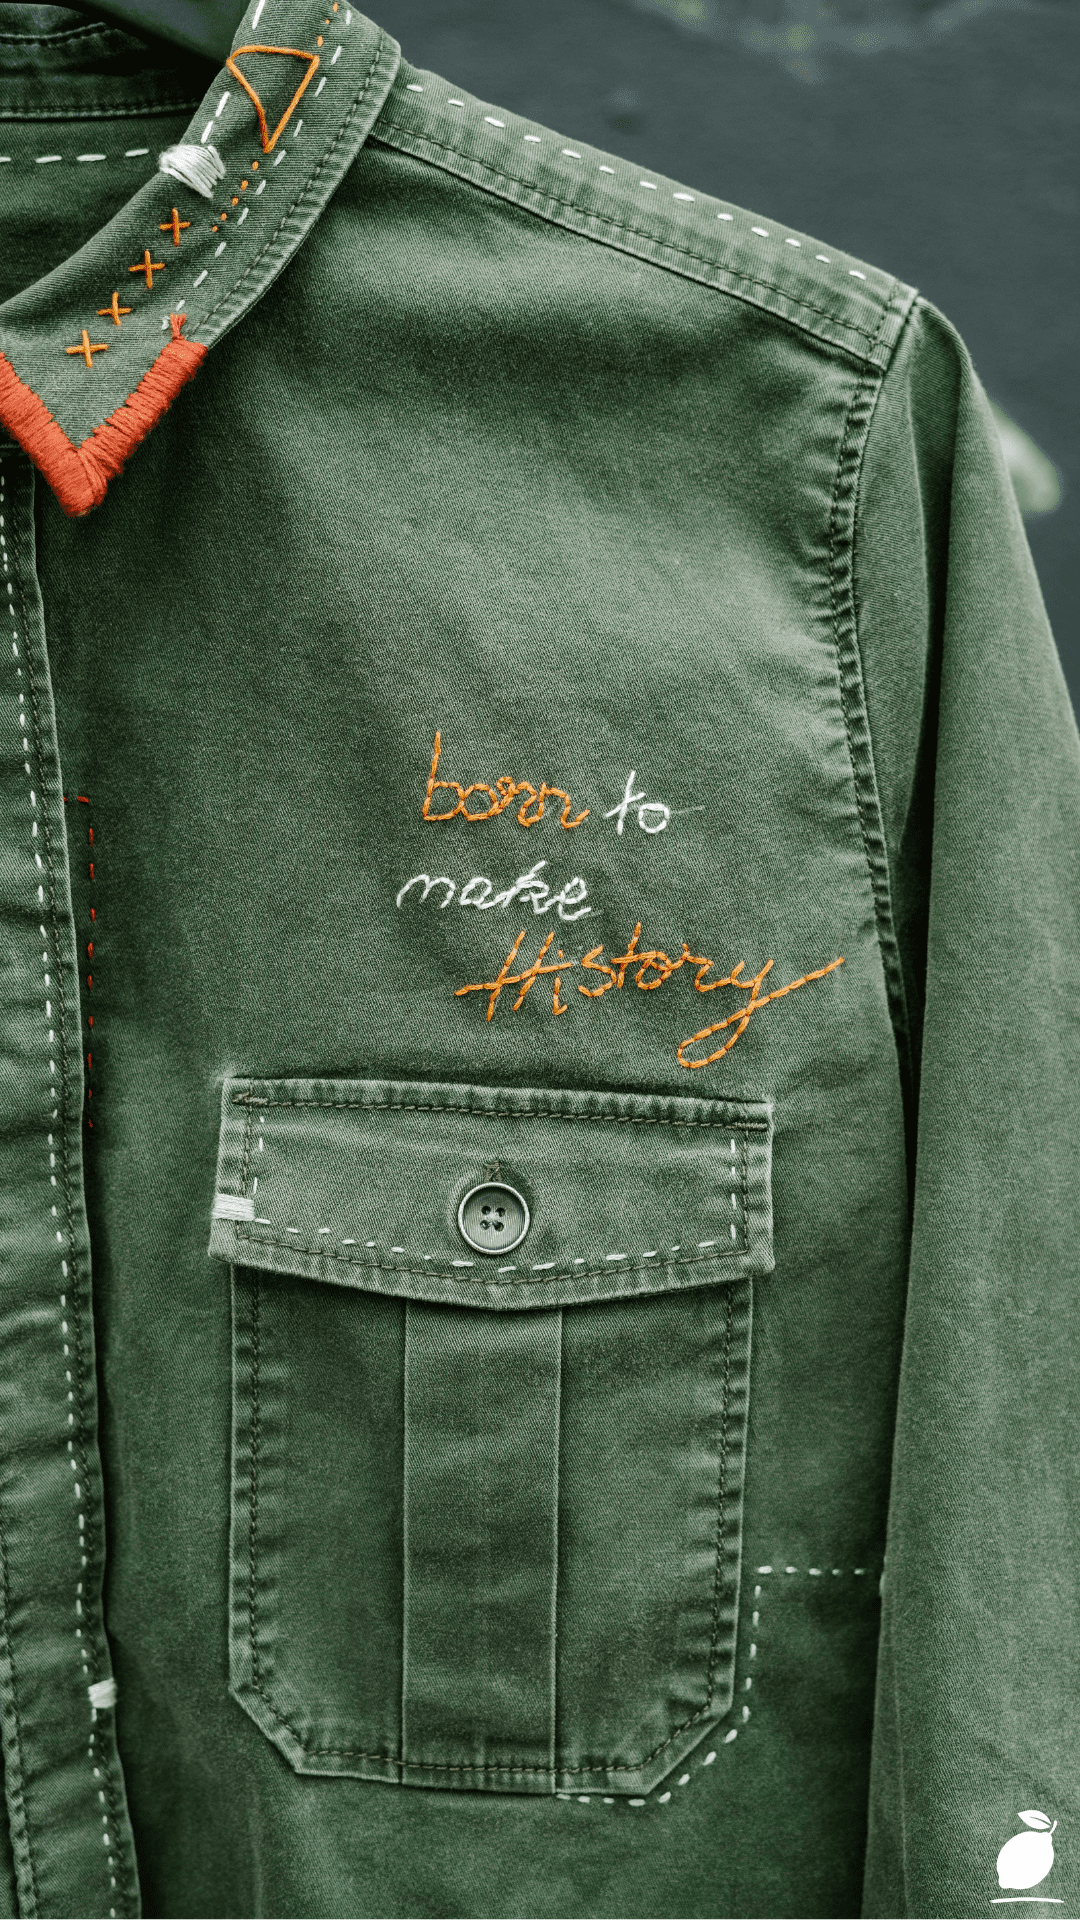
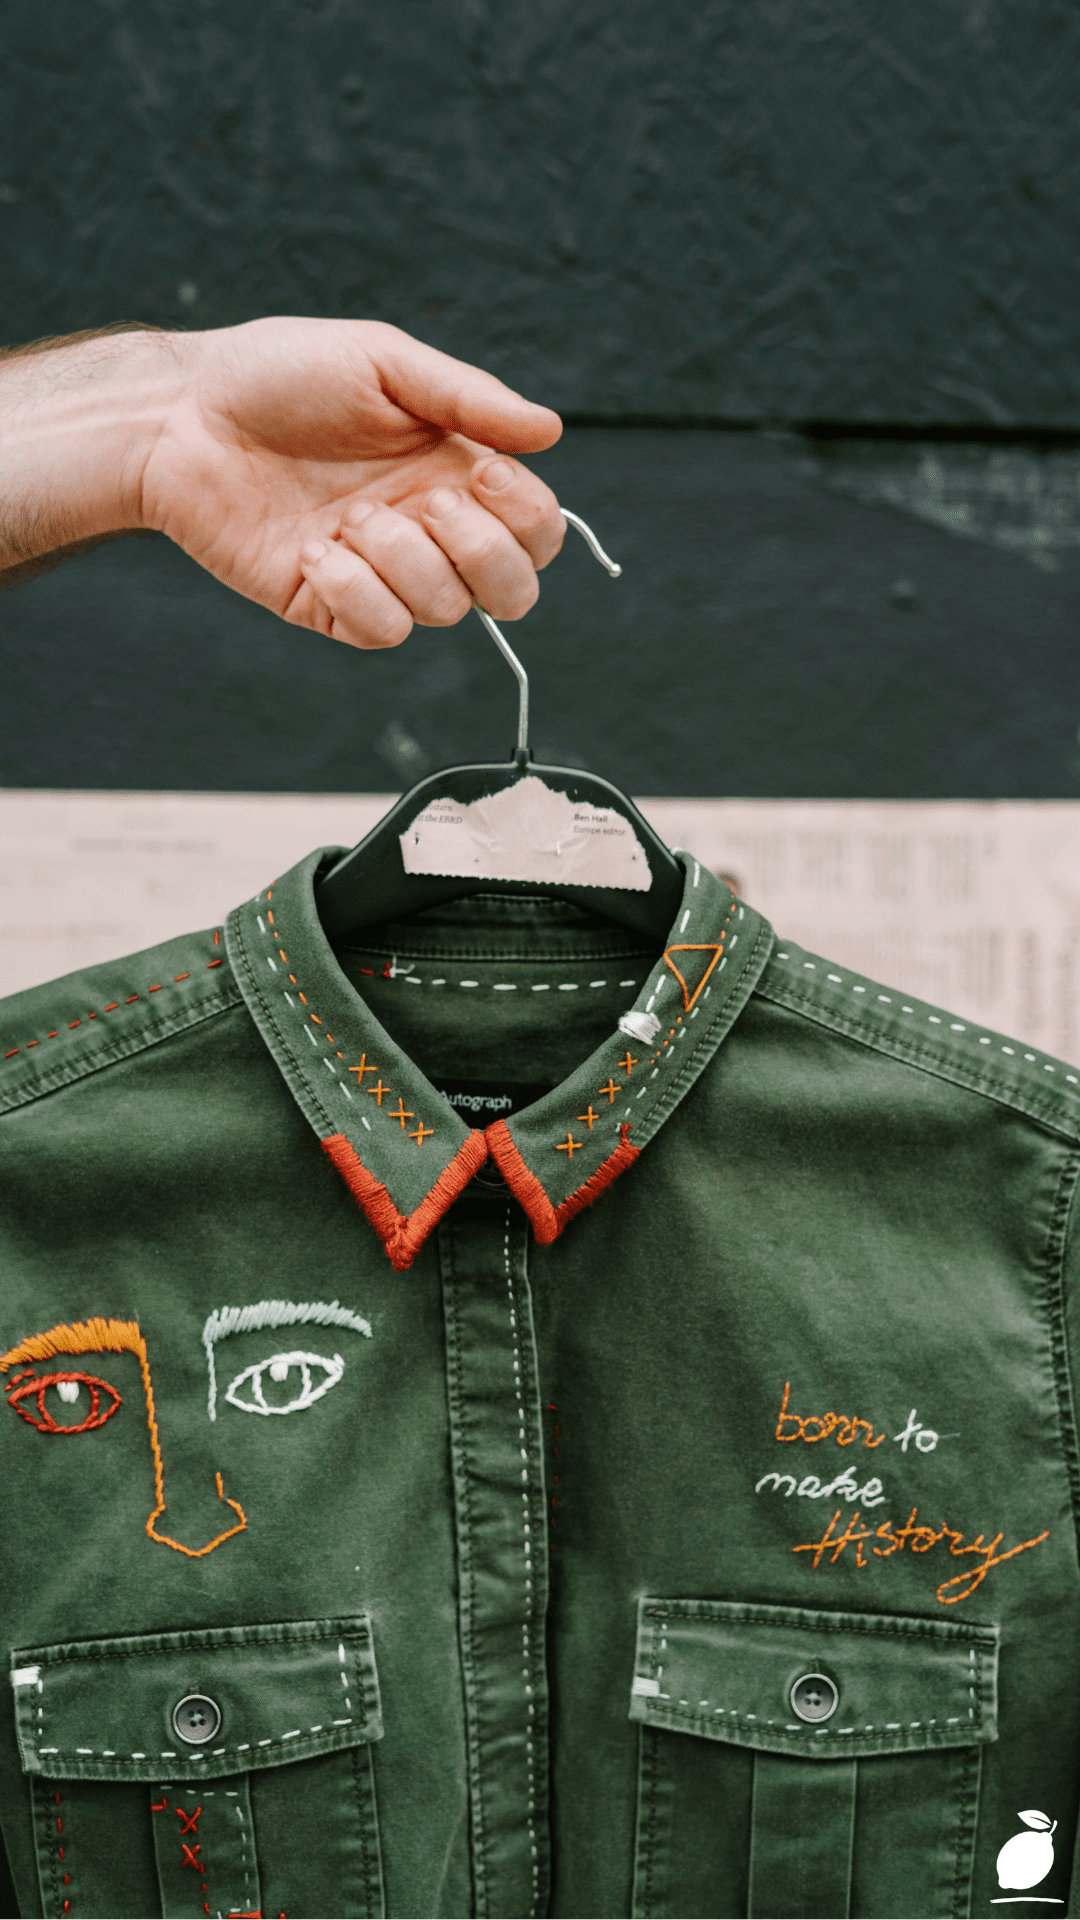
There is a specific moment every serious embroiderer eventually reaches the moment a friend holds up a finished piece, turns it over in their hands, and says quietly: ” You should sell these. It lands differently than a compliment. It lands like a door opening. The olive jacket in the image above its bold face embroidery on the chest, the “born to make history” text in orange thread on the right, the collar trim stitched in red is not a hobby piece. It is a statement of craft confidence. It is the kind of work that builds an embroidery business, one considered garment at a time. And the distance between where most embroiderers are and where that jacket represents is shorter than it looks.
What prevents talented embroiderers from crossing into a functioning embroidery business is rarely skill. It is a system. The workspace that works for personal projects threads pulled from a general drawer, reference images saved somewhere on a phone, orders mentally tracked, collapses the moment a second client enters the picture. A disorganized embroidery business workspace doesn’t just slow production. It creates errors: the wrong thread shade on a repeat order, a client piece mixed with a personal project, a deadline missed because preparation time wasn’t built into the session. The creative joy that started the whole thing quietly drains under the weight of operational chaos that a simple system would have prevented entirely.
The jacket in the image above was not made in a cluttered workspace. The precision of that facial embroidery, white, orange, and red thread working together without a single line breaking character, requires a prepared surface, a logical stitching sequence, and a workspace that supports rather than interrupts concentration. Building an embroidery business on that foundation, clean, systematic, repeatable, is what separates makers who sell occasionally from makers who build something sustainable and genuinely theirs. This guide is the system that makes it possible.
The Embroidery Business Setup
Step 1: Prep the Workspace
An embroidery business workspace is functionally different from a personal craft space in one critical way: it must support repeatability. A personal project tolerates improvisation. A client piece that particularly repeats orders of the same design on multiple garments requires a workspace configured to produce consistent results every time, regardless of how the day started.
Begin with dedicated zones. The embroidery business workspace needs three distinct areas operating simultaneously without overlap: a preparation zone where garments are staged, hooped, and pattern-transferred before stitching begins; an active stitching zone, the primary work surface with optimal lighting, where only the current piece and its directly associated materials are present; and a completion zone where finished pieces are inspected, photographed, and stored before dispatch. When these three zones bleed into each other, quality control fails. A jacket waiting for its second session ends up under the supplies for a new order. A finished piece gets re-handled unnecessarily. Zone separation is the physical infrastructure of a functional embroidery business.
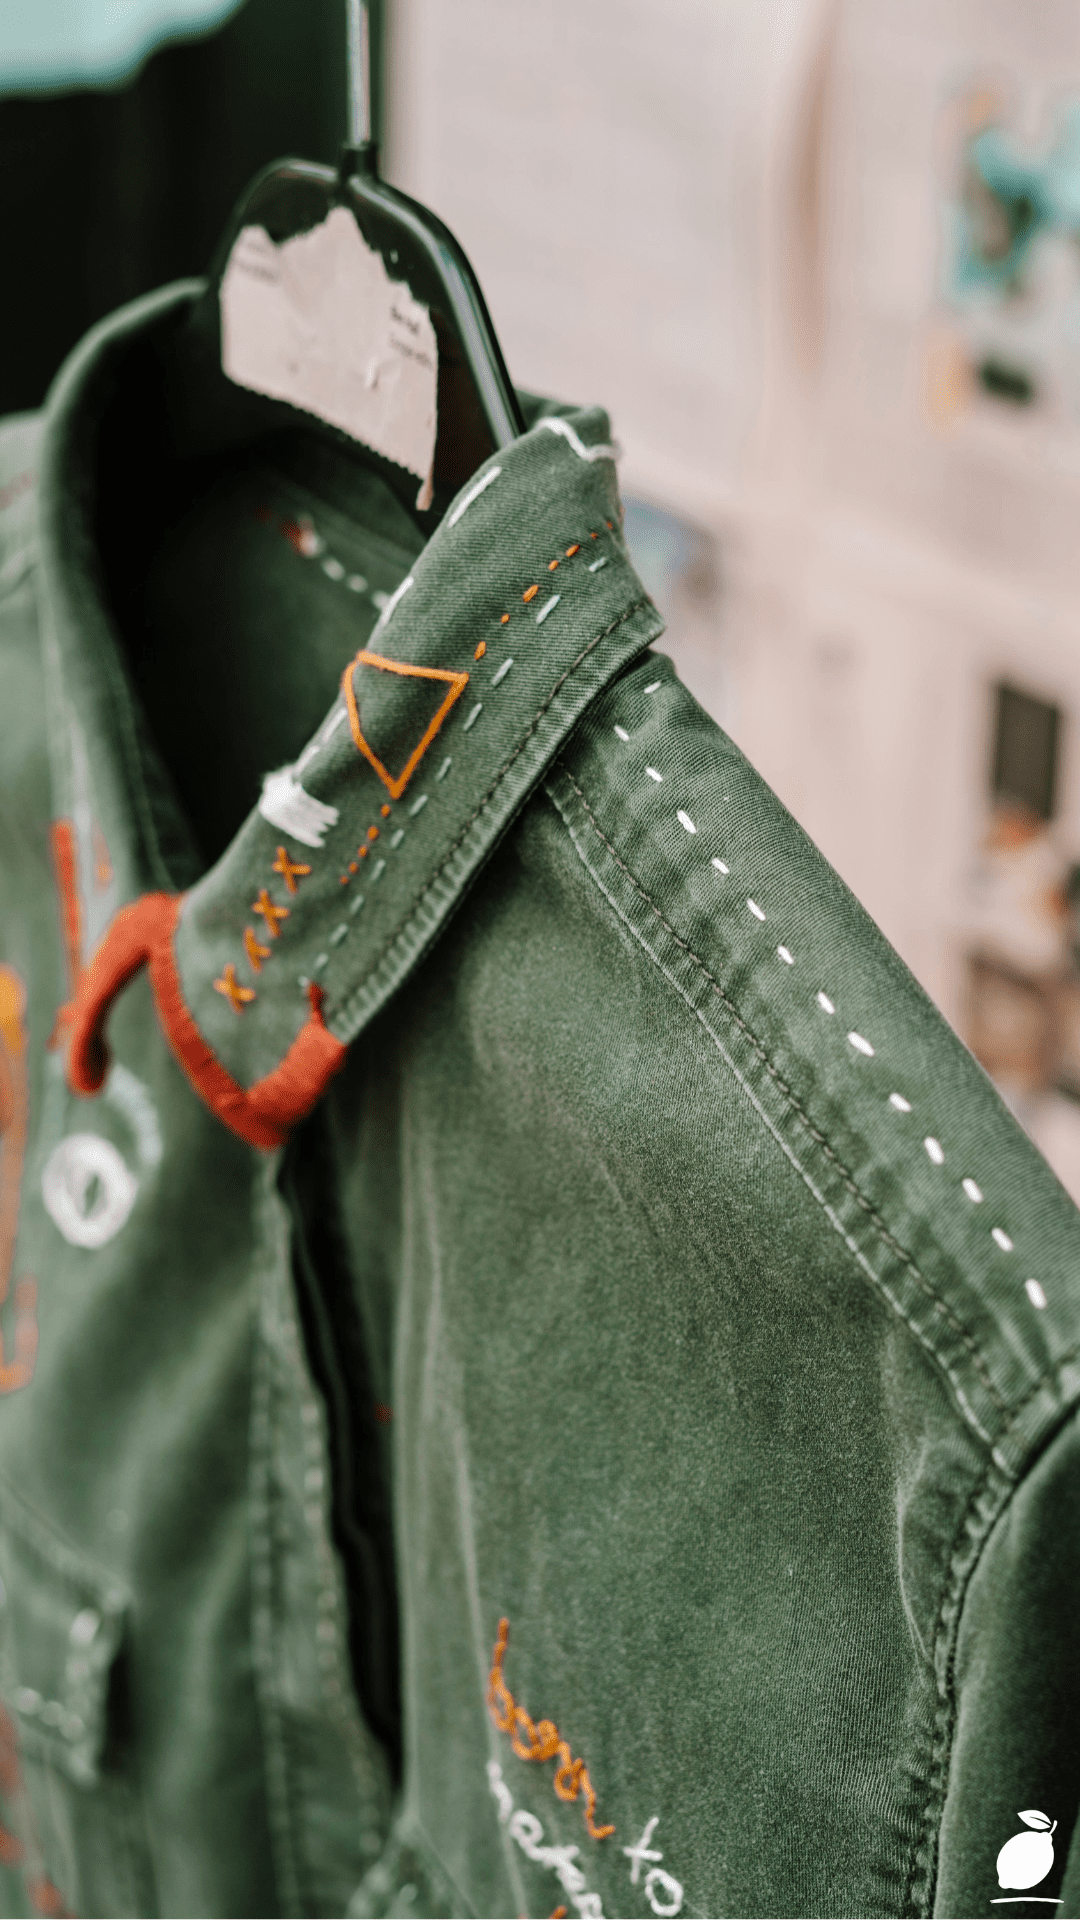
Lighting in an embroidery business workspace must be consistent across sessions, not dependent on time of day or weather. The multi-color thread palette used in the featured jacket, white, orange, red, and the contrast collar stitching requires accurate color discrimination at close range for extended periods. A pair of daylight-rated LED lamps at 5000K to 5500K color temperature, positioned to eliminate hand shadow over the work surface, provides the standard working light that makes color decisions reliable and reduces eye strain during long production sessions.
Thread inventory goes on a dedicated rack or pegboard, organized by color family and shade number, visible at a glance from the work surface. Not in a drawer. Not in a bag. Visible. In an embroidery business, thread inventory management is a production function running out of a specific shade mid-order, or discovering on delivery day that the orange used on piece one doesn’t match the orange available for piece two, is an operational failure that a visible, organized system prevents entirely.
Step 2: The Logic of the Craft
Embroidery business work, particularly custom garment embroidery of the type shown in the featured jacket, operates on a production logic that differs from one-off creative pieces. The logic has three layers that must be applied in sequence: digitize or finalize the design completely before touching the garment, establish a stitching sequence that prevents thread and hoop interference, and build in a quality check point before the piece leaves the active work zone.
Design finalization before garment contact means the embroidery design, whether a hand-stitched pattern transferred onto fabric or a digitized file loaded into a machine, is signed off by the client and confirmed on a test fabric before the actual garment is touched. The facial embroidery on the featured jacket is irreversible. A thread pulled from a finished jacket always leaves ghost holes in the fabric weave. In an embroidery business, a single design revision made after stitching begins costs more in time and materials than the entire pre-production approval process. Finalize first. Stitch second. Without exception.
Stitching sequence for a multi-element design like the featured jacket follows the same logic as embroidered botanical work, but with garment-specific constraints. Large fill areas, the face’s base tones, and the background of a logo are worked before fine detail lines, because fine detail placed first gets disturbed by the hoop movement and handling required for fill work. Text like the “born to make history” lettering on the jacket’s right chest is stitched last, after all adjacent design elements are complete, because text is the highest-visibility element and the most immediately noticeable if tension or positioning is even slightly off.
The mid-production quality check is a non-negotiable embroidery business practice. Before the piece is removed from the hoop, hold it at arm’s length under a working light and assess: is thread tension consistent across the full design? Do colors read as intended? Are edges clean and defined? This thirty-second assessment before unhooking catches errors that are correctable while the piece is still mounted and catastrophic once it isn’t.
Step 3: The Clean-Up System
In an embroidery business, the clean-up system is a production system. It is not optional, and it is not the last five minutes of a long session when attention and discipline are lowest. It is a structured set of actions that takes eight to ten minutes and determines the quality and efficiency of every subsequent session.
At the end of each working session, every finished piece is moved immediately to the completion zone, photographed, tagged with the client order reference, and stored in its designated sleeve or bag. No finished embroidery business pieces remain on the active work surface overnight. Active pieces in progress are covered with muslin and stored flat. The thread used during the session is returned to the rack in the correct position, not set aside for “later.” Stabilizer scraps, thread tails, and packaging waste are cleared from the work surface entirely.
Order documentation, client briefs, design references, and delivery notes are filed in a physical or digital folder immediately after use. In an embroidery business, a client reference image left loose on the work surface is a client reference image that gets confused with another client’s order eventually. File it the moment it’s no longer actively needed.
Weekly: restock any thread shades that have dropped below a one-project minimum. Audit the garment staging area for any pieces that have been there longer than their scheduled production window. Clean the work surface and hoop equipment. A weekly ten-minute audit prevents the slow accumulation of disorder that transforms an organized embroidery business workspace into a chaotic one over the course of a busy production month.
The Secrets to Embroidery Business
Three Pro-Tips for a Professional Finish:
Stabilize every garment, every time. The single most visible differentiator between amateur and professional embroidery business work is stabilizer use. A cut-away or tear-away stabilizer hooped behind the garment fabric prevents the distortion, puckering, and thread pull-through that makes embroidery look unfinished or unprofessional on the reverse and affects the front surface quality measurably. The weight of the design determines stabilizer choice: dense, multi-color designs like the featured jacket’s chest piece require medium-weight cut-away stabilizer that remains in place permanently to support the finished embroidery. Never skip it to save time.
Create a thread-pull sample card for each client’s color palette. Before beginning production on any embroidery business order, pull a length of each thread color used in the design and tape or staple it to a small card alongside the thread number and brand. This card stays with the order file for the duration of production and serves as the reference standard against which every subsequent thread selection is checked. Color drift using a slightly different shade mid-order because the original was set aside is one of the most common quality failures in the embroidery business, and a physical color reference card eliminates it.
Photograph every finished piece in consistent conditions. An embroidery business portfolio is built piece by piece, and the quality of your photography determines how accurately your work is represented to prospective clients. Establish a fixed photography setup with a consistent background, consistent lighting, consistent distance, and angle, and photograph every completed piece before it leaves your workspace. This documentation serves simultaneously as portfolio content, quality record, and client reference for repeat orders.
Three Mistakes That Ruin the Aesthetic:
Skipping the test stitch on a new design. Every new embroidery business design, regardless of how similar it is to previous work, requires a test stitch on matching fabric before production begins. Thread behavior, stabilizer interaction, and color appearance all vary between fabric types and weights. The olive jacket in the featured image required testing on olive twill specifically, not on a white cotton stand-in. Skipping the test to save time reliably costs more time than the test would have taken.
Ignoring the grain line when hooping garments. A garment hooped off-grain even by a few degrees produces embroidery that sits visually askew on the finished piece. The chest embroidery on the featured jacket is positioned on the grain line of the fabric, which is why it reads as precisely placed rather than approximate. Before every hooping in an embroidery business setting, identify the fabric grain and align the hoop accordingly. Use a clear acrylic placement ruler or a printed placement template for consistent positioning across repeat orders.
Underpricing to attract early clients. This is not a stitching mistake, but it ruins the embroidery business aesthetic in a different and more lasting way. Pricing below the true cost of materials, time, and overhead to attract initial orders establishes a client expectation that cannot be sustainably corrected later without significant friction. Price correctly from the first order. A well-priced embroidery business that produces the quality visible in the featured jacket will find its clients. An underpriced one will find itself exhausted.
Why Creative Space Matters
The embroidery business workspace occupies a psychologically complex position: it is simultaneously a commercial environment and a creative one. Most makers who build embroidery businesses do so because making things by hand is genuinely restorative for them: the bilateral rhythm of needlework, the tactile engagement with fabric and thread, the satisfaction of a design emerging from blank fabric. These benefits are real and well-documented. They are also fragile. A workspace that has become purely transactional, where the pressure of orders and deadlines has entirely displaced the pleasure of making, produces the burnout that ends more embroidery businesses than competition or market conditions ever do.
Easy Peasy Life Matters is built on the understanding that systems are not the enemy of joy. They are the infrastructure that makes joy repeatable. An embroidery business built on a clean, minimal, deliberately organized foundation is an embroidery business that can grow without consuming the person at its center. That is the only kind worth building.
Frequently Asked Questions
How should I organize thread inventory for an embroidery business to prevent running out mid-order?
Organize thread on a visible rack or pegboard sorted by color family and shade number, with each color represented by a minimum of two full spools or bobbins in active production stock. Maintain a separate reserve supply of at least one additional spool of every color used in active client designs stored in labeled bins away from the work surface.
What is the minimum equipment a new embroidery business needs to produce professional garment work?
The functional minimum for a professional embroidery business producing custom garment work includes: a commercial-grade embroidery machine capable of at least a 200 x 300mm hoop field (or, for hand-embroidery businesses, a professional-grade hoop set in three standard sizes), a full set of garment-appropriate stabilizers (cut-away, tear-away, and water-soluble for specialty fabrics), a placement ruler and alignment grid for consistent garment hooping, a dedicated thread rack for active production colors, and a daylight-spectrum lighting setup as described in the workspace section above.
How do I store finished embroidery business pieces before client collection or dispatch?
Finished embroidery business pieces should be stored flat, individually sleeved in acid-free tissue paper or clean white cotton muslin, and kept in a single designated storage area, not on the active work surface, not stacked with production materials. Each piece should be tagged with the client order reference and date of completion before storage.