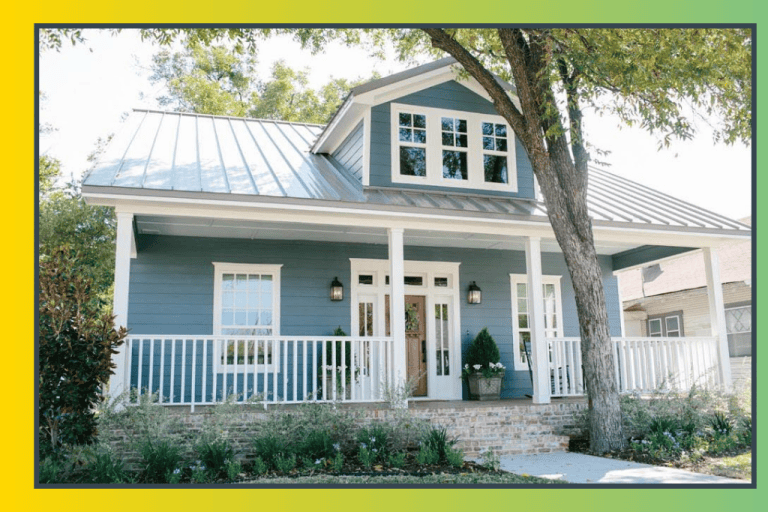
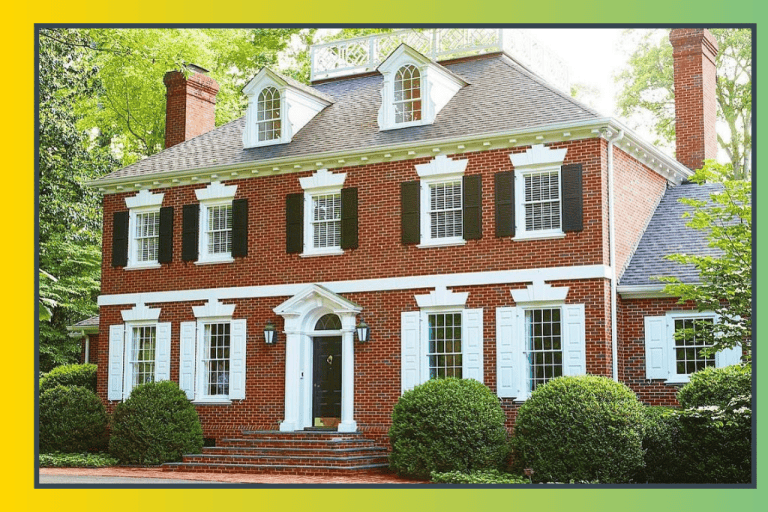
The brick had not always looked like this. There was a period, probably in the first decade after the house was built, when the color was right, or at least right enough, and the exterior communicated the warmth and solidity that brick is supposed to communicate. But brick weathers unevenly, and decades of sun, rain, and atmospheric exposure had done their quiet work. What remained was a reddish-brown exterior that had shifted from warm into tired, from classic into dated, and that no amount of landscaping improvement, new front door paint, or updated garage door could fully redeem. The house looked okay from the street. It did not look like a house someone had thought carefully about. The difference between those two things was in the brick.
Painting brick is a decision that makes many homeowners hesitate for longer than it deserves. The hesitation is understandable; it is a permanent change in the sense that removing paint from brick is far more difficult than applying it, and the consequences of a wrong color choice are visible from the street, in every photograph of the house, and in every arrival home for as long as the paint remains. But the hesitation becomes paralyzing when it prevents consideration of the fact that the right exterior brick paint color transforms a house’s appearance more completely, and more cost-effectively, than almost any other single exterior improvement available. A new roof is structural. New windows are functional. New exterior brick paint is the change that makes people look twice at a house they drove past for years without noticing.
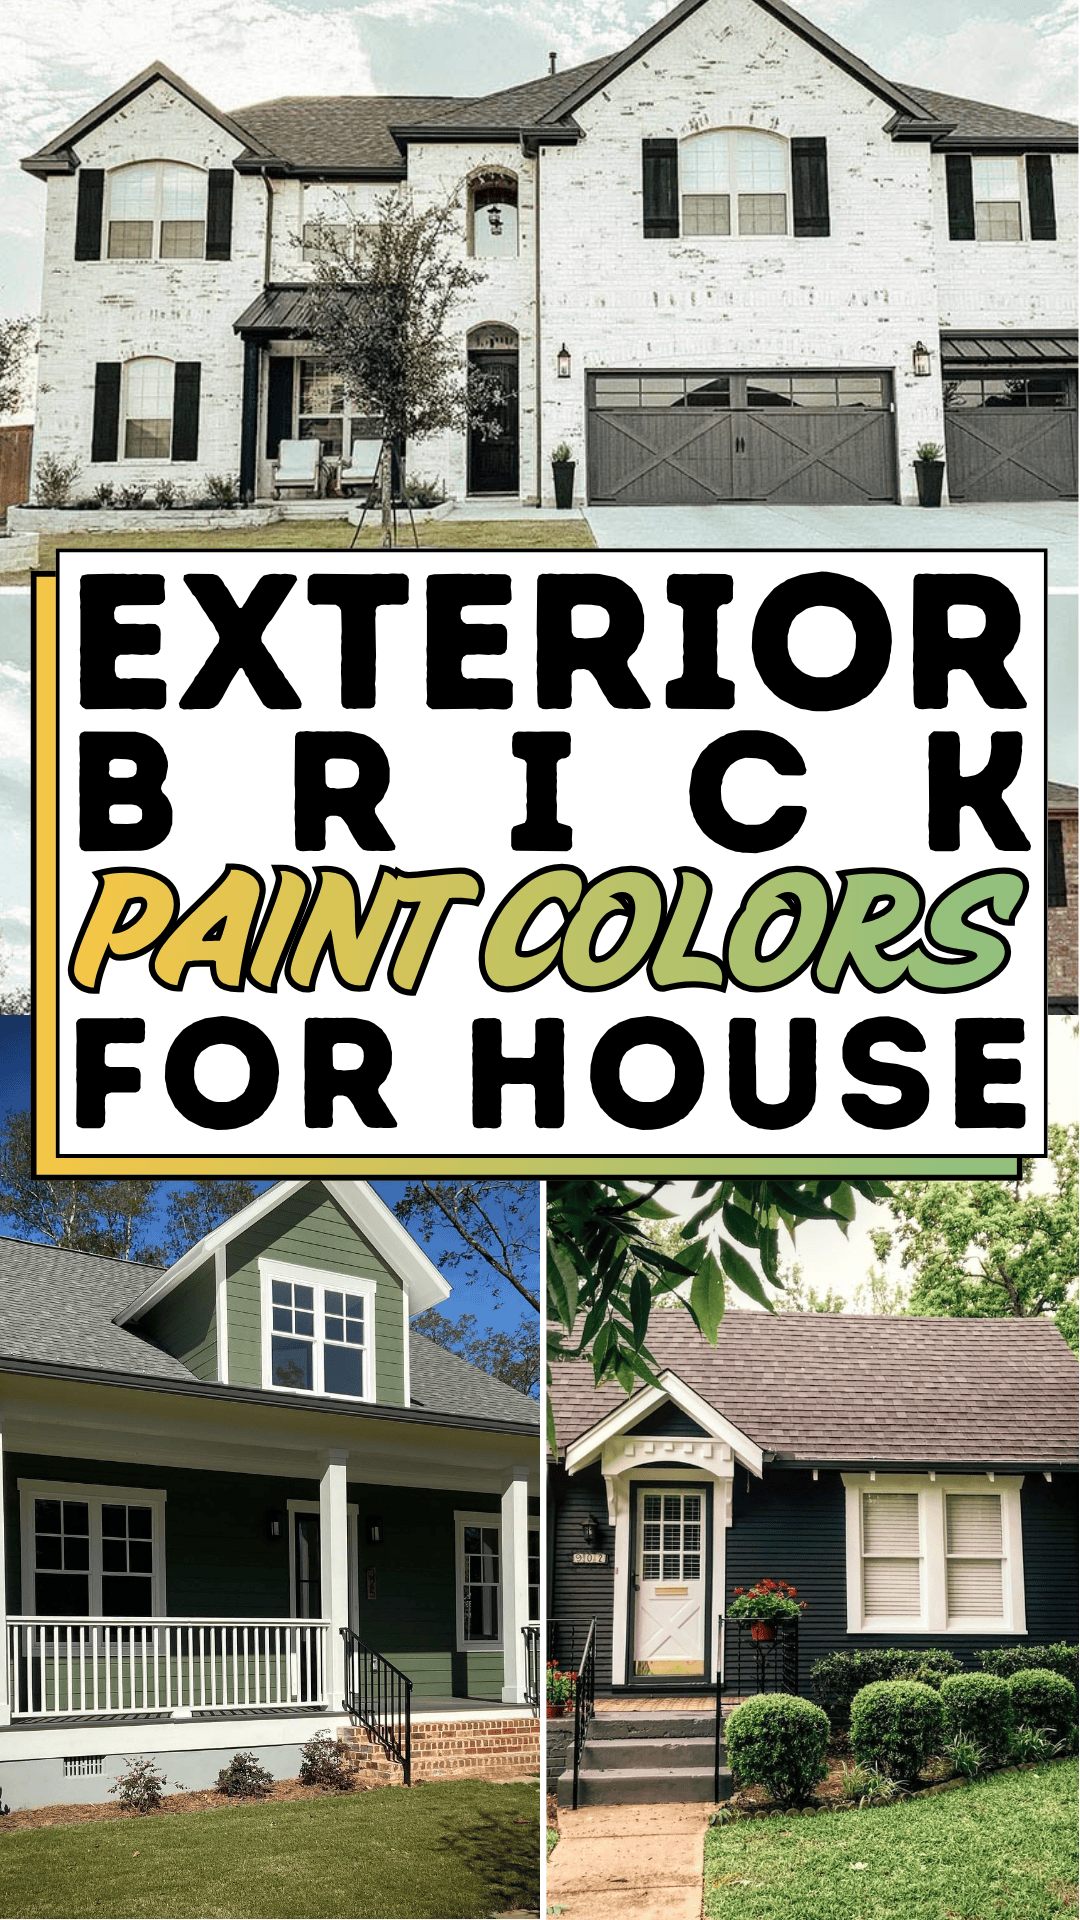
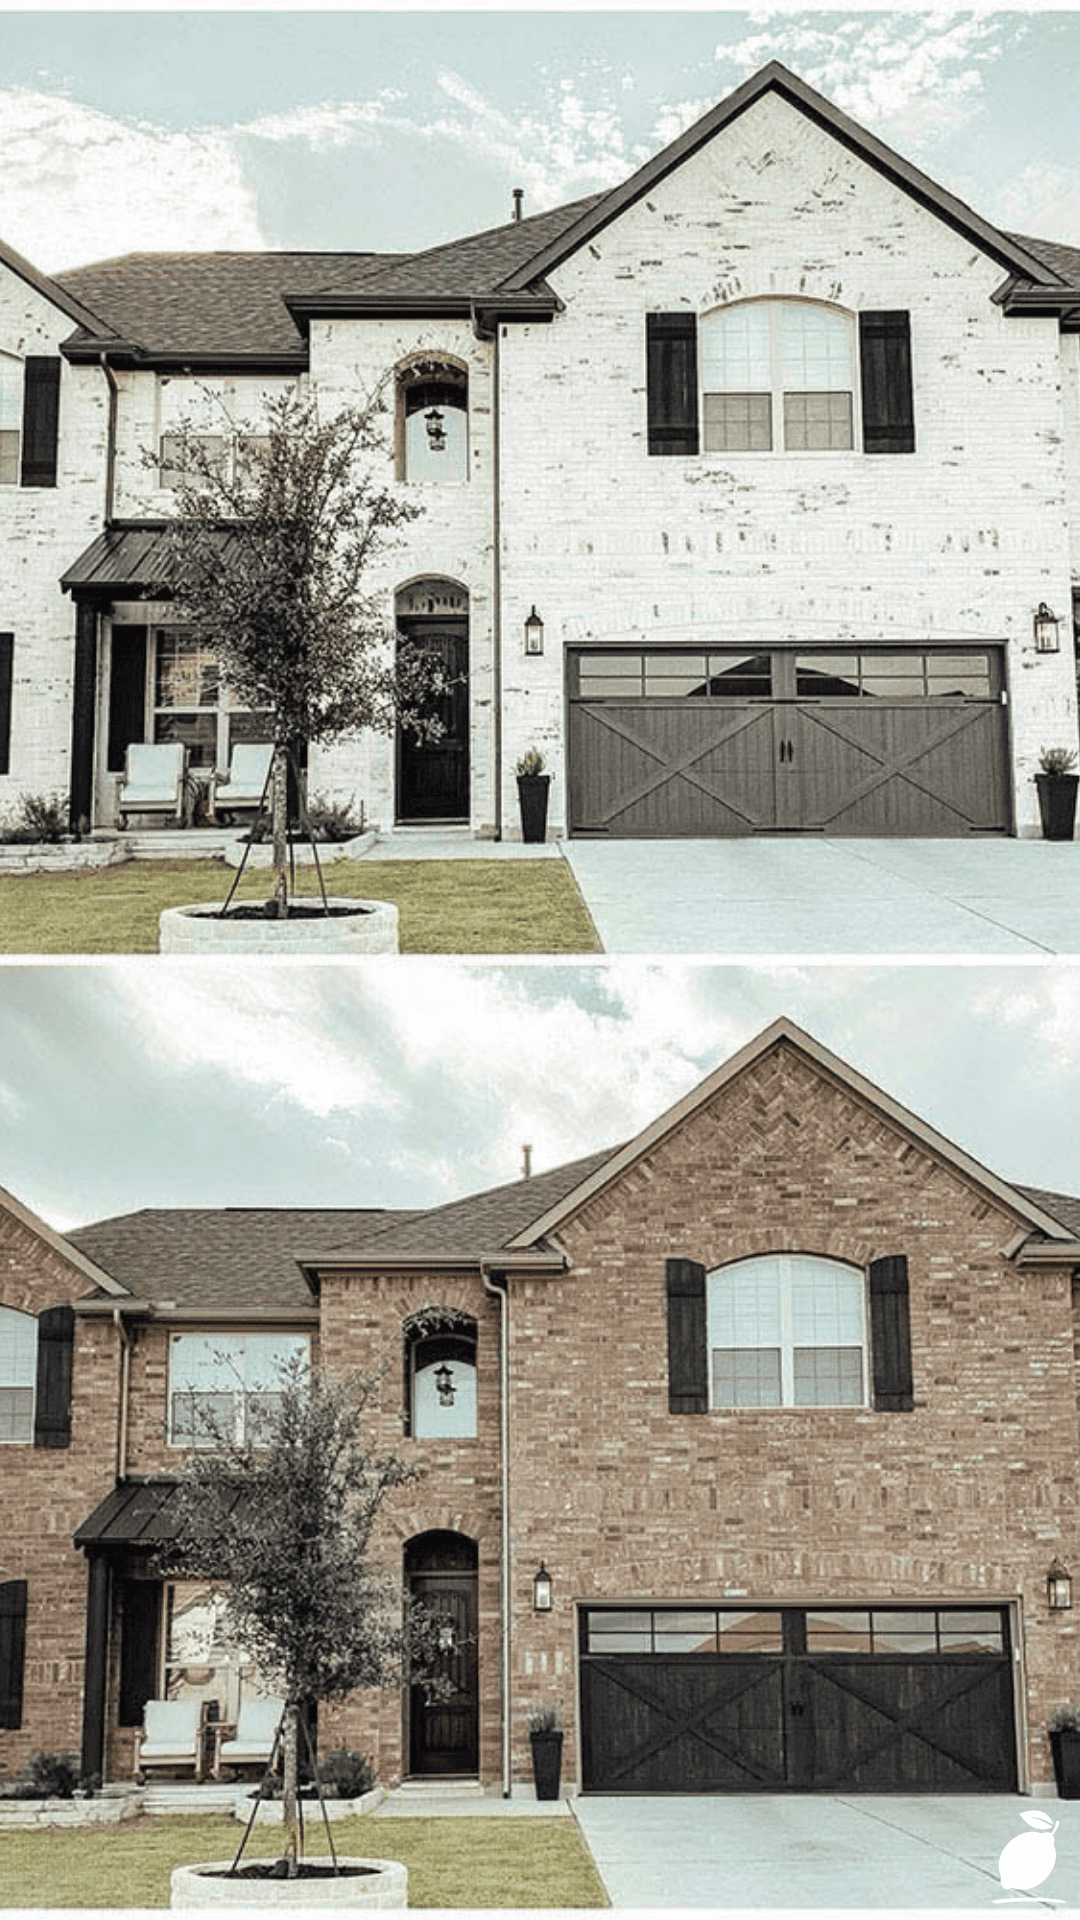
The before-and-after in the image above tells that story without requiring elaboration. The same two-story house, the same dark grey roof, the same black shutters, the same double garage door and mature landscaping, but in two entirely different versions of itself. The warm reddish-brown original brick exterior reads as conventional and receding. The crisp white exterior brick paint version reads as architectural, considered, and significantly more premium despite changing nothing structural about the house. The difference is entirely in the exterior brick paint, and the decision to apply it confidently and correctly is the project that produces it. Here is the complete blueprint.
The Exterior Brick Paint Blueprint
Painting a brick exterior is a multi-stage project in which each stage builds the quality of the final result. Skipping or rushing any stage produces defects visible at completion and performance failures that emerge over the following seasons. Follow these steps in order.
Step 1: Assess the Brick and Mortar Condition
Before exterior brick paint can be applied successfully, the underlying brick and mortar must be in a condition capable of receiving and holding a paint film. Inspect the entire exterior surface systematically: look for spalling brick (where the brick face has flaked or crumbled), crumbling or missing mortar joints, efflorescence (the white salt deposits that appear on brick faces when moisture migrates through the wall), active cracks in the brick or mortar that indicate structural movement, and areas of biological growth (moss, lichen, or algae).
Each condition type requires a specific response before exterior brick paint is applied. Spalling brick should be assessed by a mason for structural significance; minor surface spalling can be stabilized with a penetrating brick consolidant; significant spalling indicates moisture ingress that must be resolved before painting. Crumbling mortar requires repointing (tuck-pointing the damaged joints with fresh mortar) and full cure before painting. Efflorescence must be removed with a proprietary efflorescence remover, and the moisture source that is driving it must be identified and corrected; painting over active efflorescence causes paint failure within one season. Biological growth is removed with a biocide wash followed by thorough rinsing.
A house with sound, well-pointed brick and no active moisture problems is ready for exterior brick paint preparation. A house with unresolved structural or moisture issues is not, and painting it before resolving those issues produces exterior brick paint failure that is more expensive to address than the underlying problem would have been.
Step 2: Clean the Entire Brick Surface Thoroughly
Exterior brick paint applied to a dirty, dusty, or contaminated brick surface bonds inadequately and fails prematurely. Clean the entire brick surface with a pressure washer at a medium setting (1200 to 1500 PSI for brick; higher pressure risks damaging softer mortar joints), working from top to bottom and keeping the nozzle at a consistent 30 to 45-degree angle to the surface rather than perpendicular (perpendicular pressure washing forces water into the brick face rather than across it).
For areas with significant biological staining, apply a proprietary exterior masonry cleaner or a diluted sodium hypochlorite solution (one part bleach to four parts water), allow to dwell for 15 minutes, scrub with a stiff-bristle brush, and rinse thoroughly. Allow the brick surface a minimum of 48 to 72 hours of dry weather after washing before applying any exterior brick paint primer or paint. Brick is highly porous and retains moisture for longer than it appears dry at the surface.
Step 3: Repair Mortar Joints and Spot-Prime Repairs
After cleaning and drying, any mortar joints identified during the initial assessment as crumbling or missing are repointed before exterior brick paint is applied. Mix exterior repointing mortar (Type S mortar for most residential applications) to a stiff consistency, pack it into the cleaned joint using a pointing trowel, and tool the surface of the new mortar to match the existing joint profile. Allow repointing mortar to cure for a minimum of 7 days before painting; fresh mortar continues to release alkalinity as it cures, which can cause adhesion failure in exterior brick paint applied too early.
Spot-prime all freshly repointed areas with an alkali-resistant primer before the full surface primer coat is applied. New mortar is highly alkaline and standard exterior brick paint primers may not have sufficient alkali resistance to perform reliably without this spot-prime step. Mark all repointed areas with a pencil or chalk during the repair stage so they can be located reliably when spot-priming later.
Step 4: Apply an Exterior Masonry Primer
The primer coat is the most important performance-determining stage of an exterior brick paint project. Brick is a highly porous substrate with significant variation in porosity between the brick face and the mortar joint; a primer specifically formulated for masonry surfaces bridges this variation and provides the uniform, bonded foundation that exterior brick paint requires for long-term adhesion.
Choose a penetrating alkali-resistant masonry primer product from Zinsser (Exterior Block Filler), KILZ Masonry Primer, or Sherwin-Williams Loxon Conditioner are widely used and consistently performing options. Apply by brush and roller together: use a masonry brush (a thick, stiff-bristle brush) to work primer into the mortar joints and any textured or recessed areas of the brick face first, then follow immediately with a 3/4-inch nap roller to apply primer across the flat brick faces. Two coats of primer on bare or previously unpainted brick are recommended for maximum adhesion performance and the most uniform exterior brick paint finish over the primer.
Step 5: Choose Your Exterior Brick Paint Color
The color selection is the decision that most directly determines the exterior brick paint project’s visual outcome, and it is the decision that benefits most from systematic evaluation before commitment. The image’s side-by-side comparison shows the most popular exterior brick paint color pairing for this house type: crisp white (the most widely used exterior brick paint color for a modern, architectural aesthetic) against the original warm reddish-brown brick.
White and near-white exterior brick paint Sherwin-Williams Extra White, Benjamin Moore White Dove, Behr Ultra Pure White produces the most dramatic transformation on warm-toned brick, creating the clean, contemporary appearance that has driven the popularity of painted brick over the past decade. White exterior brick paint reads as architectural and premium against dark grey roofs and black trim, exactly as demonstrated in the image. It reflects heat significantly more than darker colors, which can reduce summer cooling loads in warm climates.
Warm grey exterior brick paint Sherwin-Williams Agreeable Grey, Benjamin Moore Revere Pewter, Behr Silver Drop suits houses where a warmer exterior brick paint tone is preferred to the crispness of white. Grey exterior brick paint reads as sophisticated and contemporary without the stark contrast of white, and is particularly effective on houses with warm brown or copper-tone trim and roofing.
Classic creamy white Sherwin-Williams Alabaster, Benjamin Moore Cloud White, Valspar Cream in My Coffee provides the warmth of white exterior brick paint with a slight yellow or beige undertone that prevents the exterior from reading as cold or institutional under overcast light conditions. This is the exterior brick paint choice most often recommended for houses in northern climates where natural light is cooler and bluer.
Test any exterior brick paint color by applying a 60cm by 60cm sample directly to the brick surface and assessing it at different times of day morning, midday, and evening and under different weather conditions before committing to the full application. Brick’s texture and porosity absorb color differently from a smooth surface, and the same exterior brick paint color applied to brick reads differently from its appearance on a paint chip or a swatch card.
Step 6: Apply Exterior Brick Paint in Two Full Coats
Apply exterior brick paint using the same brush-first-then-roller technique used for the primer: work the exterior brick paint into mortar joints and textured areas by brush, then immediately roll the flat brick faces with a 3/4-inch nap roller to achieve uniform coverage. Maintain a wet edge rolling from unpainted into freshly painted areas rather than back into dried paint to prevent lap marks visible in the finished surface.
Apply a minimum of two full coats of exterior brick paint, allowing the manufacturer’s recommended drying time between coats. Do not thin exterior brick paint for the first coat to improve workability; properly formulated masonry paint requires no thinning, and thinning reduces its film build and long-term durability. The second coat of exterior brick paint may be applied when the first is dry to touch (typically 4 to 6 hours in good conditions) but benefits from 24 hours of curing before the second coat is applied for maximum inter-coat adhesion.
Do not apply exterior brick paint in temperatures below 50°F (10°C) or above 90°F (32°C), in direct strong sunlight on a hot surface, or when rain is forecast within 24 hours of application. These conditions produce adhesion failure, uneven film formation, or premature wash-off before the exterior brick paint has cured.
Expert Secrets for Success
Pro-Tips for a Better Result
- Brush mortar joints before rolling the flat brick faces always. The mortar joint is the most difficult part of the brick surface to paint and the most visible unpainted area if missed. Working by brush into every mortar joint as the first action in every painting section before the roller touches the brick face ensures the joint is fully coated and the roller can then overlap the joint edges to blend the brush marks into the surrounding flat brick surface. Roller-only application on brick almost always produces incompletely painted mortar joints that read as grey lines through the white exterior brick paint finish.
- Use a dedicated masonry paint, not exterior wood or metal paint. Standard exterior paints formulated for wood or metal do not have the flexibility to accommodate the dimensional movement of brick and mortar through seasonal temperature cycles. Exterior brick paint formulated specifically for masonry contains elastomeric compounds that allow the paint film to flex rather than crack as the substrate moves. Applying standard exterior paint to brick produces hairline cracking in the paint film at mortar joint lines within the first winter cycle.
- Apply an elastomeric top coat for maximum weather resistance. Elastomeric exterior brick paint available from Sherwin-Williams (Conflex), KILZ (Exterior Elastomeric), and other premium exterior paint suppliers provides a heavier-bodied, more flexible film build than standard masonry paint and bridges minor hairline cracks in the mortar joint as it moves seasonally. It is more expensive per gallon than standard exterior brick paint but covers at a lower spread rate (less surface area per gallon due to its higher film build) and provides significantly greater durability, particularly valuable on exterior surfaces in climates with pronounced freeze-thaw cycling.
- Paint in sections from top to bottom, completing each section fully. Begin at the highest accessible point of the exterior (typically the gable end above the roofline) and work down to the foundation line, completing one section of the elevation fully before moving to the adjacent section. This prevents the over-spray and drip contamination of lower completed sections by higher painting activity, and ensures that any runs or drips from upper work are caught and worked out before they dry.
- Re-caulk all penetrations and trim junctions before painting. Every point where exterior brick paint meets a different material window frames, door frames, utility penetrations, air conditioner units, downpipes should be freshly caulked with a paintable exterior masonry caulk before the primer coat is applied. Old caulk that has cracked, shrunk, or separated from the brick surface allows water ingress at the exact locations where it causes the most damage, and exterior brick paint applied over failing caulk bridges the gap temporarily while allowing continued water infiltration beneath the paint film.
Common Mistakes to Avoid
- Painting brick in direct summer sunlight. High surface temperatures cause exterior brick paint to dry too rapidly at the surface while remaining wet at the bond interface with the primer and brick. This “skinning” produces a paint film that is soft in the layer below the surface skin, prone to lifting, and unable to develop the full adhesion bond that the paint’s chemistry requires. Paint brick in the early morning before direct sun reaches the surface, or on overcast days, to ensure the exterior brick paint cures evenly from the surface to the substrate.
- Skipping the primer on previously painted brick. Previously painted brick that appears to have sound, bonded paint may still have weak areas at the paint-to-brick interface that are not visible without adhesion testing. Applying new exterior brick paint over unsound old paint bonds only as strongly as the old paint bonds to the brick, which may be inadequate. Clean the surface, apply a masonry primer capable of bonding to both the old paint and the brick in any areas where old paint may have lifted, and allow it to cure before applying the new exterior brick paint top coats.
- Applying exterior brick paint in cold or wet conditions. Water-based exterior brick paint applied in temperatures below 50°F (10°C) does not form the polymer film that gives cured paint its durability; the paint remains porous and soft, accepts dirt, and fails prematurely. Applied to a damp brick surface (brick that feels dry to the touch but retains moisture within its pores), exterior brick paint traps moisture that drives the paint film off the substrate as vapor pressure builds during subsequent heating. Check both ambient temperature and brick surface moisture with a moisture meter before starting any exterior brick paint application session.
- Using the same nap roller used for interior flat walls. Standard interior paint roller sleeves (3/8-inch nap or less) do not apply sufficient paint volume to the textured, porous surface of brick and leave an uneven coat with inadequate film build in the recesses of the brick’s natural surface texture. Use 3/4-inch nap roller sleeves for all exterior brick paint applications; the longer nap reaches into surface texture and delivers paint at adequate volume to the full surface profile.
- Neglecting the foundation-level brick. The bottom course of brick at foundation level is the most exposed to moisture splash-back, ground-level weed growth, and physical contact, and is frequently the first area where exterior brick paint shows wear, staining, or biological growth. Apply a penetrating water repellent to the foundation-level brick after exterior brick paint has fully cured as an additional protective measure, and inspect and clean the foundation-level section annually as part of the home’s exterior maintenance routine.
Why Exterior Brick Paint Matters
A house’s exterior is the statement it makes to every person who sees it from passing cars, from neighboring properties, from the street approach that every arrival home begins with. Exterior brick paint does not change the house’s structure, its rooms, or its daily utility. It changes what the house communicates before anyone steps through the door. A brick exterior that has been painted with intention the right color chosen deliberately, applied correctly, and maintained over time communicates care. It communicates pride of ownership. It communicates a household that has taken its home seriously enough to improve it rather than simply inhabit it. These are not trivial signals.
For families, the curb appeal transformation that exterior brick paint delivers has a daily dimension that property appraisers measure, but homeowners actually live. Coming home to a house that looks good from the street, that holds its own against the architecture around it, that looks maintained and considered changes the daily experience of arrival in a small but cumulative way. Children grow up in a house whose exterior communicates that someone has thought about it. Guests arrive at a house whose first impression sets a tone for what is inside. Neighbors experience a street that has been maintained rather than allowed to drift. These are the returns that exterior brick paint provides every day, not just at sale or at appraisal, but in the quotidian experience of living in and returning to a home that looks like it was meant to be there.
And for the person who takes on the project, who cleans the brick, repairs the mortar, primes the surface, and applies two careful coats of exterior brick paint in exactly the right color, the completed exterior represents one of the most visible and lasting home improvements achievable without structural work. The house looks definitively different. It looks better in a way that does not require explanation or interpretation. Before and after is self-evident at street distance. That quality of unambiguous, immediate, and permanent visual improvement, the result of a careful process applied to a specific material decision, is one of the most satisfying outcomes that a home improvement project delivers. Exterior brick paint, done correctly, earns its place among the handful of projects that genuinely transform a property’s character and the family’s experience of living in it.
Frequently Asked Questions
Does exterior brick paint peel over time, and is it permanent?
Exterior brick paint applied over properly prepared, primed, and dry brick with a quality masonry-formulated paint performs for 10 to 15 years before requiring recoating in most climates. It does not typically peel in the dramatic way that wood paint peels when applied correctly. Masonry paint in good condition shows gradual fading and chalking rather than peeling failure. It is permanent in the sense that removal requires either sandblasting, chemical paint stripping, or mechanical grinding, none of which are practical or economical for a full house exterior. Paint your brick with the intention that you are committing to an exterior brick paint maintenance program rather than a reversible experiment.
What is the best exterior brick paint brand for a house exterior?
Sherwin-Williams Masonry, Surface and Trim (MST) paint and their Conflex elastomeric exterior brick paint are consistently rated at the top of professional exterior masonry painter recommendations. Benjamin Moore Aura Exterior and their Masonry Sealer combination perform equivalently. KILZ Exterior Masonry Paint is the most widely available value-performance option for homeowners undertaking exterior brick paint projects without professional application. Behr Premium Plus Exterior paint in a Flat finish is a well-regarded and broadly available option through Home Depot. In all cases, choose the manufacturer’s exterior masonry-specific product rather than a general exterior paint; the masonry-specific formulation provides the flexibility, alkali resistance, and porosity bridging that brick substrates require.
How much does it cost to paint a brick house exterior?
The cost of an exterior brick paint project varies by house size, surface condition, and whether the project is professional or DIY. Professional exterior brick paint application for a typical two-story house (1800 to 2400 square feet of brick surface) typically ranges from $3,500 to $7,500 including preparation, primer, and two top coats. DIY exterior brick paint projects for the same house size typically cost $600 to $1,200 in materials primer, paint, brushes, rollers, and equipment with the significant cost difference representing the labor value that the homeowner provides. The quality of the DIY result depends entirely on the preparation quality: surface cleaning, mortar repair, and priming account for 70% of the outcome quality regardless of the paint applied over them.
Can I change the color of painted brick at the next recoat?
Yes, previously painted brick can be repainted in a different color at the next maintenance cycle with the same preparation process used for the original application: cleaning, assessment of the existing paint bond, spot-priming any areas where the existing paint has lifted or chalked significantly, and application of two full coats of the new color exterior brick paint. Changing from a light color to a significantly darker color requires fewer coats than changing from dark to light, which may require additional coats for complete coverage. The commitment inherent in exterior brick paint is to the painting program, not to the specific color selected at any given recoat cycle.