Our backyard boundary used to be a sad, sagging chain-link fence that had clearly seen better decades. It rattled every time the wind picked up, rust bloomed along the bottom edge, and it did absolutely nothing to soften the view of the neighbor’s storage shed. Every time I sat on our new deck with a cup of coffee, that fence was the first thing I noticed a constant, nagging reminder of a project I kept putting off because I assumed it would be way more complicated than I could handle myself.
If you’ve ever looked at your own yard and felt that same low-grade frustration with a tired, mismatched fence, you’re not alone. Fencing projects sound intimidating: posts, concrete, spacing, tools you may not own, and it’s easy to assume it’s a job that requires hiring someone. But a simple wood rail fence is genuinely one of the more approachable outdoor DIY projects out there, especially with the right plan and a weekend or two set aside.
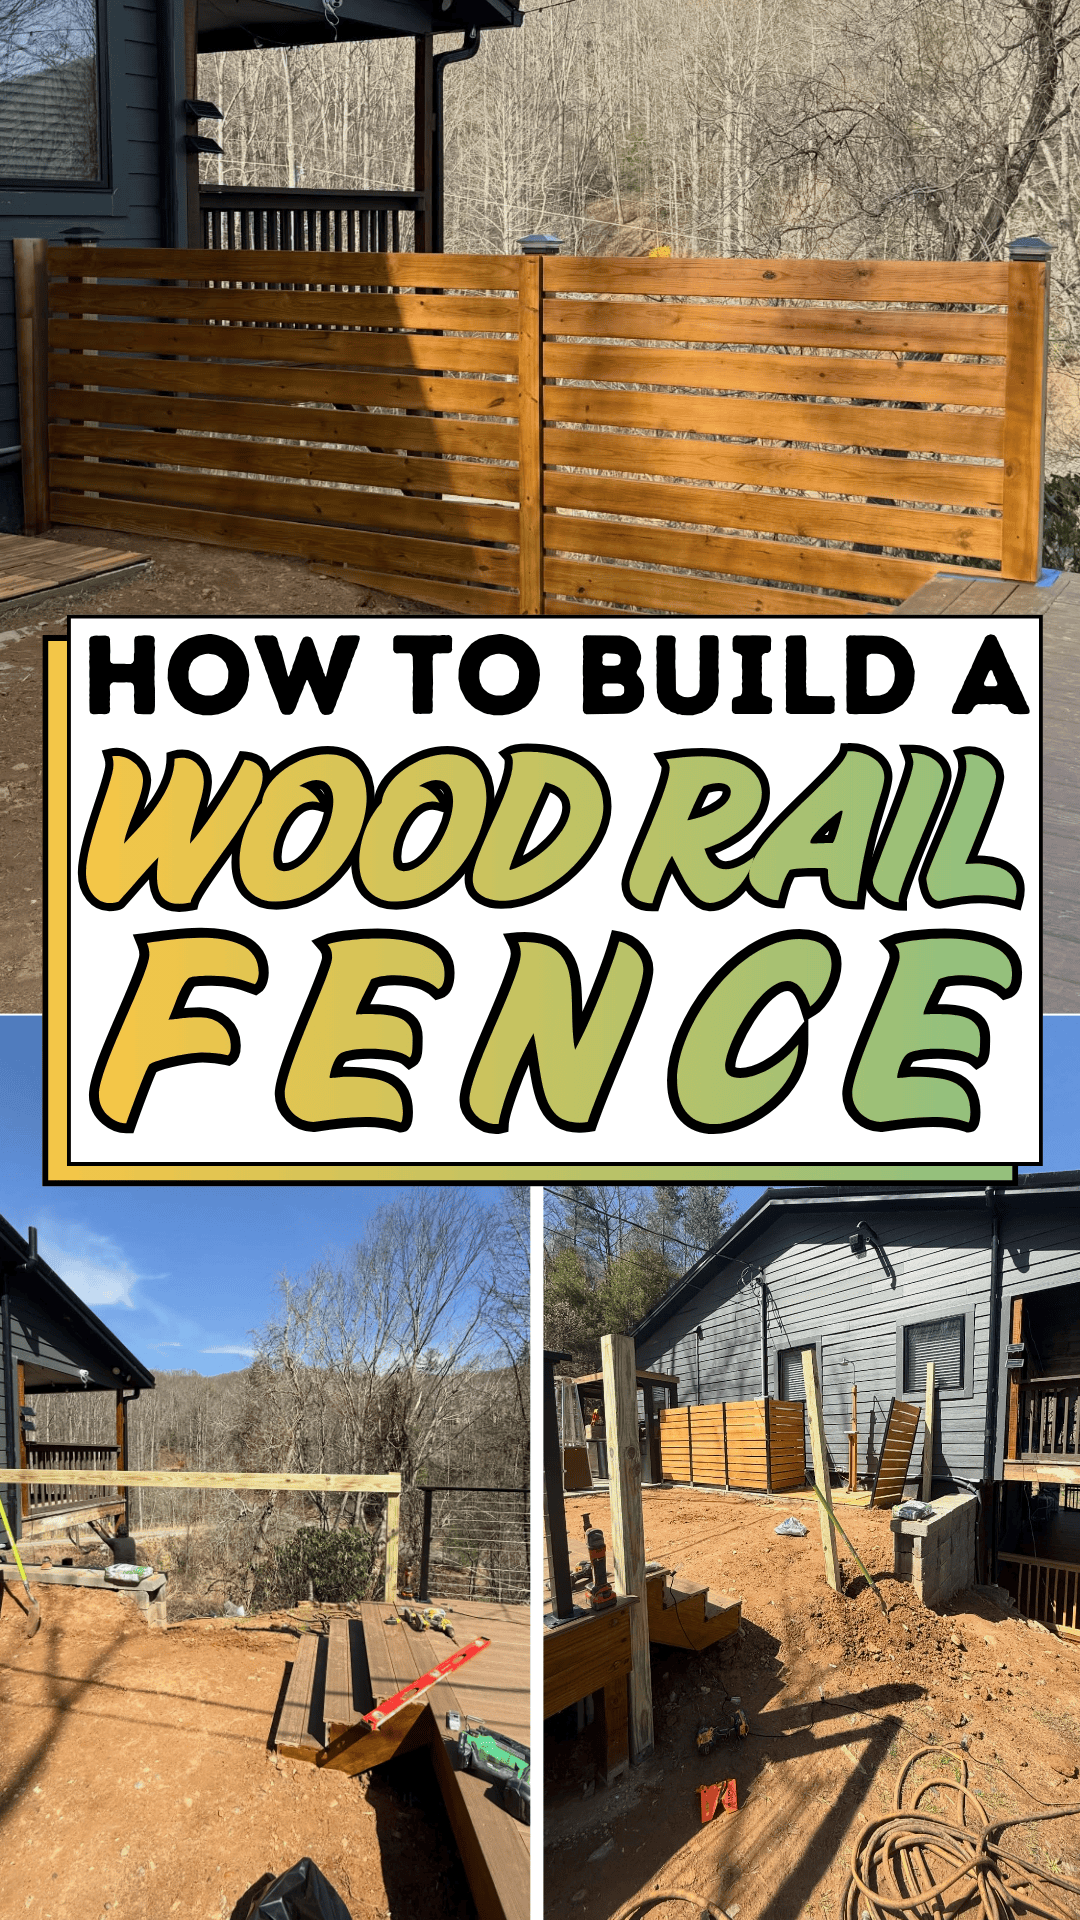
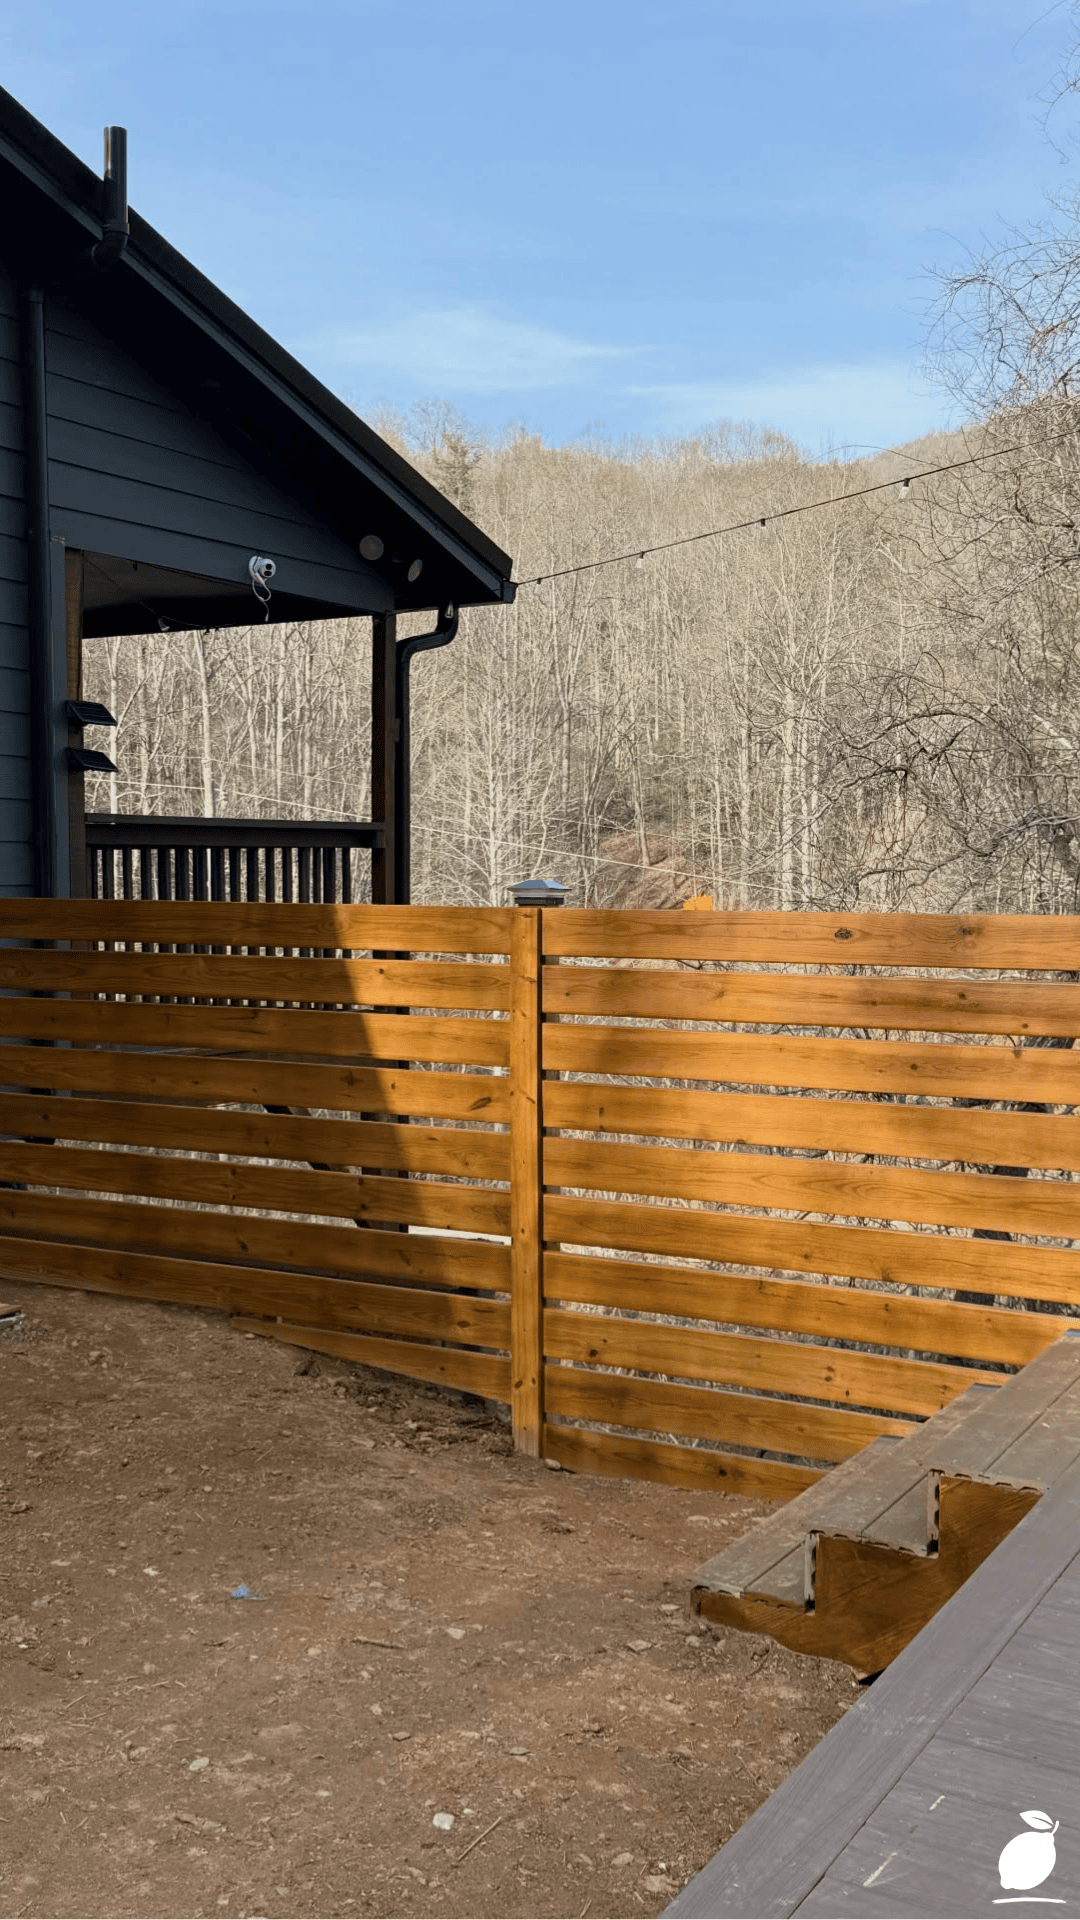
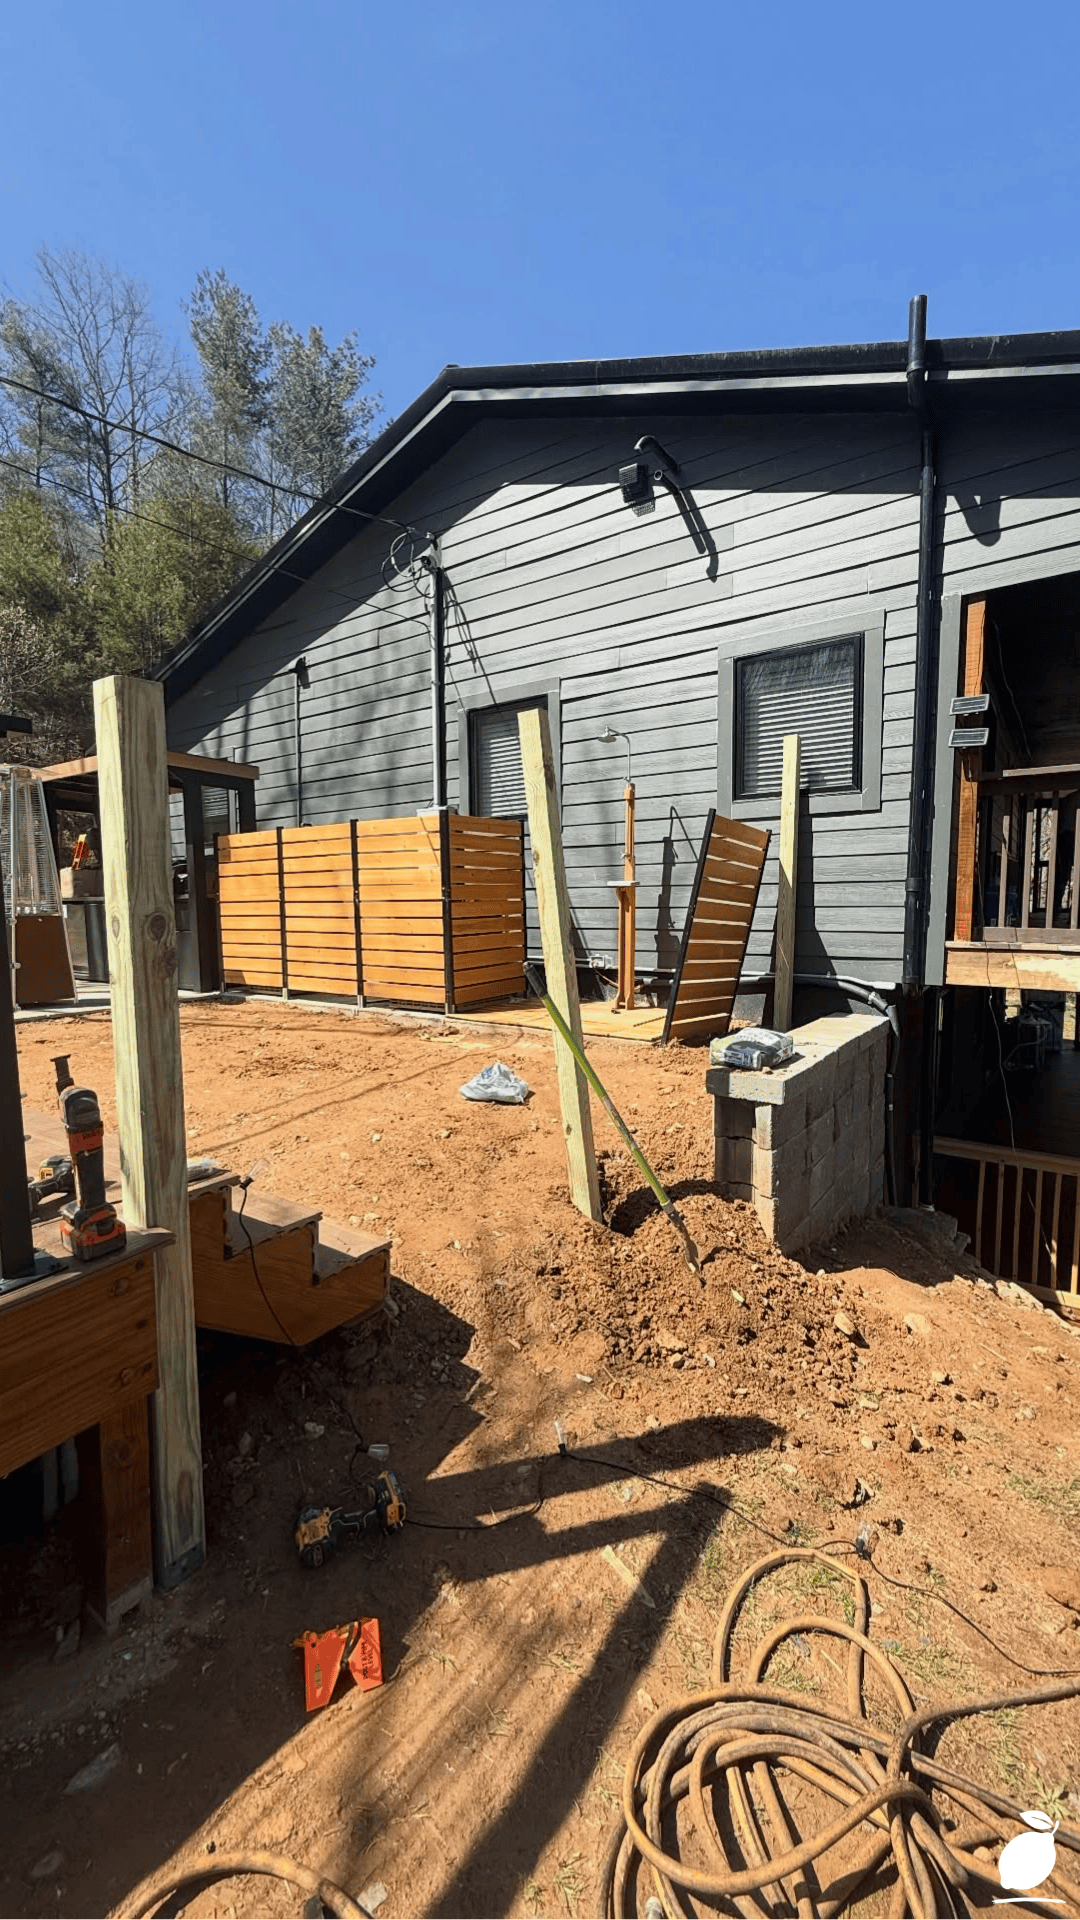
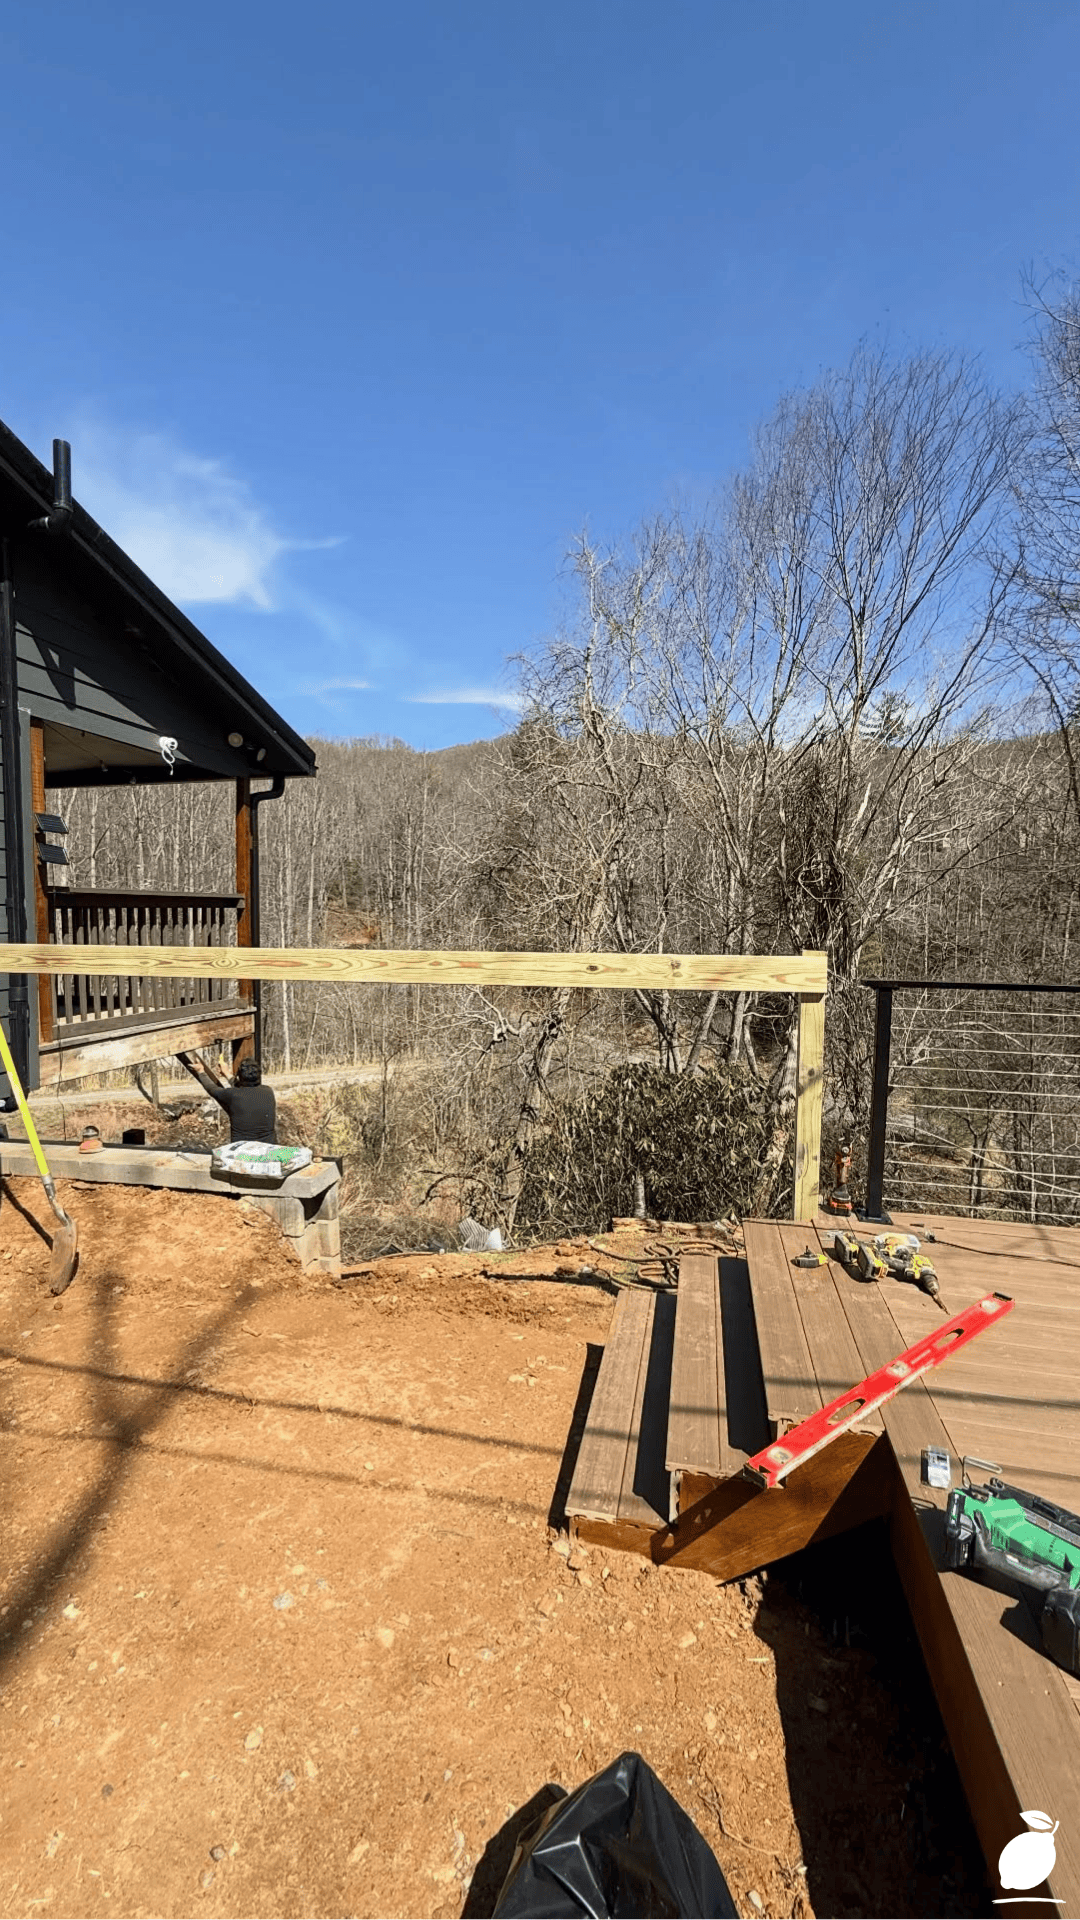
That’s exactly what I realized looking at a photo that reframed the whole project for me: a partially finished backyard setup, a shovel and level resting in a fresh dirt patch, a drill and level sitting on a newly built wooden deck, a simple wood fence taking shape against a backdrop of trees and open sky. It wasn’t a finished, polished scene; it was a project actually in progress, tools and all, which made the whole thing feel achievable instead of intimidating. Here’s exactly how to build your own wood rail fence from start to finish.
The Wood Rail Blueprint
Step 1: Check Property Lines and Local Codes
Before digging a single hole, confirm your property boundaries and check local regulations for fence height, setback requirements, and whether a permit is needed. Skipping this step can lead to costly rework or disputes with neighbors later.
Step 2: Plan Your Layout and Mark Post Locations
Measure your fence line and mark post locations with stakes and string, spacing posts according to your chosen rail length (typically 6-8 feet apart for standard wood rail fencing). Consistent spacing is key to a professional, even final result.
Step 3: Dig Post Holes
Dig holes at each marked location, generally about one-third of the post’s total length deep (so a 6-foot post needs roughly a 2-foot hole), and slightly wider than the post itself to allow room for concrete or gravel backfill.
Step 4: Set and Secure the Posts
Place each post in its hole, checking for plumb with a level on multiple sides, then fill with concrete or a gravel-and-tamped-soil mix depending on your soil type and climate. Brace posts temporarily while the concrete cures to keep them perfectly vertical.
Step 5: Allow Proper Curing Time
Let concrete-set posts cure fully, typically 24-48 hours, before attaching any rails. Rushing this step risks shifting posts out of alignment once weight and pressure are applied during rail installation.
Step 6: Attach the Horizontal Rails
Measure and cut rails to fit between posts, then attach using exterior-rated screws or nails, checking each rail with a level before securing fully. Most wood rail fences use two or three horizontal rails per section, spaced evenly for both strength and visual balance.
Step 7: Sand and Smooth All Surfaces
Sand any rough edges, splinters, or uneven cuts on posts and rails to create a clean, finished appearance and to prevent snags on clothing or skin during regular yard use.
Step 8: Apply Stain or Sealant
Apply a wood stain, sealant, or weatherproofing treatment to protect the fence from sun, rain, and general wear. Reapply every one to two years depending on your climate and the specific product used.
Expert Secrets for Success
Pro-Tips for a Better Result
- Use pressure-treated wood for posts specifically, since they have the most direct, prolonged contact with soil and moisture.
- Rent a post hole digger or auger for larger projects; manual digging by hand becomes exhausting quickly across a full fence line.
- Pre-drill screw holes near the ends of rails to prevent splitting, especially with denser hardwoods.
- Check for level and plumb repeatedly throughout the build, not just at the very end; small errors compound quickly across a full fence run.
Common Mistakes to Avoid
- Don’t skip checking utility lines before digging; always call a utility locate service to avoid hitting buried lines while post-hole digging.
- Avoid spacing posts too far apart to save time or materials; wider spacing can lead to sagging rails and reduced structural stability over time.
- Don’t attach rails before posts are fully cured and stable; premature weight can shift newly set posts out of alignment.
- Resist skipping a protective stain or sealant, even on naturally rot-resistant wood species; unprotected wood weathers and grays far faster without treatment.
Why Wood Rail Matters
A backyard boundary does more than mark property lines; it shapes how the entire outdoor space feels day to day. A tired, mismatched fence quietly undercuts even a beautifully maintained yard, while a clean, well-built wood rail fence adds warmth, structure, and a sense of intentional care to the whole property. It’s often the first thing you notice from a deck or patio, and its condition sets the tone for how relaxed that space actually feels.
There’s real satisfaction in completing a hands-on outdoor project that you can see and use every single day afterward. A wood rail fence isn’t just a boundary marker — it’s proof of what a weekend of focused effort can accomplish, and that kind of visible, lasting result brings a genuine sense of calm and pride. For families, a finished, well-kept yard becomes a space people actually want to spend time in, rather than one more unfinished task lingering in the background.
FAQ
How much does it cost to build a wood rail fence yourself?
DIY wood rail fencing typically costs significantly less than professional installation. Material costs vary by wood type and fence length, and most homeowners save 40-60% by handling the labor themselves.
What type of wood is best for a rail fence?
Cedar and pressure-treated pine are among the most popular choices for wood rail fencing, offering a good balance of durability, natural rot resistance, and affordability.
How deep should fence posts be set?
Most fence posts should be set at a depth of roughly one-third of their total above-ground height, ensuring adequate stability against wind and shifting soil over time.
How long does it take to build a wood rail fence?
For an average residential yard, a DIY wood rail fence typically takes one to two weekends to complete, depending on total fence length, soil conditions, and whether concrete curing time is required.
Do I need a permit to build a wood rail fence?
Permit requirements vary by location and fence height, so it’s important to check local zoning regulations and any homeowners’ association rules before beginning construction.