
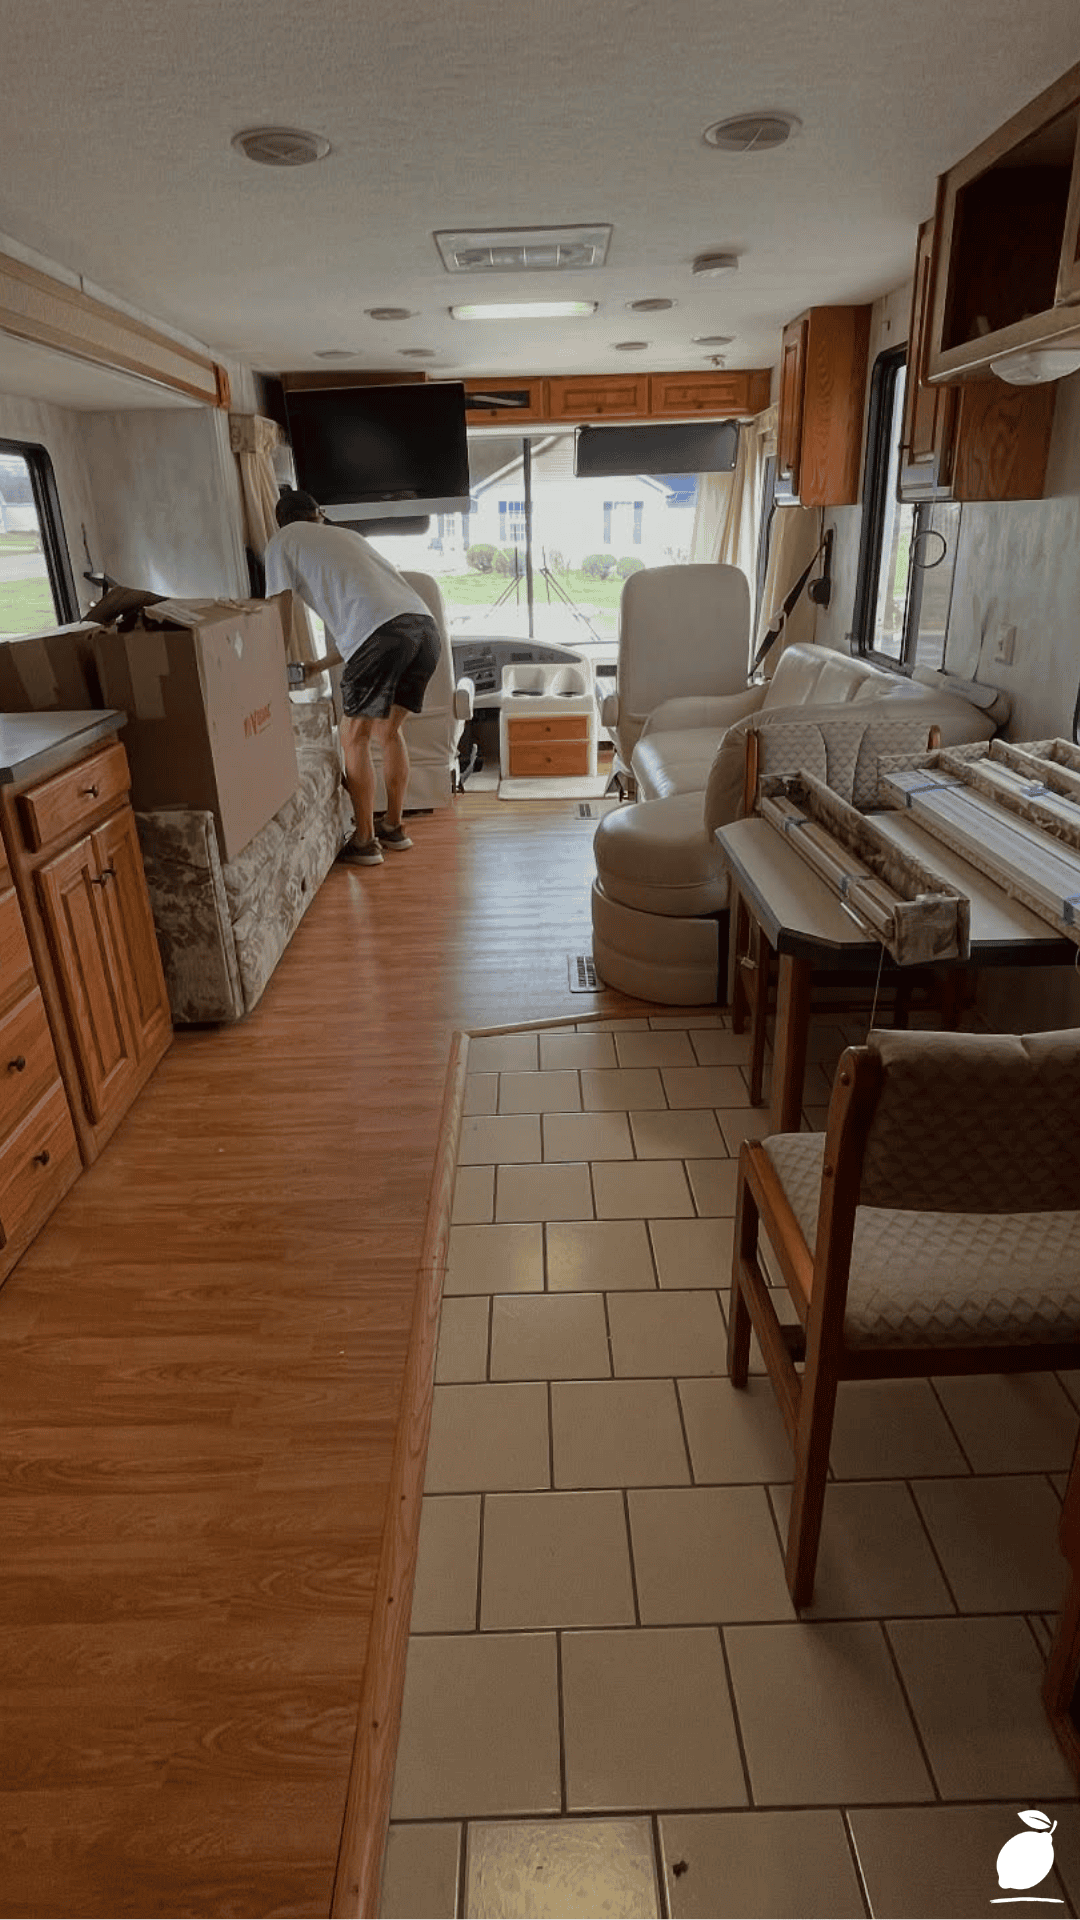
The first time I really looked at our old RV’s walls in daylight, I noticed how yellowed the paneling had gotten; decades of sun exposure and cigarette smoke from a previous owner had turned what was probably once a crisp cream into a dull, dingy beige. The wood-toned cabinets, the laminate floor, the paneled walls everything blurred together into one heavy, dated brown. It wasn’t dirty exactly. It was just tired, the way everything gets tired after enough years on the road, and it was clear this old RV needed more than a deep clean to feel like ours again.
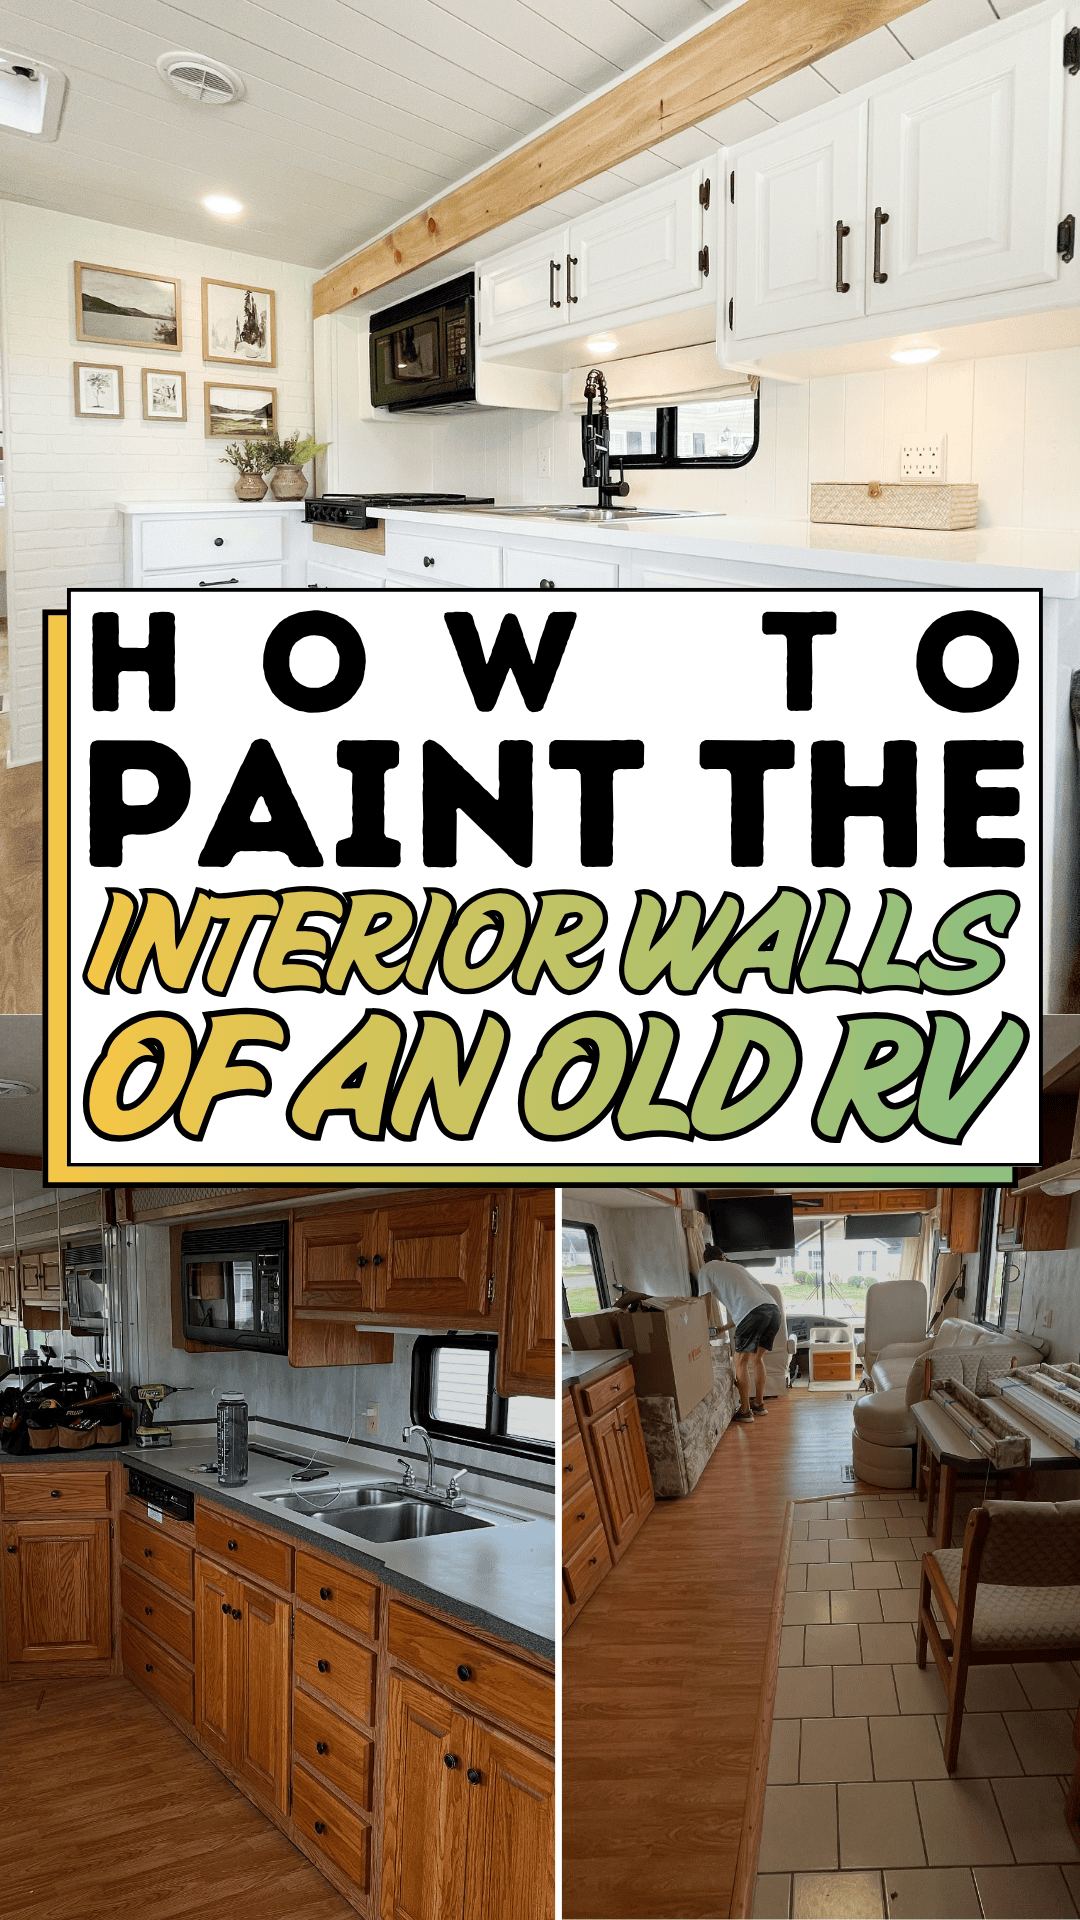
If you’ve ever inherited or bought an older RV, you know this feeling. The bones are solid, the appliances work, the layout is functional, the whole thing runs, but the interior feels stuck in another decade. Replacing paneling or gutting the interior is expensive and often unnecessary. Most of what makes an old RV feel dated isn’t structural. It’s simply the color, and color is one of the most affordable things in the world to change, even in an old RV that’s been through decades of road trips.
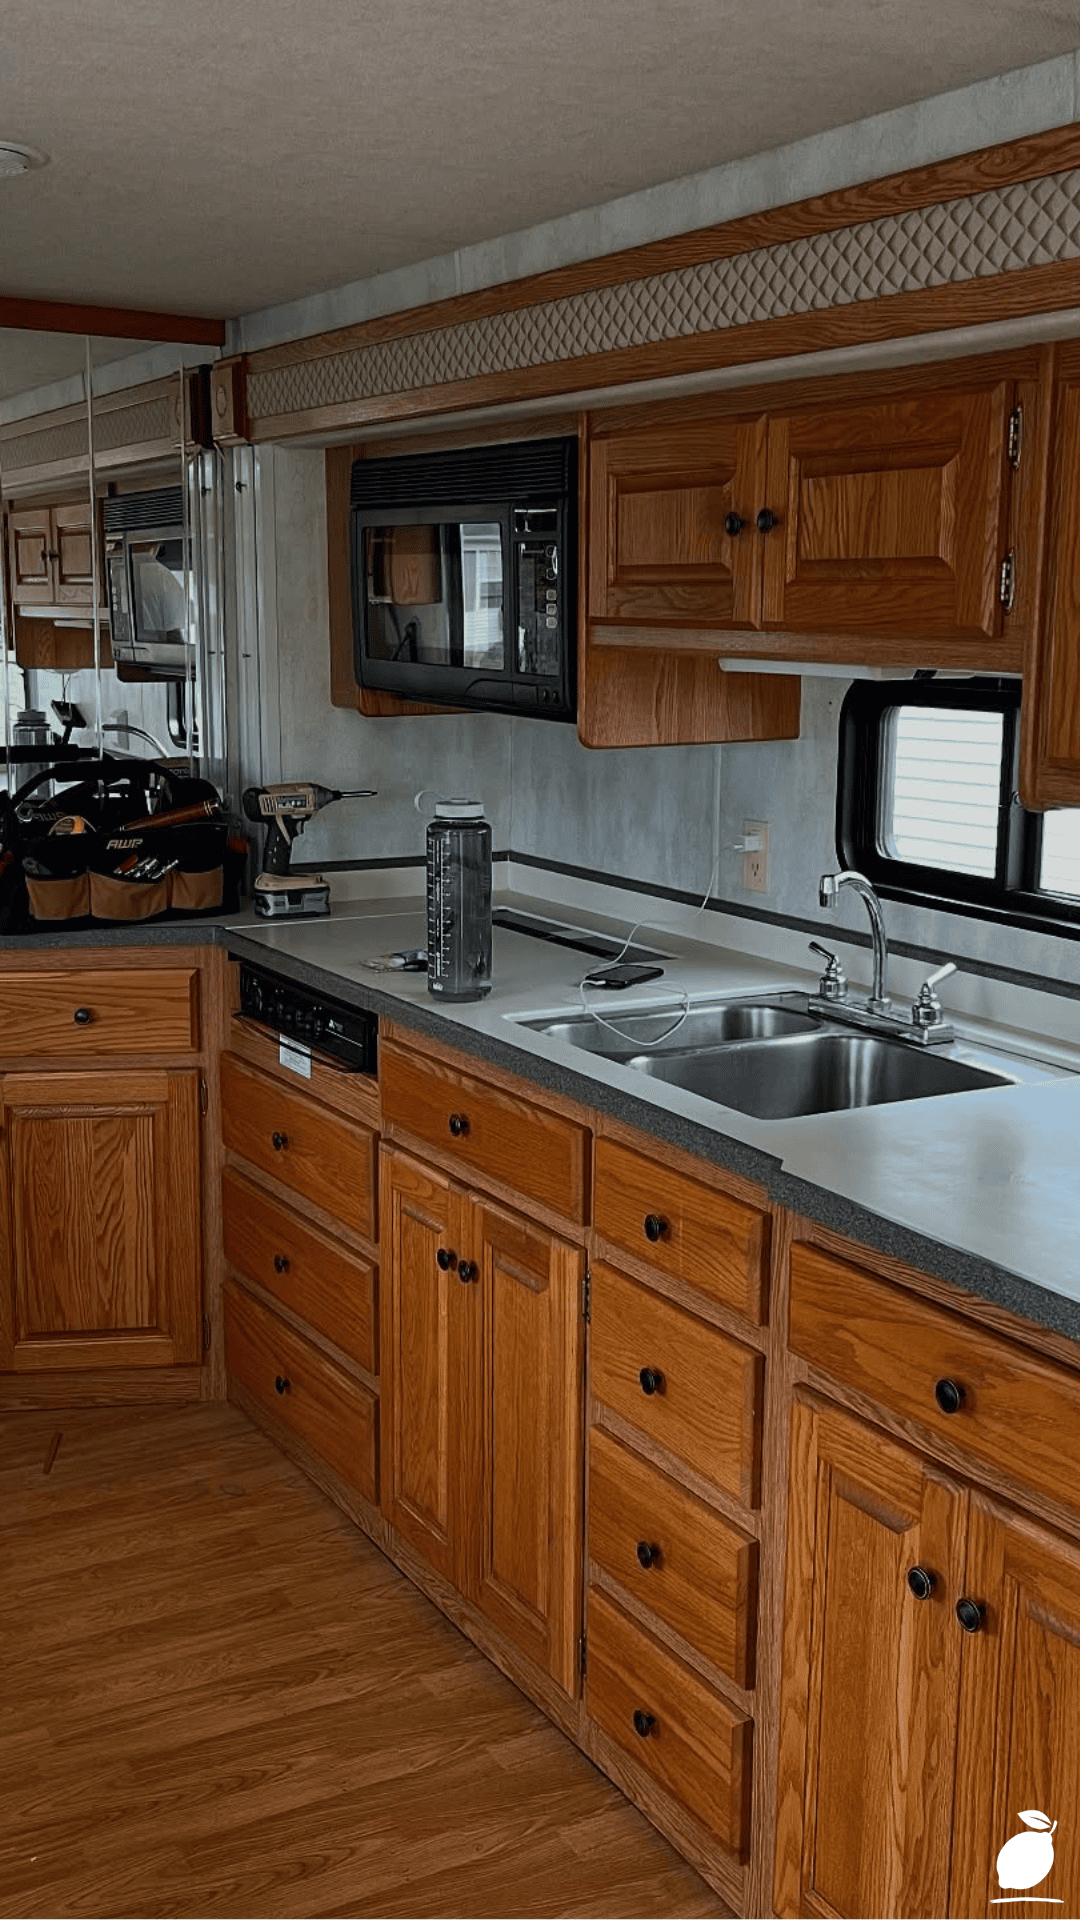
That’s what sent me down the path of learning how to properly paint an old RV’s interior walls instead of covering them or ripping them out. I studied a cozy little RV kitchen for inspiration: warm wood cabinetry, a clean countertop, soft overhead lighting spilling across the space, and a window letting in natural light that made even the laminate floor look inviting. It reminded me that with the right prep and the right paint, an old RV’s walls could look completely transformed without a single dollar spent on new materials. Here’s the exact process that worked for me, step by step, for turning any old RV around.
The Old RV Blueprint
Painting the interior of an old RV isn’t complicated, but it does require patience with prep work. Skipping steps is the fastest way to end up repainting the same old RV wall twice, so work through this sequence in full.
Step 1: Assess Your Wall Material
Most old RVs have either vinyl-wrapped paneling, painted wood paneling, or a textured wallboard material. Identify which you’re working with, since vinyl surfaces need a different primer approach than bare or previously painted wood a detail that trips up a lot of first-time old RV renovators.
Step 2: Clean Every Surface Thoroughly
RV walls accumulate years of grease, smoke residue, and grime, especially near the kitchen. Wash walls with a degreasing cleaner (like TSP substitute) and let them dry fully; paint will not adhere properly over any residual film, no matter how good your technique is on the rest of the old RV.
Step 3: Sand Glossy or Textured Areas
Lightly sand any glossy laminate or vinyl-wrapped panels with fine-grit sandpaper to create a surface paint can actually grip. Wipe away all dust with a tack cloth before moving to the next step in your old RV paint job.
Step 4: Repair and Fill Imperfections
Fill any nail holes, dents, or seams with a flexible wood filler or caulk, since RV walls flex slightly during travel and rigid fillers can crack over time. Sand smooth once fully dry. This small step keeps your old RV’s walls looking seamless once painted.
Step 5: Apply a Bonding Primer
Use a high-adhesion bonding primer specifically designed for slick surfaces like vinyl or laminate. This step is non-negotiable for old RV walls; skipping it is the number one reason old RV paint jobs peel or chip within months.
Step 6: Choose a Flexible, Durable Paint
Select a paint formulated for flexibility, since RV walls move and vibrate during travel far more than a stationary home’s walls do. Many old RV owners use a quality acrylic or enamel paint labeled for cabinets, trim, or flexible surfaces.
Step 7: Apply Paint in Thin, Even Coats
Apply two to three thin coats rather than one heavy coat, allowing full drying time between each. Thin coats reduce the risk of drips, cracking, and uneven texture on paneled or grooved surfaces, which matters even more in an old RV where wall grooves are common.
Step 8: Seal With a Protective Topcoat
Once fully cured, apply a clear polyurethane or protective topcoat in high-touch areas like the kitchen and dinette walls. This adds durability against daily wear, moisture, and cleaning in an old RV’s most-used spaces.
Step 9: Reinstall Fixtures and Do a Final Walkthrough
Once everything is fully cured, reinstall any hardware, vents, or fixtures you removed, and do a full walkthrough to check for missed spots, drips, or thin coverage. This final pass is what makes an old RV feel truly finished rather than just freshly painted.
Expert Secrets for Success
Pro-Tips for a Better Result
- Test your paint and primer combination on a small, hidden section first, since old RV wall materials can react unpredictably to certain products.
- Remove or mask hardware, vents, and light fixtures completely rather than trying to paint carefully around them; old RV interiors have a lot of small fixtures that are easy to accidentally coat.
- Work in small sections with good ventilation, since old RV interiors are compact and fumes build up quickly in enclosed spaces.
- Choose a satin or eggshell finish over high-gloss for most old RV interiors; it hides minor imperfections in older paneling far better than a glossy finish would.
- Keep a paint pen or small touch-up kit on hand after finishing; old RV walls see daily wear, and small nicks are easy to fix quickly if you catch them early.
- Document your paint colors and product names once you finish, since matching touch-up paint later is much easier with a record than with guesswork.
Common Mistakes to Avoid
- Don’t skip the bonding primer step, even if the surface looks clean; most old RV wall failures happen because paint was applied directly over slick, unprimed vinyl or laminate.
- Avoid painting in extreme heat or cold; old RVs left in direct sun or unheated storage can reach temperatures that prevent paint from curing properly.
- Don’t rush between coats; old RV walls often have grooves and seams that trap moisture if painted too quickly, leading to bubbling or peeling later.
- Resist using standard wall paint meant for stationary homes without checking for flexibility; rigid paint formulas are far more likely to crack under an old RV’s constant vibration and movement.
- Don’t ignore small water stains before painting; even a fresh coat over an unresolved leak will fail again inside an old RV within a season or two.
- Avoid rushing the reinstallation of fixtures before paint is fully cured; hardware pressed into soft paint on an old RV wall can leave permanent marks or dents.
Why an Old RV Matters
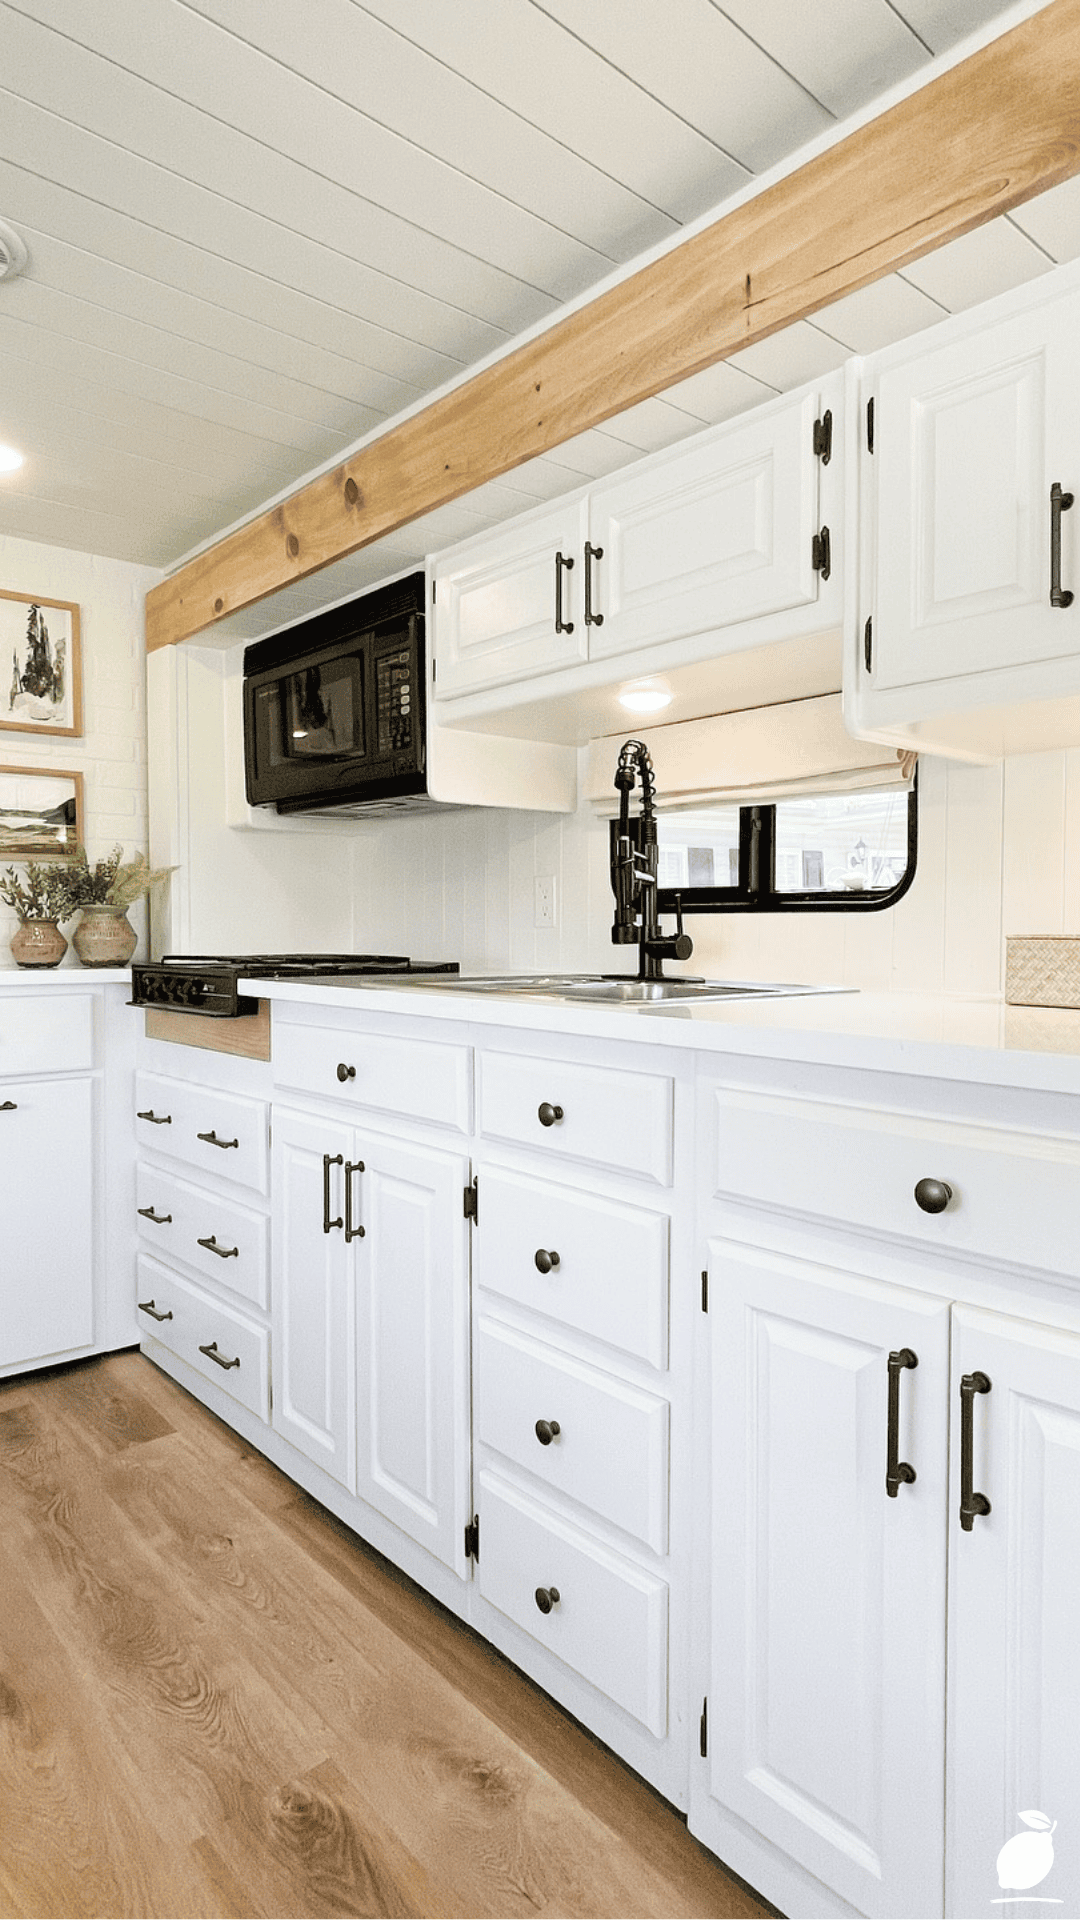
An old RV carries a particular kind of sentimental weight: road trips, family memories, quiet mornings with coffee in unfamiliar places. When the interior feels dated and worn, it’s easy to forget how much life still happens inside those walls. A fresh coat of paint doesn’t just update the look; it renews the feeling of the space, making an old RV somewhere you actually want to spend time again.
There’s a real sense of accomplishment in taking an old RV that felt stuck in the past and turning it into a space that feels current, cared for, and genuinely yours. It’s a project within reach of most weekend DIYers, and the payoff is disproportionate to the effort: a completely different atmosphere for a fraction of the cost of a full renovation. For families who spend real time in their old RV, that renewed sense of comfort translates directly into calmer, more enjoyable trips together.
There’s also something quietly meaningful about restoring rather than replacing. An old RV often holds years of history: trips taken, milestones celebrated, quiet evenings parked somewhere beautiful. Giving it a fresh interior instead of trading it in preserves that history while still making the space feel new, which is a balance that’s hard to put a price on.
FAQ
What kind of paint works best on old RV interior walls?
A flexible acrylic or enamel paint designed for cabinets, trim, or high-movement surfaces works best, since it resists cracking and peeling far better than standard wall paint made for stationary homes.
Do I need to remove RV paneling before painting?
No, in most cases, existing paneling on an old RV can be cleaned, sanded, primed, and painted directly without removal, as long as the material is structurally sound and free of water damage.
How long does it take to paint the interior of an old RV?
A full interior repaint typically takes a weekend to a full week, depending on RV size, prep work needed, and drying time between coats, especially if working in a well-ventilated space.
Will painting an old RV’s walls affect resale value?
A clean, well-executed paint job generally improves perceived value and buyer interest, since a modernized interior photographs better and feels more move-in ready than dated, yellowed paneling on an old RV.
Can I paint over water-stained or damaged RV walls?
Water-stained areas should be treated with a stain-blocking primer first, and any soft or damaged panel sections should be repaired or replaced before painting, since paint alone won’t fix underlying moisture damage in an old RV.
How much does it typically cost to paint the interior of an old RV?
Costs are generally modest compared to a full renovation; most old RV interior paint projects, including primer, paint, and supplies, can be completed for a few hundred dollars, depending on the RV’s size and condition.







