
The first weekend we took our camper out, I realized just how tired it looked. The couch cushions were a dated floral print that had clearly seen a decade of road trips, the laminate table had a permanent coffee ring, and every storage cubby seemed to be either overflowing or empty depending on how frantically we’d packed. It wasn’t broken; it just felt like someone else’s camper, not ours. And every time I looked into “camper renovation,” the results were either a six-figure gut job or vague inspiration photos with no real starting point.

If you’ve ever stood in a dated RV or camper wondering where to even begin, you’re not alone. Most people assume a camper remodel means ripping out cabinetry, replacing flooring, and spending a small fortune before it feels like home. But the truth is, most of what makes a camper feel outdated isn’t structural; it’s cosmetic. Worn fabric, mismatched textiles, and cluttered storage do more to age a space than the bones of the camper ever do.
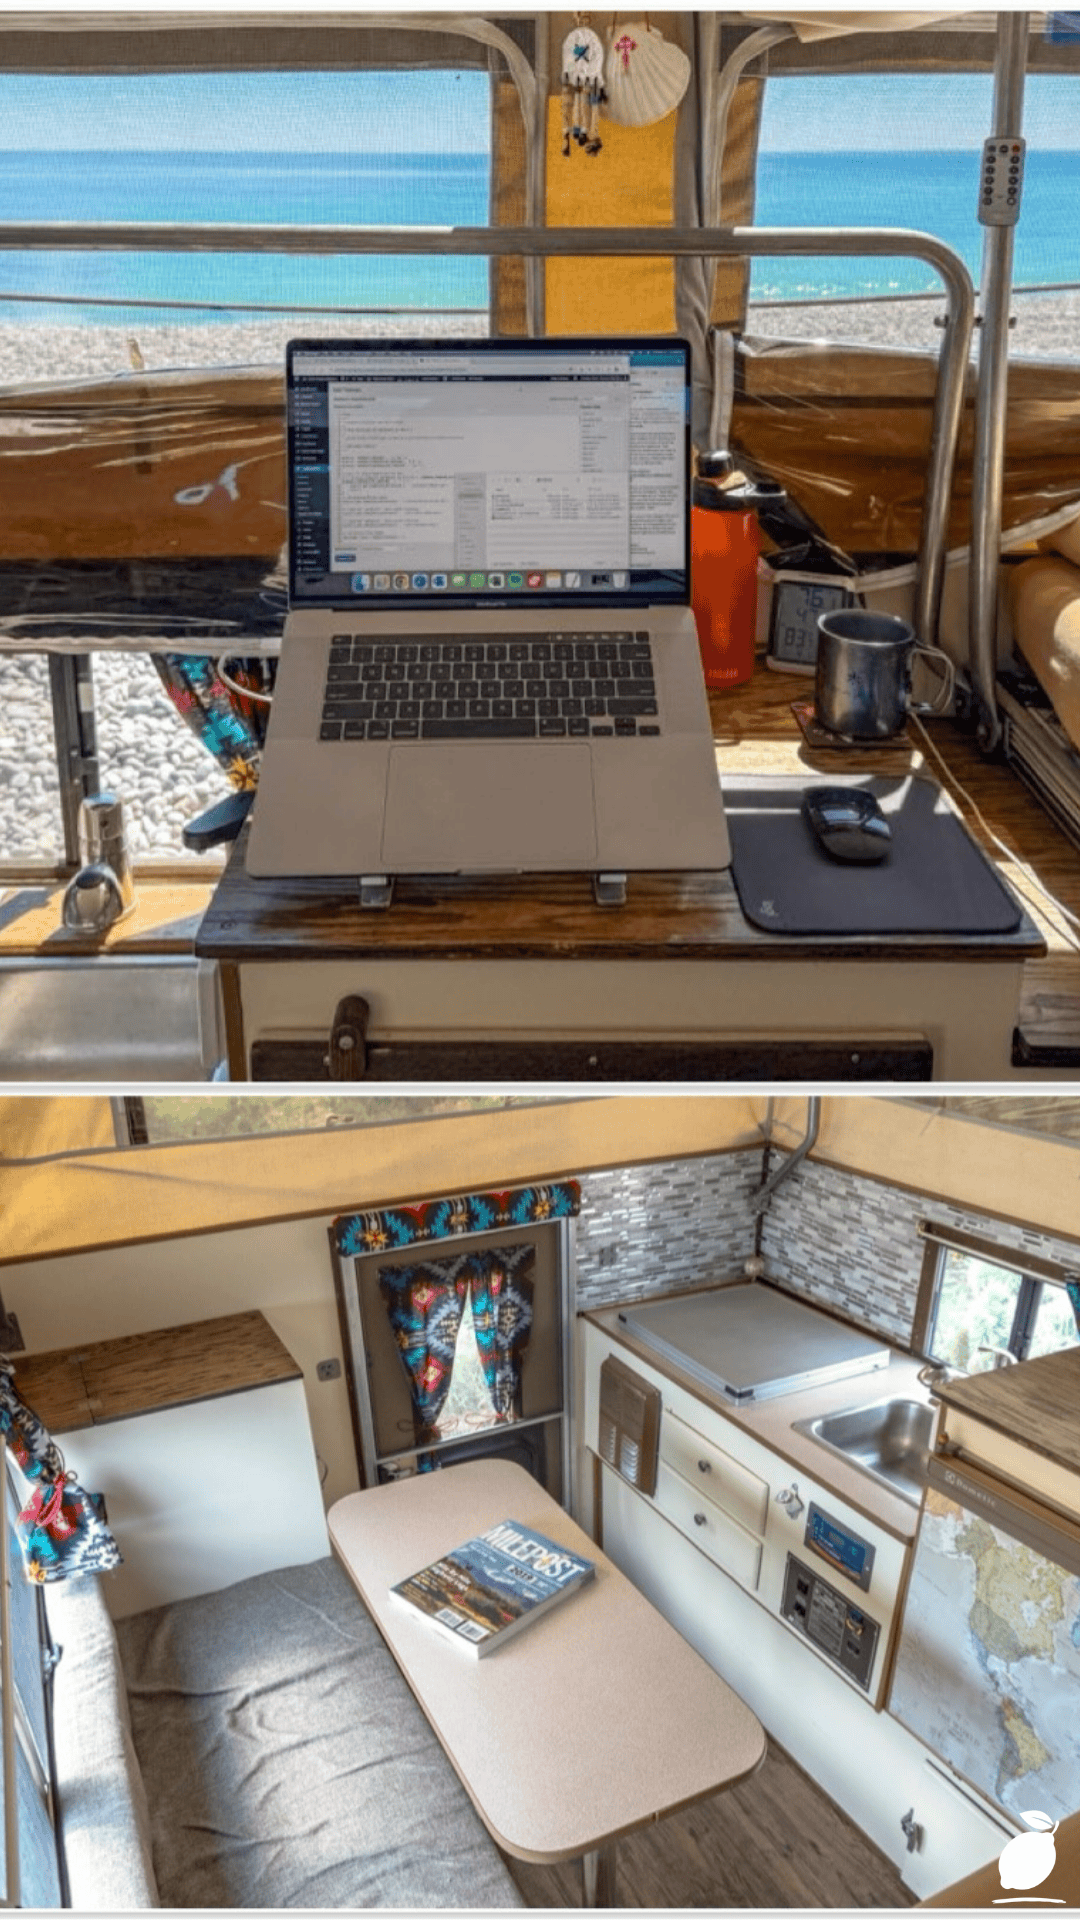
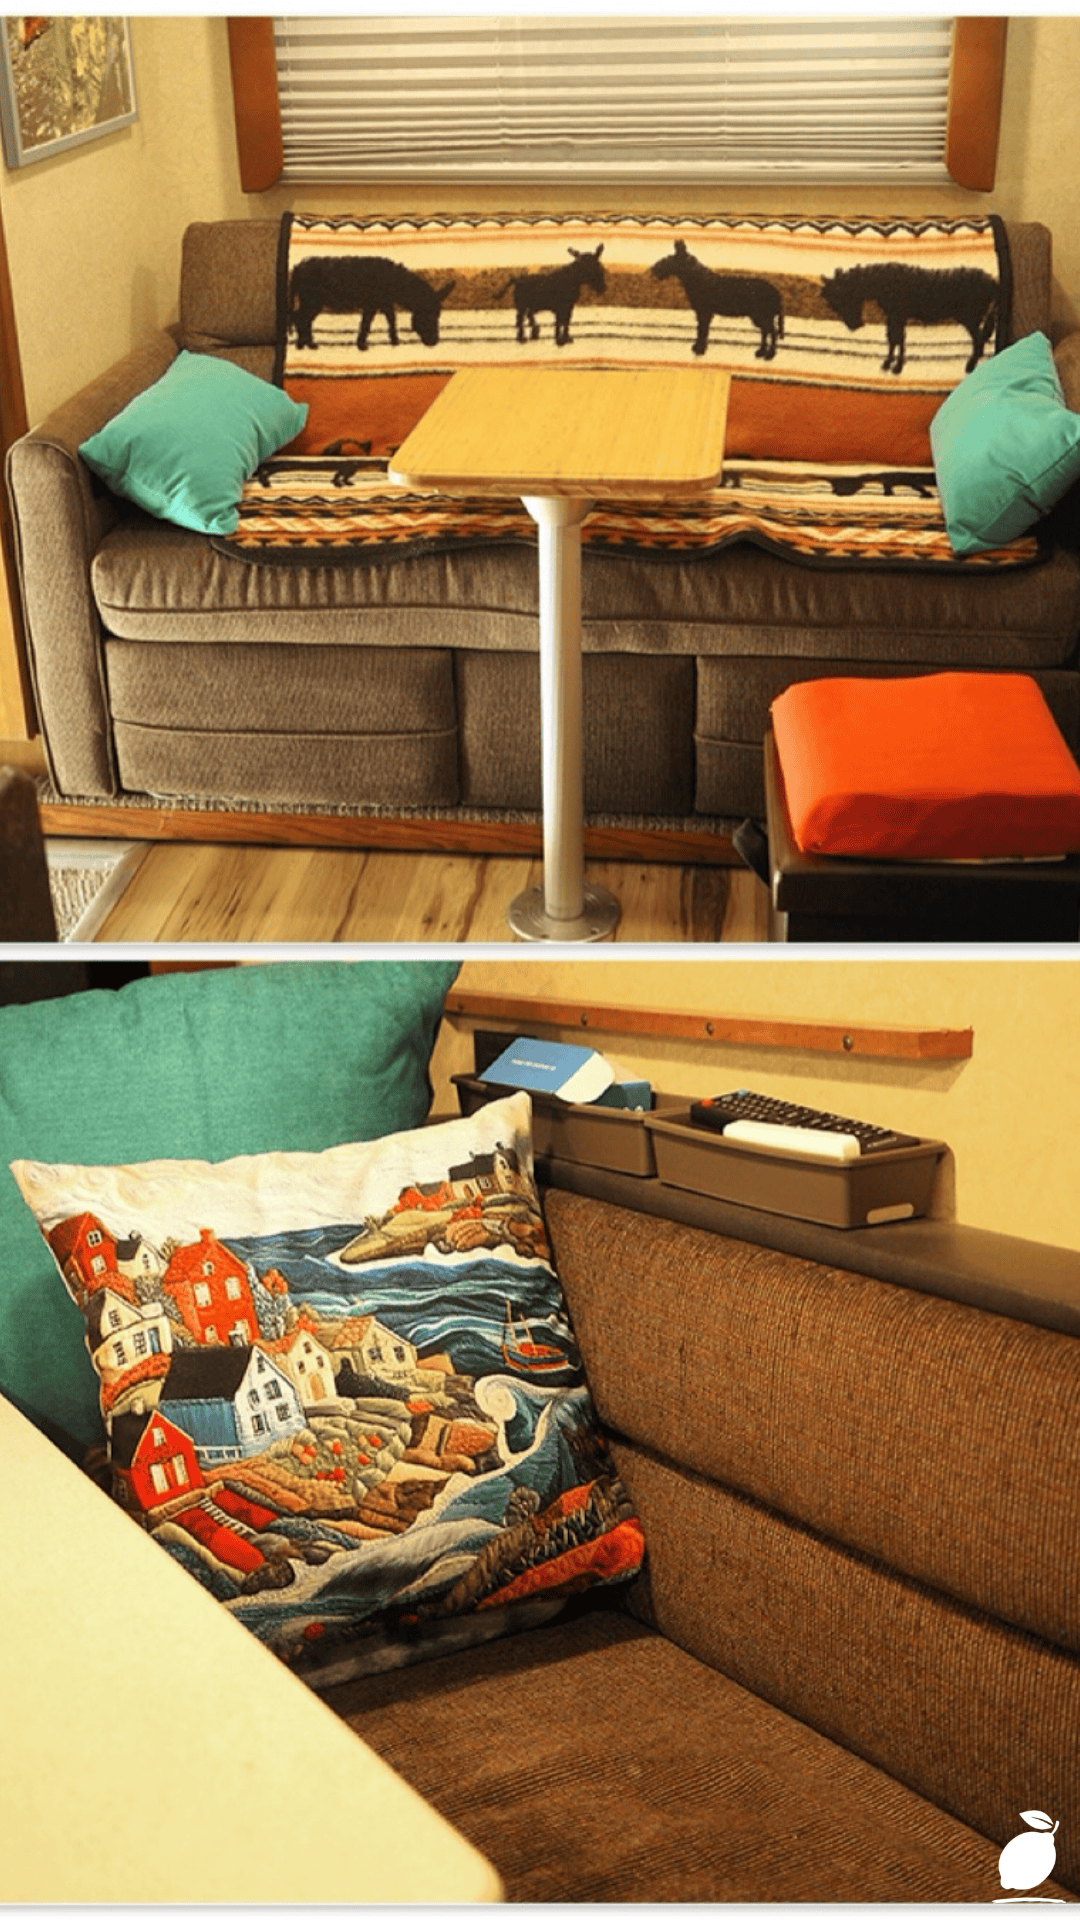
That’s exactly what I saw in a photo that reset my expectations entirely: a cozy little camper interior with a simple brown couch, a soft animal-print throw blanket, a wooden table dressed up with teal and orange cushions, and a coastal-print pillow tucked into the corner near a tidy storage unit. Nothing about it looked expensive. It looked warm, lived-in, and intentional proof that a great camper remodel doesn’t require a full renovation budget. Here’s the blueprint I used to get there.
The Camper Remodel Blueprint
Step 1: Assess What’s Actually Wrong
Walk through your camper and separate cosmetic issues (worn fabric, dated colors, clutter) from structural or functional ones (water damage, broken hardware, non-working appliances). Most budget-friendly camper remodels focus almost entirely on the cosmetic list, saving money for repairs only where truly necessary.
Step 2: Choose a Simple, Cohesive Color Palette
Pick two or three colors that will run throughout the space. A warm neutral base (like the brown couch) paired with one or two accent colors (teal, orange, or a coastal-inspired palette) creates instant cohesion without requiring new furniture.
Step 3: Refresh Textiles First
Swap out dated cushion covers, throw blankets, and pillows before touching anything structural. New textiles are one of the most affordable, highest-impact changes you can make, and they instantly modernize the whole seating area.
Step 4: Reupholster or Slipcover Existing Furniture
Rather than replacing a couch or dinette bench entirely, use fitted slipcovers or simple DIY reupholstering to update the look for a fraction of the cost. This single step often has the biggest visual impact of the entire remodel.
Step 5: Update Hardware and Small Fixtures
Swap outdated cabinet pulls, light fixtures, or faucet handles for simple, modern alternatives. These small hardware changes are inexpensive but make the whole space feel updated and considered.
Step 6: Add a Statement Table Treatment
Refresh a worn table with a fresh coat of paint, a peel-and-stick wood-look finish, or a simple table runner and coordinating cushions. This central gathering spot deserves a little extra attention since it’s where most camper memories actually happen.
Step 7: Solve Storage With Simple Organizers
Add small baskets, stackable bins, or a compact organizer unit to corners and cubbies that tend to become catch-alls. Clear, defined storage prevents the visual clutter that makes a small space feel chaotic.
Step 8: Layer in Personal Touches
Finish with a few personal details: a favorite throw pillow, a small piece of art, a plant or two. These final touches are what make a budget camper remodel feel like a home on wheels instead of a rental.
Expert Secrets for Success
Pro-Tips for a Better Result
- Measure cushions and seating dimensions carefully before ordering slipcovers or fabric; RV furniture often has nonstandard shapes and sizes compared to home furniture.
- Choose durable, easy-clean fabrics like outdoor-rated canvas or performance fabric for any reupholstering project, since camper interiors see more wear than typical home furniture.
- Shop secondhand or discount fabric remnants for large upholstery projects; camper cushions are usually small enough that even limited fabric yardage goes a long way.
- Prioritize lighting updates; swapping a few dated fixtures for warm LED options makes a bigger visual difference than many people expect for very little cost.
Common Mistakes to Avoid
- Don’t start with paint or flooring before addressing textiles and soft furnishings; those changes are cheaper, faster, and often solve most of the “dated” feeling on their own.
- Avoid overly trendy color choices for large, hard-to-change elements like cabinetry, since trends shift faster than most people want to redo built-in features.
- Don’t skip measuring twice before cutting fabric, wood accents, or peel-and-stick materials; RV spaces leave very little room for error.
- Resist the urge to remodel everything at once; tackling one zone (like the seating area) fully before moving to the next keeps the project manageable and budget-friendly.
Why Camper Remodel Matters
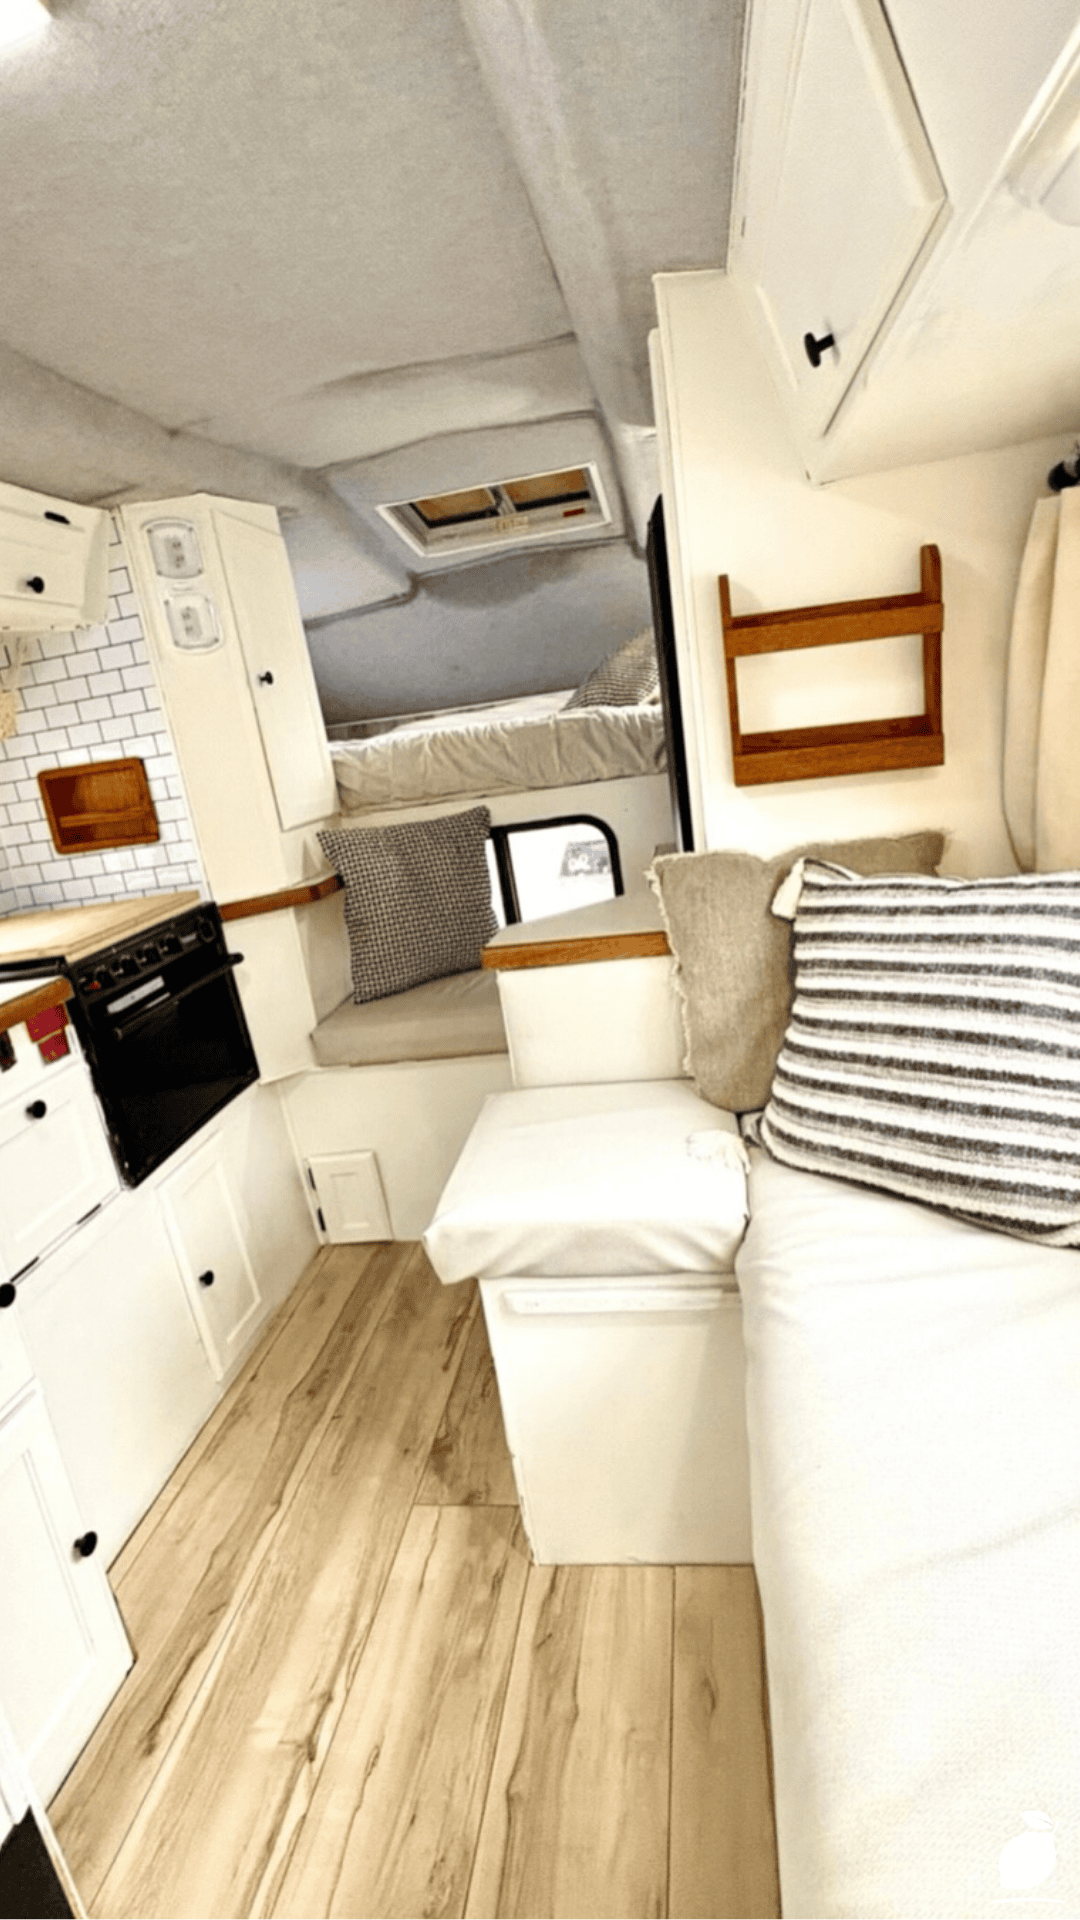
A camper is supposed to be an escape a place where the outside world slows down and family time takes center stage. When the space itself feels tired, cluttered, or uncomfortable, that sense of escape is harder to find, even in a beautiful location. A thoughtful, budget-friendly camper remodel changes that instantly, turning a dated interior into a space that actually matches the adventure happening outside its windows.
There’s a specific kind of satisfaction that comes from transforming a small space with your own hands and a modest budget. It’s not about luxury; it’s about walking into a camper that finally feels like it belongs to your family, filled with colors and textures you chose on purpose. That small, achievable project has a way of making every future trip feel a little more like home, wherever you happen to park.
FAQ
How much does a budget-friendly camper remodel typically cost?
Costs vary widely depending on scope, but a cosmetic-focused camper remodel new textiles, slipcovers, hardware, and small organizers can often be completed for a few hundred dollars, especially when tackled in phases.
What’s the easiest first step in a camper remodel?
Refreshing textiles like cushion covers, throw pillows, and blankets is typically the easiest and most affordable starting point, since it requires no construction skills and delivers an immediate visual change.
Can I remodel a camper without professional help?
Yes, most cosmetic camper remodel projects, including reupholstering, painting, and hardware swaps, are designed to be manageable DIY projects with basic tools and a bit of patience.
How do I choose a color palette that won’t feel outdated quickly?
Stick to a neutral base paired with one or two timeless accent colors rather than highly trendy combinations, since neutral foundations age more gracefully and are easier to refresh later with new accents alone.
Is it worth remodeling an older camper instead of buying a newer one?
For many owners, yes, a budget camper remodel can dramatically improve comfort and appearance at a fraction of the cost of a new camper, especially when the underlying structure and systems are still in good working condition.







