Every closed cabinet in our old mudroom setup became a black hole. Shoes went in, and I genuinely could not tell you what else was buried under them: a single mitten, a dog leash, a soccer ball that had rolled somewhere out of reach. I’d open the door hoping for a tidy shoe collection and instead find a jumbled pile I had to dig through just to find one matching pair. Closed storage sounded organized in theory. In practice, it just hid the chaos instead of solving it, and it took me a while to realize what our space actually needed was an open-bottom mudroom setup, not another closed cabinet.
If you’ve ever dealt with a mudroom or entryway that “has storage” but somehow never actually feels organized, you’re probably running into the same issue. Closed cabinets and doors create a psychological barrier: if you can’t see what’s inside, it’s easy to just toss things in without sorting, and just as easy to forget what’s actually stored there. What most busy families really need isn’t more hidden storage. It’s an open-bottom mudroom bench they can see and reach without opening a single door.
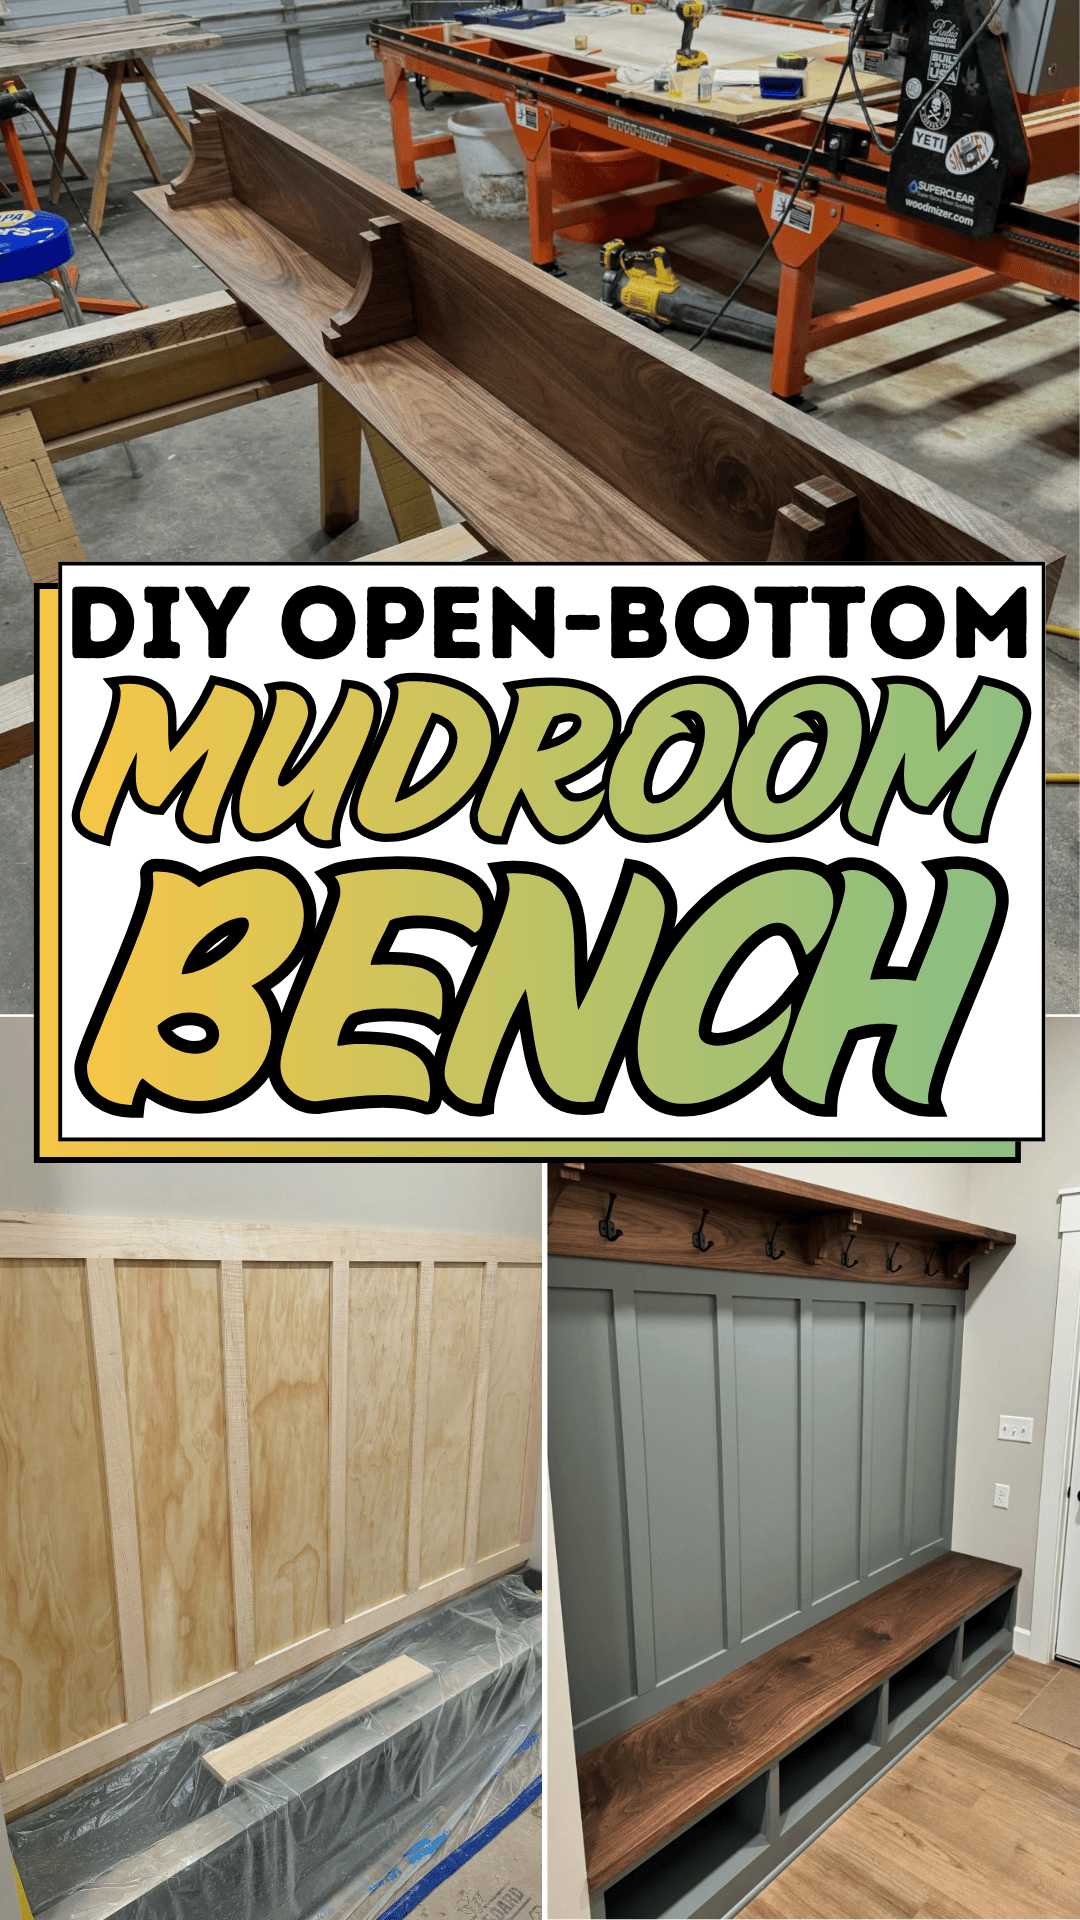
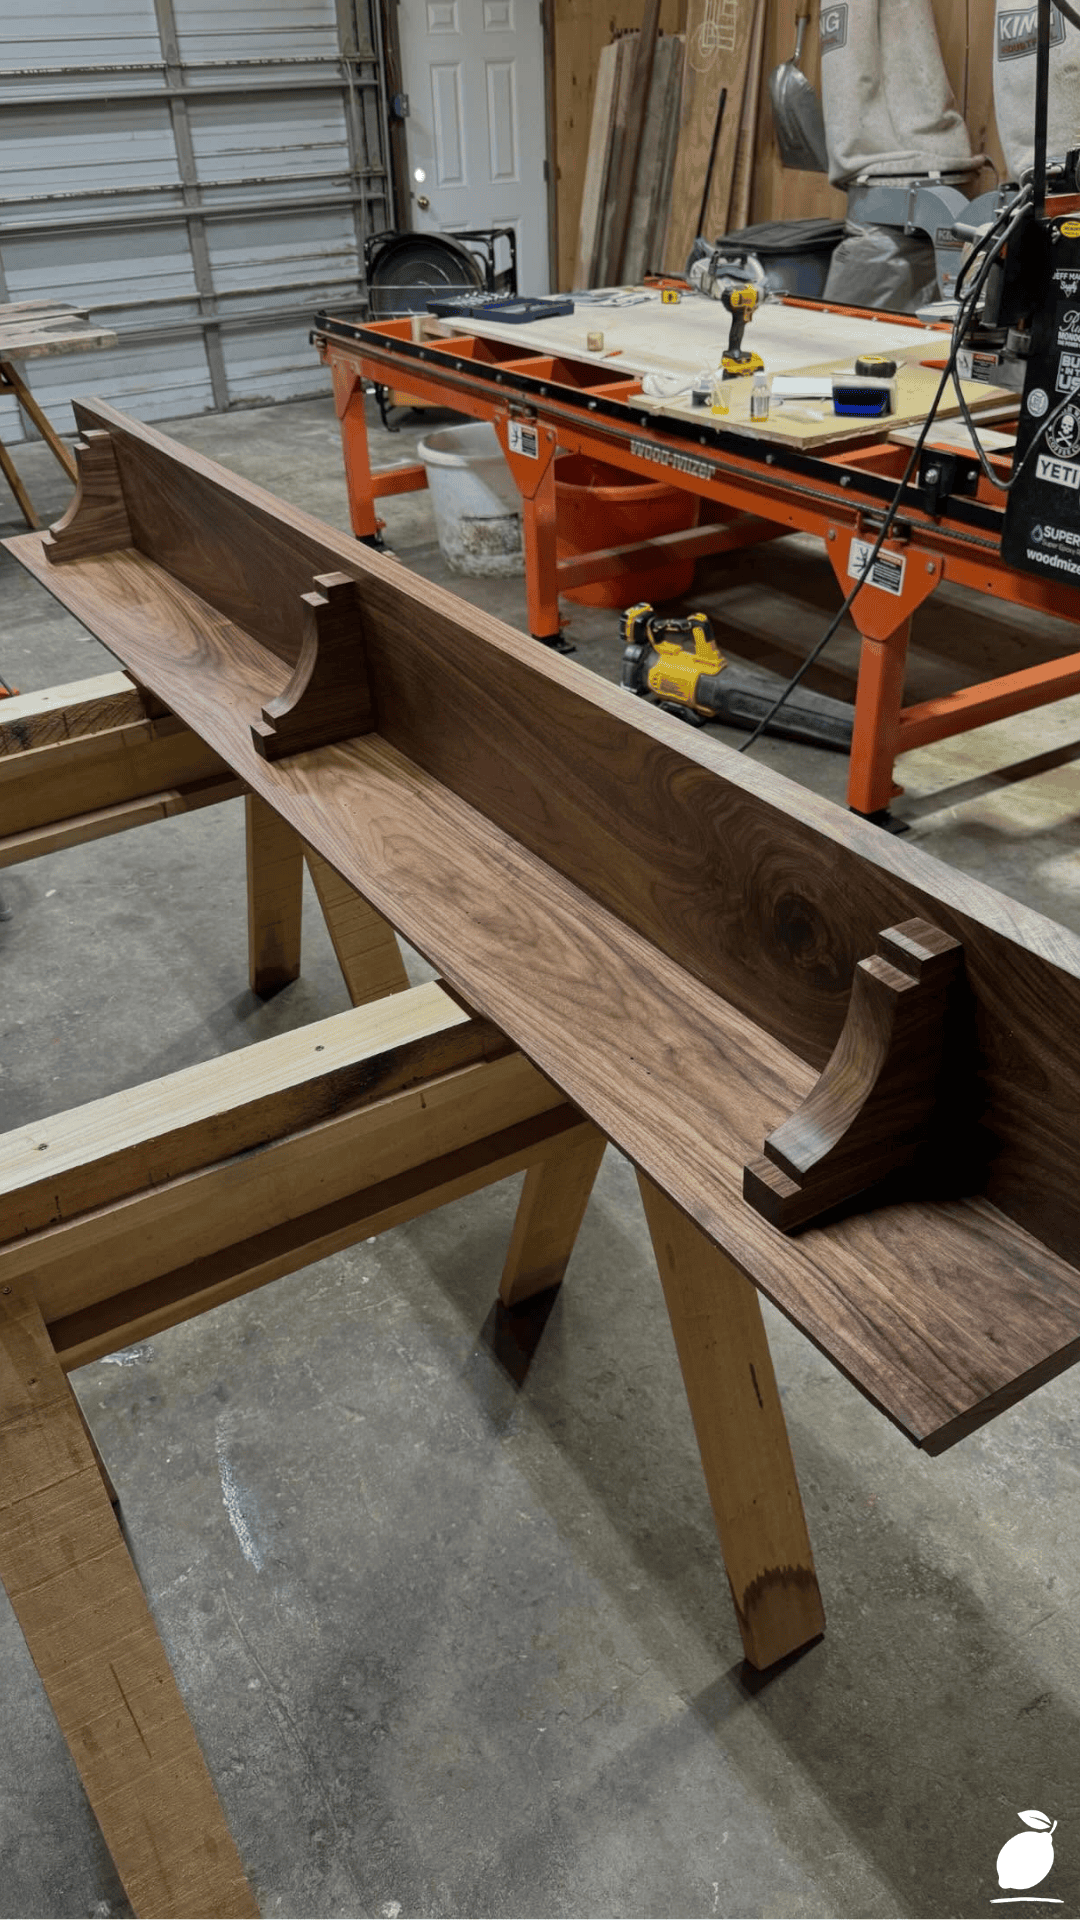
That’s exactly what led me to build a DIY open-bottom mudroom bench. I found inspiration in a woodworking shop photo of a simple dark-finished shelf with wooden brackets, sitting up on sawhorses mid-build, surrounded by tools and raw materials. It wasn’t fancy; it was straightforward, functional woodworking, exactly the kind of build that translates perfectly into an open-bottom mudroom design. Here’s exactly how I built one for our own entryway.
The Open-Bottom Mudroom Blueprint
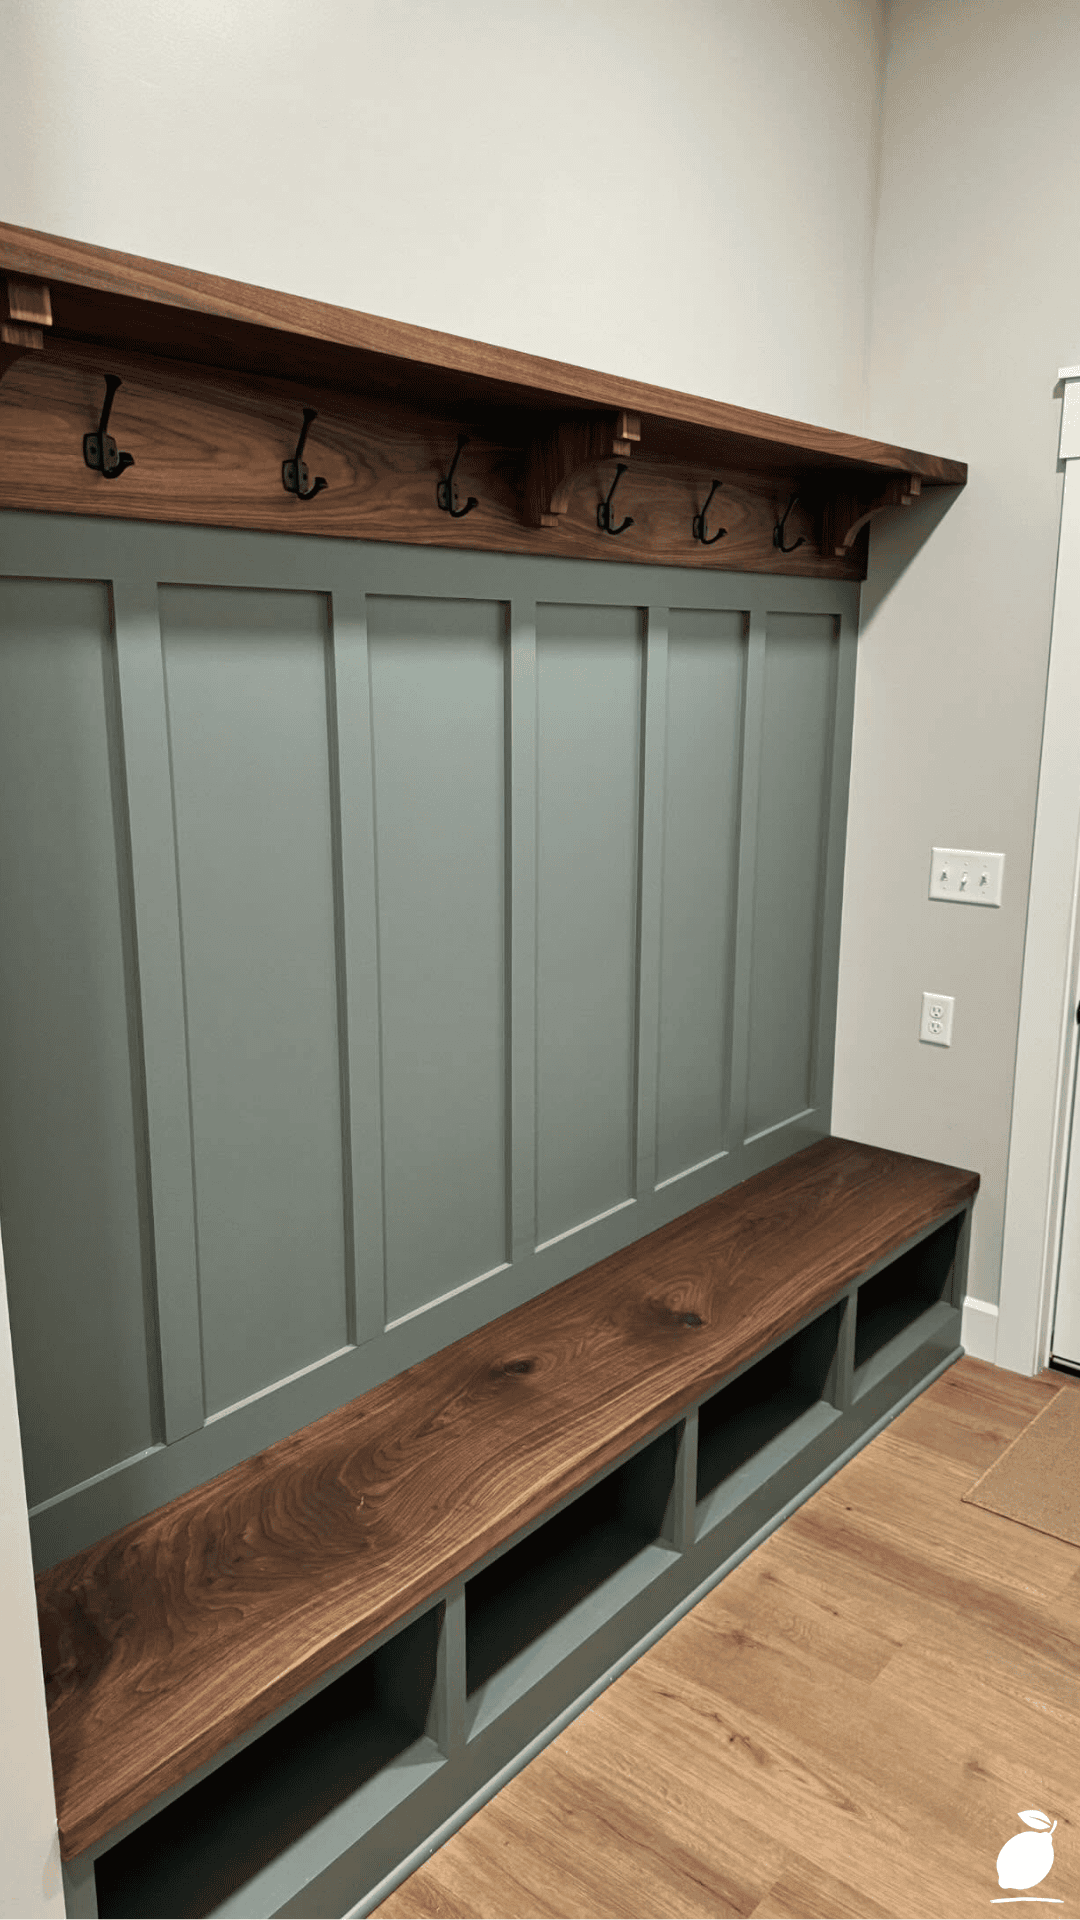
Building your own open-bottom mudroom bench is a manageable weekend project once you break it down into clear steps. Follow this sequence from measuring to final styling for a sturdy, functional result.
Step 1: Measure Your Entryway Space
Measure the available width, depth, and ceiling clearance where your open-bottom mudroom bench will sit, accounting for any doors, baseboards, or nearby fixtures that might interfere. Standard bench depth for shoe storage is typically 14-16 inches to comfortably fit most footwear.
Step 2: Sketch Your Open-Bottom Design
Plan a simple frame with a seat on top and an open lower shelf (or two) instead of enclosed cabinetry. Open-bottom mudroom designs rely on visible baskets, bins, or simply exposed shoe rows rather than doors or drawers.
Step 3: Select Your Wood and Cut List
Choose a durable wood like pine, oak, or plywood with a hardwood veneer, and create a cut list based on your measured dimensions: two side supports, a back support if against a wall, a seat top, and one or two lower shelf boards for your open-bottom mudroom bench.
Step 4: Cut All Pieces to Size
Using your cut list, cut each board to the correct dimensions with a circular saw or table saw, sanding any rough edges immediately after cutting to prevent splinters during assembly.
Step 5: Assemble the Side Brackets and Frame
Attach side support legs using wood screws and glue, forming the basic skeleton of the bench. Adding simple wooden brackets (as seen in many workshop-built shelving designs) reinforces the structure of an open-bottom mudroom bench and adds a clean, finished visual detail.
Step 6: Install the Lower Open Shelf
Secure your open lower shelf board between the side supports at your desired height, typically 6-10 inches off the ground, leaving enough clearance for shoes, boots, or baskets to slide in and out easily the defining feature of any open-bottom mudroom design.
Step 7: Attach the Seat Top
Fasten the top seat board securely to the frame, ensuring it’s level and flush with the side supports. This is the surface that will see the most daily use, so double-check all screws are fully seated and secure.
Step 8: Sand, Finish, and Seal
Sand the entire bench through progressively finer grits, then apply a stain, paint, or clear sealant in thin, even coats. A durable finish protects an open-bottom mudroom bench against the moisture and daily wear common in busy entryways.
Step 9: Anchor and Style the Finished Bench
Secure the bench to the wall if it’s tall or freestanding, especially in homes with kids, then add baskets, a boot tray, or simple bins to the open lower shelf to complete the functional, everyday-ready open-bottom mudroom design.
Expert Secrets for Success
Pro-Tips for a Better Result
- Use matching wicker or fabric baskets on the open lower shelf to keep visible storage looking tidy rather than cluttered, even with items in plain sight on your open-bottom mudroom bench.
- Choose a moisture-resistant finish, especially for the lower shelf, since it’s most exposed to wet shoes, snowmelt, and daily foot traffic.
- Round or sand all edges generously, since an open-bottom mudroom design means more exposed corners at both child and adult height.
- Add a boot tray or removable mat to the open shelf to catch dirt and moisture without damaging the wood finish underneath.
- Measure your family’s actual shoe count before finalizing shelf width; an open-bottom mudroom bench sized for too few pairs fills up fast in busy households.
- Consider a slightly wider seat than strictly necessary, since an open-bottom mudroom bench often ends up used for more than just putting on shoes. Bags, mail, and coats tend to land there too.
Common Mistakes to Avoid
- Don’t build the lower shelf too close to the ground; leave enough clearance for boots and larger shoes to slide in and out without scraping the floor.
- Avoid skipping wall anchoring on a tall or narrow bench design, since open-bottom mudroom benches can be more prone to tipping without a solid base or back support.
- Don’t use a soft, easily scratched wood finish on the seat top if the bench will see heavy daily use; opt for a durable polyurethane or similar hard-wearing sealant.
- Resist making the open shelf too shallow; a shelf that’s too narrow won’t comfortably fit most adult or kids’ shoes side by side on an open-bottom mudroom bench.
- Don’t forget to plan for growth; a bench sized for a young family’s shoe collection today may need to accommodate bigger footwear in just a few years.
- Avoid placing an open-bottom mudroom bench directly in a high-splash zone near an exterior door without a protective tray or mat underneath.
Why an Open-Bottom Mudroom Matters
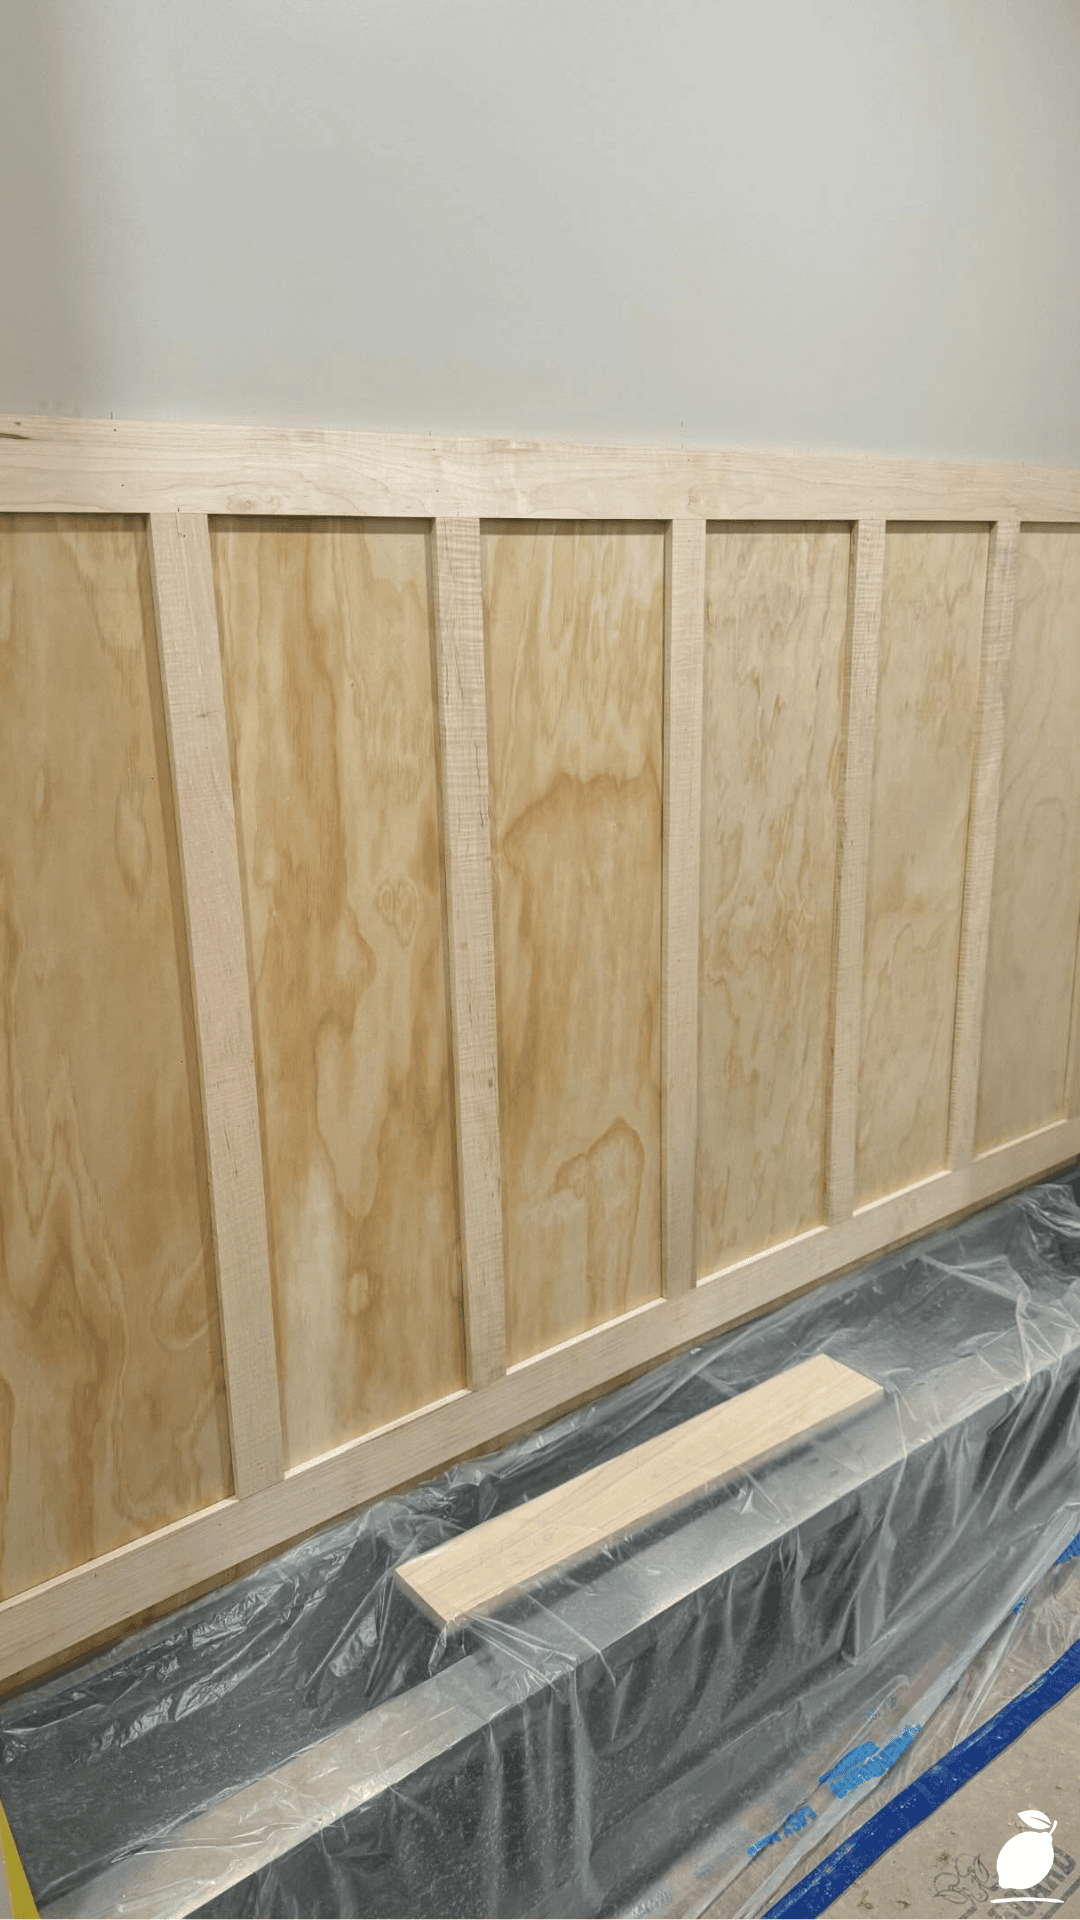
The entryway is the first and last space your family sees every single day, and its condition sets a tone for the rest of the house. A cluttered, chaotic mudroom creates a small daily friction point: a scramble for shoes, a search for a missing mitten. A clear, visible open-bottom mudroom bench eliminates that stress almost entirely. When everything has an obvious, accessible place, mornings and evenings both get a little smoother.
There’s real satisfaction in building a functional piece of furniture that solves a problem your family deals with every day. An open-bottom mudroom bench isn’t just practical storage — it’s a small, visible reminder that a little intentional effort can fix ongoing household chaos for good. For families juggling busy mornings and messy afterschool routines, that kind of lasting calm is worth far more than the lumber and a weekend of work.
That calm tends to compound over time. Once an open-bottom mudroom bench becomes part of the daily routine, the whole entryway starts to feel less like a source of stress and more like a small, functioning system everyone in the house understands and actually uses.
FAQ
What makes an open-bottom design better than a closed cabinet for a mudroom?
An open-bottom mudroom design keeps shoes and belongings visible and easily accessible, which encourages consistent use and prevents the “black hole” effect common with closed cabinets where items get buried and forgotten.
How much does it cost to build a DIY open-bottom mudroom bench?
Most DIY builds using plywood or standard lumber can be completed for under $ 150- $ 200, depending on wood choice and finish, significantly less than comparable pre-built furniture.
Do I need advanced woodworking skills to build this bench?
No, a basic open-bottom mudroom bench with simple joinery is achievable for beginner-to-intermediate DIYers with access to a saw, drill, and basic finishing supplies.
How do I keep an open shelf from looking cluttered?
Using matching baskets, bins, or a boot tray on the open lower shelf keeps visible storage organized and cohesive, even when it’s holding a variety of shoes and accessories.
Can an open-bottom mudroom bench work in a small entryway?
Yes, open-bottom mudroom designs are often more space-efficient than bulky cabinetry, and can be scaled down to fit narrow hallways or small entry spaces while still providing functional seating and storage.
How many pairs of shoes can a typical open-bottom mudroom bench hold?
Most open-bottom mudroom benches comfortably hold six to ten pairs of shoes on the lower shelf, depending on width, though adding baskets or stackable trays can increase capacity without expanding the bench’s footprint.