
The grocery store bouquet is dying in a jar on your counter, three days after you bought it, and somehow it still cost twelve dollars for something that already looks tired. Your kitchen table is supposed to feel like fall; you’ve got the candles, the plaid runner, the little gourds from the farmers market, but the centerpiece is an afterthought, wilting in tap water, doing nothing to pull the whole look together. You know you want something warmer, something that actually feels like the season instead of a rushed stop at the store on the way home.
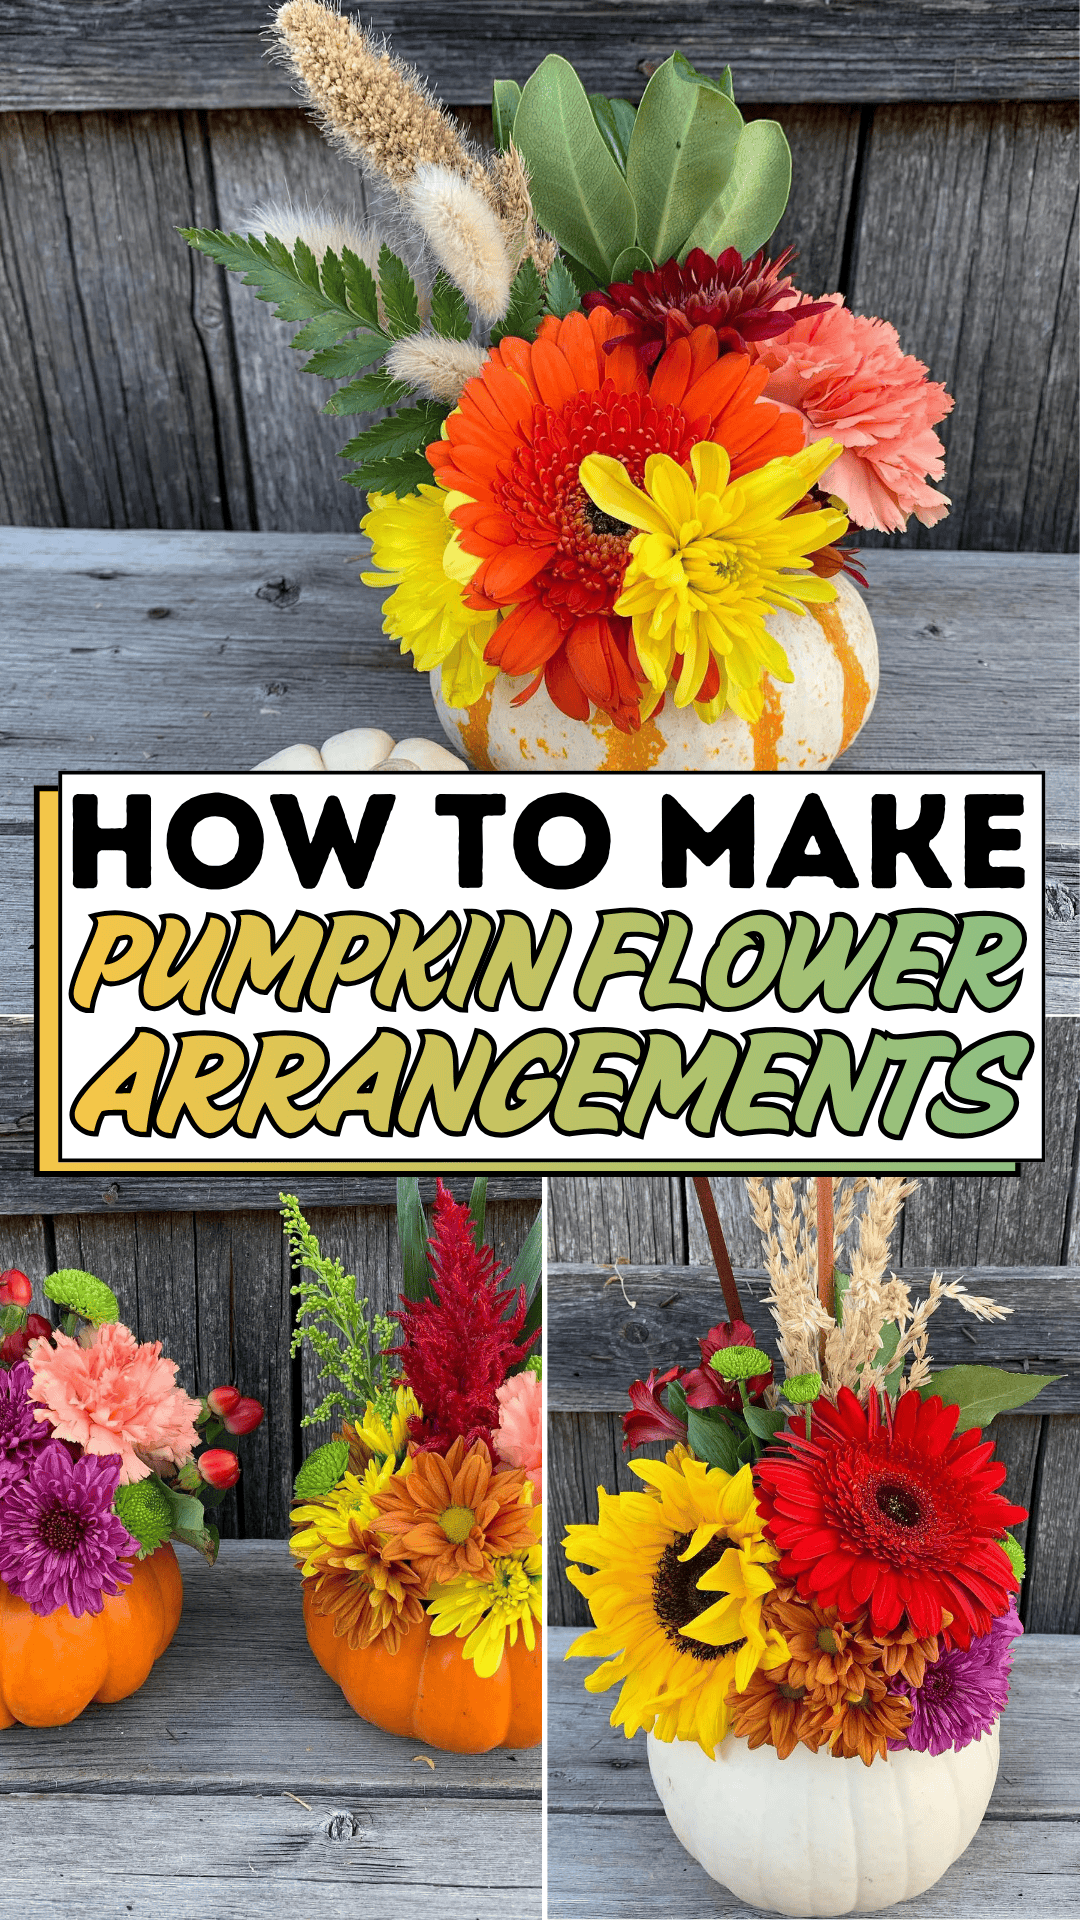
That gap between “I want my home to feel intentional” and “I ran out of time and energy” is where most of us live for most of autumn. We picture the styled tablescape, the kind you’d see propped against a weathered wood fence with wheat stalks catching the light, and then reality hands us a wilted bunch of carnations and a to-do list that never got shorter. It’s not that we lack taste. It’s that nobody handed us a simple, repeatable process for turning a few stems into something that actually looks composed.
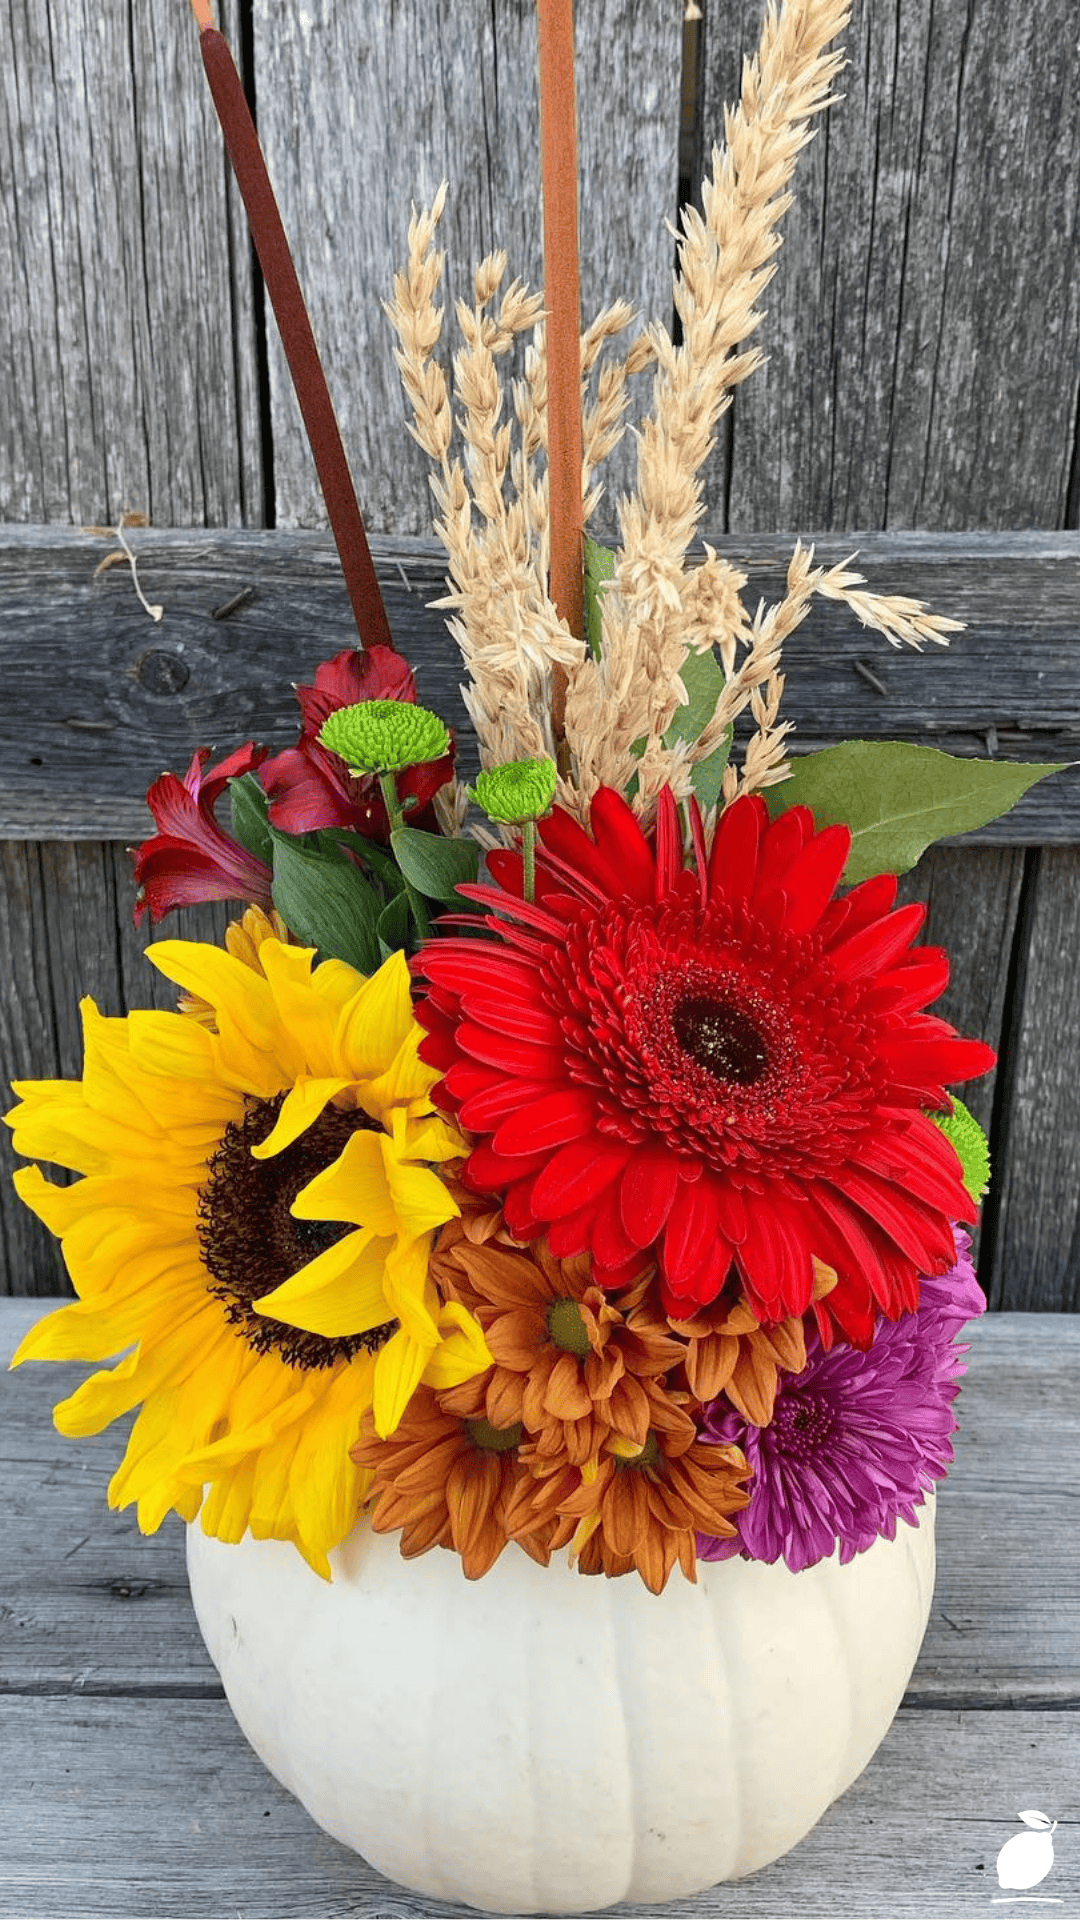
That’s exactly what the image in front of you represents: a white ceramic pumpkin vase, holding a sunflower, a gerbera daisy, a couple of mums, and tall wheat for height, arranged simply, a little asymmetrical, completely unfussy, and completely beautiful. It didn’t take florist training to make. It took a sequence. And that sequence is exactly what we’re walking through today, so your table can hold that same quiet, gathered-from-the-garden calm, no wilting store bouquet required. By the end of this guide, you’ll have your own pumpkin flower arrangement ready to anchor your fall table in under an hour.
Why a Pumpkin Vase Is the Perfect Fall Container
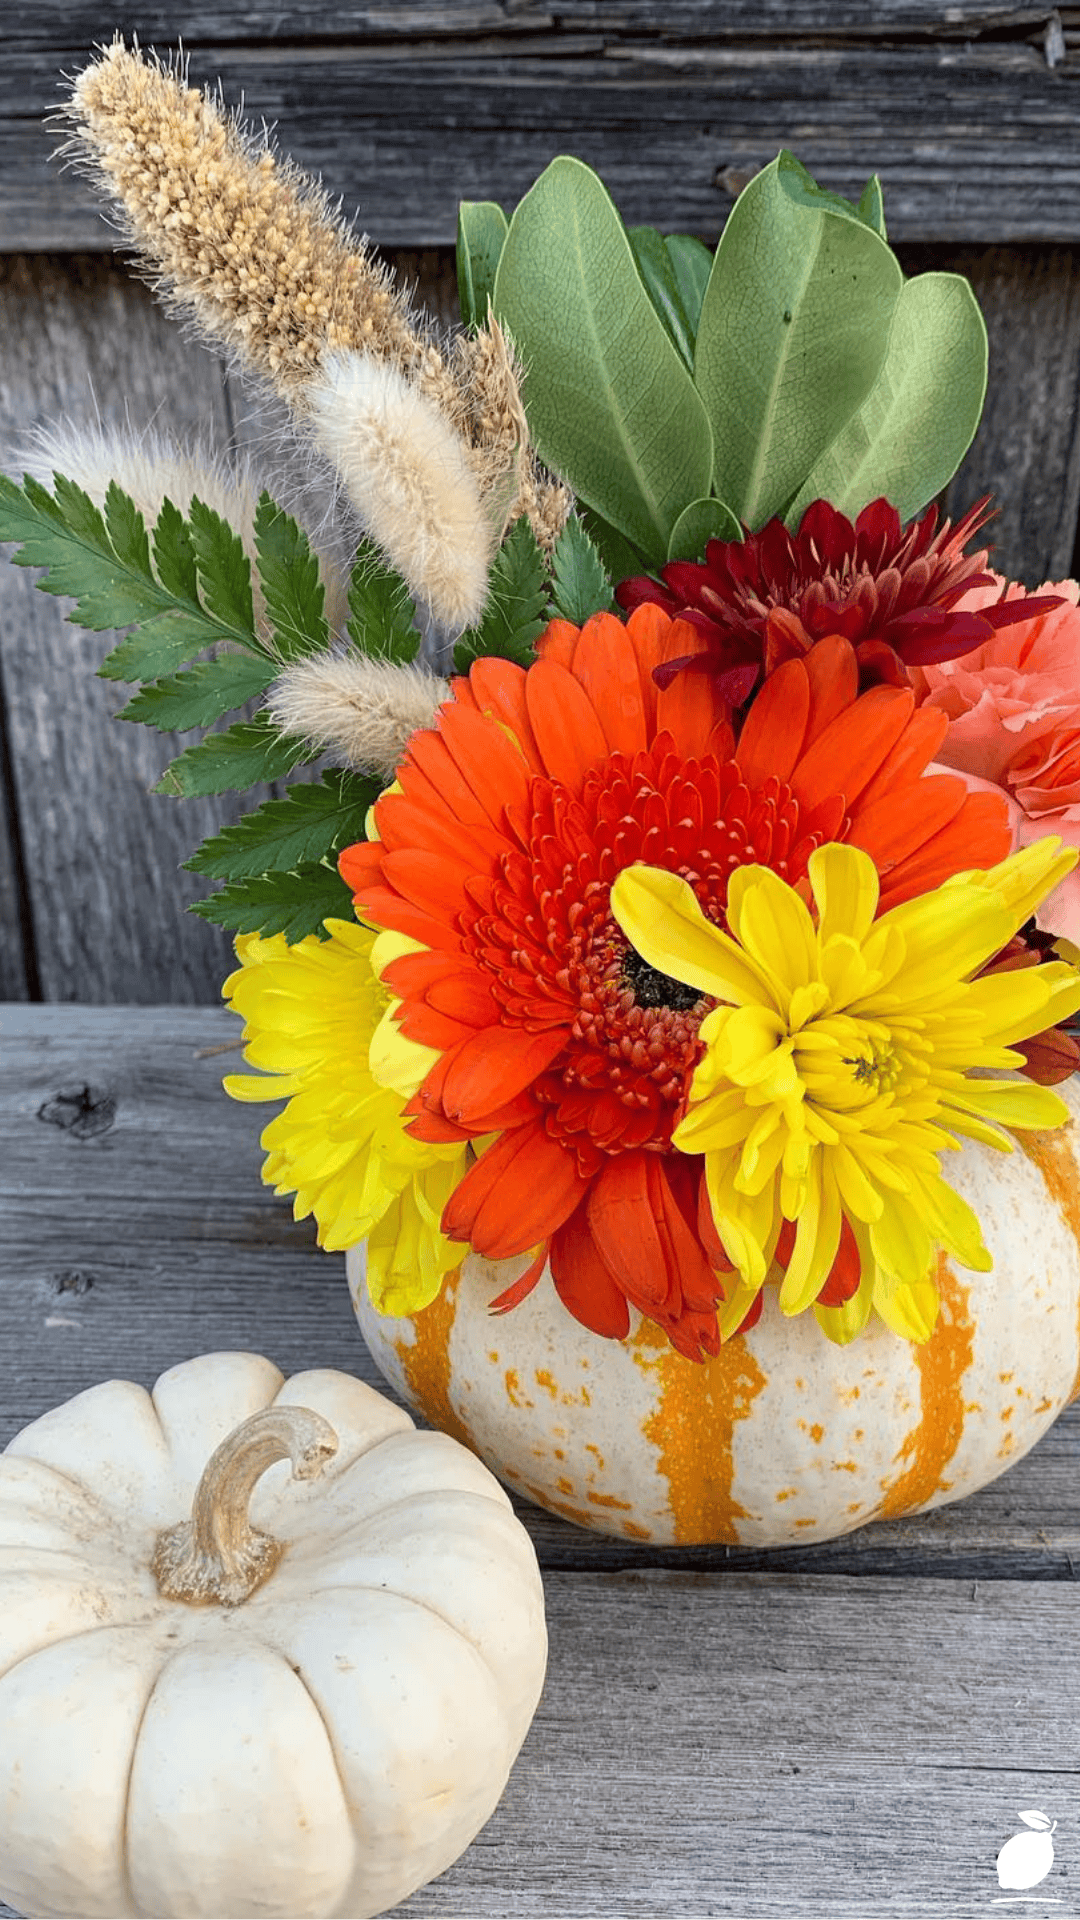
Before we get into the steps, it’s worth understanding why this particular vessel works so well. A pumpkin-shaped vase does something a standard vase can’t: it brings the season into the container itself, not just the flowers inside it. That means your pumpkin flower arrangement reads as “autumn” even before a single bloom is added, which takes a lot of pressure off the floral choices themselves. You don’t need rare or expensive flowers to make an impact; the vase is already doing half the seasonal storytelling for you. This is part of why a pumpkin flower arrangement is such a reliable, budget-friendly project: the container carries the theme, and the flowers simply need to complement it.
The Pumpkin Flower Arrangement Blueprint
A pumpkin flower arrangement is one of the most forgiving projects in seasonal decorating, because pumpkins are naturally asymmetrical and rustic, which means small imperfections in your arranging only add to the charm. Here’s the full sequence, from empty vase to finished centerpiece.
Step 1: Choose Your Pumpkin Vessel
Select a ceramic pumpkin vase (or a real, hollowed-out pumpkin sealed with a plastic liner) with an opening wide enough to fit floral foam or a small mason jar inside. A matte-finish jack-o’-lantern shape, like the one in a classic autumn display, gives the arrangement a soft, grounded base to build on. If you’re shopping specifically for this project, look for a vase with a wide, stable base; a top-heavy pumpkin flower arrangement is more likely to tip once the wheat and branches add height.
Step 2: Prep Your Base
Soak a block of floral foam in water until fully saturated, then trim it to fit snugly inside the vase opening, sitting about an inch below the rim. If you’re using a mason jar insert instead, fill it with water and skip the foam; either method works well for a pumpkin flower arrangement. Whichever base you choose, make sure it’s secure before you start inserting stems, since a wobbling foundation will undo your work as you go.
Step 3: Gather and Prep Your Stems
Before placing a single flower, lay all your stems out on a towel and trim any damaged leaves or petals. Re-cut every stem at an angle, about an inch from the bottom, right before inserting it. This small prep step is one of the most overlooked parts of building a long-lasting pumpkin flower arrangement, and it makes a noticeable difference in how many days your finished piece stays vibrant.
Step 4: Set Your Focal Flower
Start with your largest bloom a sunflower with a dark center works beautifully and place it slightly off-center rather than dead-center. This one choice does more to create a natural, gathered look than almost anything else in the process. Angle the sunflower head slightly outward, rather than straight up, so it feels like it’s leaning into the arrangement instead of standing stiffly above it.
Step 5: Add Your Secondary Color
Insert a bright accent bloom, such as a red gerbera daisy, roughly opposite the sunflower to balance the composition without mirroring it exactly. Vary the height slightly so the two blooms don’t sit at the same level. This contrast between the sunflower’s warm yellow and the gerbera’s bold red is what gives the arrangement its visual energy.
Step 6: Layer in Texture Flowers
Tuck in orange and purple chrysanthemums around the base of the two focal flowers, letting them fill gaps and add depth of color. Mums hold water well and give the arrangement fullness without overwhelming the main blooms. Work in small clusters of two or three mums rather than scattering single stems evenly, since clustering tends to look more natural and less “spaced out.”
Step 7: Build Height with Wheat and Branches
Finish by adding tall wheat stalks and one or two thin branches toward the back and side of the arrangement, letting them rise well above the flowers. This is what gives a pumpkin flower arrangement its signature harvest silhouette, and it’s the easiest step to get dramatically right. Vary the height of individual wheat stalks slightly rather than trimming them all to the same length, which keeps the top of the arrangement from looking flat or manufactured.
Step 8: Style and Place
Rotate the vase slowly, checking the arrangement from all sides, and adjust any stem that looks too uniform or too crowded. Step back several feet and view it from across the room; small gaps and awkward angles are often much more visible from a distance than they are up close. Set the finished piece on a wooden surface or runner where its texture can shine; a rustic table, a weathered bench, or a windowsill all work beautifully for showing off your finished pumpkin flower arrangement.
Step 9: Final Touch-Ups
Once the main structure is in place, walk around the arrangement one last time with a small pair of scissors, trimming any stem that pokes out awkwardly or throws off the overall balance. This final pass is what separates a good pumpkin flower arrangement from a great one. It’s a quick step, but it’s the one most people skip.
Expert Secrets for Success
Pro-Tips for a Better Result
Cut stems at an angle. A diagonal cut increases water absorption and helps flowers, especially sunflowers and mums, last several days longer in your pumpkin flower arrangement.
Work largest to smallest. Placing your biggest blooms first gives you a structural map to fill in around, rather than fighting for space later.
Embrace asymmetry on purpose. Off-center focal flowers and uneven wheat heights read as intentional and natural; perfectly symmetrical arrangements often look stiffer and less authentic.
Add florals in odd numbers. Groupings of three or five blooms per color tend to look more organic than even pairs, a trick professional florists rely on for nearly every arrangement they build.
Refresh the water weekly. If you’re using a jar insert rather than foam, changing the water every four to five days keeps your pumpkin flower arrangement looking fresh well into the season.
Mist lightly in warm rooms. If your table sits near a heat vent or gets direct afternoon sun, a light daily mist on the petals helps prevent premature wilting.
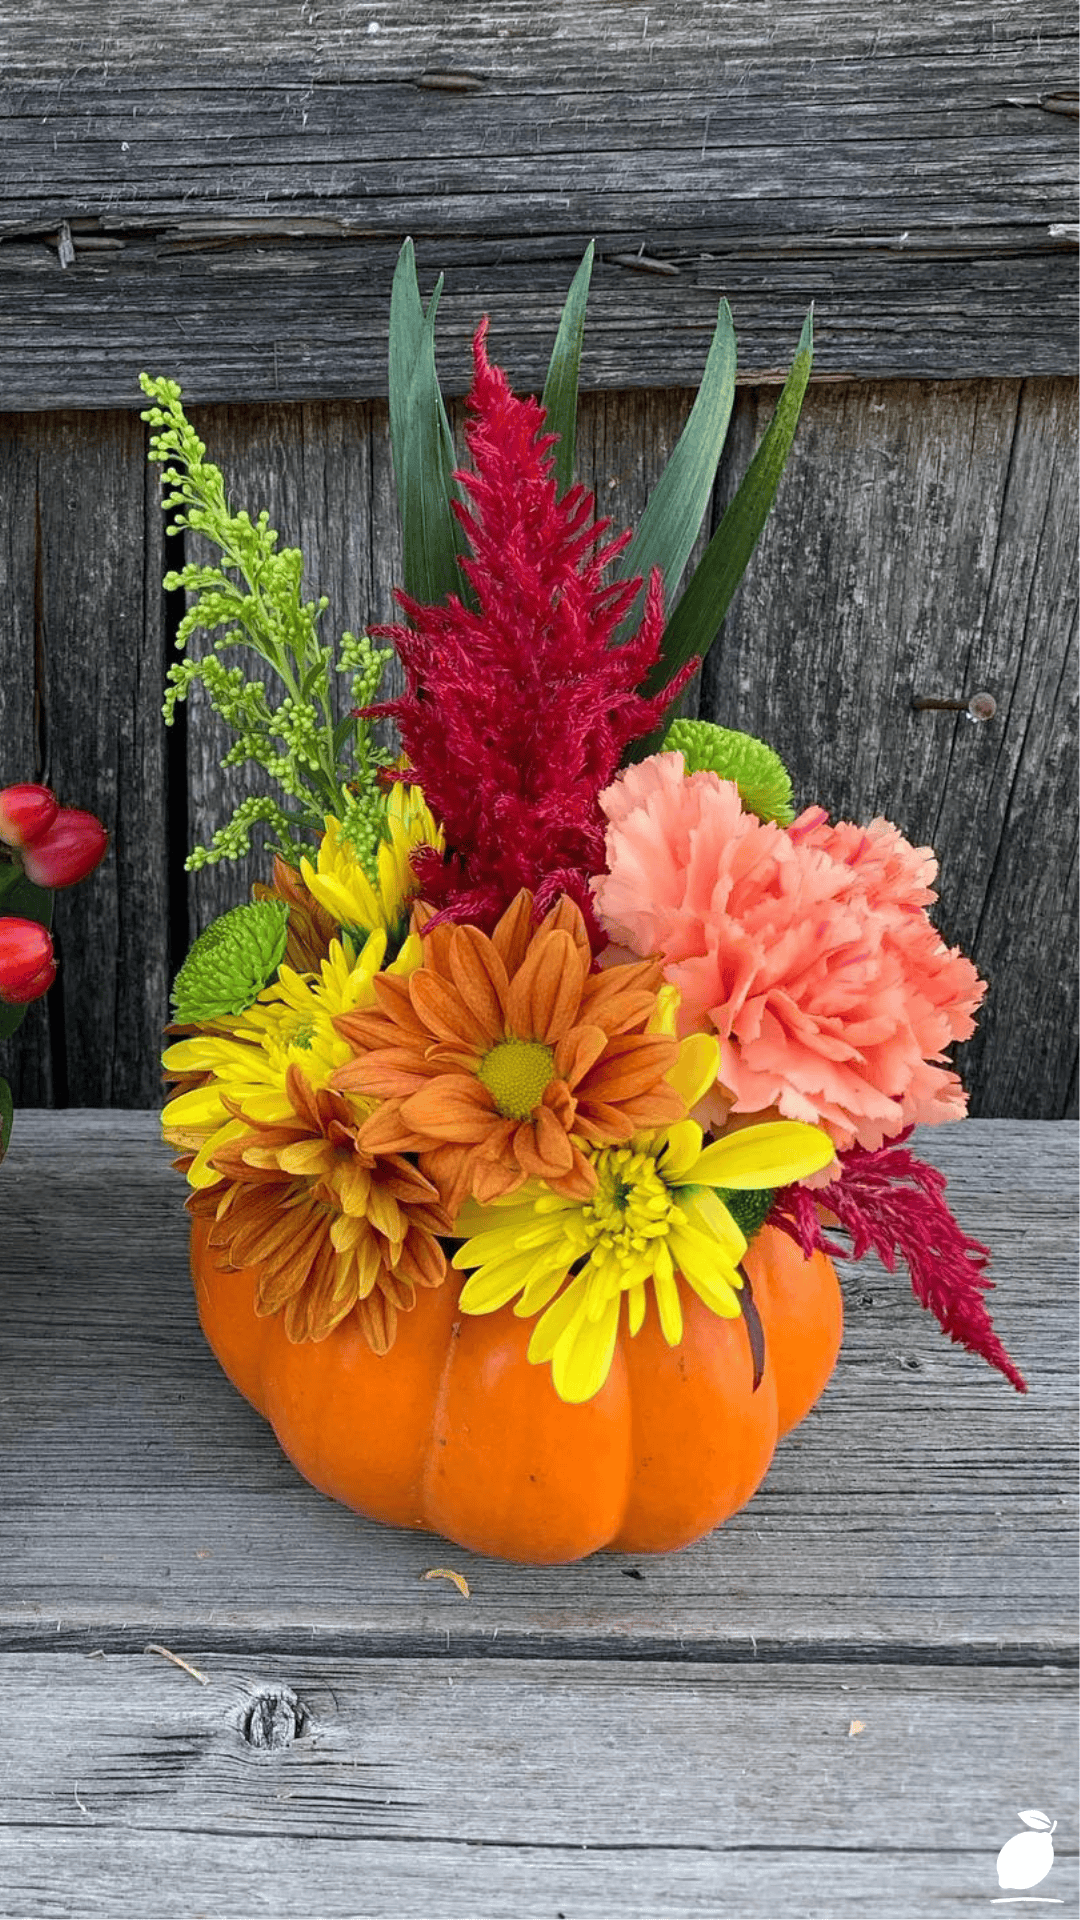
Save leftover stems for a mini second arrangement. Any extra blooms or wheat you don’t use can go into a small bud vase nearby, extending the look of your pumpkin flower arrangement into a matching pair for an entryway or side table.
Common Mistakes to Avoid
Overcrowding the vase. Too many stems packed into one small opening hides the shape of individual flowers and makes the whole arrangement look muddled rather than layered.
Ignoring stem length. Cutting every stem to the same height flattens the arrangement. Vary lengths deliberately to create the layered look seen in professional displays.
Skipping the foam soak. Dry floral foam won’t hydrate flowers properly once inserted, shortening the life of your entire pumpkin flower arrangement dramatically.
Forgetting the back view. If your pumpkin vase will be seen from multiple angles on a table, don’t build the arrangement to face only one direction; check all sides before calling it finished.
Using wilted or old stems. Even one tired flower pulls focus from an otherwise fresh arrangement. Trim and remove any bloom that’s past its best the moment you notice it.
Placing the vase too close to fruit bowls. Ripening fruit releases ethylene gas, which speeds up wilting in fresh flowers. Keep your pumpkin flower arrangement away from bananas, apples, and other ethylene-heavy produce to extend its lifespan.
Choosing a container that’s too small. A cramped opening restricts airflow around the stems and makes it harder to achieve the natural, gathered look this style of arrangement is known for.
Why Pumpkin Flower Arrangement Matters
A pumpkin flower arrangement is a small project, but the feeling it creates in a home is not small at all. There’s something genuinely calming about a centerpiece you made with your own hands rather than one you grabbed in a hurry. It turns a table into a place you actually want to sit at, and it turns “decorating for fall” from a chore into a few unhurried minutes of quiet, sensory focus.
That’s really the heart of what home projects like this one offer. In a season packed with hosting, school schedules, and holiday planning, a simple DIY win you can complete in twenty minutes with flowers from the grocery store gives you a small, tangible sense of control. It’s a reminder that a calmer, more intentional home doesn’t require a big renovation or a big budget. Sometimes it just requires a clear process and a little bit of unhurried attention.
There’s also a quieter benefit worth naming: the act of building a pumpkin flower arrangement, start to finish, is a rare kind of screen-free, single-focus task. Your hands are busy, your attention is on color and shape rather than a notification, and for a few minutes the noisy mental to-do list gets to sit still. Many people describe this kind of low-stakes creative task as genuinely meditative, not because it solves anything big, but because it asks for just enough focus to quiet everything else down.
At Easy Peasy Life Matters, that’s the philosophy behind almost everything we share: small, doable projects that bring order and warmth into daily life, one manageable step at a time. A pumpkin flower arrangement on your table isn’t just decor; it’s a quiet signal to yourself and your family that this home is cared for, right down to the details. It’s a centerpiece, but it’s also a small act of self-care disguised as a craft project.
FAQ
How long will a pumpkin flower arrangement last?
With floral foam kept moist or water changed regularly, most arrangements stay fresh for seven to ten days. Sturdier elements like wheat and mums often last even longer, so you can refresh just the softer blooms as needed while keeping the rest of your pumpkin flower arrangement intact.
Can I use a real pumpkin instead of a ceramic vase?
Yes. Hollow out a small pumpkin, line the cavity with plastic to prevent leaking, and insert soaked floral foam or a small water-filled jar just as you would with a ceramic version. Just know that a real pumpkin flower arrangement will only last as long as the pumpkin itself stays firm, typically five to seven days indoors.
What flowers work best if sunflowers aren’t in season?
Any large, bold bloom works as a substitute focal flower; dahlias, roses, or even a cluster of smaller gerberas can anchor the arrangement in the same way a sunflower does.
Do I need floral foam, or can I just use water?
Both work well for a pumpkin flower arrangement. Foam gives more control over stem placement and angle, while a simple water-filled jar insert is faster and easier for beginners.
How do I keep the wheat stalks from tipping the arrangement over?
Insert wheat stalks toward the back and sides of the foam or jar, angling them slightly outward rather than straight up, and press them in deeply enough to anchor firmly before adding the surrounding flowers.
How much does it typically cost to make one of these arrangements?
Most people can put together a full pumpkin flower arrangement for fifteen to twenty-five dollars, using a mix of grocery store flowers and a reusable ceramic pumpkin vase. Since the vase can be used again next season, the cost drops even further in future years.
Can I make a pumpkin flower arrangement without fresh flowers?
Absolutely. Faux silk sunflowers, mums, and wheat stalks make a nearly identical-looking pumpkin flower arrangement that requires no water changes and can be reused for several fall seasons, making it a great low-maintenance alternative for busy households.







