
The craft bin has been sitting on the kitchen counter for three days, half-open, spilling glitter glue and stray googly eyes onto the mail pile. You promised your kid a “fun fall project” on a rainy Saturday pumpkin wreath, and now you’re both staring at a table covered in half-finished pom-pom animals and a Pinterest photo on your phone that looks nothing like what’s actually happening in front of you. Your hands are sticky. There’s a permanent marker stain on the counter you’re pretending not to notice. And somewhere under all of it, the original idea something simple, something festive, something you could actually finish together has completely disappeared.
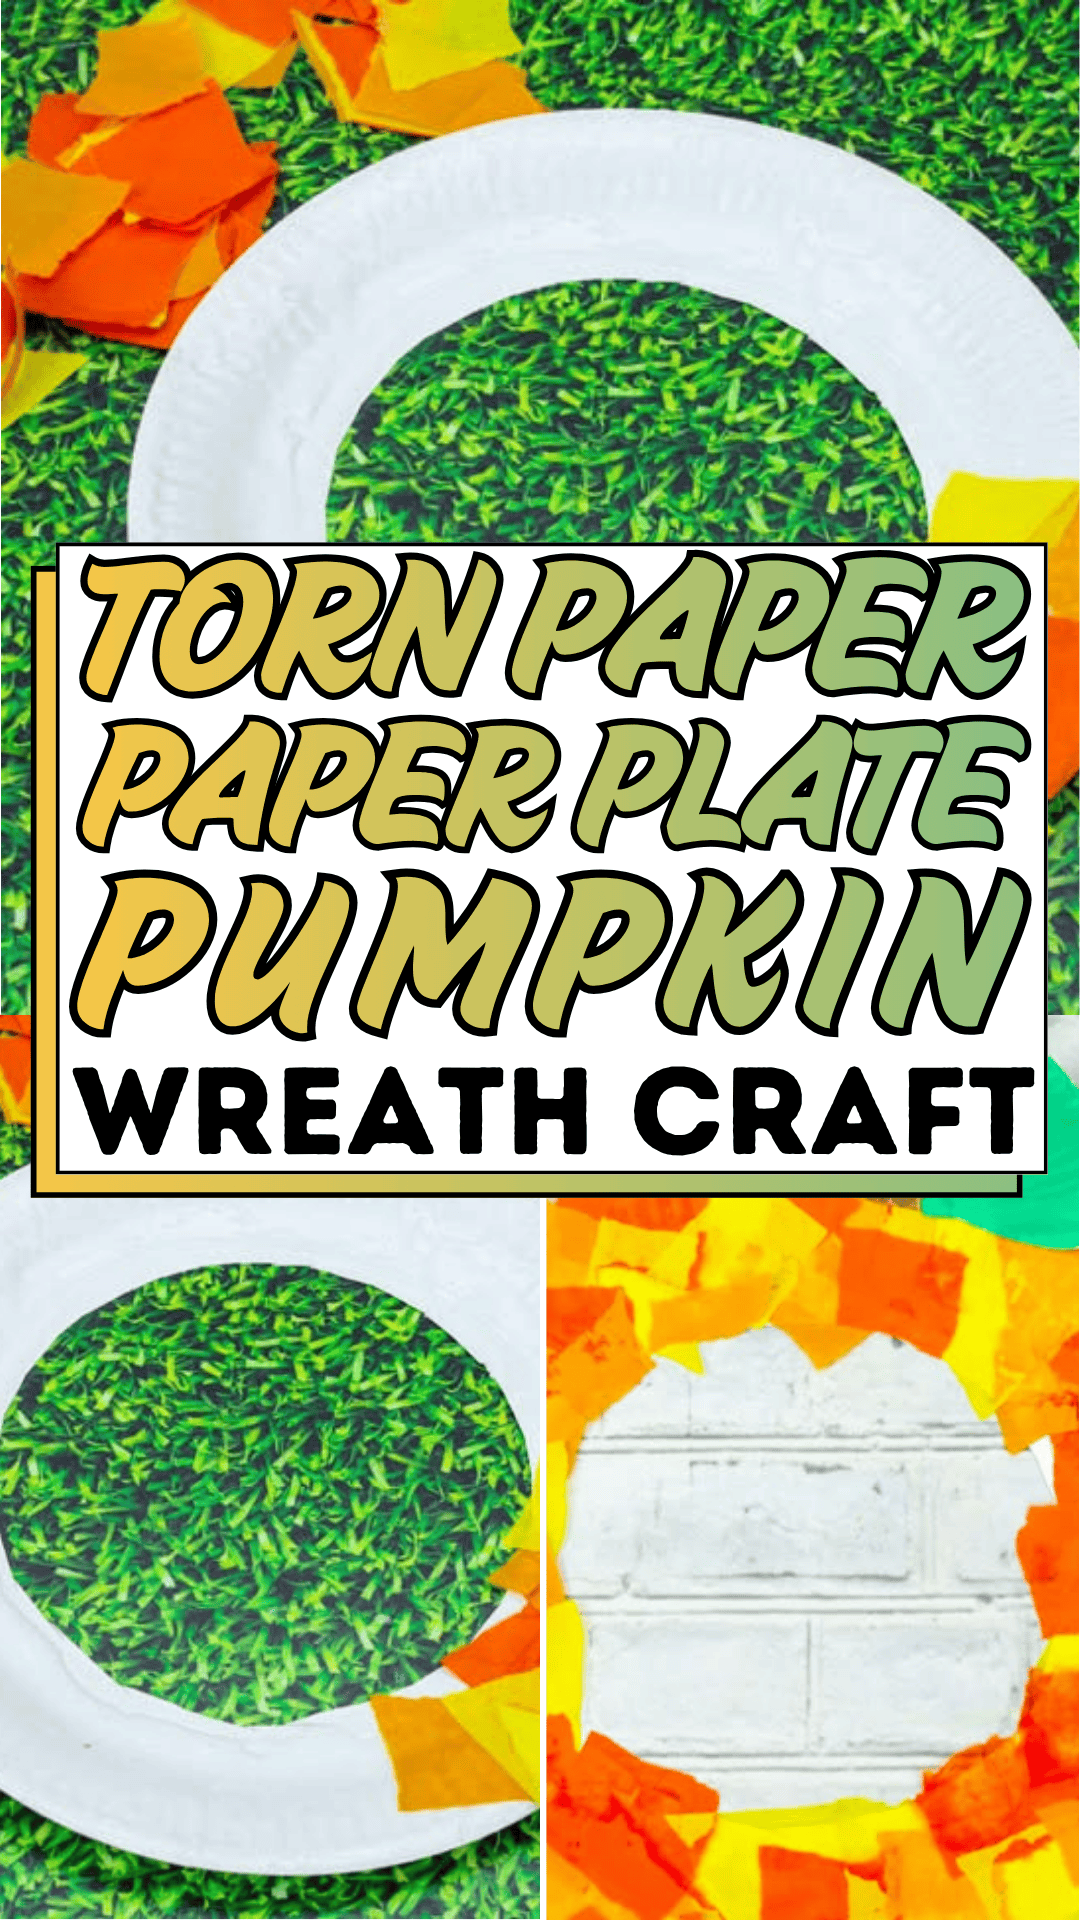
This is the honest version of “let’s do a craft together” that most tutorials skip right over. The real struggle isn’t a lack of creativity; it’s a lack of a simple, forgiving process that doesn’t require a trip to the craft store or a dozen specialty supplies. Most families already have exactly what they need sitting in a kitchen drawer: paper plates, scissors, a little paint, but without a clear sequence, even those simple materials can turn into a chaotic, half-abandoned mess by lunchtime.
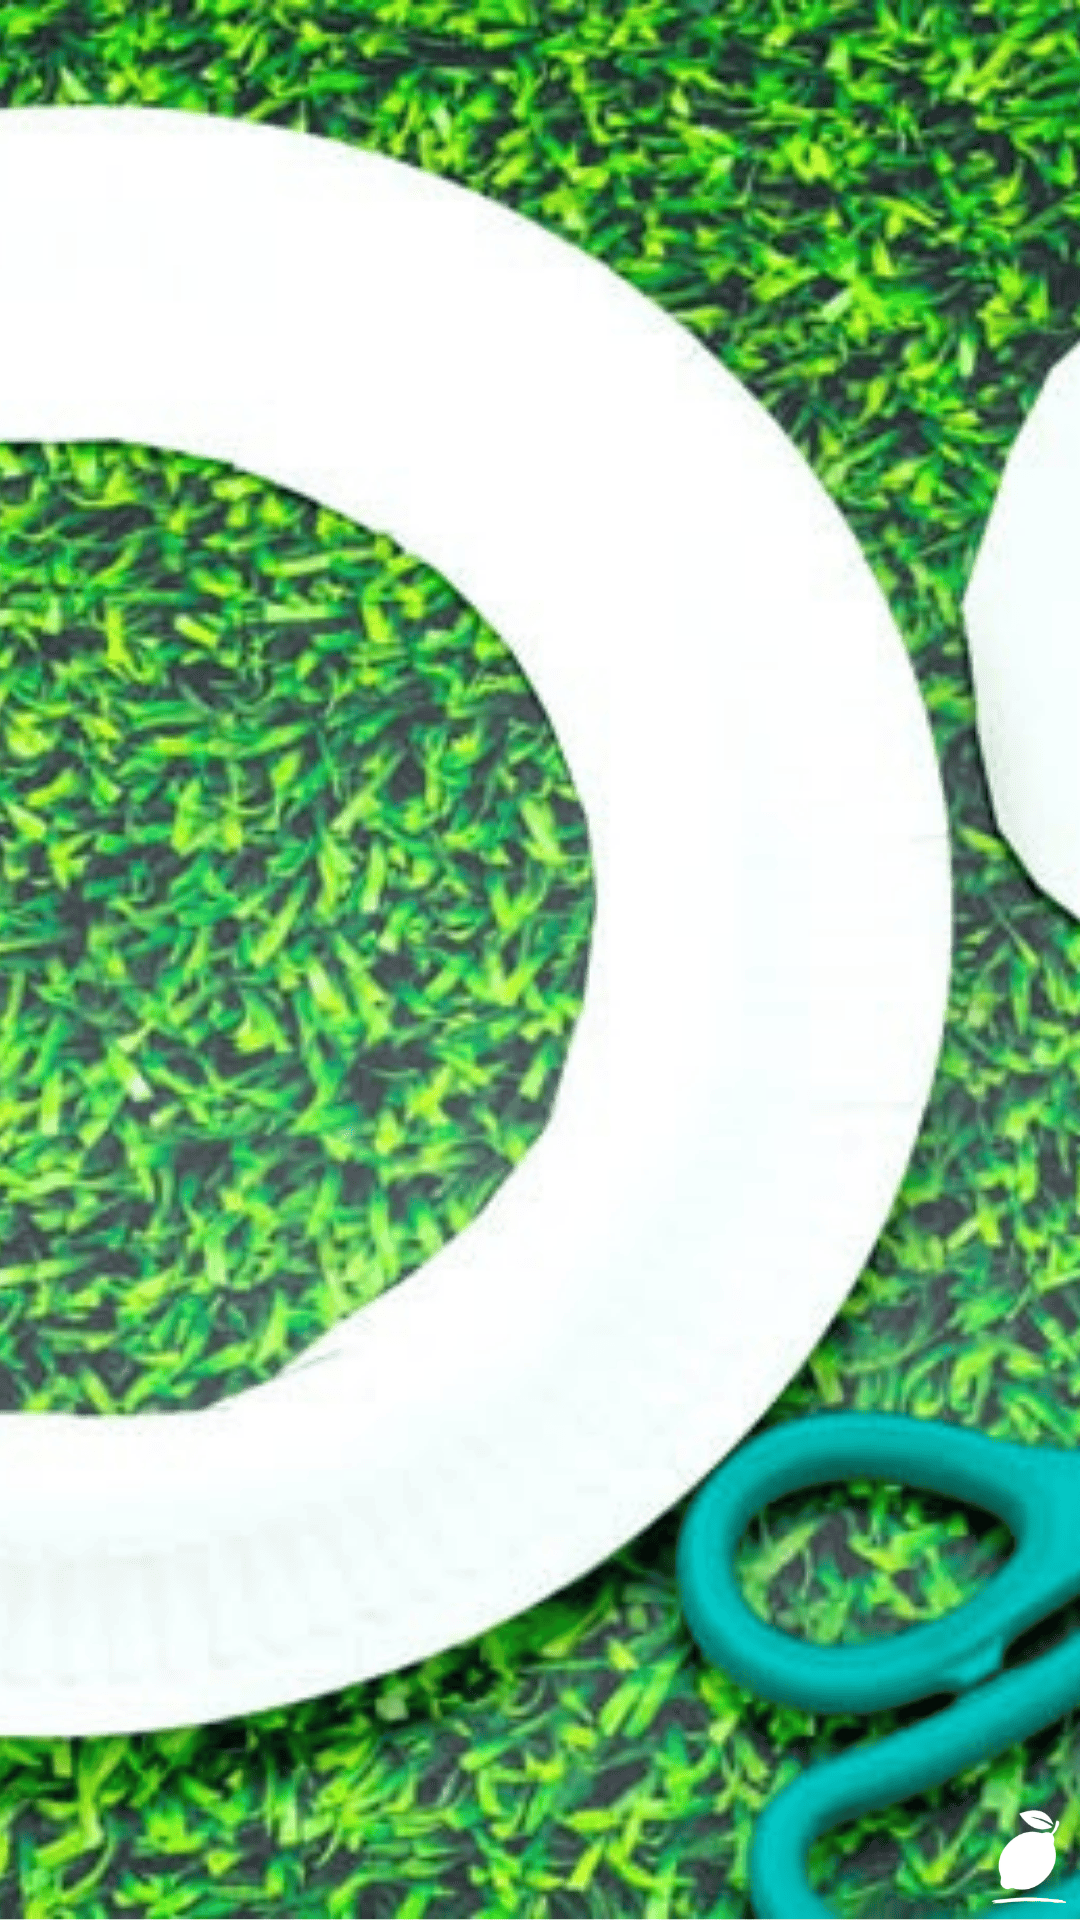
Now picture the opposite: a paper plate cut cleanly into a ring, a few round cutouts nearby, a pair of bright scissors resting at the ready on a clean, simple background nothing complicated, nothing overwhelming, just calm, tidy materials waiting to become something seasonal and sweet. That’s the entire spirit of this project. A torn paper plate pumpkin wreath craft is one of the simplest, most satisfying fall projects you can make with kids, and it turns exactly that kind of quiet, orderly setup into a finished pumpkin wreath you’ll actually want to hang on your door.
The Pumpkin Wreath Blueprint
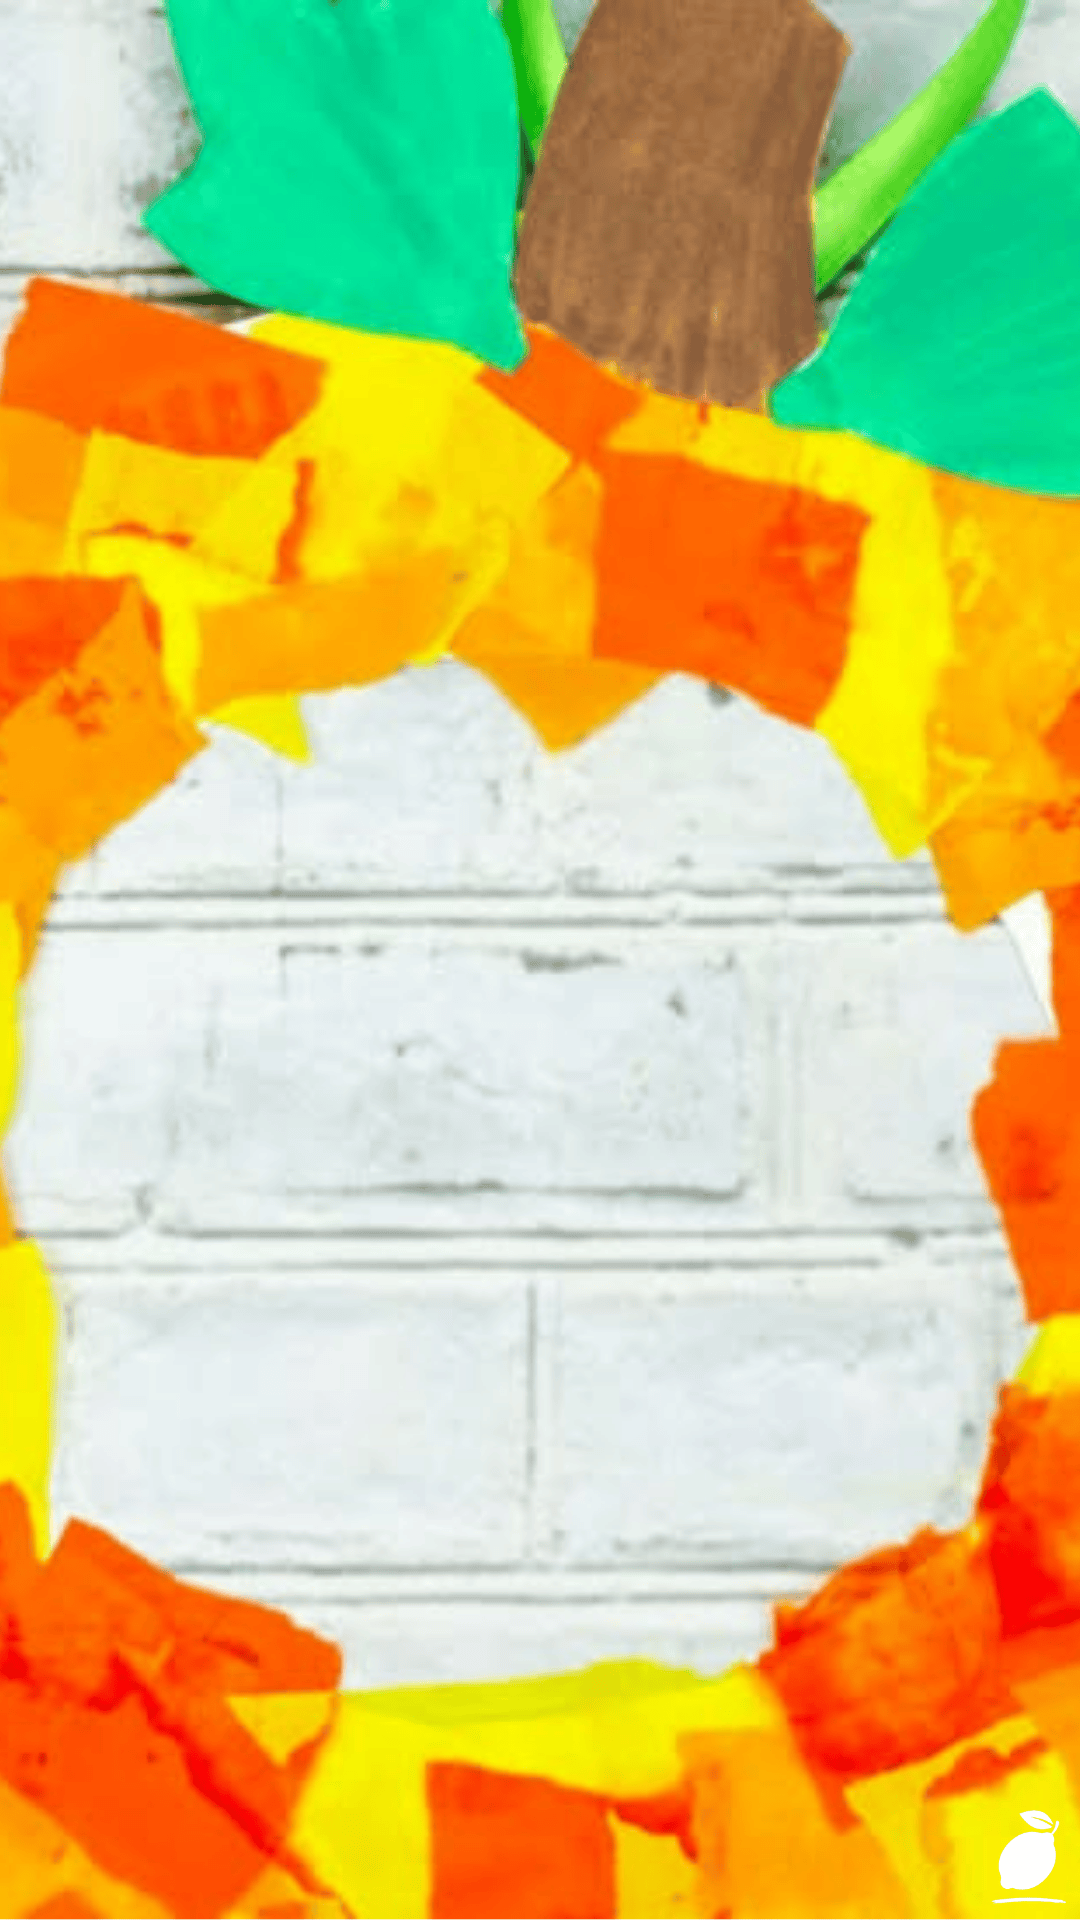
This pumpkin wreath comes together with basic supplies and a handful of clear steps, making it approachable for kids of nearly any age with just a little adult help along the way.
Step 1: Gather Your Materials
You’ll need one or two sturdy white paper plates, orange, yellow, and brown construction paper (for tearing), a brown paper strip or pipe cleaner for the stem, scissors, and glue. Having everything laid out before you start keeps this pumpkin wreath project moving smoothly instead of stalling halfway through.
Step 2: Cut the Paper Plate Ring
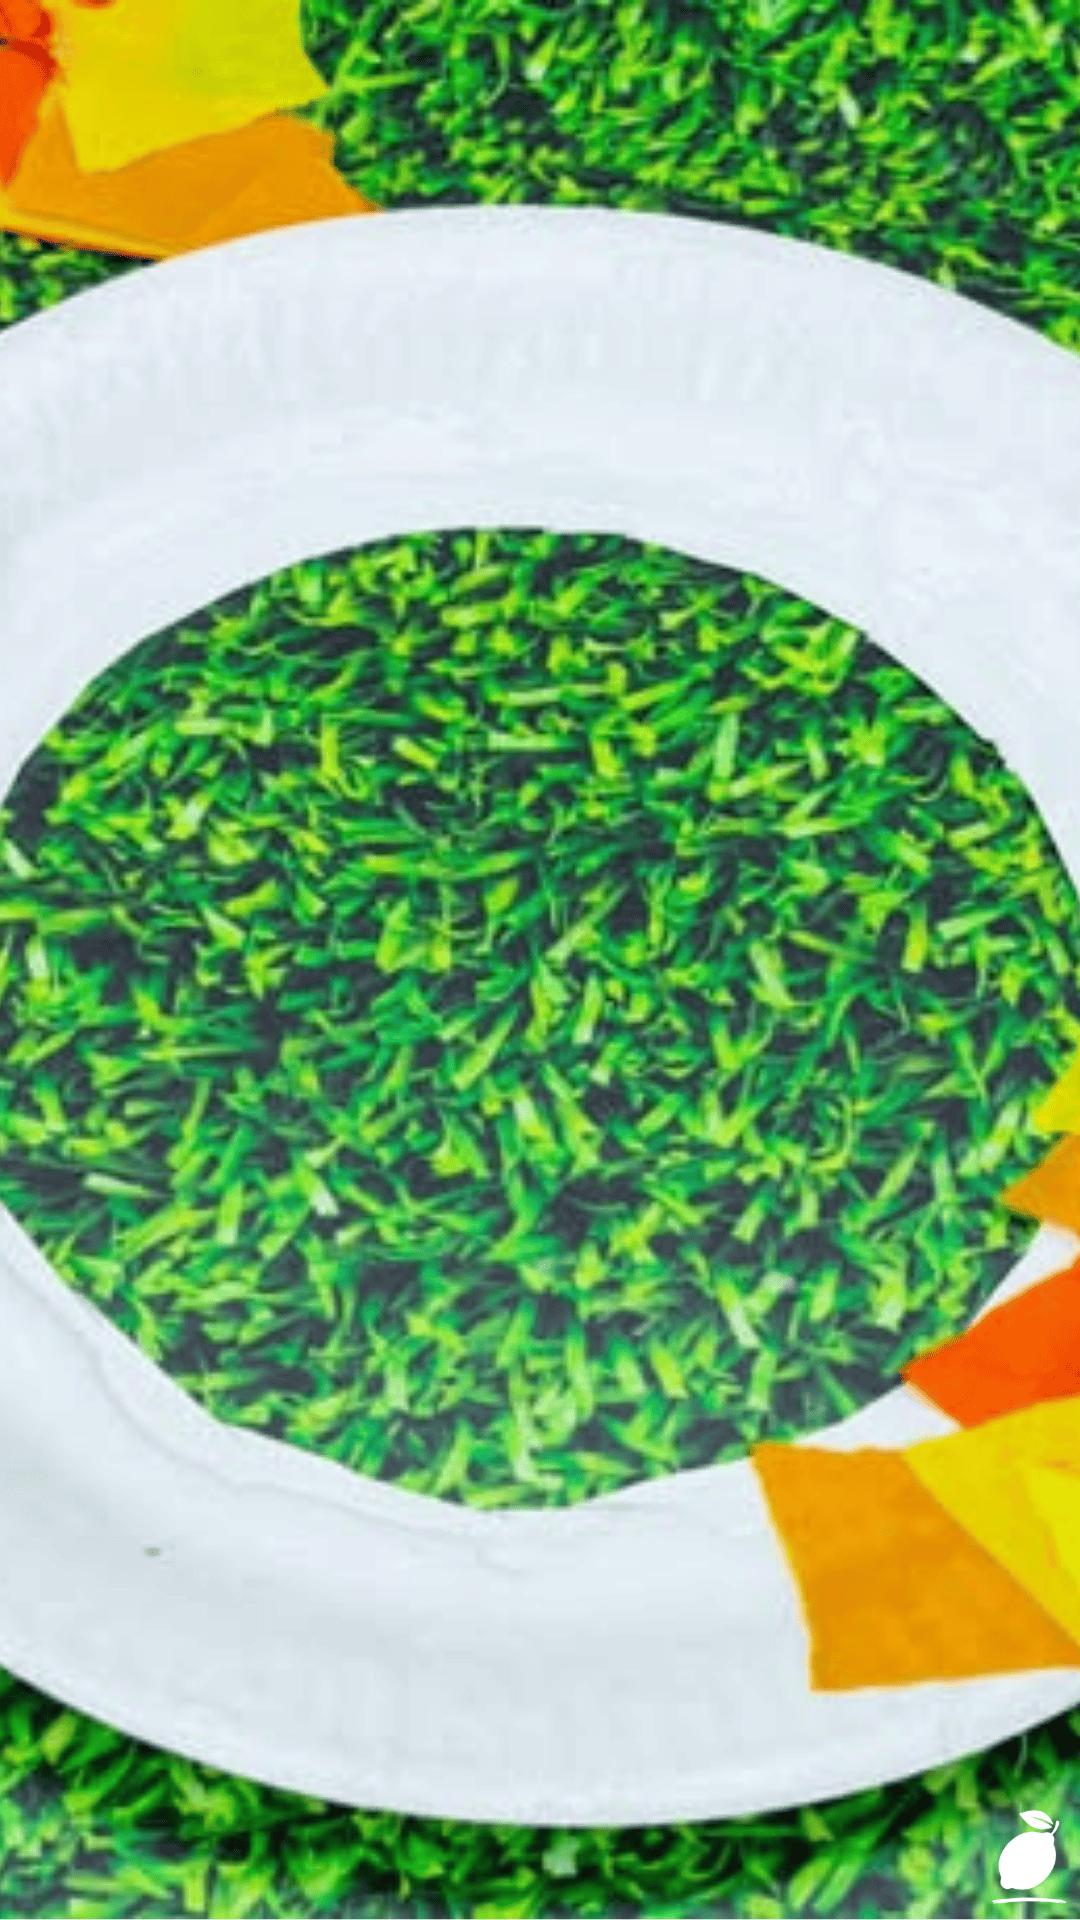
Cut out the center circle of a paper plate, leaving the outer ring intact. This ring becomes the base and shape of your finished pumpkin wreath. An adult should handle this cut for younger kids, since it requires steady scissor control around a curve.
Step 3: Tear the Colored Paper
Instead of cutting, have kids tear the orange, yellow, and brown construction paper into small, irregular pieces. This torn-paper technique is what gives the finished pumpkin wreath its soft, textured, handmade look, and it’s a genuinely great fine-motor activity for little hands.
Step 4: Glue the Torn Pieces onto the Ring
Working in small sections, glue the torn paper pieces onto the plate ring, overlapping edges slightly and mixing the orange, yellow, and brown tones as you go. This is the heart of the project, and it’s the step most kids enjoy most, since there’s no way to do it “wrong.”
Step 5: Add the Stem and Leaves
Once the ring is fully covered, attach a small brown paper strip or twisted pipe cleaner at the top as a stem, along with a couple of torn green paper leaves if you’d like extra seasonal detail on your pumpkin wreath.
Step 6: Let It Dry and Add a Hanging Loop
Let the glue set fully, usually thirty minutes to an hour, then attach a loop of string or ribbon to the back so your finished pumpkin wreath is ready to hang on a door, wall, or window.
Expert Secrets for Success
Pro-Tips for a Better Result
Tear paper in batches first. Have kids tear all their paper pieces before any gluing starts, so the process doesn’t stall halfway through the pumpkin wreath.
Use a glue stick for younger kids. A glue stick is far less messy than liquid glue and still holds torn paper securely to the plate ring.
Mix your tones unevenly on purpose. Clustering a few brown pieces here and a few yellow pieces there, rather than blending perfectly evenly, gives the pumpkin wreath a more natural, hand-torn look.
Reinforce the hanging loop with tape. A small piece of tape over the string attachment point keeps your pumpkin wreath secure on the door for the whole season.
Common Mistakes to Avoid
Cutting the paper instead of tearing it. Cut edges look neat but flat; torn edges give the pumpkin wreath its signature textured charm, so resist the urge to reach for scissors here.
Using too much glue at once. Overloading with liquid glue causes paper to wrinkle and slows drying time significantly.
Skipping the full dry time. Hanging the pumpkin wreath before the glue has fully set can cause pieces to peel off later.
Leaving gaps in coverage. Thin spots on the ring show the plain white plate underneath, which can make the finished pumpkin wreath look unfinished rather than intentional.
Why Pumpkin Wreath Matters
A pumpkin wreath made from a few torn paper scraps and a paper plate might seem like a small thing, but the process behind it matters far more than the finished decoration. Sitting down together with simple, forgiving materials gives kids a real sense of accomplishment something they built with their own hands, start to finish, without needing it to be perfect.
For parents, a project like this also offers something quieter: a slow, screen-free pocket of time where the only goal is being present together. There’s a real kind of calm that comes from finishing something simple and seasonal as a family, and hanging a handmade pumpkin wreath on the door afterward is a small, lasting reminder of that shared afternoon every time you walk past it.
At Easy Peasy Life Matters, that’s exactly the kind of moment we love helping families create: simple, doable projects that bring warmth and connection into ordinary days, no special skills or expensive supplies required.
FAQ
What ages is this pumpkin wreath craft best suited for?
This project works well for kids as young as four with help tearing and gluing, and independently for kids around seven and up. The paper plate ring cutting step is best handled by an adult for younger children.
Can I use tissue paper instead of construction paper for this pumpkin wreath?
Yes, tissue paper works and creates a softer, slightly more delicate texture, though construction paper holds its shape a bit better for a sturdier finished pumpkin wreath.
How long does the finished pumpkin wreath last?
Stored indoors away from direct sun and moisture, a paper pumpkin wreath typically holds up well for the entire fall season and can often be reused the following year with light touch-ups.
What if I don’t have a paper plate on hand?
A circle cut from cardboard or a cereal box works as a substitute base; just cut out the center to create the same ring shape needed for this pumpkin wreath.
Can this be turned into a group activity for multiple kids?
Absolutely. Each child can tear and glue their own section of paper onto a shared ring, or make individual mini pumpkin wreaths using smaller paper plates for a fun group craft session.







