Maintaining a nice space outdoors often feels as though it’s an uphill struggle against the weather; you spend weekends digging and mulching and sweating, and when you look at your hard work, only to find that the intense summer sun has cooked your lovely flowers into dried-up little remnants of what they once were. All this effort leaves you with just a bunch of dried-up pieces of plants in a yard that looks patched together and a spirit that is depleted.
A lot of homeowners are overwhelmed by high-maintenance flowerbeds and hostas landscaping that need to be taken care of constantly and end up creating clutter in their yards, which makes it more difficult for them to take care of themselves!
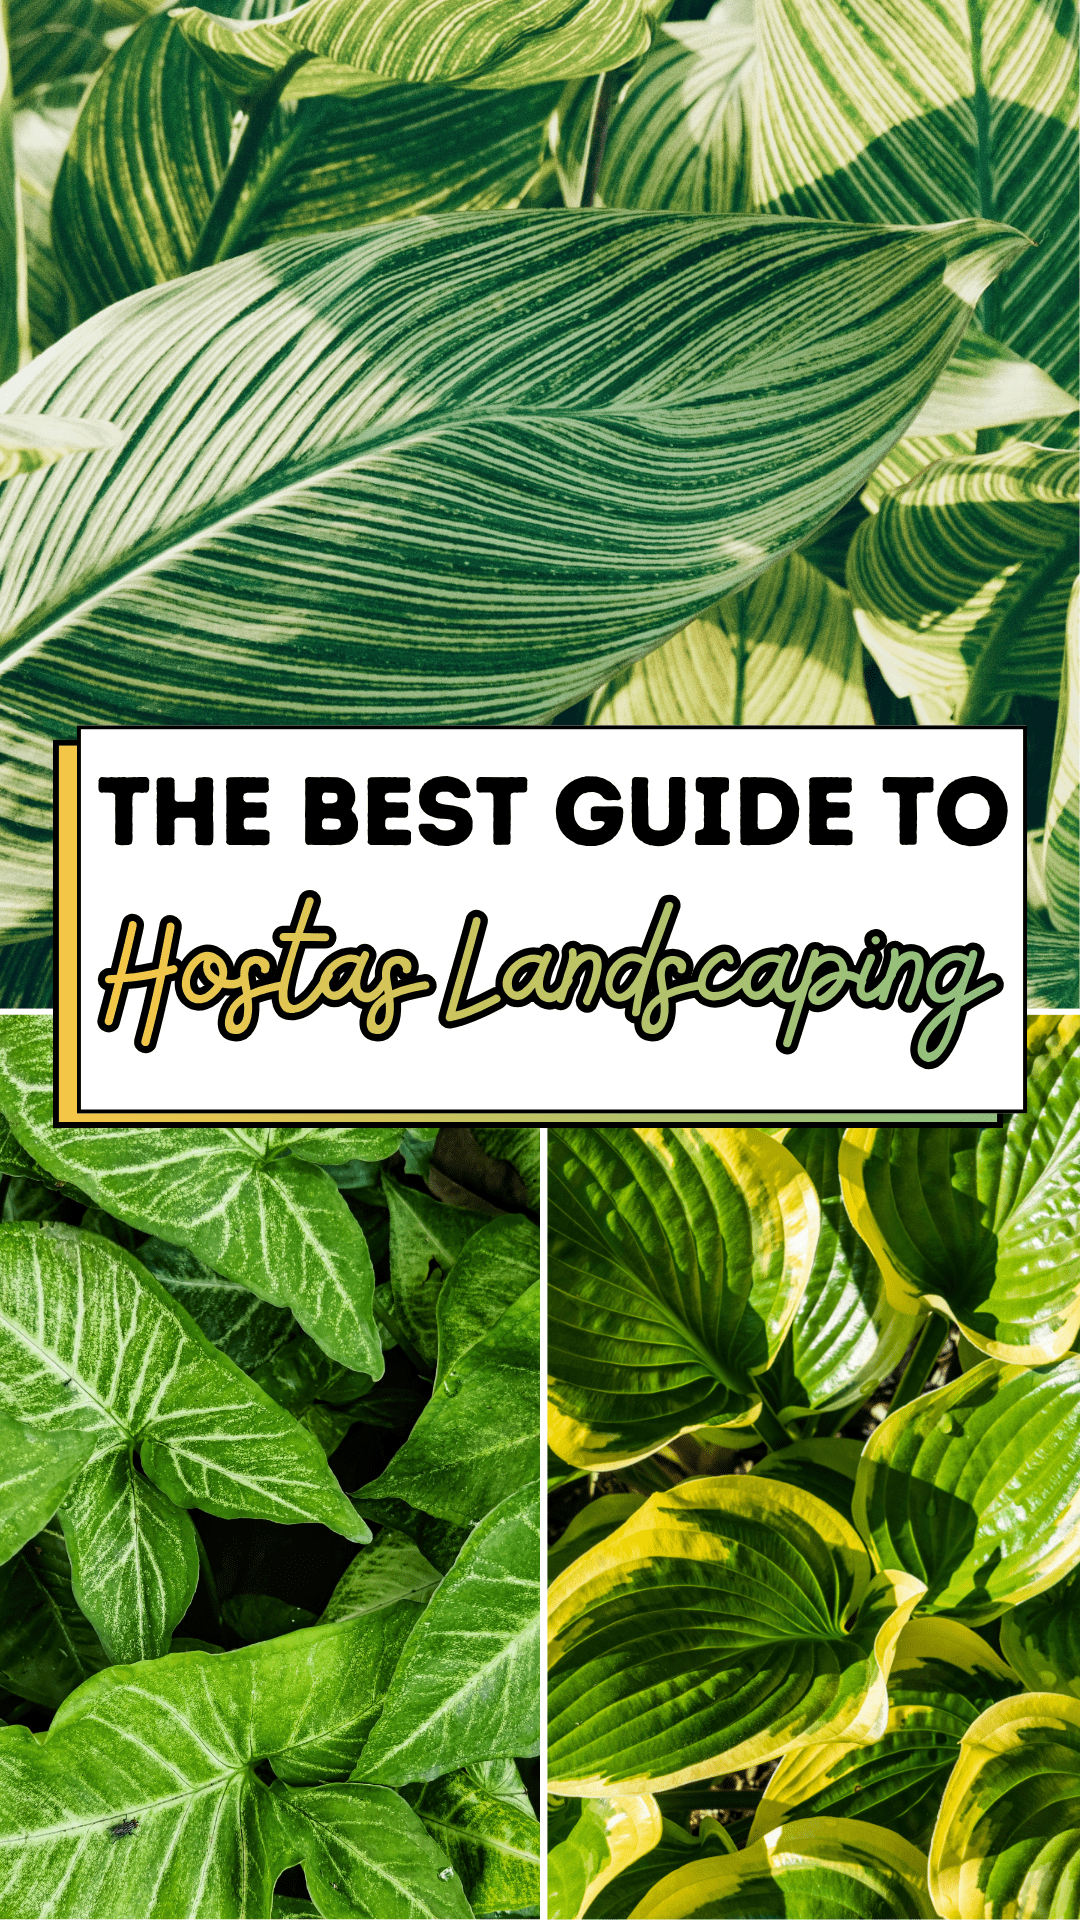
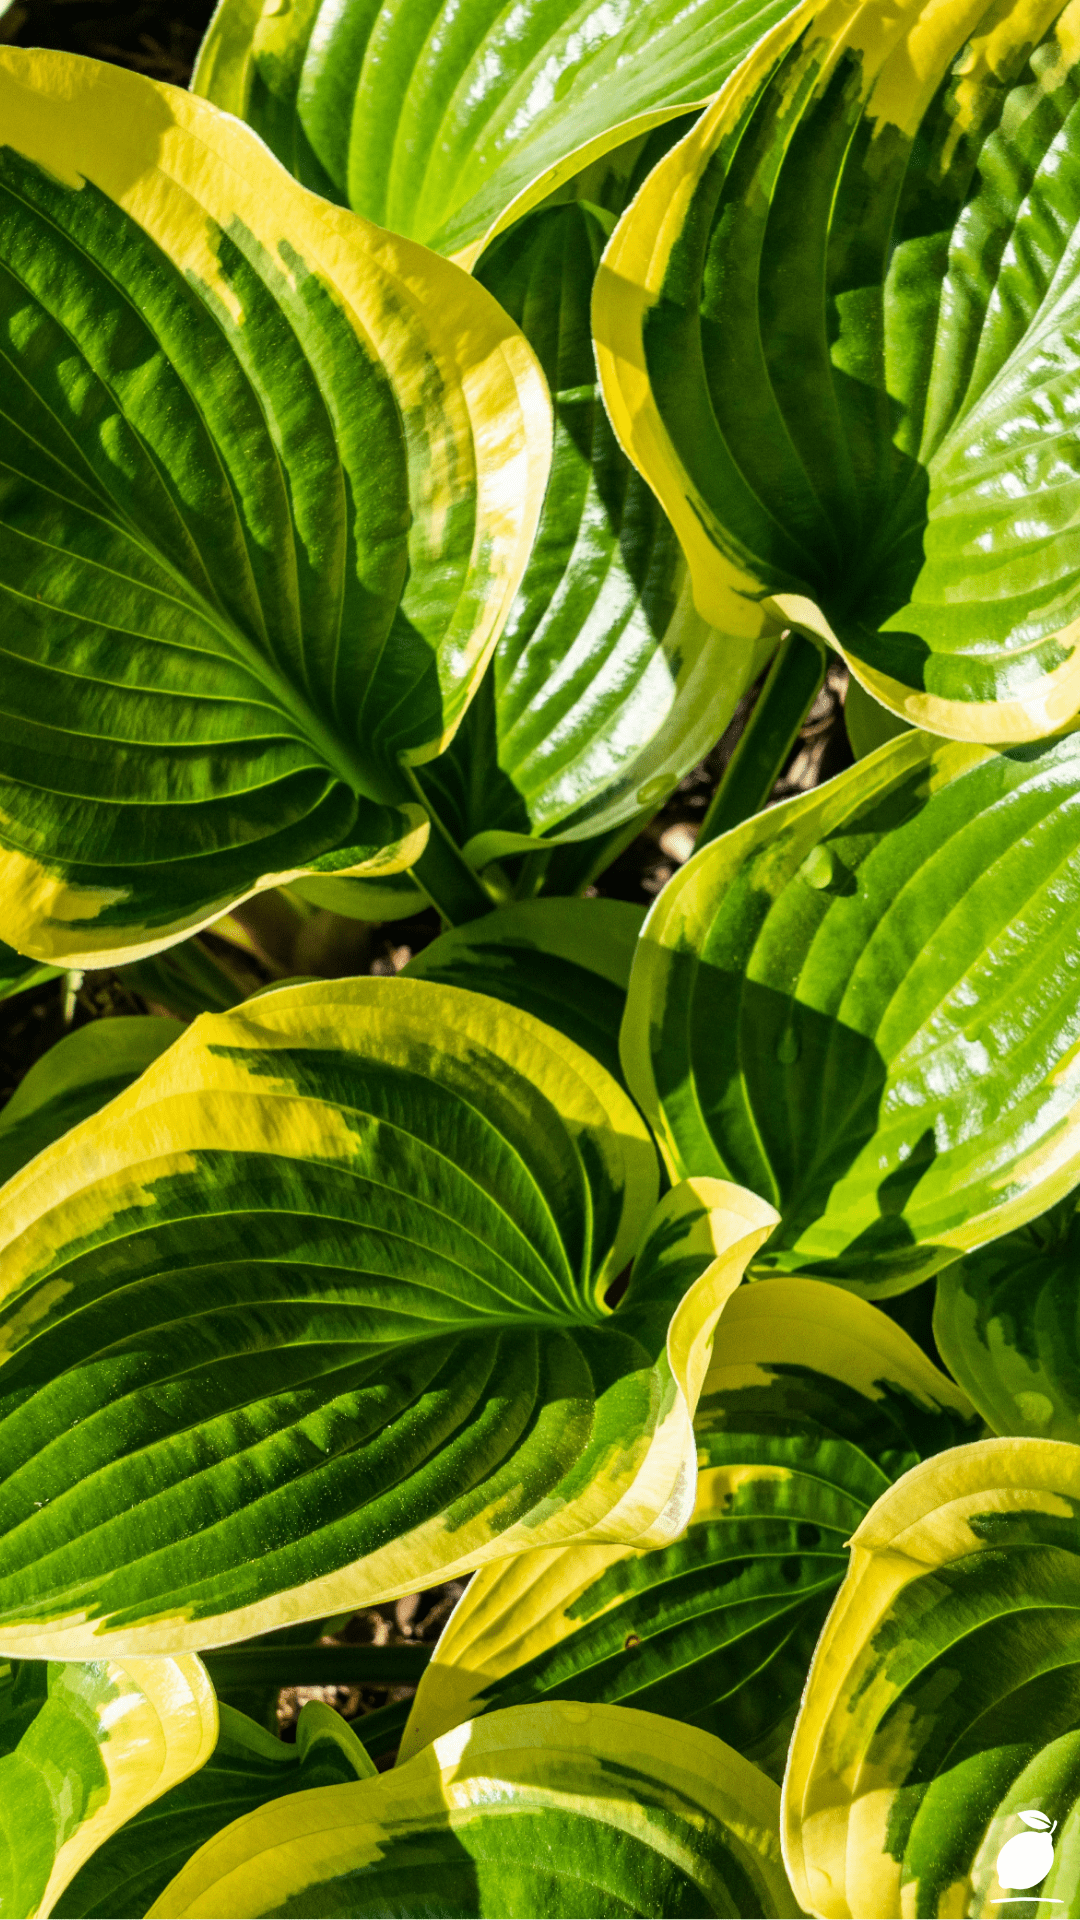
Visualise a garden that flourishes in the cool shaded areas of your yard, an area that is safe from all of the chaos happening around us. Now, think about the large, wide ribbed leaves with prominent, long-running parallel vein patterns, providing you with an architectural guideline for how to build beauty within a landscape.
Colourful Variegated Hostas contrast richly with a very dark green centre and a bright Chartreuse yellow outer border, and form a dense, lush living texture that creates a natural feeling of being connected to Mother Nature, but also creates a well-planned and carefully created pattern of growth. This demonstrates how nature can build a calming place with lots of moisture if it is created with resilience and strength!
The hostas landscaping System
Achieving that professional, tiered look requires more than just dropping a plant in the ground. To ensure your greenery thrives and looks like a curated gallery, follow our three-step hostas landscaping system.
Step 1: Prepare Your Canvas
The foundation of successful hostas landscaping lies in understanding your light and soil. While hostas are known as shade lovers, those with variegated chartreuse or yellow edges—like the ones in our visual actually appreciate a little dappled morning sun to keep their colors vibrant. Before planting, clear your chosen area of weeds and debris. Incorporate organic matter like compost or aged manure into the soil. Hostas love well-drained but moisture-retentive earth; think of it as creating a soft, nutrient-rich bed where their roots can expand without resistance.
Step 2: Implement for Texture and Depth
When it comes to the actual planting, think of hostas landscaping as building a living sculpture. Do not just plant them in a straight line. Instead, stagger them in an overlapping formation to mimic the dense, lush appearance of a natural forest floor. Place larger varieties in the back and smaller, variegated types in the front. This creates a botanical pattern that fills the frame of your garden bed. Consider the mature width of each plant; hostas need room to breathe and unfurl their broad leaves to achieve that iconic ribbed texture.
Step 3: Maintain the Hydrated Glow
A healthy hosta has a slight sheen on its surface, indicating it is well-hydrated and thriving. To maintain this, consistency is key. Mulching is your best friend in hostas landscaping; a thick layer of shredded bark or leaf mold helps retain moisture and keeps the roots cool during the heat of the day. Water the base of the plant early in the morning to avoid getting the large leaves wet in the direct sun, which can cause spotting. Regular watering ensures the deep forest green and bright chartreuse colors remain crisp and saturated.
The Secrets to the Most Common Mistakes People Make in hostas landscaping
Even the most seasoned gardeners can stumble when it comes to shade-perennials. Here is how to navigate the expert path and avoid the pitfalls that turn a sanctuary into a chore.
3 Expert Pro-Tips
- The Morning Sun Trick: For hostas with yellow or white variegation, give them 2 to 4 hours of morning sun. This “activates” the bright chartreuse tones, making them pop against darker green centers.
- Slug-Proofing with Texture: Choose varieties with thick, puckered, or deeply ribbed leaves. Slugs find these harder to chew through, naturally protecting your hostas landscaping without the need for harsh chemicals.
- Divide to Multiply: Every three to four years, divide your hostas in the early spring. Not only does this keep the parent plant healthy and prevent overcrowding, but it also gives you free plants to expand your landscape.
3 Common Mistakes to Avoid
- Planting in Deep, Dark Shade: While they survive in shade, “no sun” often results in dull colors and slow growth. hostas landscaping needs indirect light to truly look vibrant and healthy.
- Crowding the Crown: When planting or mulching, never bury the crown (where the leaves meet the roots). This is a top mistake that leads to rot and plant failure.
- Inconsistent Watering: hostas landscaping relies on large leaf surfaces, which lose water quickly. Allowing the soil to dry between waterings will cause the leaf edges to turn brown and crispy.
Why the Most Common Mistakes People Make in Hosta Landscaping Matter

The design of your garden is more than just curb appeal; it is a vital component of your mental health. When we make mistakes in our hostas landscaping, such as over-crowding or choosing the wrong light levels, the resulting “messy” or dying plants become a source of subconscious guilt and stress. Every time you look out the window and see a struggling plant, it is a reminder of a task left undone or a project that failed.
In contrast, a thriving, organized landscape acts as a visual anchor for the mind. The repetitive botanical patterns and cooling greens of hostas landscaping have been shown to lower heart rates and promote a sense of order. By avoiding common mistakes and creating a lush, healthy environment, you are building a predictable, beautiful space that rewards you with tranquility. The sheen of a healthy leaf is a reflection of a life that is being managed with care and intention.
FAQ
When is the best time to start hostas landscaping in my yard?
The best times to plant are early spring or early fall. This allows the hostas to establish their root systems in cooler temperatures without the stress of the mid-summer heat or the deep winter freeze.
How do I stop my hostas landscaping from being eaten by deer?
Deer love hostas as much as we do. To protect your garden, consider planting fragrant companion plants like lavender or alliums nearby, or use a natural, mint-based repellent spray during the peak growing season.
Do hostas need a lot of fertilizer to look like the pictures?
Not necessarily. While a balanced, slow-release fertilizer in the spring helps, hostas landscaping thrives primarily on good soil quality. Adding fresh compost each year is usually enough to maintain those striking variegated patterns and large, broad leaves.