You grew your tomato plants from seed this year. Eight weeks under the grow lights, carefully hardening off on the doorstep, and finally, you dug the holes and got them in the ground with real excitement. By July, the tomato plants were enormous. Lush, green, covered in yellow flowers that set fruit in satisfying clusters. And then August arrived, and the problems arrived with it: blossom end rot on the first trusses. A yellowing lower canopy that you diagnosed as a nitrogen issue, then a magnesium issue, then gave up diagnosing. Split skins on the tomatoes that ripened after a dry spell, followed by heavy rain. The yield was there, technically, but the tomatoes that made it to the bowl looked like they had survived something rather than thrived.
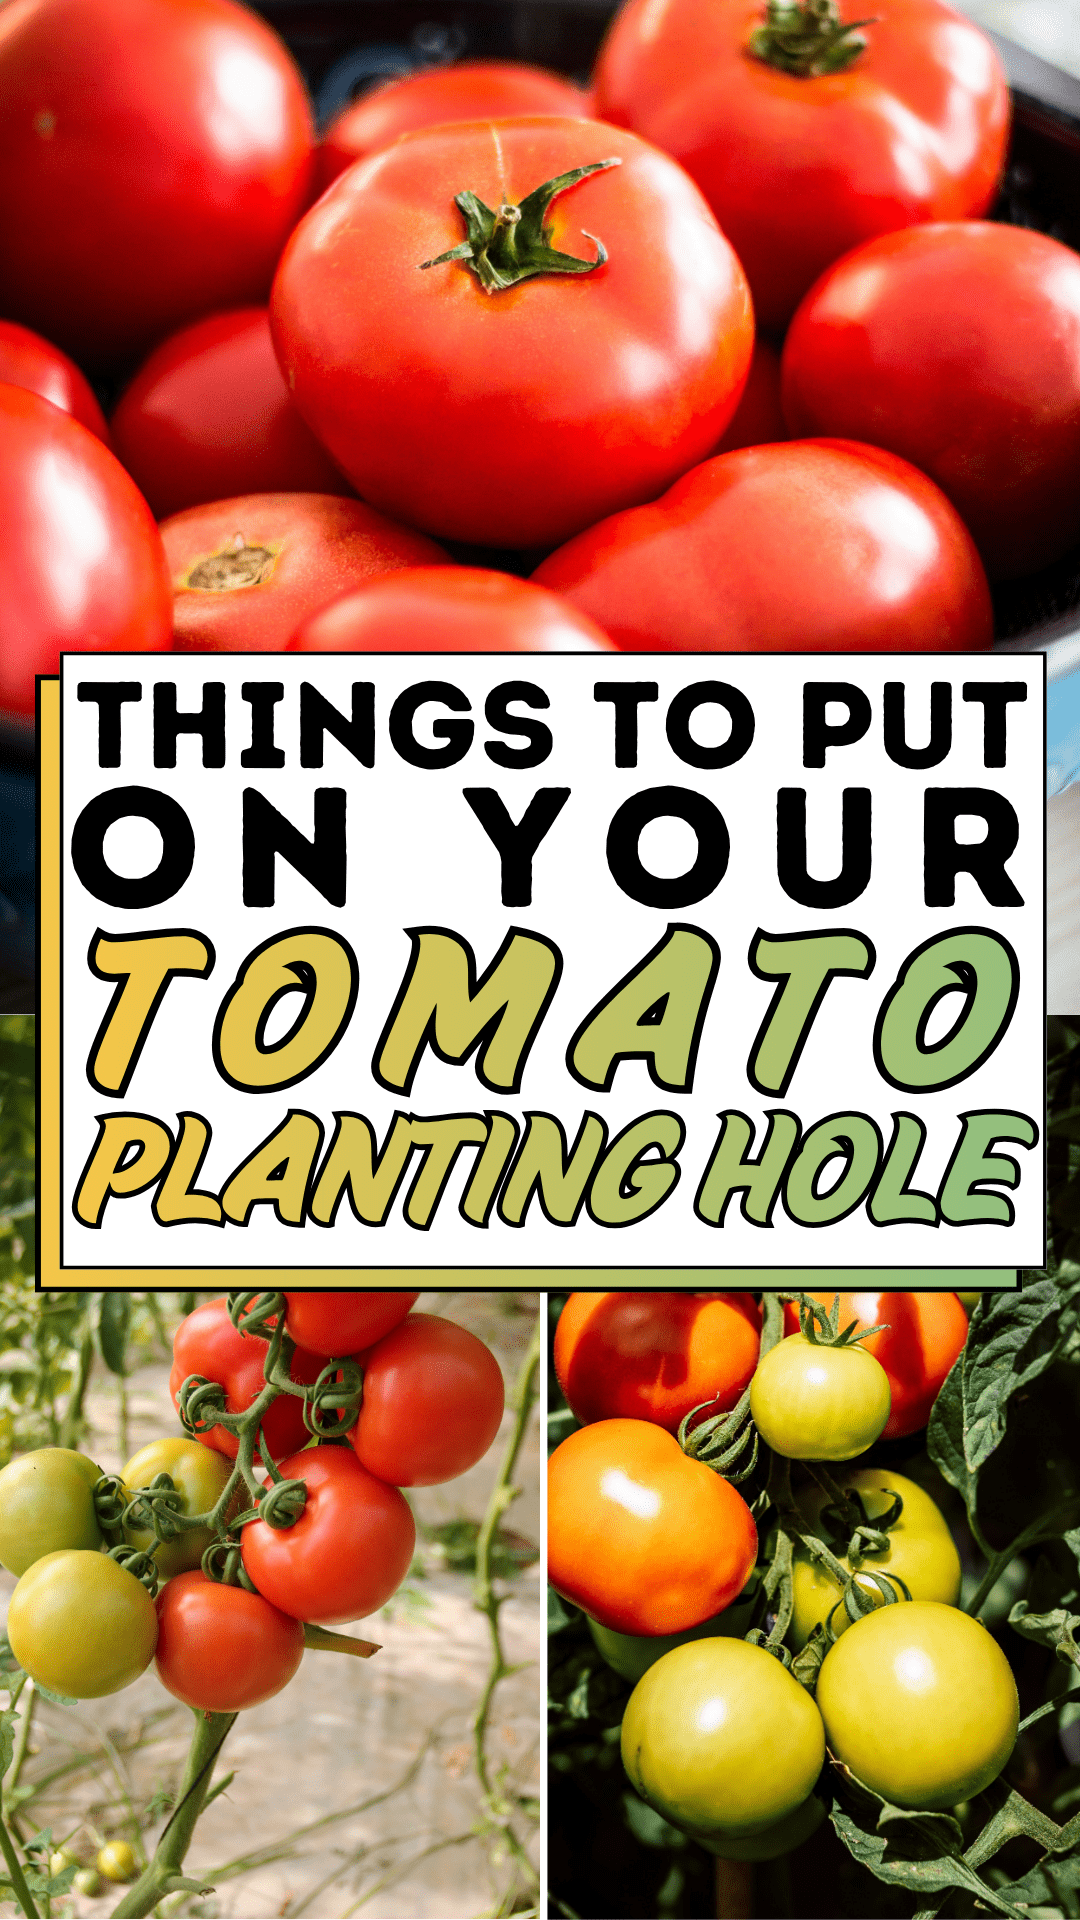
The frustration with tomato growing is that the plants look healthy right up until the point when they do not, and by the time a deficiency or stress becomes visible in the foliage or fruit, the plant has been dealing with it for weeks. Blossom end rot is not a problem that begins at the blossom end. It begins in the soil at planting time, when the calcium and moisture-retention capacity of the root zone is established for the entire season. Magnesium deficiency did not appear in August; it was determined in May when the planting hole received nothing but the soil it displaced. Most tomato problems trace back to a single moment: the planting hole and what went into it.
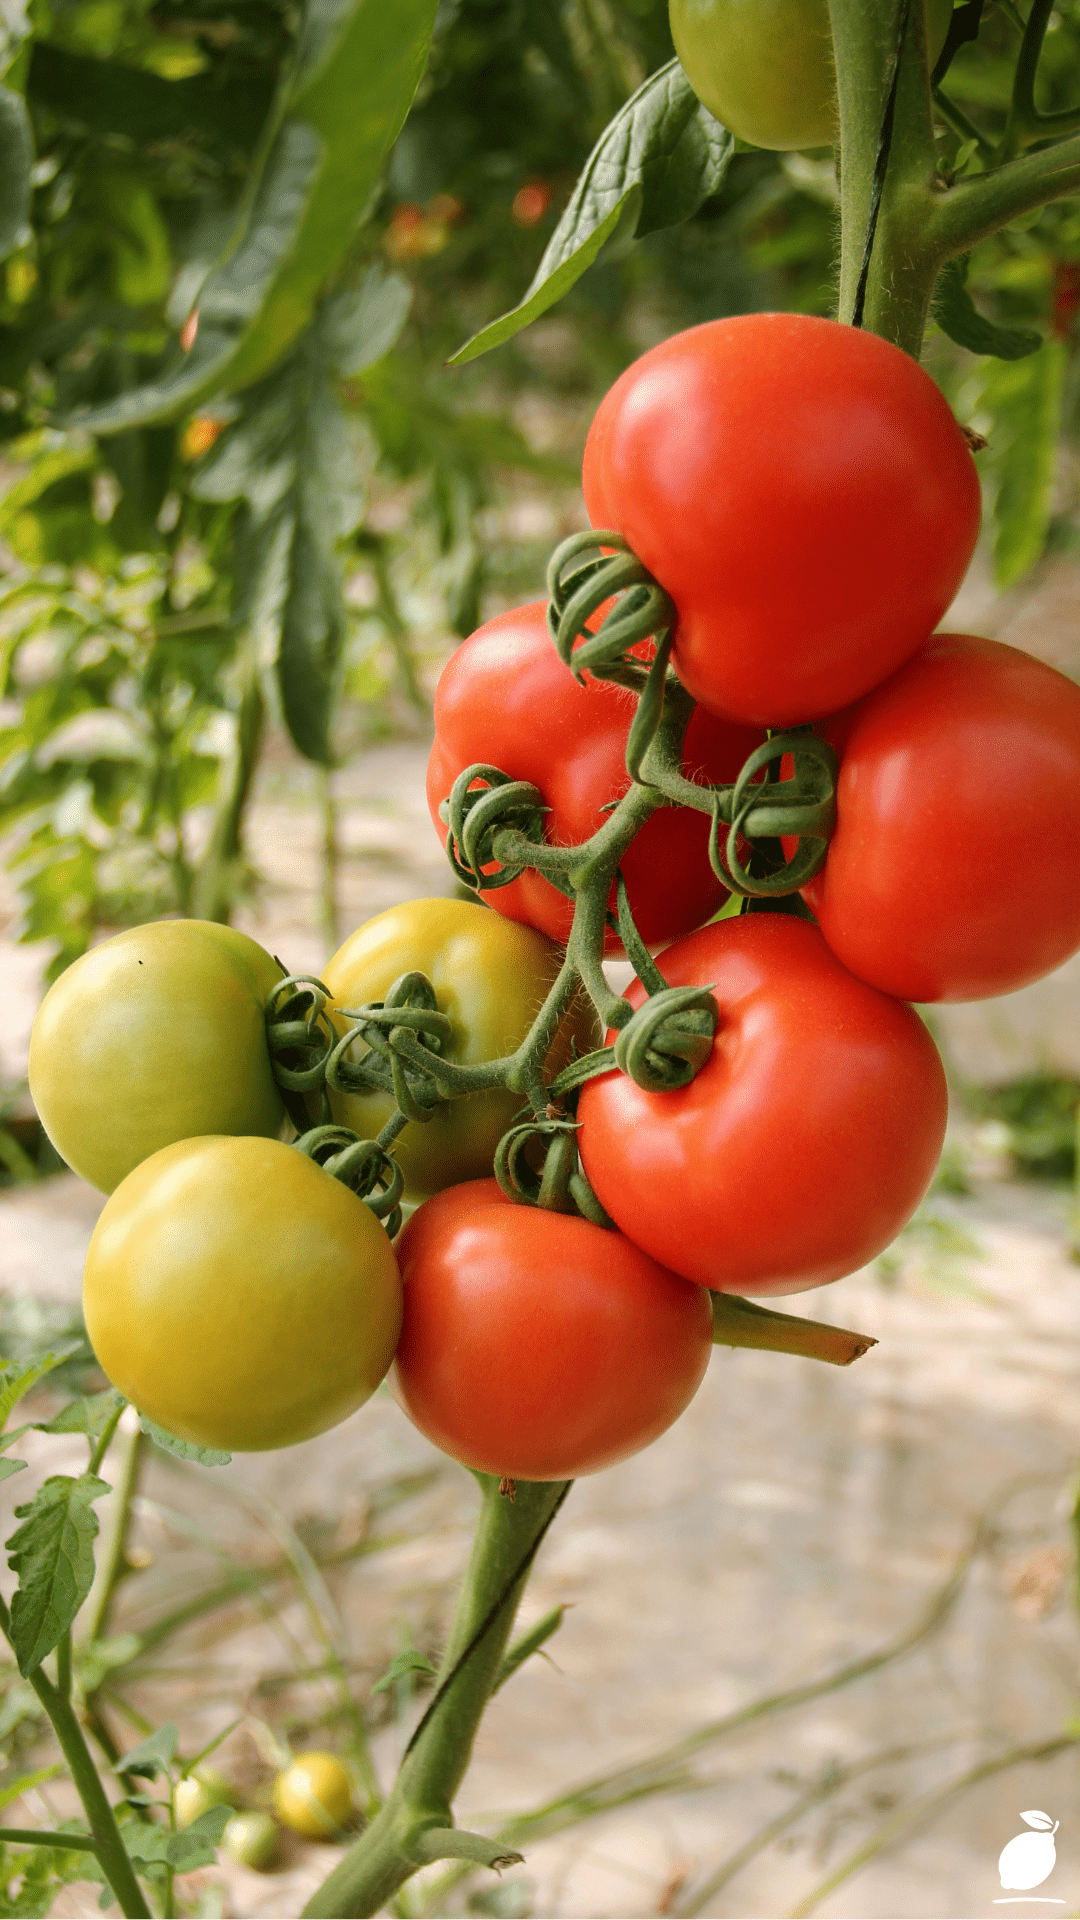
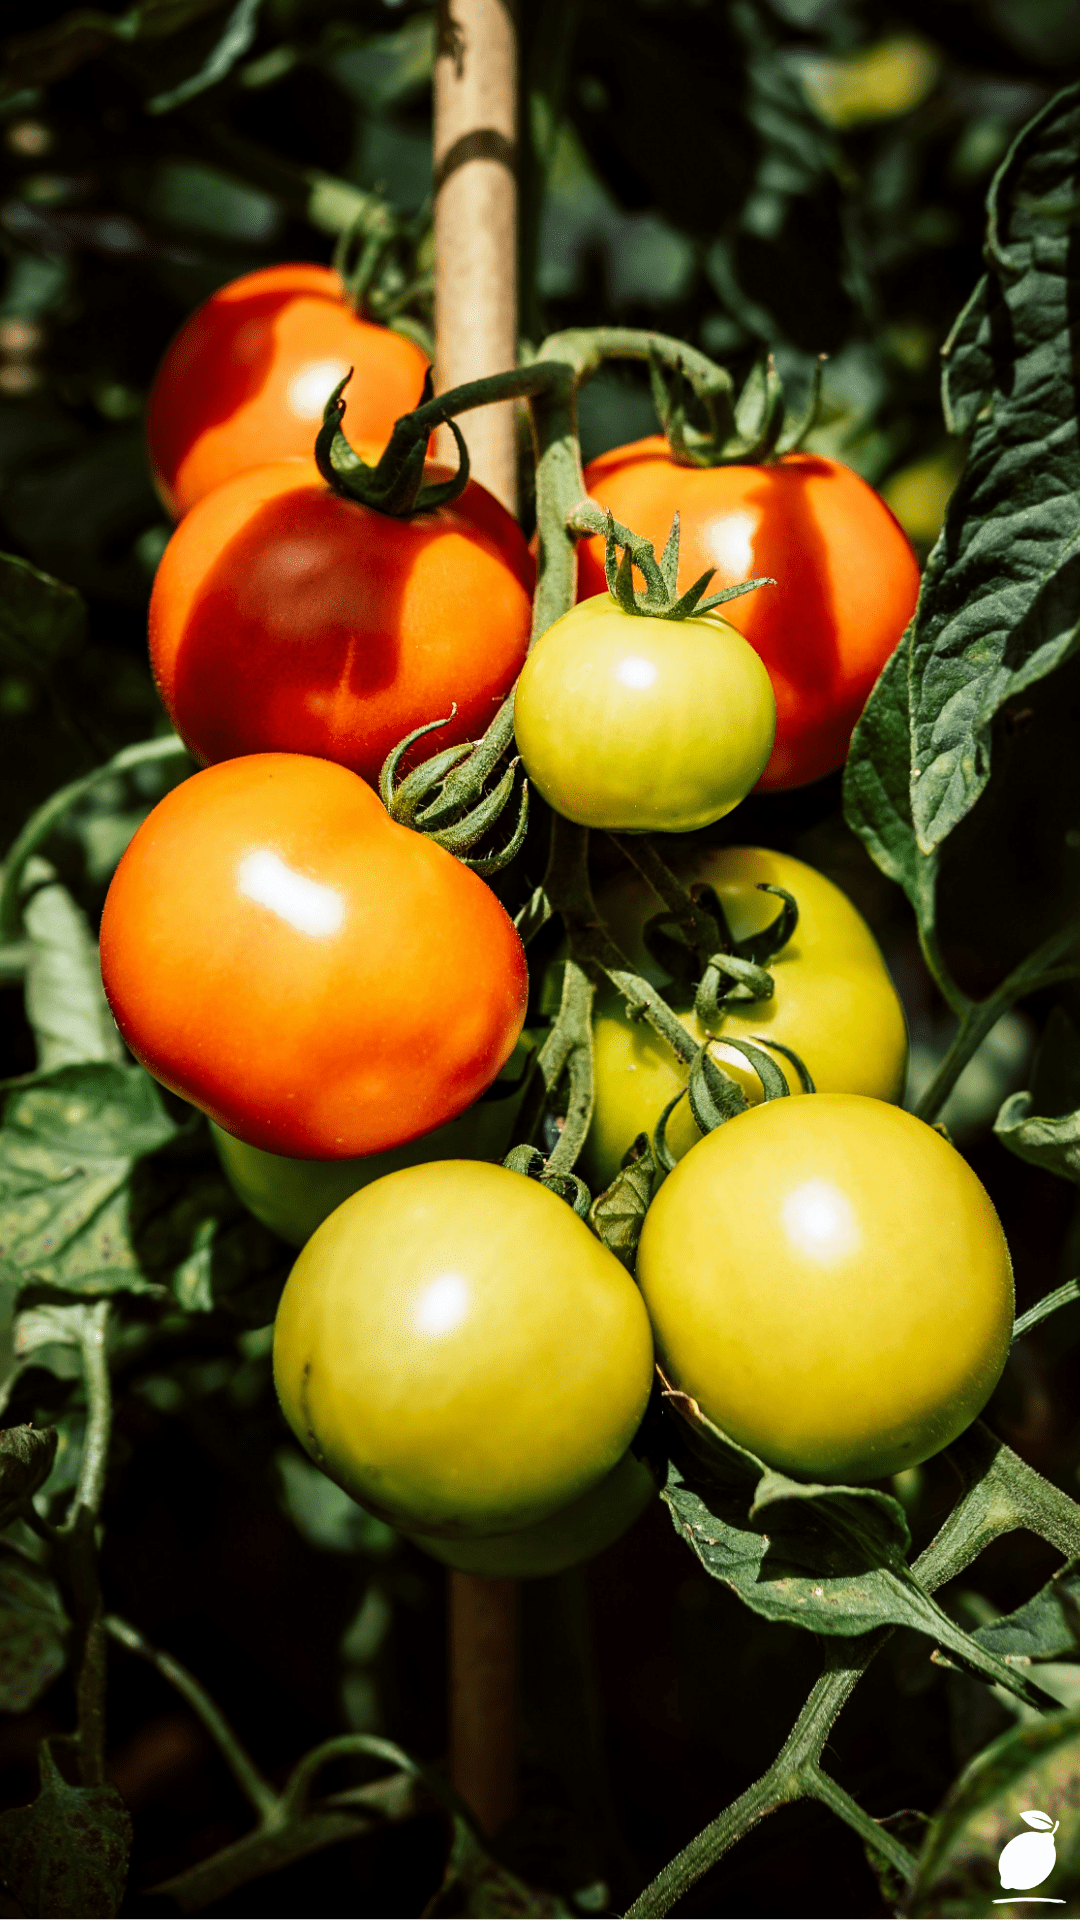
That cluster of ripe and ripening tomatoes on the vine, round, plump, glossy, growing in a natural cascading abundance that makes the whole endeavor look effortless, is the result of a plant that has never been stressed, never been deficient, never been left to draw from inadequate soil because its planting hole gave it everything it needed from day one. Getting the planting hole right is the single highest-leverage action in the entire tomato-growing year. Here is everything that should go in it, and why.
The Tomato Guide
The title calls for a roundup of a definitive list of the best things to put in a tomato planting hole, each with a clear explanation of the specific benefit it delivers to the tomato plant’s health, productivity, and fruit quality. These are additions made to the hole itself before the tomato transplant goes in, creating the ideal root-zone environment from the moment of planting.
Compost or Well-Rotted Manure
The foundation of any productive tomato planting hole is a generous quantity of well-rotted organic matter, garden compost, bagged multipurpose compost, or well-rotted farmyard manure. Add a full trowel or two scoops into the base of the planting hole and mix it into the surrounding soil before the tomato goes in. The organic matter improves soil structure, increases water retention in sandy soils, improves drainage in clay soils, and provides a slow-release source of nutrition that feeds the tomato plant through its establishment phase.
Why it works: Tomato plants produce extensive root systems that explore a large soil volume across the season. Starting that root system in a rich, biologically active growing environment gives it the best possible trajectory. Compost introduces beneficial soil microorganisms that support nutrient uptake, and the improved moisture retention of compost-amended soil is directly protective against blossom end rot, the moisture stress disorder that causes calcium transport failure in developing tomato fruit.
Crushed Eggshells
Eggshells are composed almost entirely of calcium carbonate, approximately 94% by weight, and when added to the tomato planting hole, they provide a slow-release calcium source that replenishes the growing medium across the full season as the shells gradually break down. Crush four to six eggshells per tomato planting hole and mix them into the base of the hole with the compost. For faster initial breakdown, dry the shells in a low oven before crushing them to a coarse powder.
Why it works: Calcium deficiency in the tomato fruit expressed as blossom end rot, the leathery brown patch that destroys the base of otherwise perfect tomatoes, is the most common and most preventable tomato fruit disorder. While blossom end rot is triggered by irregular watering that disrupts calcium transport, a root zone with adequate calcium availability is significantly more resilient to moisture fluctuations than a depleted one. Eggshells in the tomato planting hole are the simplest, most cost-effective calcium insurance available to the home grower.
Epsom Salt (Magnesium Sulfate)
A teaspoon of Epsom salt, magnesium sulfate, dissolved in water and poured into the tomato planting hole before planting, or sprinkled dry at the hole base, provides the magnesium that tomato plants require in significant quantities for chlorophyll production and fruit development. Magnesium deficiency in tomato plants manifests as interveinal yellowing on lower leaves, the green veins remaining while the leaf tissue between them yellows progressively from the bottom of the plant upward.
Why it works: Tomato plants are heavy magnesium users, and the intensive cropping of a productive tomato plant depletes soil magnesium rapidly through the season. Providing magnesium at the planting hole stage before the tomato plant is producing the heavy fruit load that creates peak demand establishes the nutritional foundation that prevents mid-season deficiency. Epsom salt is rapidly soluble, inexpensive, and available from any pharmacy or garden center, making it one of the most accessible and effective tomato planting hole additions available.
Mycorrhizal Fungi Powder
Mycorrhizal fungi, the beneficial fungi that form symbiotic networks around plant roots, dramatically expanding the effective root surface area, are one of the most genuinely transformative additions to a tomato planting hole. Apply mycorrhizal fungi powder directly to the root ball of the tomato transplant at planting, ensuring it contacts the roots directly rather than being incorporated into the surrounding soil, where it may not make contact with the roots. Most garden centers stock ready-to-use mycorrhizal inoculant granules or powder products.
Why it works: Mycorrhizal networks expand the tomato plant’s effective root zone by up to a thousand times, accessing water and nutrients, particularly phosphorus, in a far larger soil volume than the plant’s physical roots could reach alone. A tomato plant with an established mycorrhizal association is more drought-tolerant, more disease-resistant, and more nutrient-efficient than one without. The mycorrhizal network begins to establish within days of planting when the inoculant makes direct root contact, making the planting hole the critical moment for this addition.
Bone Meal
Bone meal, finely ground animal bones, rich in phosphorus and calcium, is one of the traditional organic additions to a tomato planting hole and one of the most specifically suited to the plant’s needs at establishment. Phosphorus is the primary nutrient for root development and fruit production, and tomato plants require it in the greatest quantity during the establishment phase and the fruiting period. Add a tablespoon of bone meal to the base of each tomato planting hole and mix it into the surrounding soil before planting.
Why it works: Phosphorus availability in soil is frequently limited by soil pH and the existing nutrient status of the growing medium. Adding bone meal to the tomato planting hole delivers phosphorus directly to the root zone at establishment, the moment when the developing root system has the highest proportional need for it. Strong root establishment in the first four weeks after planting determines the tomato plant’s structural capacity for the rest of the season: the size and number of trusses it can support, the water and nutrients it can access, and its resilience to mid-season stress.
Aspirin (Acetylsalicylic Acid)
This is the tomato planting hole addition that surprises most gardeners and delivers some of the most reliably interesting results. A single uncoated aspirin tablet dissolved in a liter of water and poured into the planting hole, or crushed and added directly to the hole before planting, supplies salicylic acid to the tomato plant’s root zone. Salicylic acid is the compound that triggers a plant’s systemic acquired resistance, its immune system response to pathogen attack.
Why it works: Tomato plants treated with salicylic acid at planting show measurably higher resistance to fungal diseases, including early blight and late blight, the two diseases most likely to cut short a productive tomato season. Research at the University of Rhode Island demonstrated that aspirin-treated tomato plants produced significantly higher yields and maintained disease-free foliage for longer than untreated controls. For a tomato grower dealing with persistent blight pressure in the garden, aspirin in the planting hole is one of the most cost-effective preventive interventions available.
Kelp Meal or Seaweed Extract
Kelp meal, dried and ground seaweed, provides a broad-spectrum trace element supplement to the tomato planting hole that no synthetic fertilizer fully replicates. Seaweed contains over sixty naturally occurring trace minerals, including boron, iron, manganese, zinc, and molybdenum, all required by tomato plants in small quantities for enzyme function, fruit development, and disease resistance. Add a tablespoon of kelp meal to the planting hole or water in with a diluted seaweed extract solution.
Why it works: Trace element deficiencies in tomato plants are difficult to diagnose and frequently misattributed to macronutrient problems. A broad-spectrum trace element supplement at the planting hole stage is insurance against the specific, hard-to-identify deficiencies that cause subtle growth irregularities, distorted new growth, poor fruit set, or abnormal coloration across the season. Kelp meal also contains natural plant growth hormones, including cytokinins and auxins, that stimulate root development and support early establishment of the tomato plant.
Expert Secrets for Success
Pro-Tips for Better Results
- Plant tomatoes deeply, bury the stem. Unlike most vegetables, tomato plants produce roots from any point along the stem that contacts soil. Planting deeply, burying the stem up to the lowest true leaves, creates a significantly larger and more robust root system than a shallow planting at container depth. Remove the lower leaves that would be buried, and set the plant so that two-thirds of its stem is below the soil surface. The additional roots that develop along the buried stem directly increase the plant’s water and nutrient uptake capacity for the entire season.
- Water the hole before and after planting. Fill the tomato planting hole with water and allow it to drain completely before the plant goes in. This settles the amendments, moistens the root zone, and prevents the newly planted tomato from drawing water from a dry surrounding soil. Water in again after planting and mulch immediately with a 10cm layer of compost or straw to retain that initial moisture through the establishment phase.
- Combine planting hole additions; do not replace them. The additions in this guide are complementary, not alternative. Compost provides organic matter, eggshells provide calcium, Epsom salt provides magnesium, bone meal provides phosphorus, mycorrhizal fungi expand root access, and kelp meal provides trace elements. Each serves a different nutritional role. Using one in place of another leaves gaps. A tablespoon each of bone meal, Epsom salt, and kelp meal, plus a handful of crushed eggshells and two scoops of compost, adds less than a minute to the planting process and provides the tomato plant with a nutritionally complete start.
- Warm the soil before planting. Tomato root systems are significantly less efficient at water and nutrient uptake in cold soil. Laying black polythene or a cloche over the prepared planting area for two weeks before the tomato transplant goes in raises soil temperature by three to five degrees, enough to meaningfully accelerate early root establishment and reduce the transplant shock period. Remove the covering at planting, or cut a hole in the polythene and plant through it, using the polythene as a mulch for the season.
- Apply a mycorrhizal inoculant to the roots, not the hole. The effectiveness of mycorrhizal fungi depends entirely on direct contact with the tomato plant’s root system at planting. Sprinkling inoculant into the hole before the plant goes in frequently results in the roots sitting above or beside the product rather than in contact with it. Dip the root ball directly into a shallow dish of mycorrhizal powder, or sprinkle it onto the root surface just before lowering the tomato plant into the hole, to ensure maximum contact and colonization.
Common Mistakes to Avoid
- Adding too much nitrogen at planting. Fresh manure, high-nitrogen general fertilizers, or excessive compost added to the tomato planting hole produces lush, dark green vegetative growth at the expense of flower and fruit production. Tomato plants in nitrogen-rich environments prioritize leaf production the result is big, beautiful plants with sparse fruit set. Use well-rotted rather than fresh manure, and supplement with bone meal for phosphorus rather than a high-nitrogen general feed at planting.
- Skipping calcium supplementation. Blossom end rot is one of the most disheartening tomato disorders appearing on the first and most anticipated fruits of the season, destroying the lower half of an otherwise perfect tomato. It is almost entirely preventable through adequate calcium provision at the planting hole stage combined with consistent watering through the season. Crushed eggshells cost nothing and take thirty seconds to add. Skipping them is the most easily avoided tomato growing mistake.
- Planting into cold, wet soil. Tomato plants set into cold, waterlogged soil sit still, produce no new root growth, and become susceptible to root diseases while they wait for conditions to improve. Soil temperature below 10°C (50°F) effectively halts tomato root activity. Check soil temperature with a probe thermometer before planting. If the soil is cold, wait or warm it with fleece or polythene before the transplant goes in.
- Applying mycorrhizal fungi after using phosphorus fertilizer. High phosphorus levels in the soil suppress mycorrhizal colonization the plant’s own growth-regulation mechanism reduces investment in mycorrhizal networks when phosphorus is freely available. If using mycorrhizal inoculant, avoid applying bone meal or high-phosphorus fertilizer to the same hole. Choose one approach: either the mycorrhizal inoculant for biological phosphorus access, or the bone meal for direct phosphorus supplementation.
- Forgetting to firm the soil after planting. An air pocket between the tomato root ball and the surrounding soil disrupts water and nutrient movement and prevents the physical root contact with soil particles that drives uptake. Firm the soil gently but thoroughly around the root ball after planting, remove any visible air gaps, and water in immediately. The root ball should sit in solid contact with the amended soil in every direction.
Why Tomato Matters
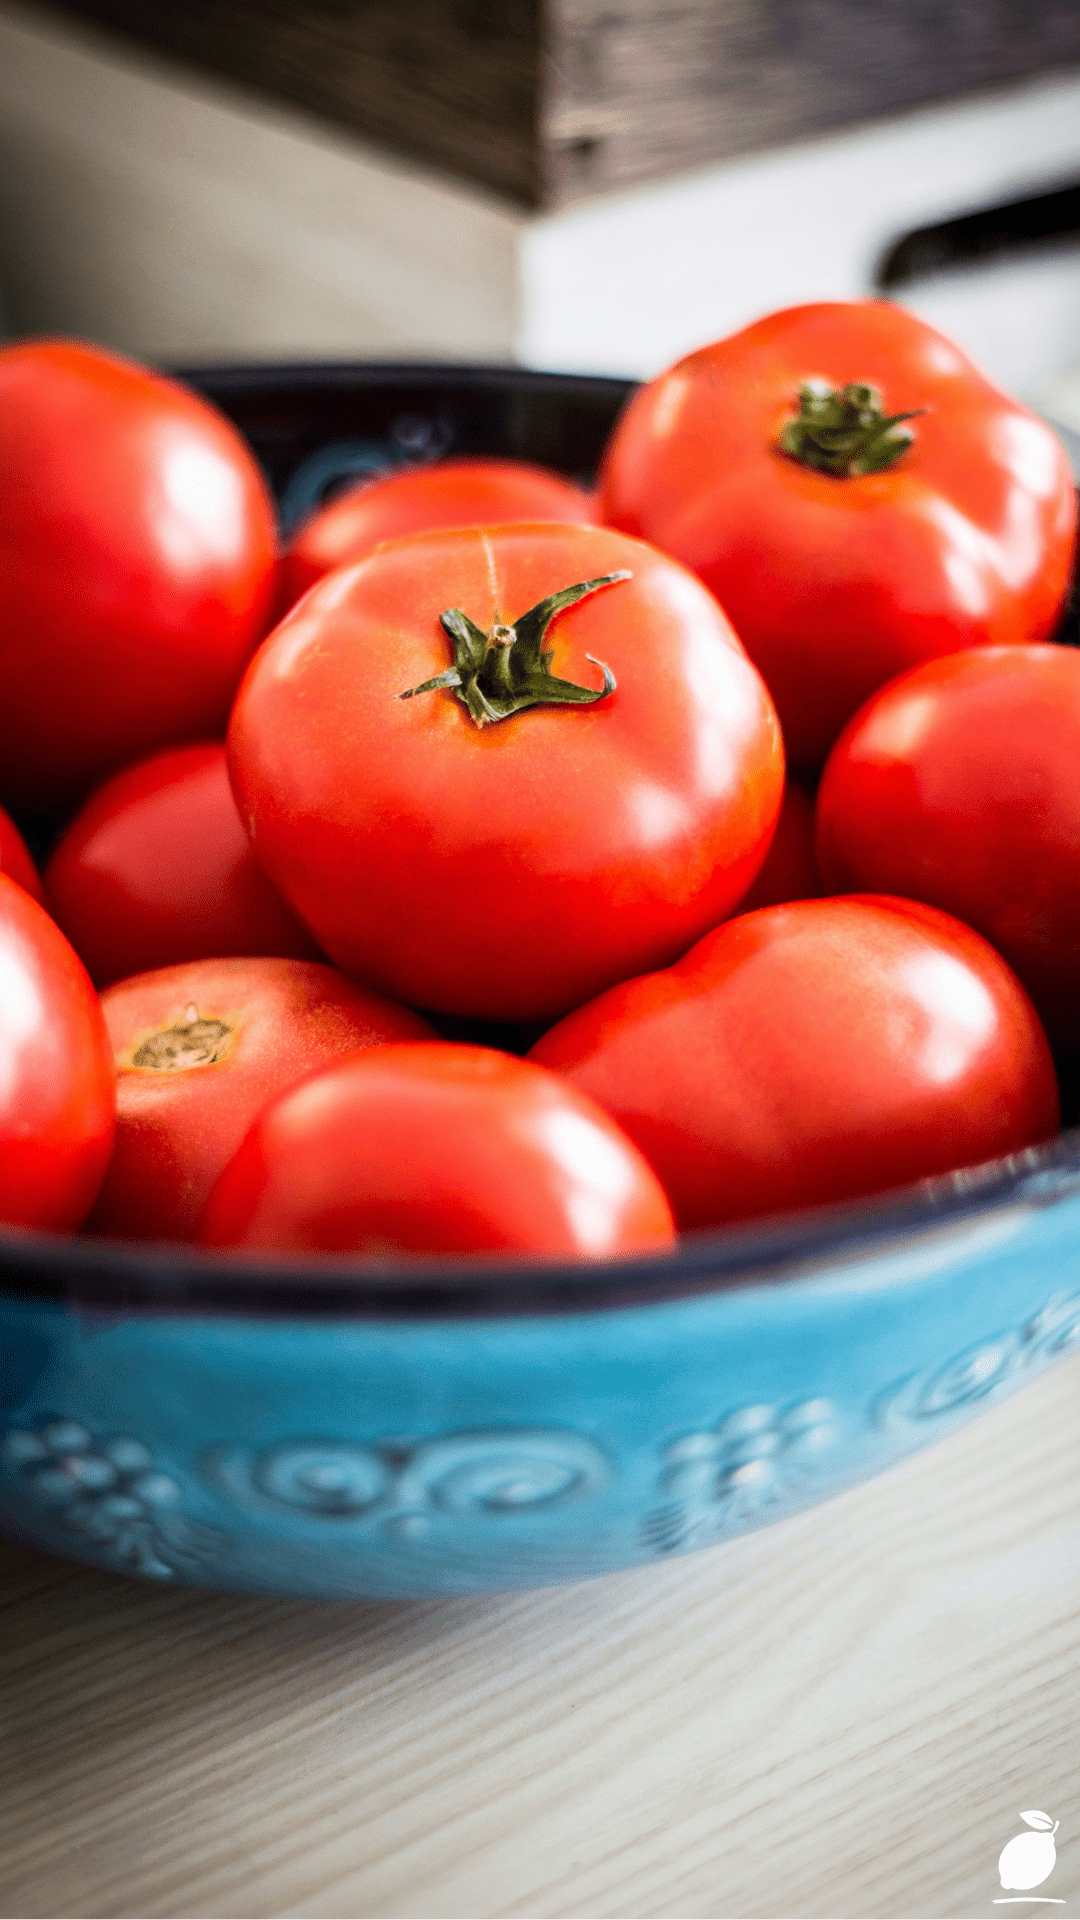
The tomato is not just a vegetable. It is the plant that most directly connects the act of home growing to the daily pleasure of cooking and eating, the one kitchen garden crop that most people, given a garden and a season, would choose first. A tomato grown well and harvested at the moment of peak ripeness, warm from the vine, never refrigerated, with a sweetness and acidity that supermarket fruit cannot approach, is a genuinely different experience from anything available in a shop. It is the argument made in favor of growing your own food.
For families, the tomato plant is frequently the first vegetable children become genuinely engaged with in the garden. The growth is fast enough to be visible daily. The fruit is immediately recognizable and desirable. The harvest picking a red tomato from a plant you have been watching since it was a seedling is satisfying in a way that even very young children respond to instinctively. A child who grows tomatoes has learned something about patience, observation, and the relationship between care and reward that remains relevant long after the growing season ends.
And for the home gardener, the tomato season is one of the most intensively engaging periods of the gardening year, from the first seedlings under lights in late winter to the final green tomatoes ripened on a windowsill in October. Getting it right, from the planting hole upward, is the difference between a season that delivers on its promise and one that frustrates in ways that feel just out of reach. The planting hole additions in this guide cost almost nothing, take minutes to apply, and determine the character of the entire tomato season that follows. The tomato on the vine that looks effortlessly perfect was, in almost every case, planted into a hole that gave it everything it needed before the first root hair made contact with the soil.
Frequently Asked Questions
Can I put all of these additions in the tomato planting hole at the same time?
Yes, with one exception. Bone meal and mycorrhizal fungi should not be used together, as high phosphorus levels suppress mycorrhizal colonization, reducing the effectiveness of the inoculant. Choose one or the other: mycorrhizal inoculant for biological nutrient access, or bone meal for direct phosphorus supplementation. All other additions, compost, eggshells, Epsom salt, kelp meal, and aspirin are compatible with each other and can be combined in the same tomato planting hole without any negative interaction.
How often should I feed my tomato plants after planting?
Once a tomato plant reaches the flowering stage, typically four to six weeks after transplanting, begin a weekly liquid feed with a high-potassium tomato fertilizer. High potassium supports flower set, fruit development, and fruit quality. Continue weekly feeding through the entire fruiting season until the first frost or until you begin removing the plant at the end of the season. The planting hole amendments provide the nutritional foundation for establishment; liquid feeding through the season maintains productivity during the high-demand fruiting period.
What causes blossom end rot in tomato plants, and how do I prevent it?
Blossom end rot is a calcium deficiency disorder triggered by inconsistent watering rather than a simple absence of calcium in the soil. When moisture levels fluctuate significantly, from wet to dry, or dry then suddenly wet, the plant’s calcium transport mechanism is disrupted, and calcium fails to reach developing fruits in adequate quantities. Prevention combines adequate calcium at the planting hole stage (crushed eggshells or lime) with consistently even watering throughout the fruiting season. Mulching around tomato plants heavily retains soil moisture and is one of the most effective blossom end rot prevention strategies available.
When is the best time to plant tomato transplants into the ground?
Tomato plants should not go into outdoor soil until the risk of frost has passed and the soil temperature has reached at least 10°C (50°F), typically late May in temperate climates, earlier in warmer regions. Soil temperature is more important than air temperature: a warm air day with cold soil produces a tomato plant that sits dormant and stressed rather than establishing. Use a soil thermometer to check before planting, and warm the soil with black polythene or a cloche for two weeks before transplanting if the calendar says it is time but the soil temperature says otherwise.