It is the middle of July, and your backyard looked so promising in April. You had plans for a patio set, some potted herbs, maybe a small table where the kids could do their summer reading in the fresh air. But then the heat arrived. Real, relentless, skin-scorching heat that turned your lovely outdoor space into somewhere nobody actually wanted to be after nine in the morning. The patio furniture sits empty. The herbs are struggling. sun shade sail ideas, and the family that was supposed to be gathering outside is back on the couch with the blinds drawn and the air conditioning running full blast
You have probably looked at umbrellas. Maybe you even bought one that awkward wobbly kind that blows sideways in any breeze stronger than a sigh and leaves half the table exposed anyway. Or perhaps you priced out a pergola and quickly closed that browser tab when the quotes came in. The truth is, most standard shade solutions are either too temporary to trust, too expensive to justify, or just not interesting enough to make the backyard feel like somewhere worth being. You want something that actually works, that looks intentional, and that does not require a contractor and a building permit to pull off.
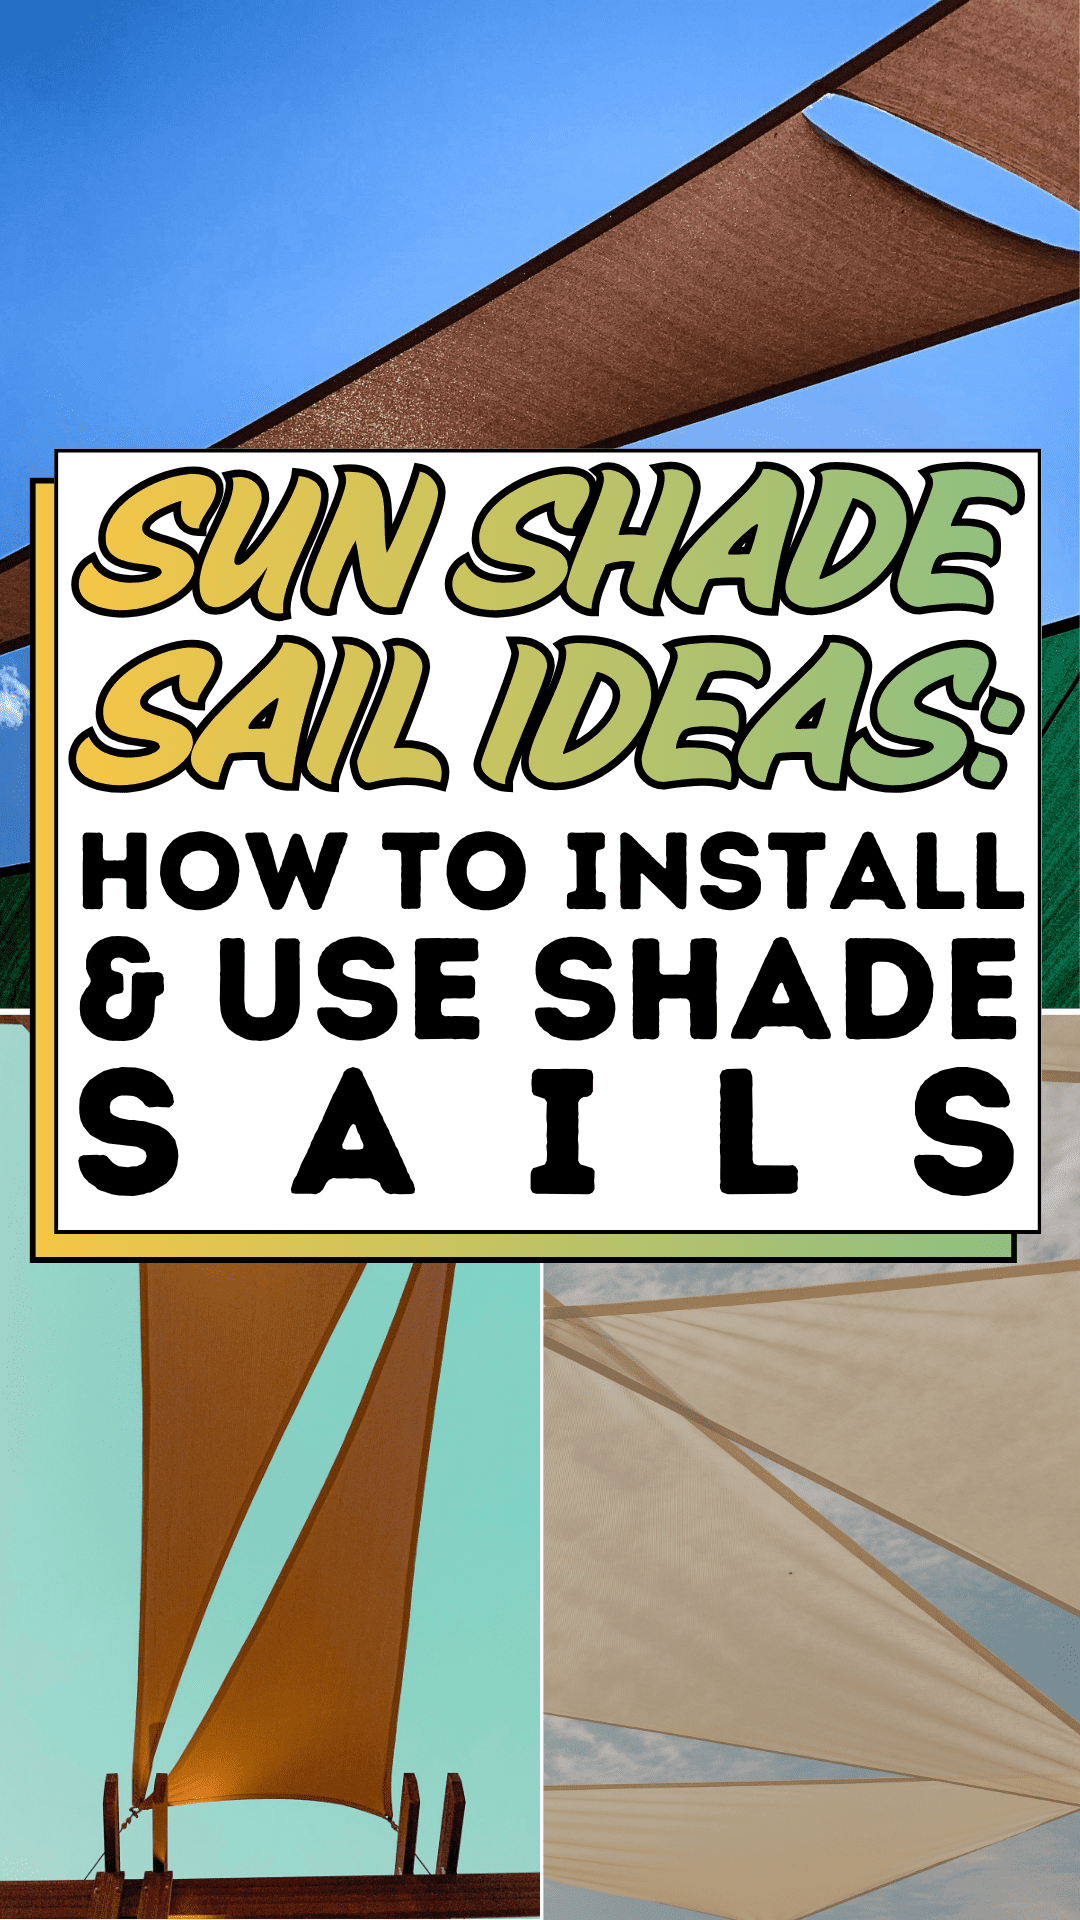
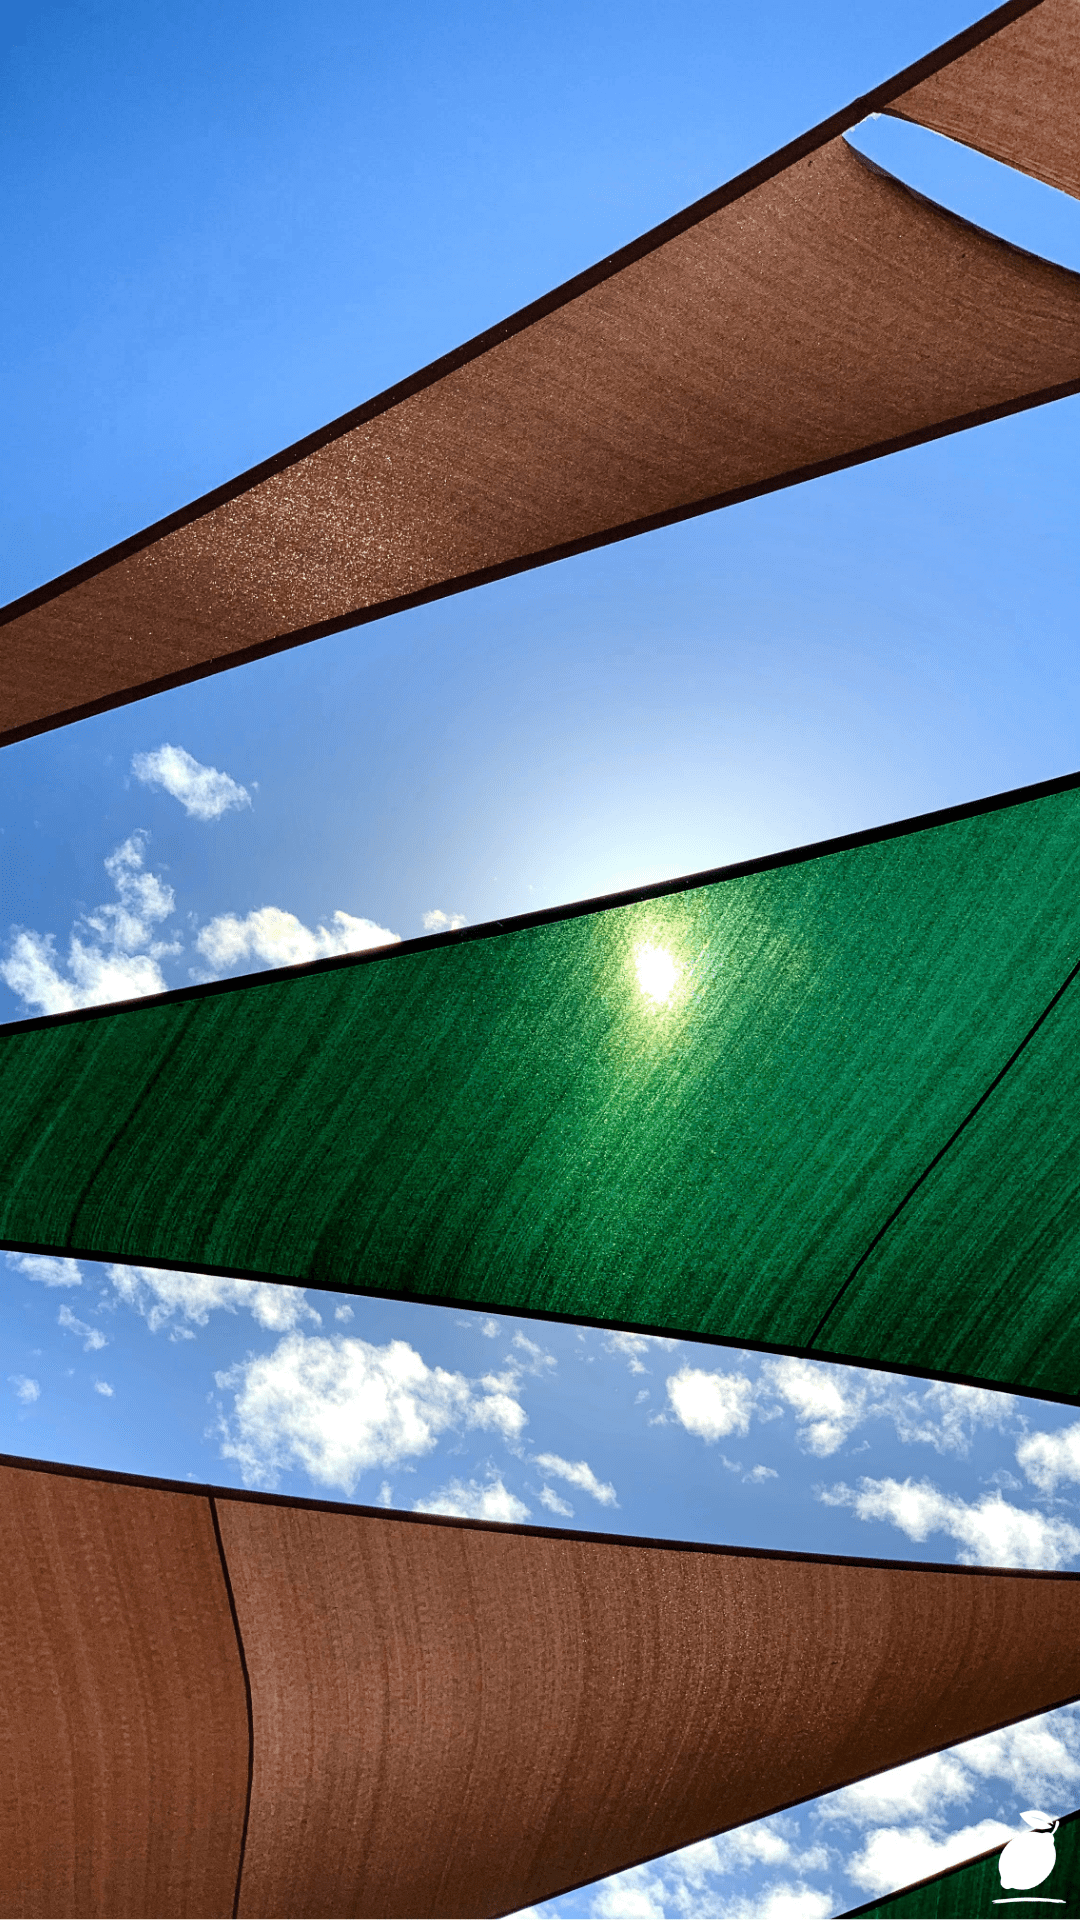
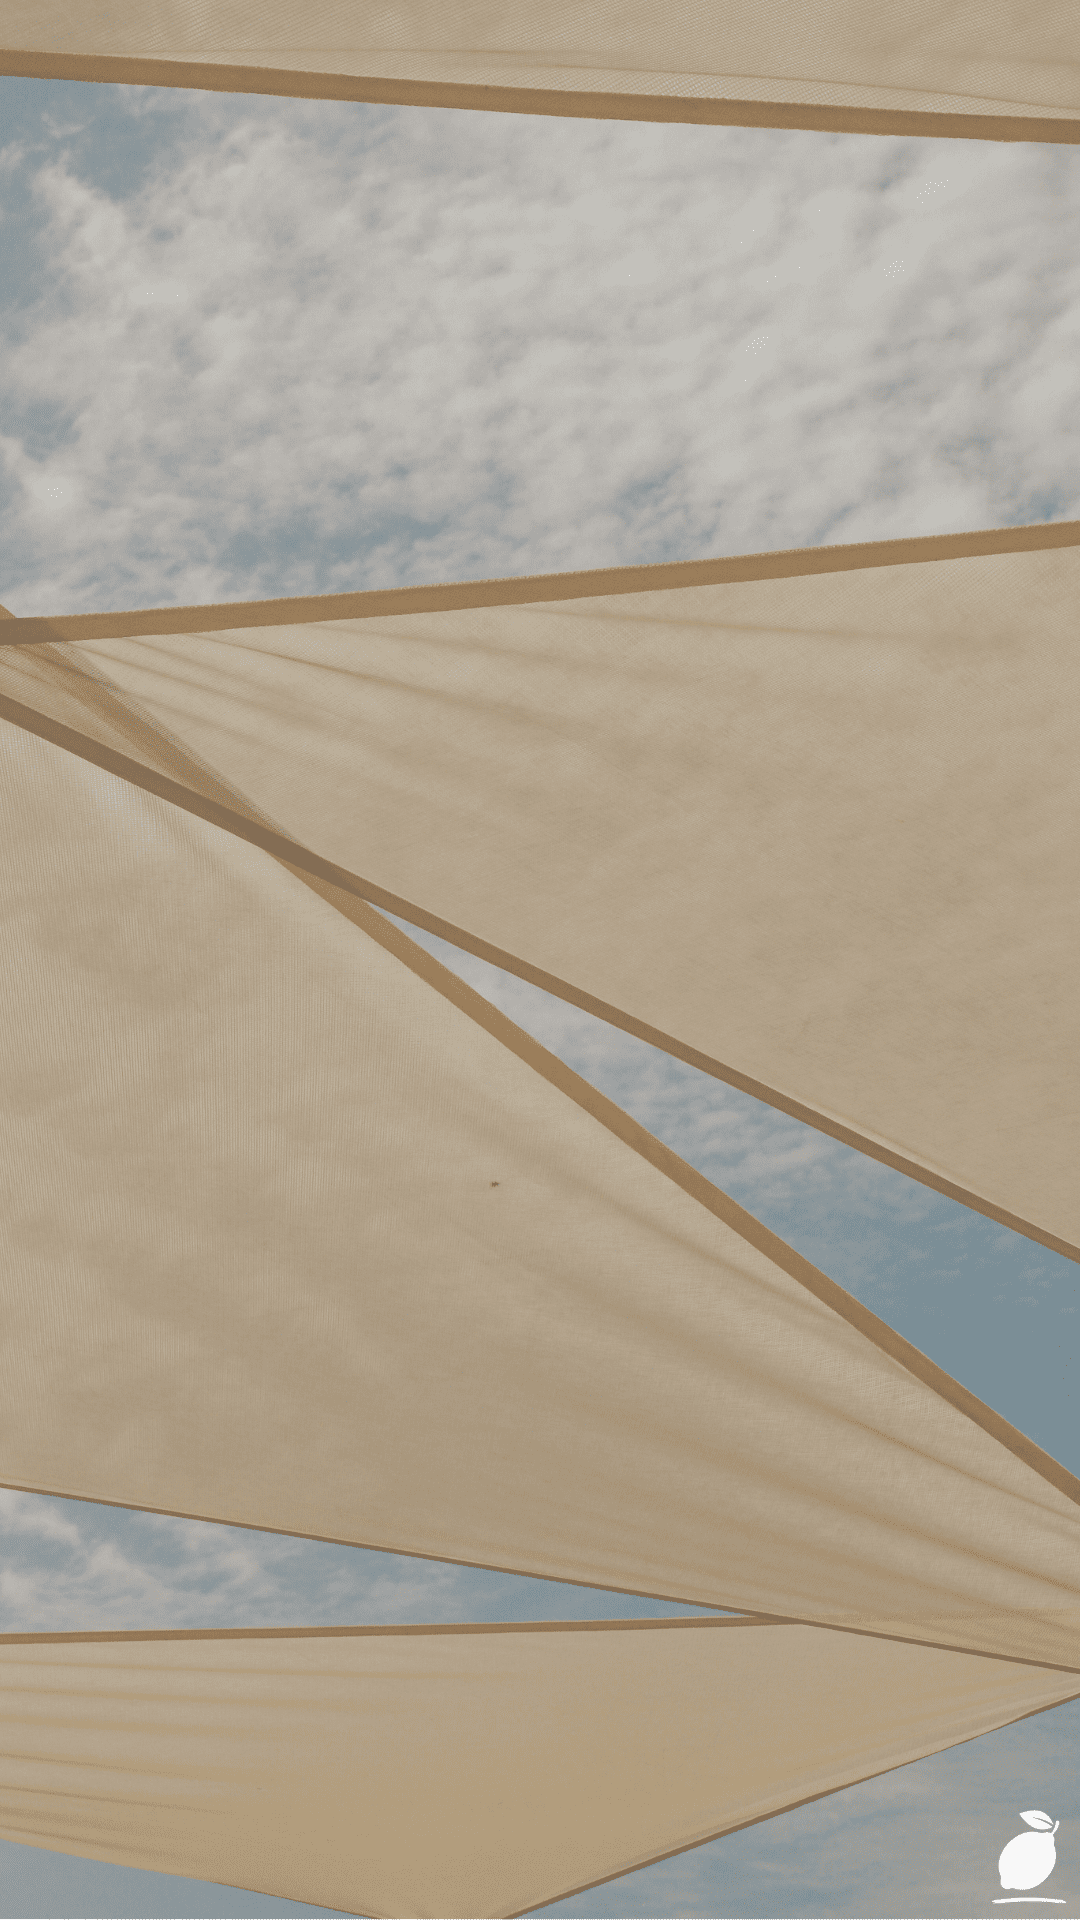
That is exactly where sun shade sail ideas change everything. Look up through the right shade sail installation, those bold geometric panels of forest green and warm tan cutting dramatic angles against a sky full of summer clouds, and the backyard stops being a problem to avoid and starts becoming a place to live in. Shade sails are one of the most versatile, affordable, and genuinely beautiful outdoor solutions available to homeowners today. When you understand how to choose, position, and install them correctly, they deliver the kind of cool, shaded outdoor space that makes summer feel like a gift again. Here is your complete guide to making it happen.
The Sun Shade Sail Ideas Blueprint
Great sun shade sail ideas are not just about picking a color and hoping for the best. The magic is in the planning, the positioning, and the installation. Follow these steps and your shade sail setup will look as intentional as it feels.
Step 1: Decide on Your Shade Coverage Zone
Before you buy anything, spend a morning watching how sunlight moves across your outdoor space. Note where direct sun falls between 10 a.m. and 4 p.m., the peak heat hours. Mark the corners of the area you want shaded. This determines your sail shape, size, and anchor point locations. Most residential installations cover a zone of roughly 10 by 12 feet to 16 by 20 feet, but overlapping multiple smaller sails, a popular approach in creative sun shade sail ideas, can cover far more ground while adding visual drama.
Step 2: Choose the Right Shape and Size
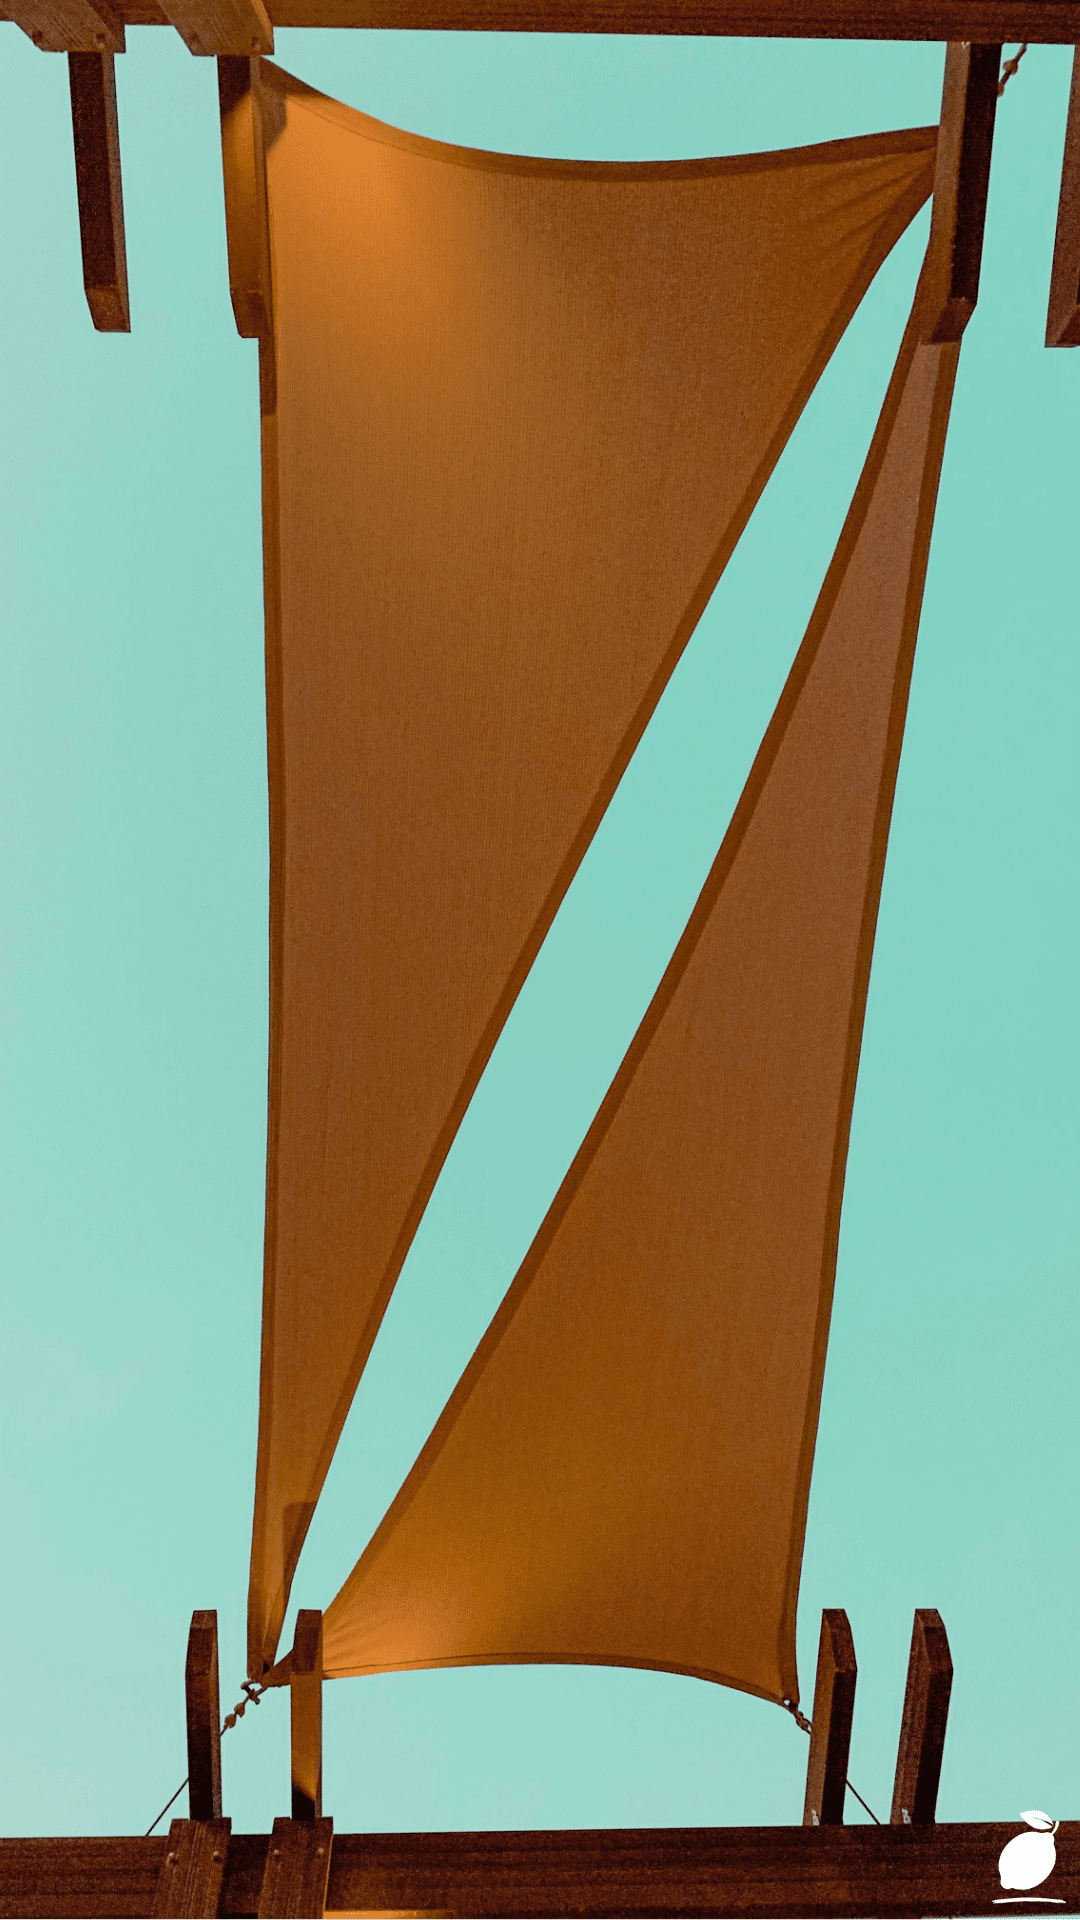
Shade sails come in three primary shapes: triangle, square, and rectangle. Triangles are the most flexible for angled, layered installations and work beautifully when combined in the alternating zigzag pattern seen in geometric installations. Squares and rectangles provide maximum coverage per unit and suit simpler, single-sail setups. For your size selection, measure your coverage zone and subtract 1 to 2 feet on each side. Your sail should not stretch edge to edge; it needs tension room to perform properly.
Step 3: Select Your Material Wisely
Not all shade sail fabric is equal. Look for high-density polyethylene (HDPE) fabric rated for at least 90% UV blockage. Quality HDPE is breathable, which prevents heat from building underneath the sail, a critical detail many first-time buyers overlook. Avoid PVC-coated fabrics for permanent installations; they trap heat and degrade faster under UV exposure. For color, darker shades like forest green provide stronger UV protection, while lighter neutrals like tan or sand reflect more heat. Layering both, as in many of the most striking sun shade sail ideas, gives you the benefits of both.
Step 4: Plan Your Anchor Points
This is the most structurally important step. Shade sails require solid, fixed anchor points, one per corner of the sail. Options include existing walls with properly rated eye bolts, purpose-built steel posts set in concrete, mature trees with hardware installed safely around the trunk, or fences rated for lateral load. Never anchor to a standard fence post or a lightweight trellis; shade sails generate significant tension, especially in wind. For a multi-sail installation, plan anchor points so each sail overlaps its neighbor by at least 12 to 18 inches for visual continuity and gap-free coverage.
Step 5: Install Your Hardware
For each anchor point, install a heavy-duty stainless steel eye bolt or pad eye rated for at least 500 lbs of load. If anchoring into masonry, use a hammer drill and sleeve anchors. For timber posts or beams, use coach screws with backing plates. Each connection point should also include a stainless steel turnbuckle, which is the tensioning device that pulls the sail taut and keeps it performing correctly. Install all hardware before attaching the sail.
Step 6: Hang the Sail and Set the Tension
Attach one corner of the sail to its anchor point using a stainless steel D-ring and carabiner. Work around the sail, attaching each corner loosely first, then begin tightening the turnbuckles progressively and evenly a little on each corner, cycling through all corners rather than fully tensioning one at a time. The finished sail should be drum-tight with no visible sagging in the center. A slight slope in the sail, at least 20 to 30 degrees from horizontal, is important for rainwater runoff. A flat horizontal installation pools water and strains the fabric and hardware.
Step 7: Layer Additional Sails for Style and Coverage
The most visually striking and functionally effective sun shade sail ideas involve multiple sails installed at different heights and angles, creating the kind of geometric layered canopy that turns a backyard into an architectural moment. Install a second sail offset from the first, slightly lower or higher, with a contrasting color. Then step back and look at the angles, the shadow play, the way the panels frame the sky. Adjust turnbuckle tension to fine-tune the geometry. This is where utility becomes something genuinely beautiful.
Expert Secrets for Success
Pro-Tips for a Better Result
- Go stainless steel on all hardware. Galvanized fittings corrode within two seasons in outdoor conditions. Every connection point, eye bolts, carabiners, D-rings, and turnbuckles should be marine-grade stainless steel rated for outdoor exposure.
- Angle every sail for drainage. Even the most creative sun shade sail ideas fail fast if water pools in the center. A minimum 20-degree pitch from horizontal is not optional; it is structural. Use anchor points at different heights to create a natural slope.
- Tension seasonally, not just at install. Fabric stretches and contracts with temperature and humidity. Check and re-tension your turnbuckles at the start of each season and after any major storm.
- Take sails down in winter. Even the best HDPE fabric degrades faster under heavy snow load and freeze-thaw cycling. Removing sails in late autumn extends their life by years and protects your hardware from ice stress.
- Use a color story. The most compelling sun shade sail ideas pair two or three colors, intentionally complementary shades, a bold and a neutral, or tones that echo your outdoor furniture and landscaping. Treat your shade sails as a design element, not just a utility fix.
Common Mistakes to Avoid
- Under-sizing the anchor hardware. A shade sail in a 20 mph wind exerts hundreds of pounds of force on its anchor points. Undersized eye bolts pull out of walls and posts. Always over-engineer the hardware relative to what feels necessary.
- Installing sails perfectly flat. A horizontal shade sail is a water-collecting hammock waiting to collapse. Always build in pitch.
- Skipping the turnbuckles. Connecting a sail directly to fixed anchor points without tensioning hardware is how sails sag, flap, and tear within a single season. Turnbuckles are non-negotiable.
- Anchoring to inadequate structures. A decorative garden fence or a thin timber screen does not have the structural integrity for shade sail loads. If in doubt, set a purpose-built steel post in concrete.
- Buying cheap fabric. Bargain shade sails often use low-density mesh with inadequate UV ratings and poor colorfastness. They fade, stretch, and fail quickly. Spend appropriately on quality HDPE from a reputable supplier. It is a long-term outdoor installation, not a seasonal decoration.
Why Sun Shade Sail Ideas Matter
Here is what nobody puts in the product listing: the moment your backyard becomes genuinely comfortable on a summer afternoon, your whole relationship with your home changes. You start using the space. The kids move back outside. Dinner happens at the patio table three nights a week instead of three times a summer. That shift from a house you shelter in to a home you actually inhabit is quiet and real and surprisingly powerful. Good sun shade sail ideas are one of the most cost-effective ways to make it happen.
There is also something deeply grounding about a DIY project you can see and feel every day. When you planned the anchor points yourself, sourced the hardware, hung each sail, and set the tension with your own hands, every afternoon spent in that shade carries a small, steady satisfaction. Home improvement done well does not just change a space; it changes how you feel about your capacity to shape the life around you. That confidence carries into everything else.
And for families especially, a cool, covered outdoor space is not a luxury. It is the difference between a summer that happens outside and one that happens on screens. The shade sail becomes the reason to come outside, the canopy under which dinner gets eaten, homework gets done, and conversations happen that would not have happened otherwise. Investing in sun shade sail ideas is, at its core, investing in more of that more time together, more presence, more ease in the place you already call home.
Frequently Asked Questions
How do I choose the best sun shade sail ideas for a small backyard?
For smaller spaces, a single triangle sail installed at a dynamic angle is often the most effective and visually interesting choice. Mount anchor points at varying heights, one high on a wall, one on a post, one on a fence, to create a dramatic slope that maximizes both coverage and style. If you want to layer, choose two small triangles in complementary colors overlapping slightly rather than one large sail that overwhelms the space.
What is the best fabric for a shade sail in a hot climate?
High-density polyethylene (HDPE) mesh is the gold standard for hot climates. It blocks 90 to 95% of UV rays while remaining breathable, preventing the heat buildup that solid PVC fabrics cause. Look for fabric rated with a UPF of 50+ and confirmed colorfastness ratings to resist fading under prolonged sun exposure.
Can I install shade sails without existing walls or structures?
Yes. Purpose-built steel or aluminum posts set in concrete footings are a clean, reliable solution when existing walls or trees are not available or suitably positioned. Use posts rated for outdoor use, set them at least 24 inches deep in concrete, and allow the concrete to cure at least 48 hours fully before attaching sail hardware and applying any tension load.
How long do shade sails typically last?
A quality HDPE shade sail, properly installed and maintained, typically lasts 5 to 10 years. The main factors that extend lifespan are taking the sail down in winter, re-tensioning regularly to prevent flapping and fabric fatigue, and keeping the fabric clean with a mild soap wash once or twice per season to prevent mildew and UV degradation.
Can I combine different shapes in one shade sail installation?
Absolutely, and some of the most stunning sun shade sail ideas do exactly that. Combining triangles and rectangles at staggered heights creates layered, geometric canopies with excellent coverage and a genuinely architectural appearance. The key is planning anchor points carefully before buying sails, ensuring each sail has three or four solid connection points, and choosing a coordinated color palette so the overall composition feels intentional rather than improvised.