The garden has potential. You have always known it. The bones are there, the space, the soil, the aspect, but every time you walk out the back door, something feels unresolved. The lawn meets the border at an apologetic angle. The path from the gate to the back door is a series of stepping stones that wobble underfoot and collect moss in all the wrong ways. The raised beds you built two summers ago from timber are already warping at the corners, their edges soft and impermanent in a way that the plants they contain somehow highlight rather than conceal. The garden looks like it is still deciding what it wants to be. And so, year after year, you plant beautiful things into an uncertain framework, and the result is always almost there but never quite.
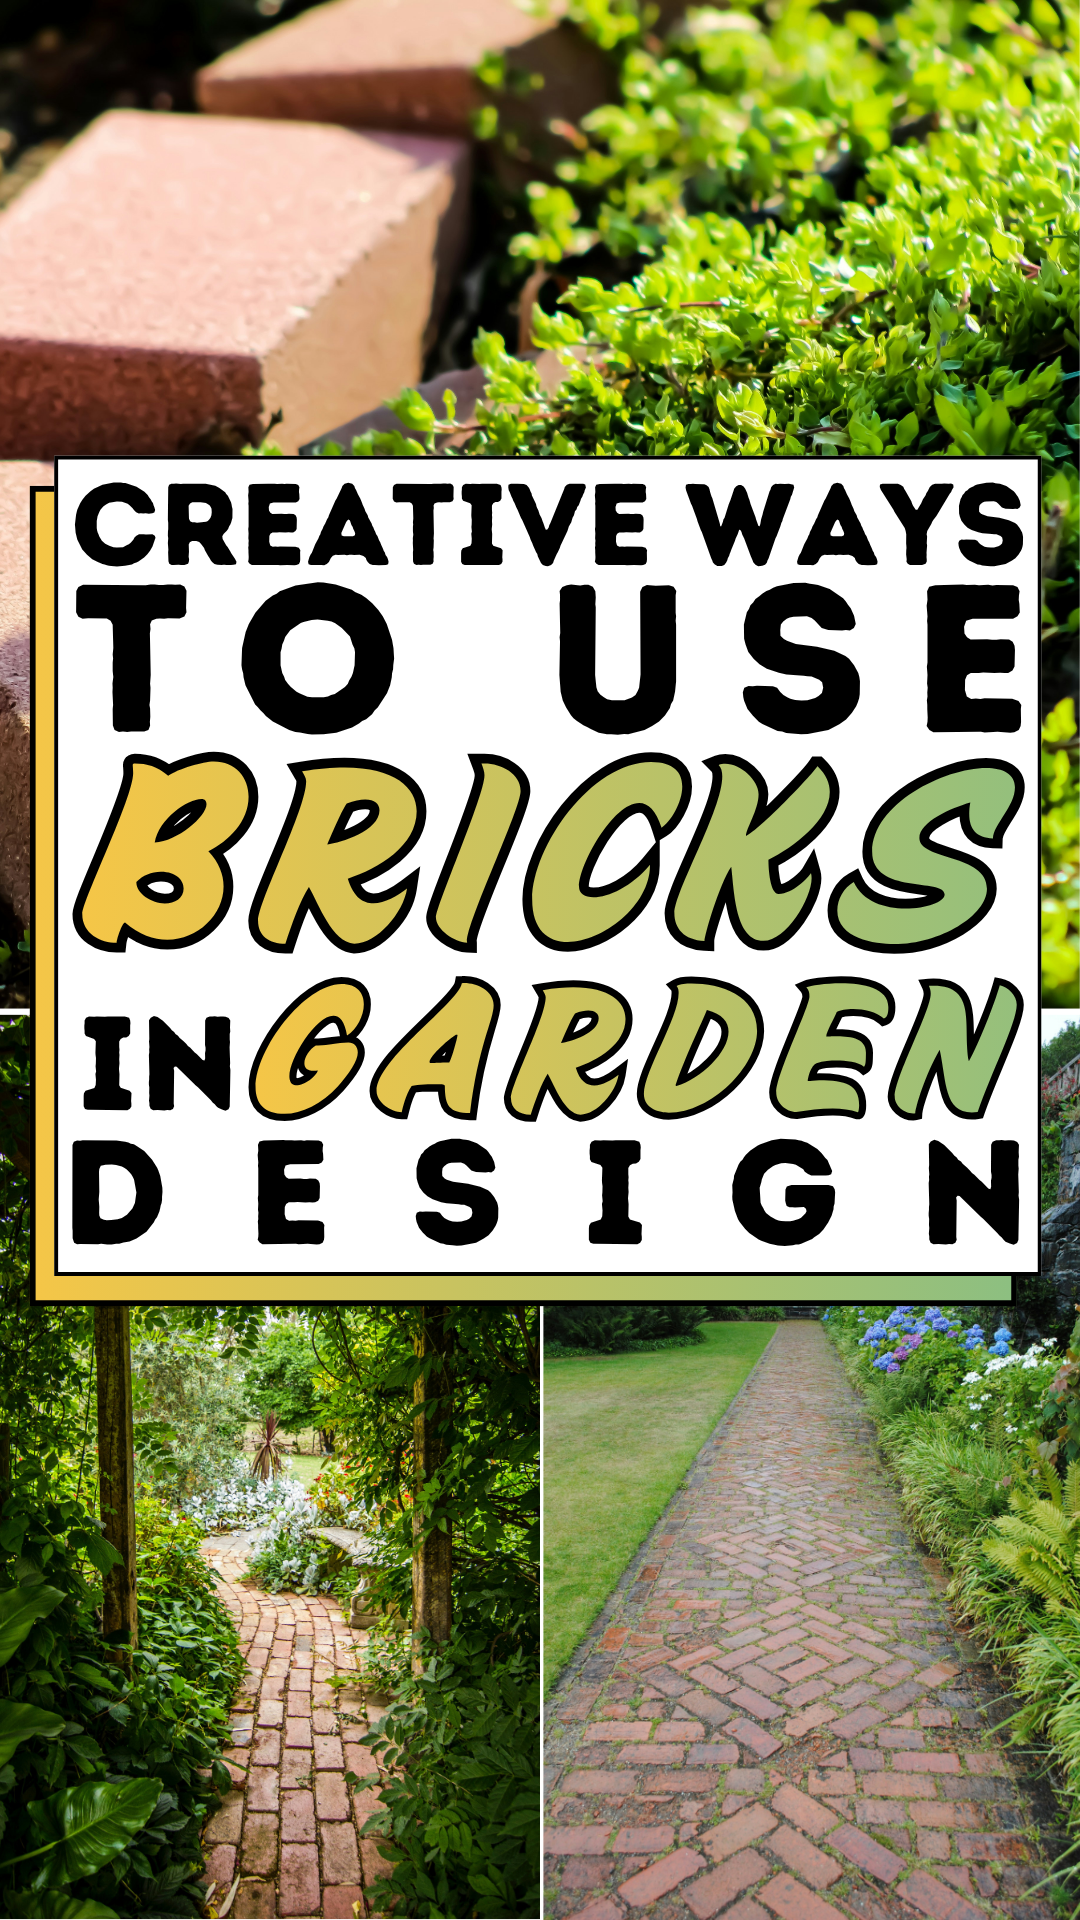
The framework is the problem, and it almost always is. Gardens that look genuinely composed, the kind you stop at on a slow Sunday walk, the kind that appear in magazines without feeling designed, share a structural logic that plants alone cannot provide. They have hard landscaping that gives the soft planting something to push against: edges that define where the lawn ends, and the border begins, paths that lead somewhere specific and mean it, and retaining walls that hold both the soil and the eye at just the right moment. Without that structure, the most beautiful collection of plants in the world looks like a collection of plants. With it, the same plants become a garden. The difference is almost always material: stone, timber, or most enduringly and most versatilely of all, bricks.
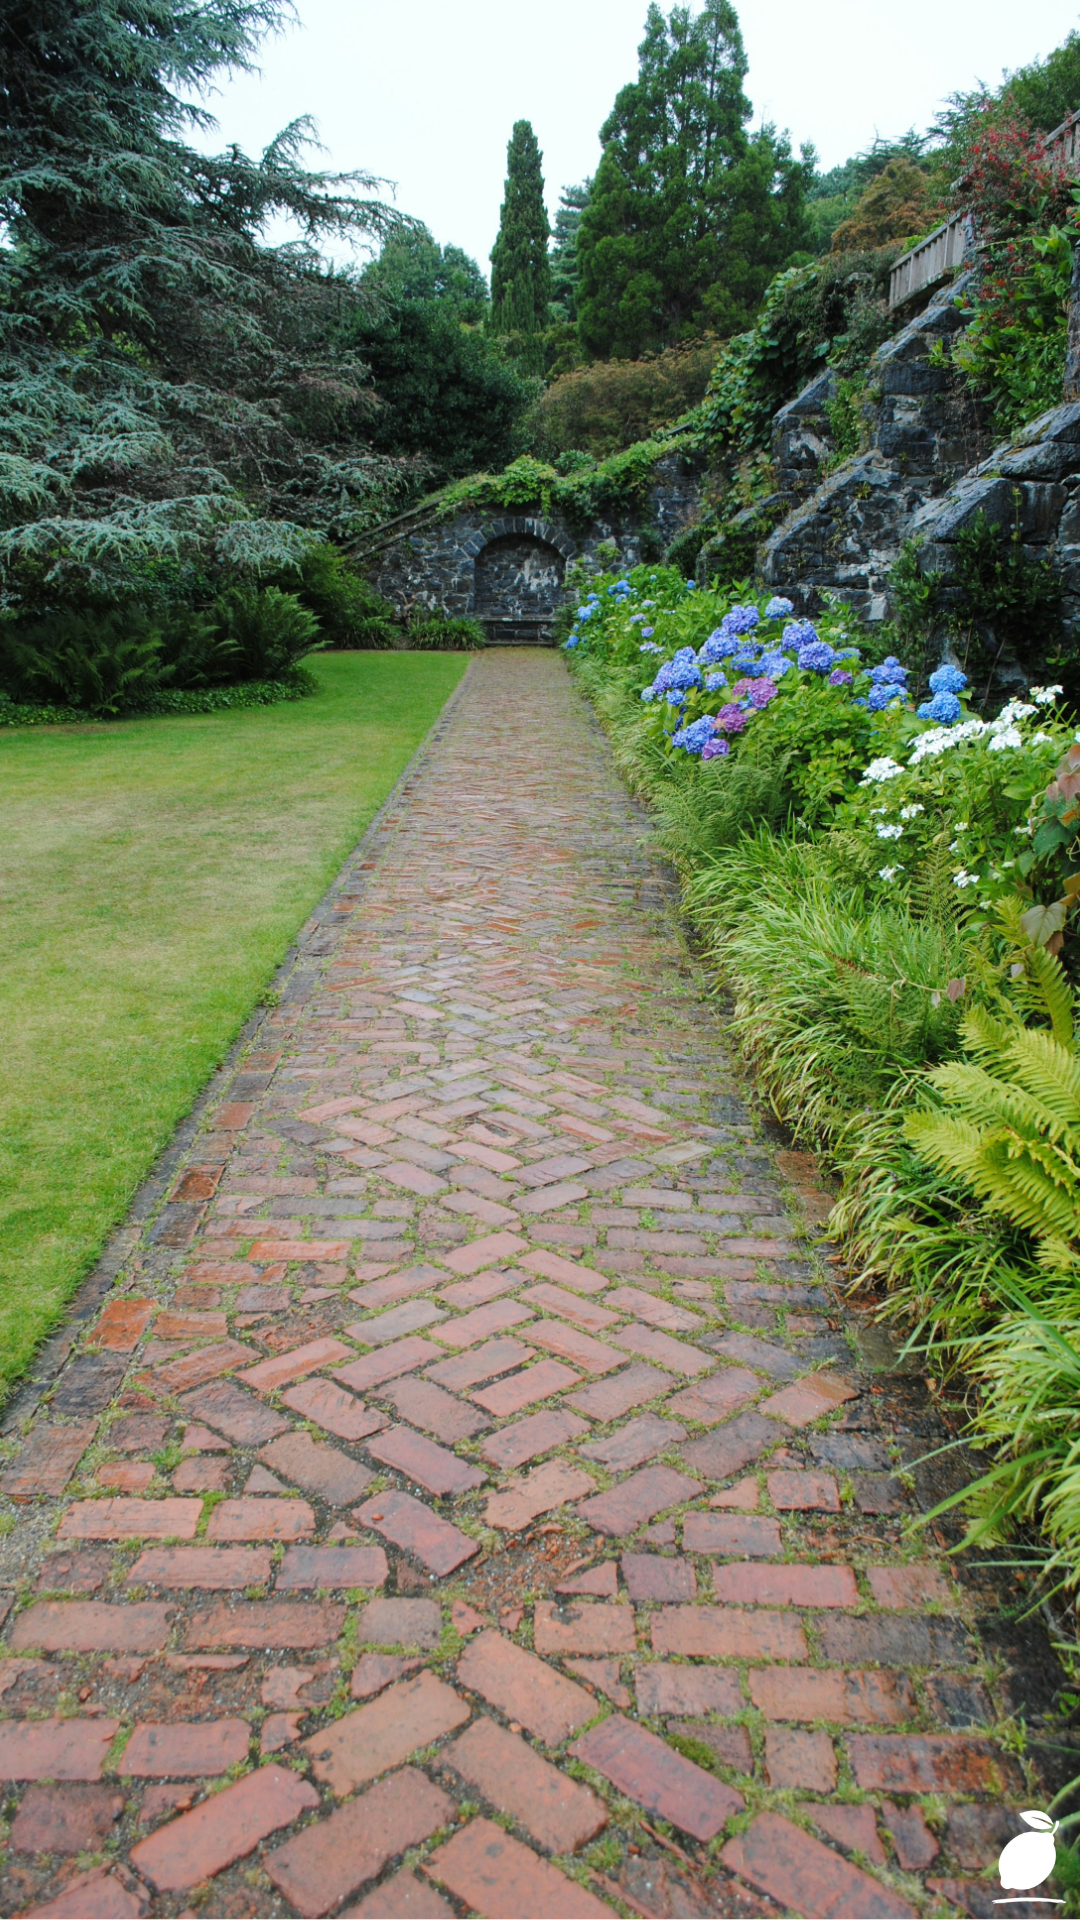
Look at a herringbone brick path leading through a stone archway, bordered on one side by hydrangeas and ferns and on the other by a perfectly edged lawn: what you are seeing is not just a path. You are seeing the organizing logic of an entire garden made visible and permanent underfoot. The bricks do not just provide a walking surface. They define the garden’s geometry, anchor its proportions, give the planting its edge, and tell every person who walks the space exactly where they are supposed to go and how they are supposed to feel when they get there. Bricks are among the oldest and most versatile landscaping materials available, and in a garden, they are transformative. Here is how to use them creatively and well.
The Bricks Blueprint
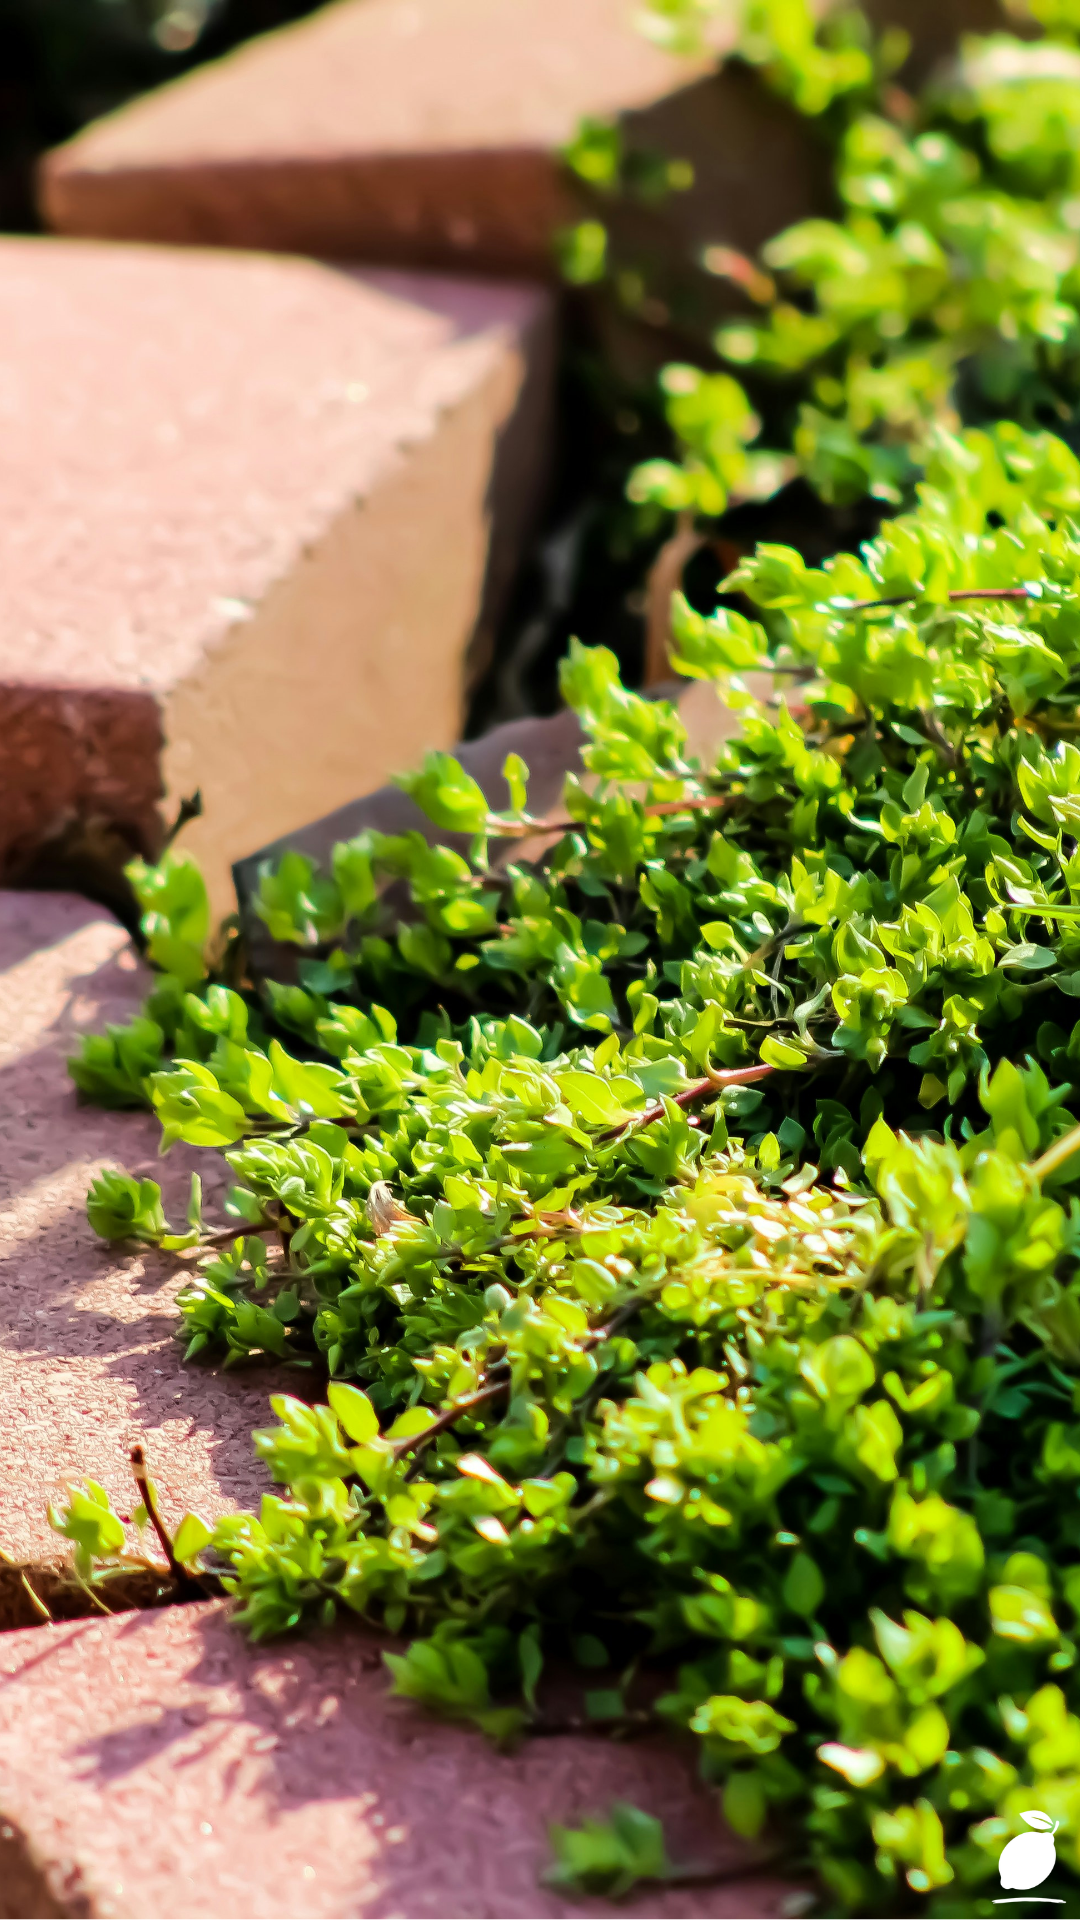
Using bricks effectively in a garden is a project with a sequence from design through ground preparation, laying, and finishing. The steps below cover the full process for a brick garden path, which is the foundational bricks project from which every other garden application follows naturally.
Step 1: Choose Your Bricks and Your Pattern
Not all bricks are suitable for garden use. Standard house-building bricks are often too porous and will spall and crack through repeated freeze-thaw cycles when laid flat in the ground. For garden applications, use dense, low-absorption, and rated for outdoor ground contact or reclaimed bricks from a salvage yard, which have already proven their durability through decades of exposure. Reclaimed bricks also bring the character of weathering and subtle color variation that gives a garden path its sense of age and permanence from day one.
Pattern choice is both aesthetic and structural. The herringbone pattern bricks laid at 45 degrees to the path direction in an interlocking V formation is the most stable option for high-traffic paths because the interlocking geometry distributes load across the entire surface rather than concentrating it on individual brick joints. It also requires cutting bricks at the path edges, which demands a bolster chisel and club hammer at minimum, or ideally an angle grinder with a masonry disc. Running bond bricks laid end to end in offset rows is simpler to cut and lay and suits a more relaxed, cottage garden aesthetic. Basketweave pairs of bricks laid alternately horizontally and vertical is visually striking and suit formal garden settings.
Step 2: Measure, Mark, and Calculate Materials
Before ordering bricks, measure the path area carefully, length multiplied by width in square meters, and add fifteen percent for cuts and breakage. A standard brick laid flat covers approximately 0.0183 square meters, including a standard joint, meaning you need approximately fifty-five bricks per square meter in a running bond pattern and closer to sixty in herringbone due to additional edge cuts. Order more than you think you need. Running short of bricks mid-project and needing a second delivery risks a batch variation in color and texture that is visible in the finished path.
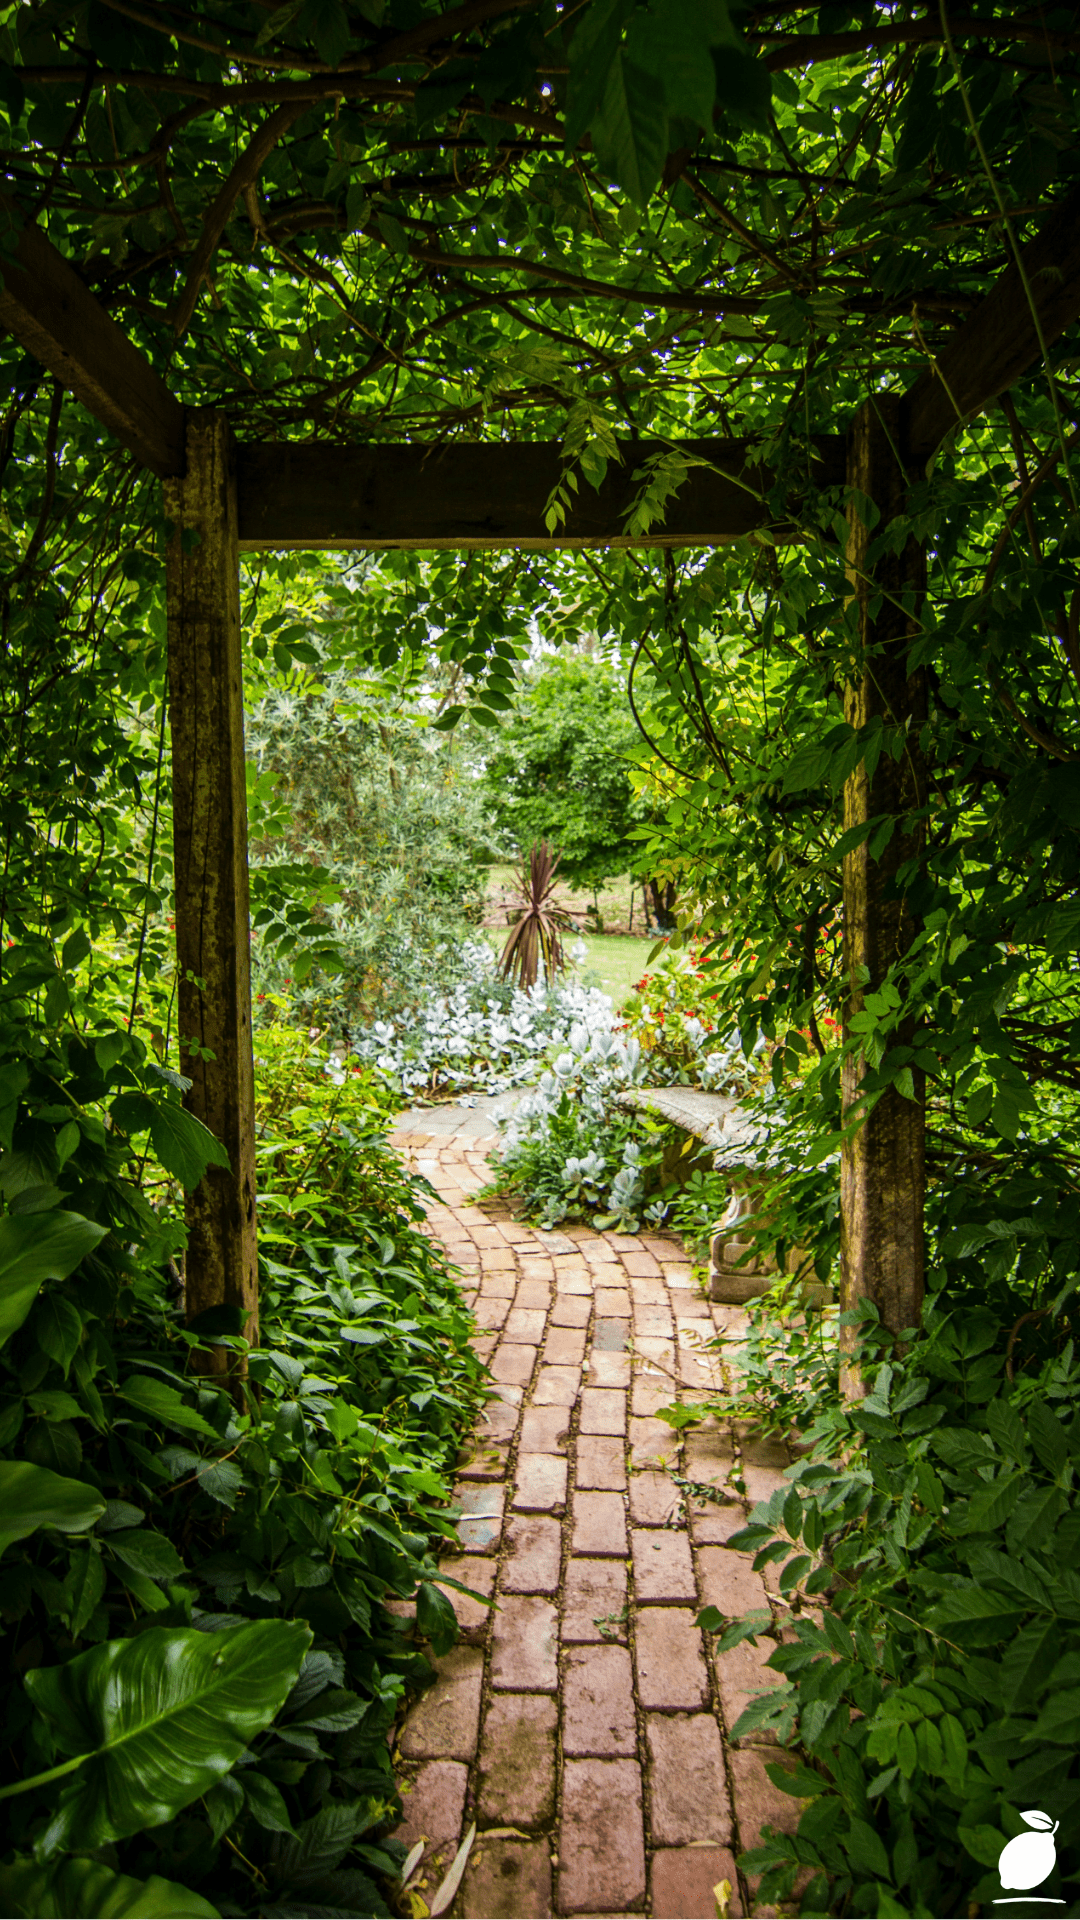
Mark the path edges with timber pegs and builder’s line before excavation begins. The line defines not just where you dig but the finished edge of the bricks, a straight, confident line that the entire project is built to. Curved paths follow the same principle, using a flexible hose laid on the ground and adjusted until the curve looks right from every viewing angle, before marking is committed to the soil.
Step 3: Excavate and Prepare the Sub-Base
A brick garden path laid directly onto soil will settle unevenly within one season, and the joints will crack within two. The sub-base is what makes a brick path last for decades. Excavate to a depth of approximately 150mm below the finished path surface, 100mm for the compacted hardcore sub-base, and 50mm for the sharp sand laying course that the bricks bed into.
Compact the hardcore thoroughly using a plate compactor or hand tamper, working in layers if the depth requires it. An uncompacted sub-base is the primary cause of brick path failure. Do not skip this step or reduce the depth. The quality of the finished surface is entirely dependent on the stability of what is beneath it. Once compacted, lay sharp sand to a depth of 50mm and screed it level using two lengths of steel conduit as depth guides and a straight piece of timber drawn across them.
Step 4: Lay the Bricks
Begin laying bricks from the most visible end of the path, the point from which the path will most frequently be seen and assessed. In a path leading from a gate to a door, begin at the gate. Work toward the house, maintaining consistent joint width using plastic spacers or tile spacers between bricks, and checking level frequently with a spirit level laid both along and across the path surface.
For herringbone, establish the central spine of the pattern first, a single diagonal row running the full length of the path, and fill either side from that line. This approach keeps the geometry consistent and prevents the pattern from drifting off-angle as the work progresses. Press each brick firmly into the sand bed with a rubber mallet, seating it fully without rocking. Any brick that rocks has a high point beneath it in the sand. Remove it, adjust the sand, and relay.
Step 5: Cut Edge Bricks and Install Edging
Edge bricks, the cut pieces that fill the triangular gaps along the path sides in a herringbone pattern, are measured and cut individually. Score the cut line with a bolster chisel, then split cleanly with a firm mallet blow. For precision cuts, use an angle grinder with a dry-cut diamond disc. Cut bricks are laid with their cut face to the edge, concealed beneath or behind the path edging.
Brick edging, a row of bricks laid vertically on their long edge, slightly proud of the path surface, is both the structural and visual border of the finished path. Bed edging bricks in a continuous run of concrete haunching along both sides of the path, checking that each brick aligns with the string line and sits at the correct height relative to the path surface. Allow the haunching to cure for twenty-four hours before any load is placed on the adjacent path surface.
Step 6: Brush in Jointing Sand and Finish
Once all bricks are laid and the edging is cured, brush dry kiln-dried jointing sand across the entire surface, working it into the joints with a stiff brush. Compact the full surface with a plate compactor fitted with a rubber pad to protect the brick faces, then brush in a second application of sand to fill any joints that have compacted down. Sweep off the excess and allow the path to settle for forty-eight hours before regular use.
For a period-appropriate finish that suits the English garden aesthetic of the image, allow moss to establish naturally in the joints over the first season. It softens the geometry, adds character, and beds the bricks visually into the surrounding garden. If moss is not desired, apply a proprietary patio seal to the jointed surface to resist organic growth and simplify cleaning.
Expert Secrets for Success
Pro-Tips for a Better Result
- Buy ten to fifteen percent more bricks than calculated. Cuts, breakage, and the occasional misshapen brick from the batch all consume bricks beyond the theoretical area calculation. Running short mid-project and needing a second delivery risks a visible color or texture mismatch in the finished surface. Over-order, store the surplus, and use the remainder of the bricks for small garden projects, raised bed corners, pot stands, and edging repairs.
- Dry-lay a test section before bedding anything. Before committing bricks to the sand bed, lay a one-square-meter test section dry, no mortar, no pressure, and step back to assess the pattern, the color variation across the batch, and the joint width. Adjusting dry bricks takes seconds. Adjusting bedded bricks takes considerably longer.
- Use a string line at every stage, not just at setup. The string line is not a one-time reference; it is the guide that every course of bricks is checked against throughout the laying process. A path that drifts a millimeter per meter over a ten-meter run is visibly crooked by the time it reaches its destination. Check the line after every ten bricks and correct immediately, rather than hoping the drift resolves itself.
- Compact the sub-base in lifts, not all at once. If the excavation requires more than 100mm of hardcore, compact it in two separate lifts, 75mm compacted, then the remaining layer is added and compacted again. A single deep layer of uncompacted hardcore produces a sub-base that continues to settle under load after the bricks are laid, causing differential movement and cracked joints within the first year.
- Seal reclaimed bricks before laying if they show signs of porosity. Hold a reclaimed brick under water for sixty seconds. If it absorbs water visibly, pre-seal the face with a penetrating brick sealer before laying. A porous brick face in a garden path accumulates algae, moss, and organic staining faster than a sealed one, and becomes slippery in wet conditions.
Common Mistakes to Avoid
- Using house bricks instead of engineering or reclaimed bricks. Standard building bricks are not rated for ground contact and repeated freeze-thaw exposure. They absorb water, expand in frost, and spall within two to three seasons when laid flat in a garden path. Engineering bricks or proven reclaimed stock are the correct material choice for any brick project in contact with the ground or subject to outdoor weathering.
- Skimping on sub-base depth. A shallow sub-base is the primary cause of brick path failure, not the bricks, not the laying pattern, not the jointing sand. Seventy-five millimeters of compacted hardcore instead of one hundred produces a path that settles unevenly by the second winter. The sub-base is invisible in the finished result and absolutely foundational to its longevity.
- Neglecting the gradient for drainage. A level brick path pools water in any hollow and becomes slippery and mossy at precisely the points where good traction matters most. Every brick garden path should slope a minimum of one in sixty, approximately 16mm per meter away from the house or toward a drainage point. Set this gradient in the sub-base, not by adjusting individual bricks at the surface.
- Rushing the edging cure before loading the path. Concrete haunching that has not fully cured moves when the adjacent path surface is loaded, causing edging bricks to shift out of alignment. Twenty-four hours minimum at standard temperatures, forty-eight hours in cold or damp conditions. The path is not finished until the edging is set.
- Ignoring the visual weight of the jointing. Wide joints more than 8 to 10mm make a brick path look poorly laid, regardless of the precision of the individual bricks. Narrow, consistent joints at 5 to 8mm give the surface the tight, professional finish that reads as craftsmanship rather than amateur work. Use plastic spacers throughout to maintain consistency and remove them before the jointing sand is applied.
Why Bricks Matter
A garden laid with bricks is a garden that has committed itself. The choice of bricks over a temporary material, loose gravel that wanders, timber edging that rots, and stepping stones that shift is a statement about permanence and intention that the entire garden absorbs. Plants that are bordered by a herringbone brick path look more considered, more deliberate, more loved. The hydrangeas in the image do not just bloom, they bloom against a defined edge that tells you exactly where their territory begins, and the lawn’s ends, and that clarity makes both more beautiful than either would be without it. Bricks do not just mark the garden. They make the garden legible.
For families, bricks deliver a return on investment that is immediate and compounds over time. A brick path that leads cleanly from the gate to the back door is walked every day, in every season, by every person in the household. It is the surface under the children’s feet on the way to school, under the dog’s paws on the way back from a walk, under adult feet carrying groceries, garden tools, and the quiet weight of daily life. A surface that holds, drains, and improves in character with age removes a friction from the everyday rhythm of family life so consistently and invisibly that its absence from those wobbling stepping stones, that soggy gravel, is only fully appreciated in contrast. The brick path is a functional infrastructure wearing the clothes of landscape design.
And for the maker, the person who planned the project, prepared the ground, and laid each brick in sequence, there is the particular satisfaction of a material that does not lie about what it is. Bricks are heavy, geometric, and honest. They ask for precision, and they show when they have received it. A well-laid brick path communicates the quality of attention it received in its construction to every person who walks it, forever, without requiring explanation. That is not a common quality in home improvement projects, and it is one of the most compelling reasons that bricks have been the foundational material of beautiful gardens for as long as gardens have been designed. Some materials earn their permanence. Bricks justify it.
Frequently Asked Questions
How do I choose between new and reclaimed bricks for a garden path?
Reclaimed bricks offer immediate character, proven durability, and a warm color variation that new bricks take years to develop. They suit period homes and established gardens where a new path needs to look as though it has always been there. New engineering bricks offer color consistency, guaranteed frost resistance ratings, and a cleaner aesthetic that suits contemporary garden designs. For a classic English garden path, formal geometry, soft planting at the edges, reclaimed reddish-brown bricks are almost always the superior aesthetic choice, provided they are checked for porosity and structural integrity before purchase.
Can I lay a brick garden path without professional help?
Yes, a brick garden path is one of the most achievable, significant DIY garden projects, provided the preparation is done correctly. The critical skills are excavation to a consistent depth, sub-base compaction, sand screeding, and maintaining a consistent level and pattern while laying. None of these requires specialist training, but all require patience and the willingness to work methodically. The investment of time in correct preparation, sub-base depth, and compaction, especially, is the difference between a path that lasts twenty years and one that needs releveling in three.
How do I clean and maintain a brick garden path over time?
Annual maintenance keeps a brick path looking its best with minimal effort. Sweep regularly to prevent leaf debris from breaking down into organic matter that feeds moss and algae growth in the joints. Wash the surface with a stiff brush and a garden hose at the start of each season to remove winter grime. For established moss or algae, apply a proprietary patio cleaner or diluted bleach solution, allow it to dwell for thirty minutes, and scrub off with a stiff brush. Avoid pressure washing at high pressure, which erodes jointing sand and undermines the joint integrity over time. Replenish jointing sand every two to three years as needed.
How do I use bricks to build raised garden beds?
Raised beds built from bricks are among the most durable and beautiful in any garden. Lay the first course of bricks on a compacted hardcore and sand sub-base in a running bond pattern, using a spirit level to ensure it is perfectly level. The level of the first course determines the level of every course above it. Build in a stretcher bond bricks overlapping by half in each course for structural stability. No mortar is required for beds up to three courses high; the interlocking weight of the bricks provides sufficient stability. For beds taller than three courses, bed bricks in a standard mortar mix of four parts sharp sand to one part cement for a permanent, structurally sound structure.