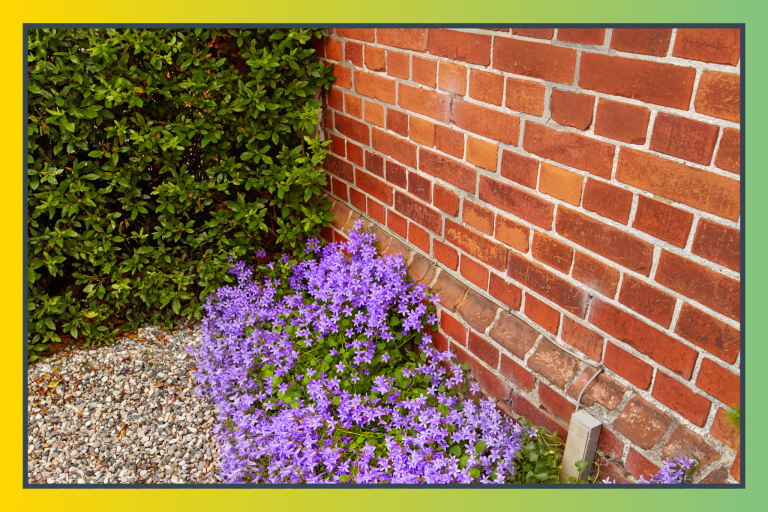
The corner of the backyard where the slope met the fence had been a problem for three years. Water pooled there after every rain, the soil stayed soggy, and nothing would grow properly, and the visual effect was of a garden that simply had an unresolved edge, a place where the design ran out of ideas and just stopped. I had tried planting it out twice. The first attempt drowned. The second looked fine through spring and gave up entirely by July. Every landscaping article I read suggested raised beds or retaining walls, both of which required either significant construction or an investment I was not ready to make for what felt like a corner nobody looked at anyway. The slope stayed. The problem stayed with it.
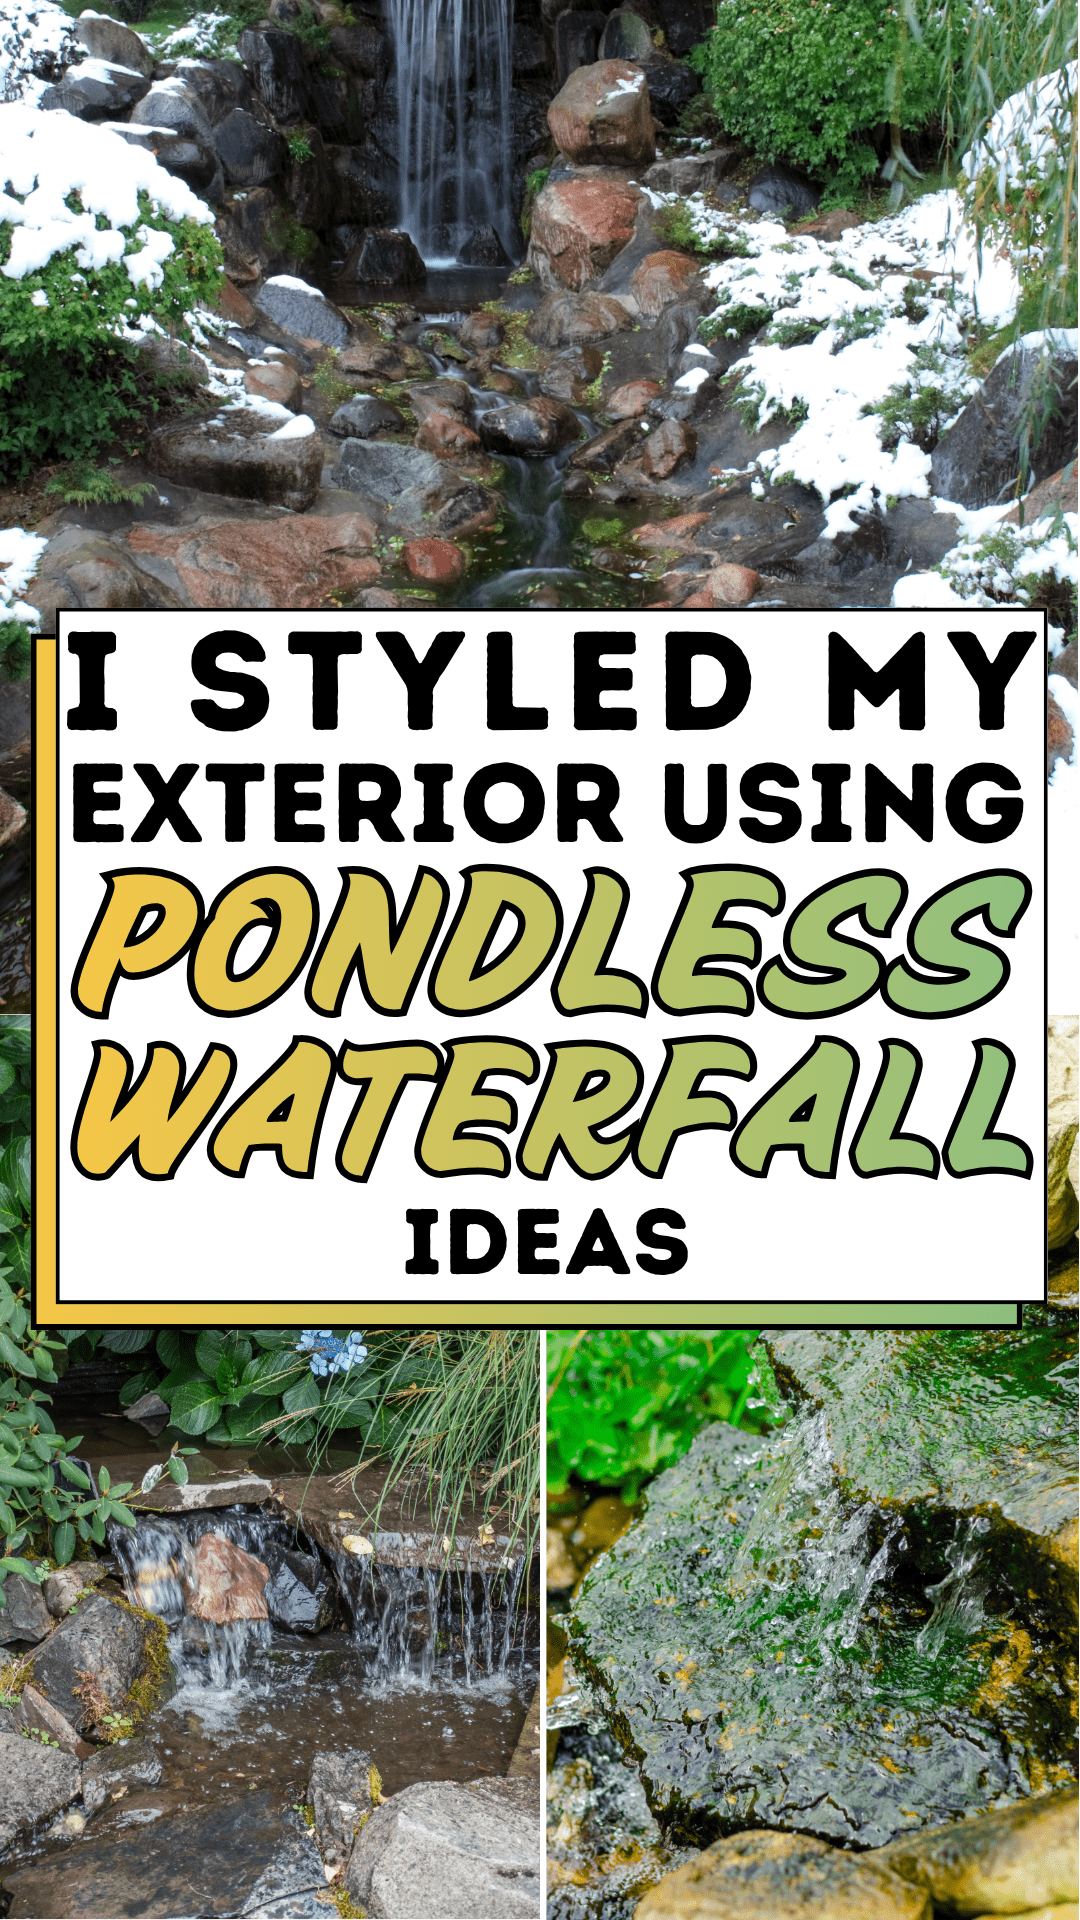
What changed my thinking was falling down a rabbit hole of pondless waterfall ideas late one evening. I had been looking at water features in a general way, fountains, ponds, that sort of thing and kept getting redirected back to results about pondless waterfall ideas specifically. A pondless waterfall, I learned, uses a buried reservoir beneath the stone cascade rather than an open pond, which means no standing water, no drowning risk for children or pets, minimal evaporation loss, and far less maintenance than a conventional pond feature. The cascade stones, the sound of moving water, the natural green tint where algae colonise the rock surfaces, all of the beauty, without most of the complexity. More importantly, a pondless waterfall was exactly the kind of solution a sloping, water-prone corner needed: it turns the slope into the feature instead of trying to fight it.
This guide documents how I used to plan and build that corner from an embarrassing problem into the most commented-on part of the garden. The steps are practical and achievable for a determined DIY builder over a long weekend, and the result, stacked natural stone, cascading water, aquatic planting at the edge, is something that looks far more complex and expensive than it actually is. If you have a slope, a bare corner, or simply a backyard that needs something alive and moving at its heart, these pondless waterfall ideas will give you exactly the framework to make it happen.
The Pondless Waterfall Blueprint
A pondless waterfall rewards careful planning before a single stone is placed. These steps take you from a bare patch of ground to a finished, running water feature in the sequence that experienced builders follow to avoid the most common and most costly mistakes.
Step 1: Choose the Right Location
Location is the foundation of all successful pondless waterfall ideas, and it involves more than pointing at the most attractive corner of the garden. The ideal position combines three qualities: a natural slope or grade change that allows the water to fall convincingly, access to a power source for the pump within a reasonable cable run, and a position where the sound of the water can be heard from the main seating area or the house. A pondless waterfall positioned behind a shed or in a far corner of the garden looks beautiful in photographs but delivers none of the daily ambient benefit of the constant, calming sound of moving water, which makes pondless waterfall ideas worth the build effort in the first place.
Step 2: Plan the Reservoir and Calculate Pump Size
The reservoir is the hidden heart of all pondless waterfall ideas, a buried basin or excavated void filled with reservoir media (large void-filled blocks or washed stone) that holds the recirculating water and houses the pump. Size the reservoir based on the anticipated water volume in the entire system: the rule of thumb is that the reservoir should hold at least one and a half times the volume of water in the stream and cascade above it, so that the system can run without the pump starving even in dry weather. Pump sizing is equally critical; too small and the water trickles rather than flows convincingly; too large and the stream overflows the banks and loses water constantly. Calculate your vertical head height (the total rise from reservoir to the top of the cascade) and your desired flow rate in litres per hour, and match both to your pump specification.
Step 3: Excavate the Reservoir Basin
Most pondless waterfall ideas begin with an excavation that DIY builders underestimate in scale. The reservoir basin needs to be large enough to hold the calculated water volume plus the reservoir media that fills it, plus access room for the pump vault. A common starting point for a medium-scale residential waterfall is a basin approximately 1.2 metres by 1.2 metres by 0.9 metres deep. Line the excavated basin with a layer of compacted sand, then a protective underlayment, then a heavy-duty EPDM liner rated for water features at least 0.75mm gauge. Fold the liner neatly at the corners, secure the edges above the eventual water line, and install the pump vault at the base before filling with reservoir media.
Step 4: Build the Stream Bed and Cascade
The stream bed is where we move from engineering to artistry. Line the channel from the reservoir to the top of the cascade with the same EPDM liner as the basin, overlapping the joins by at least 15cm and sealing with butyl tape at all connections. Then begin placing your stone. The most natural-looking pondless waterfall ideas use a combination of large flat spillway stones at each drop point, irregular boulders on either side to create the banks, and smaller cobbles and pebbles filling the gaps in between. Place the largest, most impressive stones first; these become the visual anchors and work the smaller material around them. Vary the height of each cascade step to create an uneven, naturalistic water sound rather than a mechanical one.
Step 5: Choose and Place Your Stone
Stone selection is the decision that determines how authentic your finished pondless waterfall ideas look. Natural stone always reads as more convincing than artificial or reconstituted alternatives. The weathered grey and tan tones of fieldstone, limestone, or sandstone develop genuine algae and mineral colouration over time that makes a pondless waterfall look established rather than newly built within a single season. Source stone from a single quarry or supplier to ensure colour consistency across the entire feature. Vary the size dramatically. The most common mistake in pondless waterfall ideas is using stone that is too uniform in size, which reads as constructed rather than natural.
Step 6: Install the Pipework and Test the System
Before any final stone is set permanently in place, run the pump and test the full system. This is one of the most important steps in building any pondless waterfall because it reveals problems, leaks at liner joints, insufficient flow at the spillway, overflow points that lose water down the sides of the stream before they are buried under stone that then needs to be moved. Fill the reservoir, switch on the pump, and observe the entire system for at least 30 minutes. Check the water level in the reservoir every ten minutes; a significant drop indicates a leak that must be found and sealed before the feature is completed. Adjust stone positions to direct the flow where you want it and add or remove material at overflow risk points.
Step 7: Add Planting and Finishing Touches
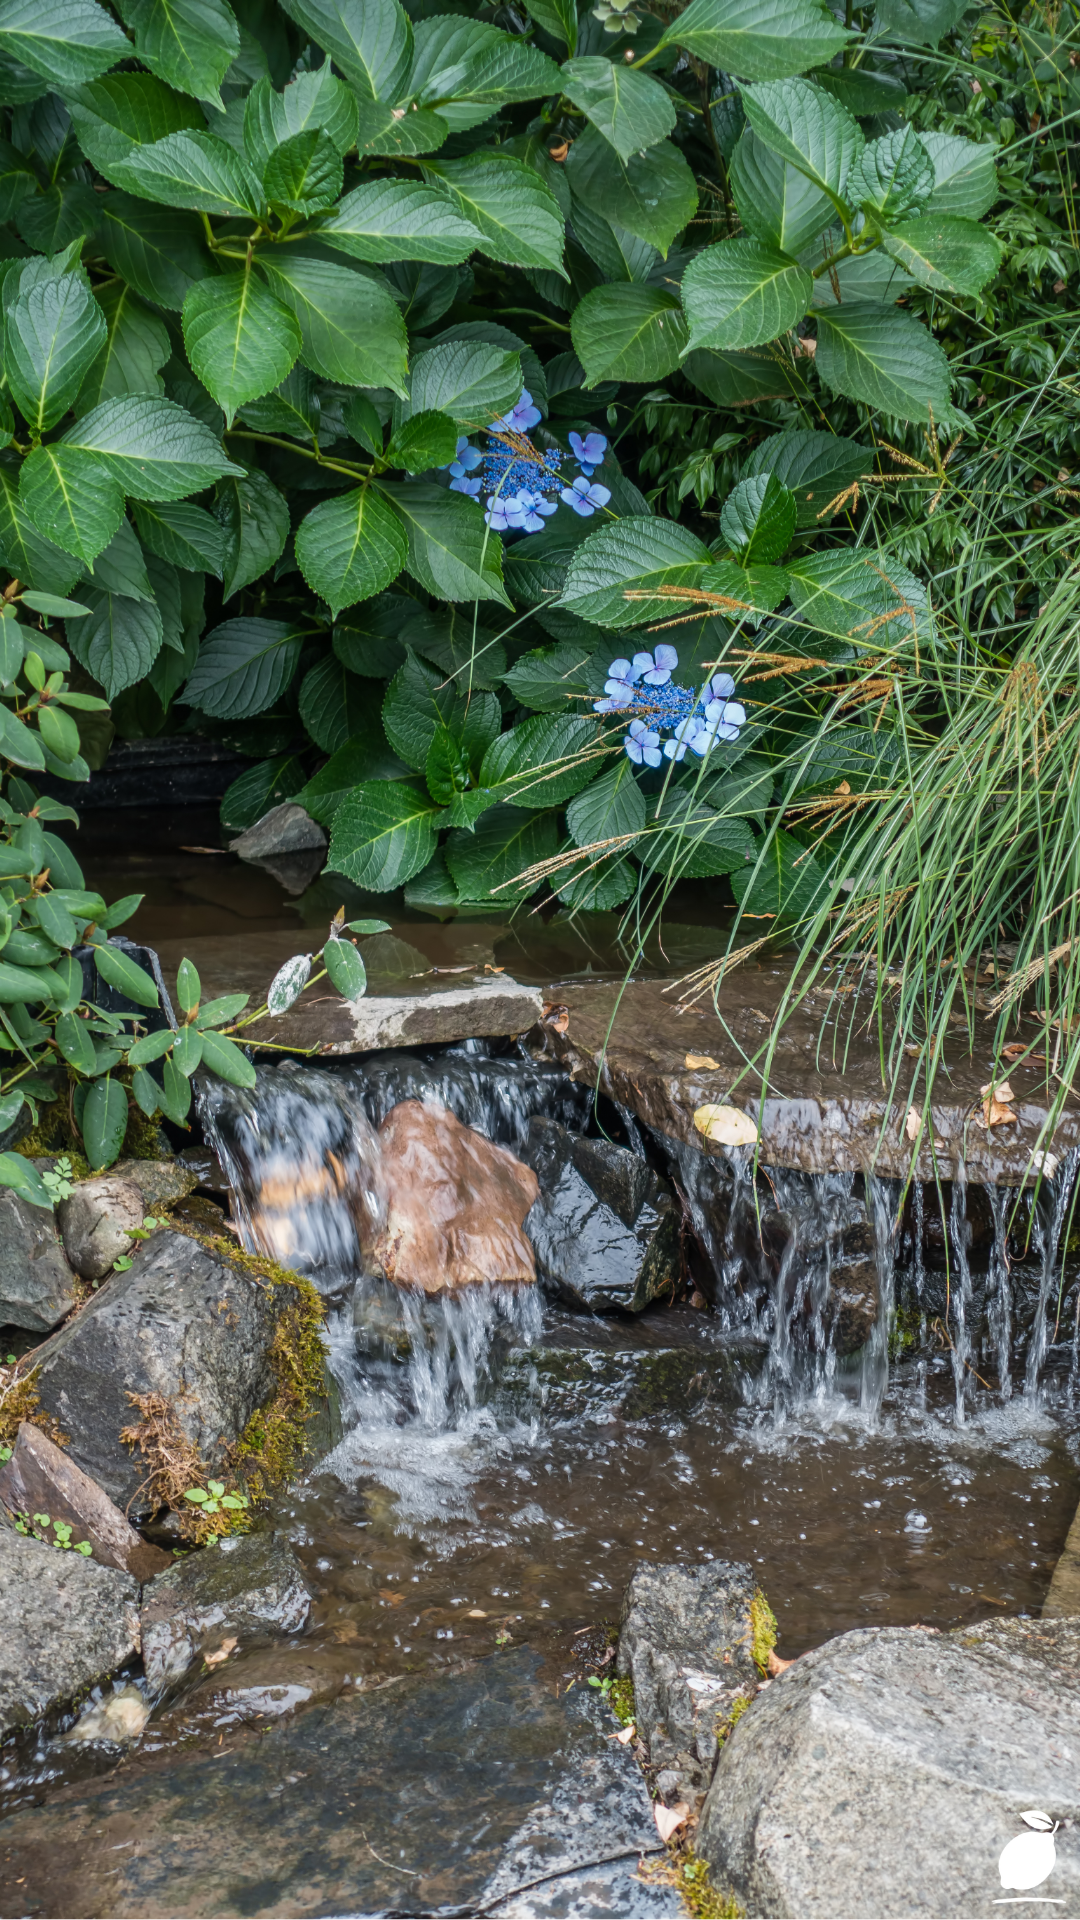
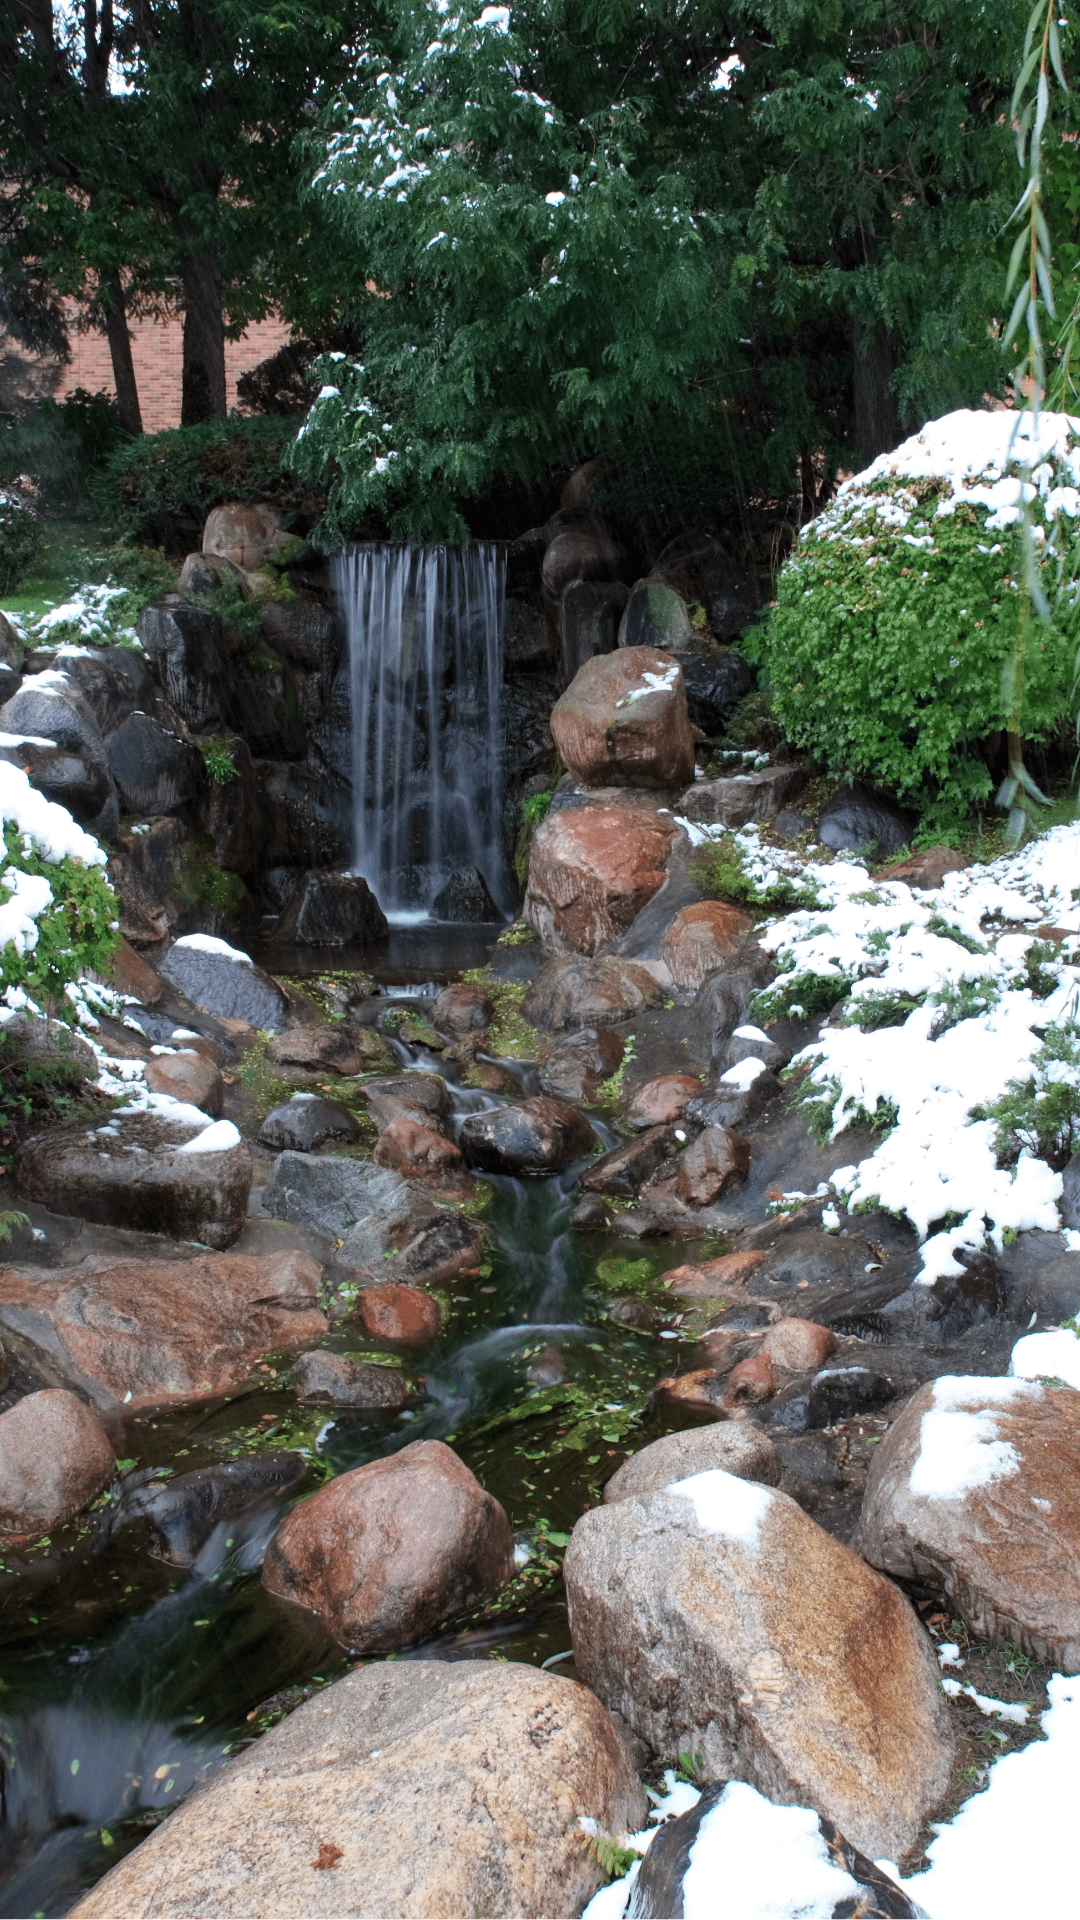
The final stage of pondless waterfall ideas is the planting that softens the stone edge and connects the water feature to the surrounding garden. Aquatic marginal plants, such as iris, rush, cattail, or water-loving ferns, positioned at the edge of the reservoir or in pockets between the cascade stones immediately make the feature read as established and natural. Lily pads, visible in the image above, can be added in a shallow tray of water at the feature’s base. Around the edges of the stream, moisture-loving perennials, such as astilbe, hostas, and creeping Jenny, fill in rapidly and soften the transition between the hard stone feature and the surrounding lawn or border.
Expert Secrets for Success

Pro-Tips for a Better Result
- Use expanding foam to seal gaps between stones. Waterfall foam available in black or grey is one of the most useful materials in any pondless waterfall idea build. Sprayed into the gaps between stones above the liner, it seals off channels that would otherwise divert water down the sides of the feature rather than over the spillway stones, dramatically improving both performance and the appearance of flow.
- Bury the pump cable in conduit from day one. One detail that builders always wish they had implemented from the start is burying the electrical supply cable in a rigid conduit before backfilling around the feature. Retrofitting buried conduit after the stone is set is a major excavation job.
- Tilt your spillway stones slightly forward. A spillway stone that is level or slightly back-tilted causes water to cling to the underside of the stone and run backward rather than falling cleanly. A forward tilt of just two to three degrees produces the clean, sheeting waterfall effect visible in the best photographs.
- Let algae establish naturally rather than fighting it. The green tint visible on the rocks in the image above is natural algae colonisation, and it is genuinely beneficial. Algae binds to the stone surface, helps filter the water, and gives the feature the authentic, aged appearance that makes it look like they have been part of the garden for years rather than weeks.
- Install a leaf net over the reservoir in autumn. Fallen leaves decomposing in the reservoir are the primary cause of poor water quality and pump blockages. A simple netting cover over the reservoir opening from October through December costs very little and prevents the most common annual maintenance headache.
Common Mistakes to Avoid
- Undersizing the reservoir. The single most common technical failure in pondless waterfall ideas is a reservoir that runs dry during operation, causing the pump to cavitate and burn out. When in doubt, make the reservoir larger than the calculation suggests. Excess capacity costs very little in excavation effort and prevents an expensive pump replacement.
- Using uniform stone sizes throughout. A waterfall built entirely from similar-sized rocks looks like a stack rather than a natural formation. Dramatic variation in stone size from boulders the size of a car tyre to pebbles the size of a fist is what creates the convincing, naturalistic appearance that the best water features achieve.
- Placing the feature too close to large tree roots. Tree roots seek water and will find a liner. Any water feature positioned within the root zone of a large tree will experience linear penetration within a few years, leading to leaks that are difficult and disruptive to repair. Position the feature at least three metres from the trunk of any established tree.
- Skipping the underlayment beneath the liner. EPDM liner is tough but not impervious to sharp stones, which can puncture it over time under the weight of the overlying rock. A quality geotextile underlayment beneath the liner is cheap insurance against the kind of slow leak that gradually drains a pondless waterfall system and is extremely difficult to locate and repair once the feature is complete.
- Connecting to a standard indoor extension lead. The pump in a pondless waterfall must be powered through a weatherproof outdoor socket with RCD protection. Using an indoor extension lead run outside is a safety hazard and a building code violation in most regions. Install a dedicated weatherproof outdoor socket before the build begins, not after.
Why Pondless Waterfall Ideas Matter
There is a reason that the sound of moving water appears in almost every curated relaxation and meditation soundtrack available. Neuroscience research on the effect of natural water sounds on the human nervous system is unambiguous: flowing water activates the parasympathetic nervous system, reduces cortisol, and induces a measurable shift from alert wakefulness toward a calmer, more restorative state, a shift that occurs within minutes of exposure and persists for hours afterwards. A pondless waterfall positioned where it can be heard from a garden seating area or through an open kitchen window is not merely a decorative addition to the property. It is an environmental intervention that actively improves the daily well-being of everyone in the household, every single day the pump runs.
For families with children, pondless waterfall ideas carry an additional and very practical appeal: the absence of open standing water removes the safety risk that makes conventional pond features unsuitable for gardens used by young children. A pondless waterfall delivers the full sensory and visual experience of a naturalistic water feature, the sound, the movement, the stone and plant composition, without the hazard, the mosquito risk, or the significant ongoing maintenance burden that accompanies a traditional pond. Children who grow up with a living water feature in the garden develop a connection with natural systems, with the cycles of plant growth and seasonal change, that is quietly and lastingly formative in ways that no interior environment can replicate.
And for the homeowner who has been looking at a problem corner, a bare slope, or a garden that feels like it is missing its centrepiece, the completion of a pondless waterfall project carries a satisfaction that is difficult to fully communicate before you have experienced it. The feature runs. The water falls. The sound fills the garden. The stone settles into its natural positions, and the algae begins to colour the rock surfaces within a week. Within a single season, the feature looks as though it has always been there, and the corner of the garden that was once a problem becomes the one everyone gravitates toward. That is what the best ultimately deliver: not just a water feature, but a garden that finally feels complete.
Frequently Asked Questions
What is the difference between a pondless waterfall and a regular pond waterfall?
A conventional pond waterfall recirculates water from an open pond that remains permanently full and visible. Pondless waterfall ideas replace the open pond with a buried reservoir filled with void media, so the water disappears into the ground at the base of the cascade and is pumped back up to the top through a buried pipe. The result looks natural and sounds identical to a pond waterfall, but without standing water at the base, which eliminates drowning risk, dramatically reduces evaporation loss, removes the need for pond fish care, and simplifies annual maintenance to occasional pump cleaning and leaf removal.
How much does it cost to build a pondless waterfall?
A DIY project using natural stone, a quality submersible pump, and a proprietary basin kit typically costs between £800 and £2,500, depending on the size of the feature and the type of stone used. Professional installation by a water feature specialist typically runs £3,000 to £8,000 for a medium residential feature. The largest cost variables are the stone (natural fieldstone or limestone is more expensive than reconstituted alternatives, but looks significantly better over time) and the pump specification (a quality pump rated for the actual head height and flow rate is the single most important investment in the system).
How much maintenance does a pondless waterfall require?
One of the primary attractions of pondless waterfall ideas over traditional pond features is the reduced maintenance requirement. In practice, a well-built pondless waterfall needs quarterly pump cleaning (removing debris from the pump intake and impeller), seasonal top-up of water lost to evaporation and splash, a leaf net over the reservoir basin in autumn, and an annual full inspection of the liner edges and stone positions. Total active maintenance time for most systems is two to three hours per year, a fraction of the time required by a conventional pond feature with fish and aquatic planting.
Can I build a pondless waterfall on flat ground?
Yes, pondless waterfall ideas are not limited to naturally sloping sites. On flat ground, the cascade structure is built up using the excavated soil from the reservoir basin, creating a raised mound behind the feature that provides the necessary elevation for the water to fall from. This built-up approach requires slightly more stone to create convincing banks and backfill, but the result is visually indistinguishable from a feature built into a natural slope. Many of the most dramatic pondless waterfall ideas have been built entirely on flat suburban lots using exactly this technique.
How long does a pondless waterfall pump last?
A quality submersible pump from a reputable brand and sized correctly for the application will typically last five to eight years in continuous seasonal use. The most common cause of premature pump failure in systems is running the pump dry due to an undersized reservoir, and the second most common is debris accumulation on the pump intake, reducing flow until the motor overheats. Both are preventable: size the reservoir generously and clean the pump intake at the start of each season. When replacing a pump, document the original head height and flow rate specifications and match or exceed them; never downgrade on pump specification in a pondless waterfall system.