
It starts the same way in almost every home. A wardrobe that worked fine for the first year gradually fills beyond its intended capacity, and the coping mechanisms begin: the chair that becomes a permanent overflow station, the second rail added on a hook that pulls slightly from the wall, the shoes lined along the floor in a row that migrates outward until the bedroom door catches on a boot every morning. The system hasn’t failed catastrophically. It’s just quietly, incrementally stopped working. Getting dressed each day becomes a ten-minute excavation. The “organized” pile and the “worn once” pile have become indistinguishable. The closet that should be the first calm moment of the morning is reliably the first frustration instead.
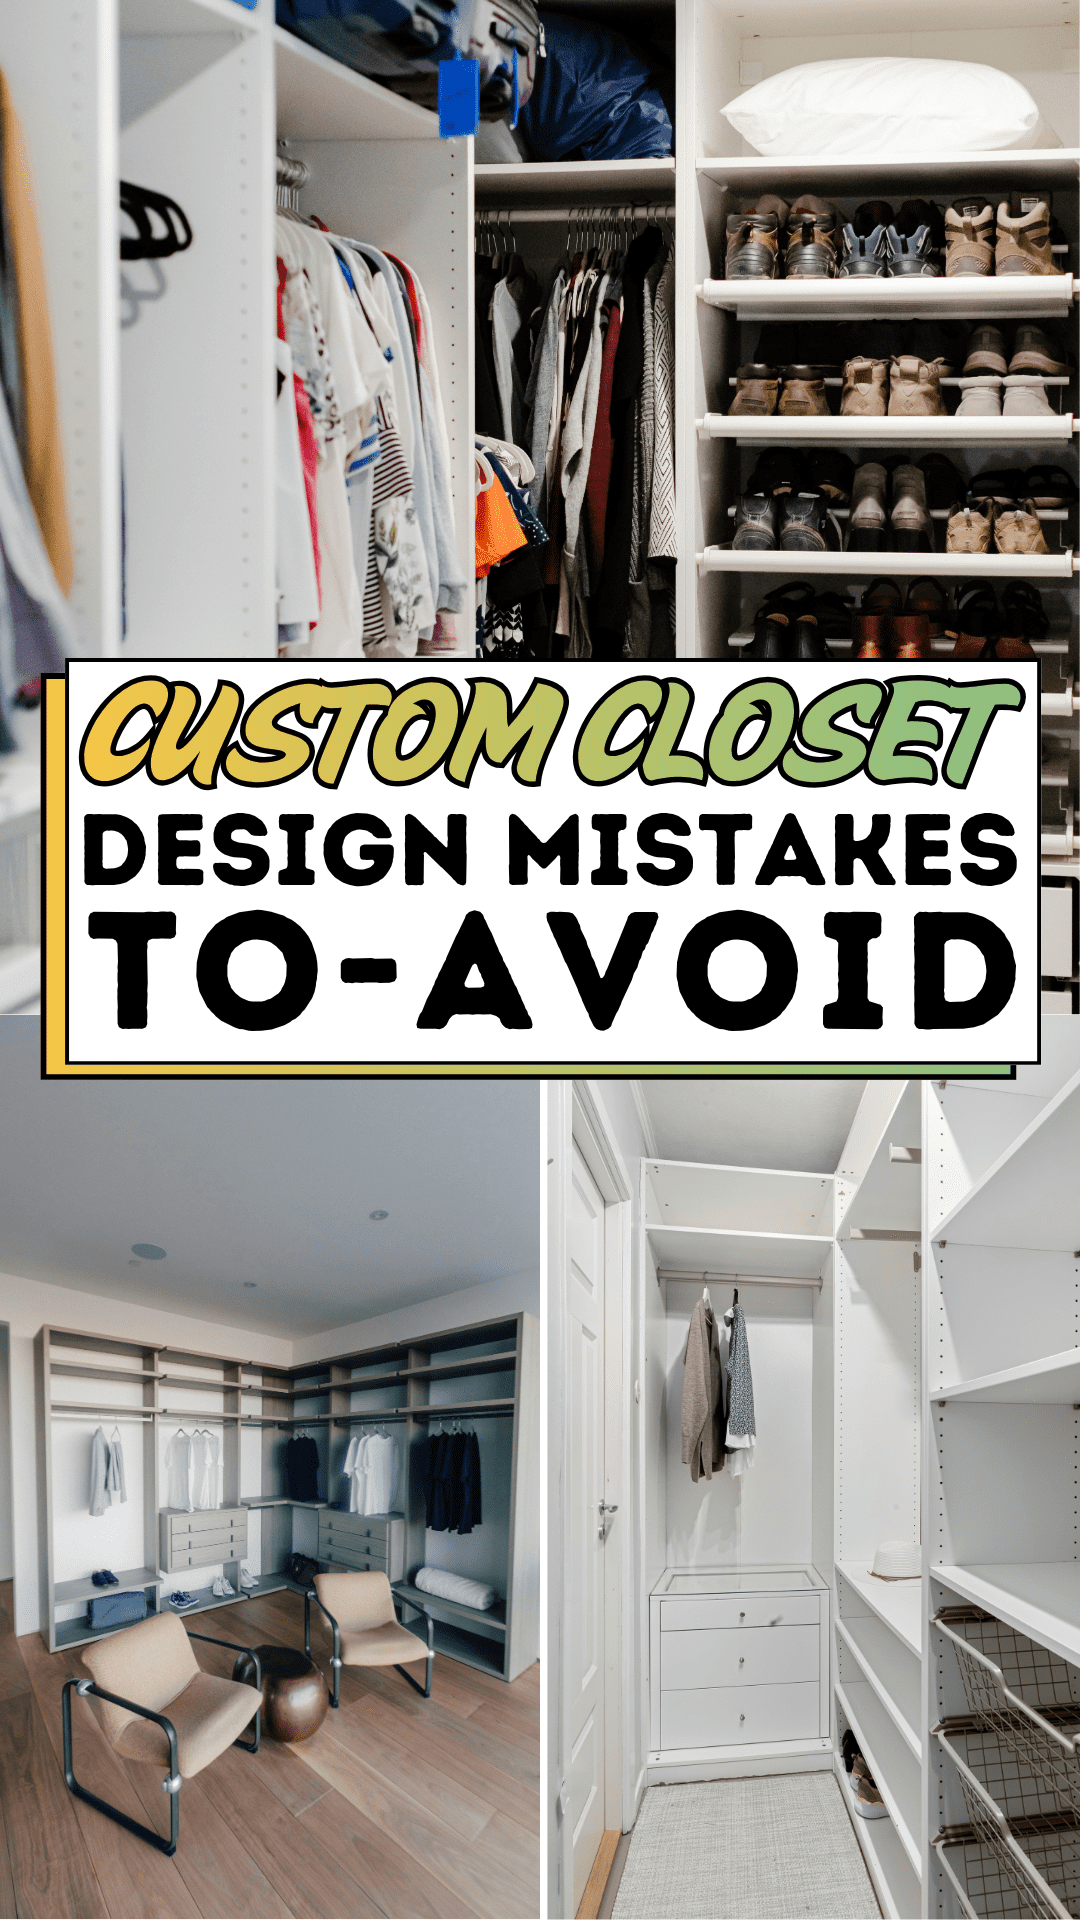
The decision to invest in a custom closet system is, for most people, the moment they decide to stop tolerating that frustration. It’s the right decision, but the execution is where good intentions and expensive cabinetry regularly part company. A custom closet designed without a clear audit of actual storage needs produces a system that looks beautiful in a showroom photo and fails within six months of daily use. Too many short-hang sections. Not enough drawer depth. Shoe shelving is at the wrong spacing. Overhead storage is placed so high that it’s functionally inaccessible. These aren’t taste failures. They are specific design failures, avoidable mistakes that a clear framework prevents entirely.
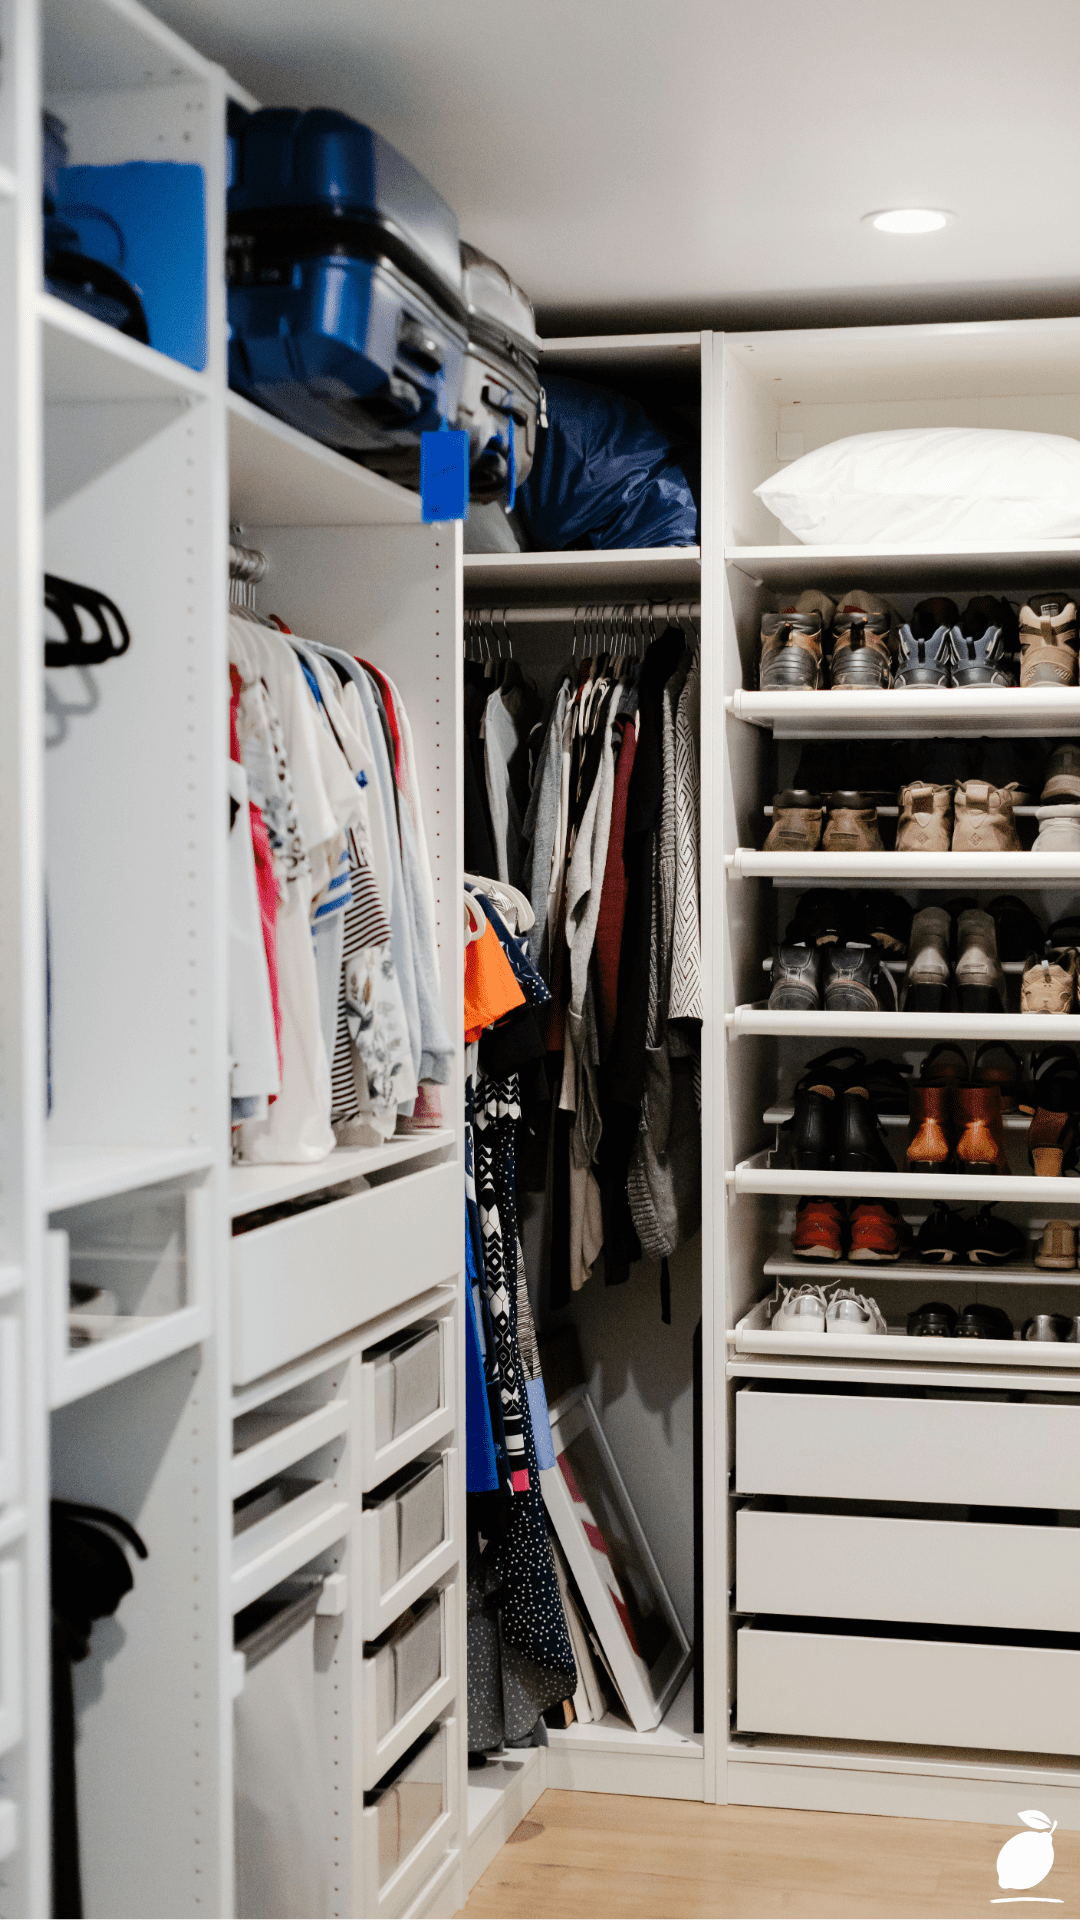
The walk-in custom closet in the image above represents what the right design decisions produce: a floor-to-ceiling white built-in system with hanging space for garments on black hangers, deep drawers beneath, a dedicated shoe rack with properly spaced shelves, and labeled overhead storage boxes all under clean, even lighting on warm wood-plank flooring. Everything visible is accessible, organized, and working in direct relationship to what’s stored in it. That result didn’t happen by luck or by budget. It happened by design. This guide gives you the blueprint and the specific mistakes to avoid so your custom closet achieves the same.
The Custom Closet Blueprint
Step 1: Audit Your Actual Wardrobe Before Designing Anything
The single most consequential step in any custom closet project happens before a single measurement is taken or a single cabinet is specified: a complete, honest audit of everything the closet will hold. Most custom closet design mistakes are made in this step, or rather, by skipping it. Designing a custom closet around what you think you own, or what you intend to own, produces a system that doesn’t fit your actual life.
Lay every item from the current closet on the bed. Categorize and count: how many items need long-hang space (dresses, coats, suits), how many need short-hang space (shirts, jackets, folded trousers), how many pairs of shoes, how many folded items that would sit in drawers, how many items that currently live in baskets or boxes because there’s nowhere better. Count everything. Write it down. These numbers are the brief that your custom closet design must answer, not the floor plan, not the Pinterest inspiration board, not the showroom display.
Add 20% to every category count before designing. Wardrobes grow. A custom closet designed to exactly hold your current wardrobe is a custom closet that runs out of space within two years.
Step 2: Measure the Space Completely and Accurately
Custom closet design mistakes relating to measurement are among the most expensive and preventable. Measure your closet space in all three dimensions, width, height, and depth, at multiple points. Walls are frequently not perfectly straight or parallel; a measurement taken at floor level may differ by two to three centimetres from the same measurement taken at ceiling level. Custom closet systems built to a single measurement in an uneven space produce gaps, uneven reveals, and panels that don’t sit flush.
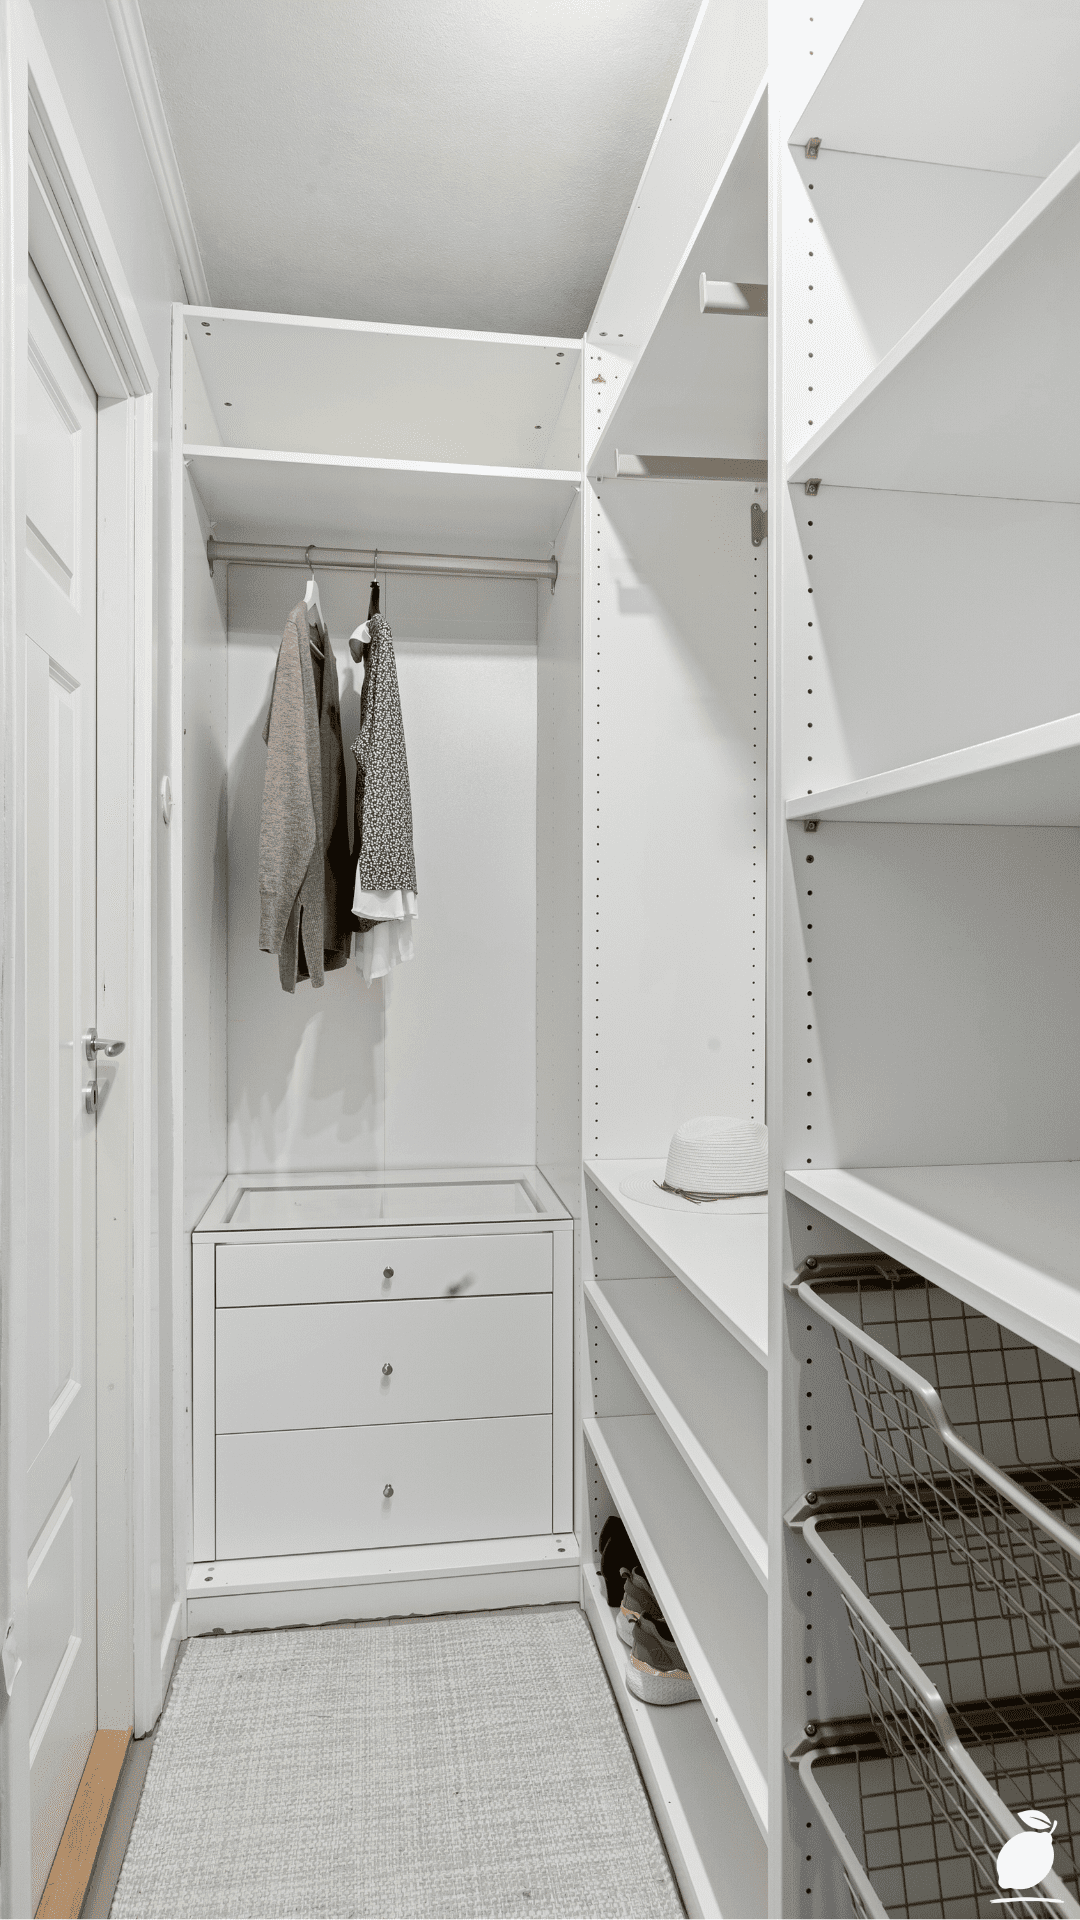
Note the position of every fixed obstacle: electrical outlets, light switches, HVAC vents, door swing arcs, and the exact position and dimensions of the doorway. Measure the height from the floor to any ceiling slope, beam, or soffit change. In walk-in custom closets, measure the clear walking aisle width with the intended storage depth on both sides. A standard custom closet depth of 60cm on each side requires a minimum aisle width of 90cm for comfortable use. Below 90cm, the space functions technically but feels cramped and becomes difficult to navigate when multiple people use the closet simultaneously.
Photograph every wall and every corner from multiple angles before consulting with a designer or configuring a system. Photographs catch fixed elements that mental maps of familiar spaces reliably miss.
Step 3: Design Your Hanging Zones with Correct Drop Heights
Hanging zone specification is where more custom closet design mistakes are made than in any other single category. The default short-hang and long-hang drop heights used by most modular custom closet systems are based on average garment lengths, and average garment lengths are averages, not measurements of your specific wardrobe.
Before finalizing your custom closet hanging zone heights, measure the actual drop lengths of your specific long garments. Maxi dresses, formal gowns, and long coats typically require a minimum 150cm drop from the rail to the floor with clearance. Standard dresses and full-length trousers on clips need 130 to 140cm. Jackets, shirts, and folded trousers need 90 to 100cm. Children’s garments need 60 to 80cm. Building these specific measurements into your custom closet design prevents the common mistake of long garments folding at the bottom because the drop wasn’t sufficient, or short-hang sections wasting vertical space that could have been captured for double-hang or shelf storage.
Double-hang sections with two rails stacked vertically are among the most space-efficient elements in any custom closet. A single long-hang section that holds twenty shirts can become a double-hang section that holds forty. If your wardrobe audit showed more short-hang items than long-hang items, specify double-hang sections generously and reserve single long-hang drops only for items that genuinely require them.
Step 4: Allocate Shoe Storage Based on Actual Collection Size
Shoe storage is the element that most frequently exposes the gap between a designed custom closet and a functional one. Standard custom closet shoe shelf spacing, typically 15 to 18cm between shelves, works for flat shoes, trainers, and standard heel heights. It fails for boots, platform shoes, high heels above 10cm, and shoe boxes that some people prefer to keep intact for storage. A custom closet designed with uniform shoe shelf spacing without consideration of the actual shoe collection produces shelves that hold less than expected and creates awkward gaps or forced stacking.
Measure your actual shoe collection before specifying shelf spacing. Identify how many pairs need the standard 15 to 18cm spacing, how many need 25 to 30cm for mid-height heels and platforms, and how many boots need either a floor-level deep shelf or a pull-out boot rack. Build these specific spacings into the design rather than defaulting to uniform module heights. A custom closet shoe section that accommodates the actual collection, as demonstrated in the featured image’s multi-height shoe rack, holds significantly more with less visual clutter than one where items are forced into incompatible spaces.
Step 5: Specify Drawer Depths and Widths Correctly
Drawers are among the most used elements of any custom closet and among the most frequently underspecified. Standard custom closet drawer modules are typically offered in narrow (30 to 40cm), medium (50 to 60cm), and wide (80 to 100cm) widths at depths of 10 to 15cm for accessories and 15 to 20cm for folded garments. The common design mistake is specifying too many shallow accessory drawers and too few deep drawers for folded clothing.
A single 20cm-deep drawer holds a folded stack of t-shirts, jeans, or knitwear efficiently. A 12cm-shallow drawer is appropriate for underwear, socks, jewelry, and accessories. Before finalizing your custom closet drawer specification, categorize every item that will live in a drawer and assign it to the appropriate depth. The result is typically that most custom closets need deeper drawers and fewer shallow ones than the standard module ratio offers. Request custom configurations from your supplier rather than accepting the default ratio. Most custom closet system providers offer this without additional charge when specified at the design stage.
Step 6: Plan Lighting as a Structural Element, Not an Afterthought
Custom closet lighting planned as an afterthought, a single overhead fixture added at the end produces uneven illumination, deep shadows in lower shelves and drawers, and the specific frustration of choosing clothes in conditions where colors and details aren’t visible clearly. The walk-in custom closet in the featured image avoids this entirely: overhead lighting is even and bright, creating clear visibility of every stored item from the hanging zone to the floor-level shoe shelves.
Effective custom closet lighting operates at three levels simultaneously. Overhead ambient lighting provides general illumination for the full space. Under-shelf or in-cabinet LED strip lighting illuminates lower sections and drawer interiors that overhead fixtures can’t reach. Mirror or vanity lighting, where the custom closet includes a dressing area, provides the face-level illumination that overhead-only systems fail to deliver. Plan all three lighting levels in the design phase, before the custom closet system is installed, because retrofitting lighting into a completed installation requires working around finished cabinetry, which complicates every aspect of the process.
Step 7: Include Vertical Storage to the Full Ceiling Height
The space between the top of standard custom closet units and the ceiling is among the most consistently wasted volume in home storage design. The featured image demonstrates full vertical utilization correctly: the custom closet storage system extends to the ceiling, with the upper section used for labeled blue storage boxes holding seasonal or infrequently accessed items. This upper zone, typically 40 to 60cm of vertical space above standard-height units, represents a significant additional storage volume that, accessed via a step stool kept nearby, functions perfectly for items that don’t require daily retrieval.
Specify your custom closet system to extend fully to ceiling height, using upper sections for fixed shelves with front lips that prevent items from being dislodged by vibration. Label storage boxes clearly and group upper-zone contents logically: seasonal clothing, spare bedding, archived documents, so the elevated location doesn’t make stored items invisible and therefore unused.
Expert Secrets for Success
Pro-Tips for a Better Result
Live with your existing system for 30 days before finalizing the design. Observation over time reveals patterns that a single audit misses: the side of the closet you always reach for first, the perpetually overfull drawer, the section of hanging space that’s never touched. Building these behavioral patterns into the custom closet design produces a system that works with how you actually use the space rather than how you theoretically intend to. Custom closets designed from habit observation consistently outperform those designed from ideal-state planning.
Choose hardware that handles daily high-volume use. Custom closet hardware, drawer runners, door hinges, and pull-out mechanisms are specified at the design stage and are effectively impossible to upgrade without significant intervention after installation. Choose soft-close runners rated to the drawer weight with contents loaded, not empty. Choose concealed hinges from brands with documented longevity ratings. The hardware in a well-used custom closet cycles thousands of times per year; the investment in quality hardware at the design stage is returned in the system’s functional lifespan many times over.
Design for the wardrobe you have, not the one you aspire to. The most seductive custom closet design mistake is building a system for an idealized future wardrobe with more folded knitwear, fewer shoes, and a capsule collection on matching hangers. Design for the real wardrobe, including its volume, variety, and the way it’s actually organized day-to-day. A custom closet that accommodates reality with grace is one that reduces daily friction. A custom closet designed for aspiration fails the first week it encounters the actual wardrobe it was supposed to organize.
Standardize your hangers before or immediately after installation. The featured image’s consistent black hangers are not merely aesthetic standard-profile hangers increase hanging capacity by 30 to 40% compared to a mix of wire, plastic, and wooden hangers of varying thicknesses, and they make the visual survey of the hanging zone significantly faster and easier. Purchase a full set of matching slim-profile hangers at the same time as the custom closet system and replace everything in a single session. The transformation in both function and appearance is immediate and substantial.
Common Mistakes to Avoid
Don’t design the custom closet without involving every person who will use it. A custom closet designed by one partner for shared use without input from the other produces a system that serves one wardrobe and frustrates the other, often resulting in the familiar compromise where one person’s half becomes gradually more chaotic regardless of the system’s quality. Every person who will use the custom closet regularly should contribute to the wardrobe audit, the zone allocation, and the hardware and finish decisions. Shared ownership of the design produces shared commitment to the system.
Don’t sacrifice walking space for storage volume. The temptation to maximize every centimetre of custom closet storage by extending units further into the aisle produces a system where the storage is technically present, but the space is too cramped to use comfortably. A custom closet with a slightly narrower storage configuration and a comfortable, usable aisle is more functional than one that maximizes storage volume at the cost of the experience of being inside it. Comfort in the space is part of the design brief, not a luxury to be traded away for capacity.
Don’t install a custom closet system before addressing damp, ventilation, or structural issues. Custom closet cabinetry installed into a space with underlying damp, poor air circulation, or unresolved structural movement will deteriorate at accelerated rates, and the cabinetry itself will mask the underlying problem until it has caused significantly more damage than it would have in an open space. Address any moisture, ventilation, or structural concerns before installation, not after. A custom closet is a long-term investment in a structural envelope that must be sound before it supports the investment.
Don’t underestimate the value of a professional design consultation. Most custom closet system suppliers offer free or low-cost design consultations with professionals who design these systems daily and have encountered and solved every configuration challenge your specific space presents. Using this resource costs nothing and routinely identifies storage solutions, structural considerations, and configuration optimizations that self-designed systems miss. The custom closet in the featured image has the hallmarks of professionally designed storage: proportions that are precisely matched to the space, hardware that is consistent with the usage pattern, and a storage allocation that fits the specific wardrobe rather than a generic template.
Why Custom Closet Matters
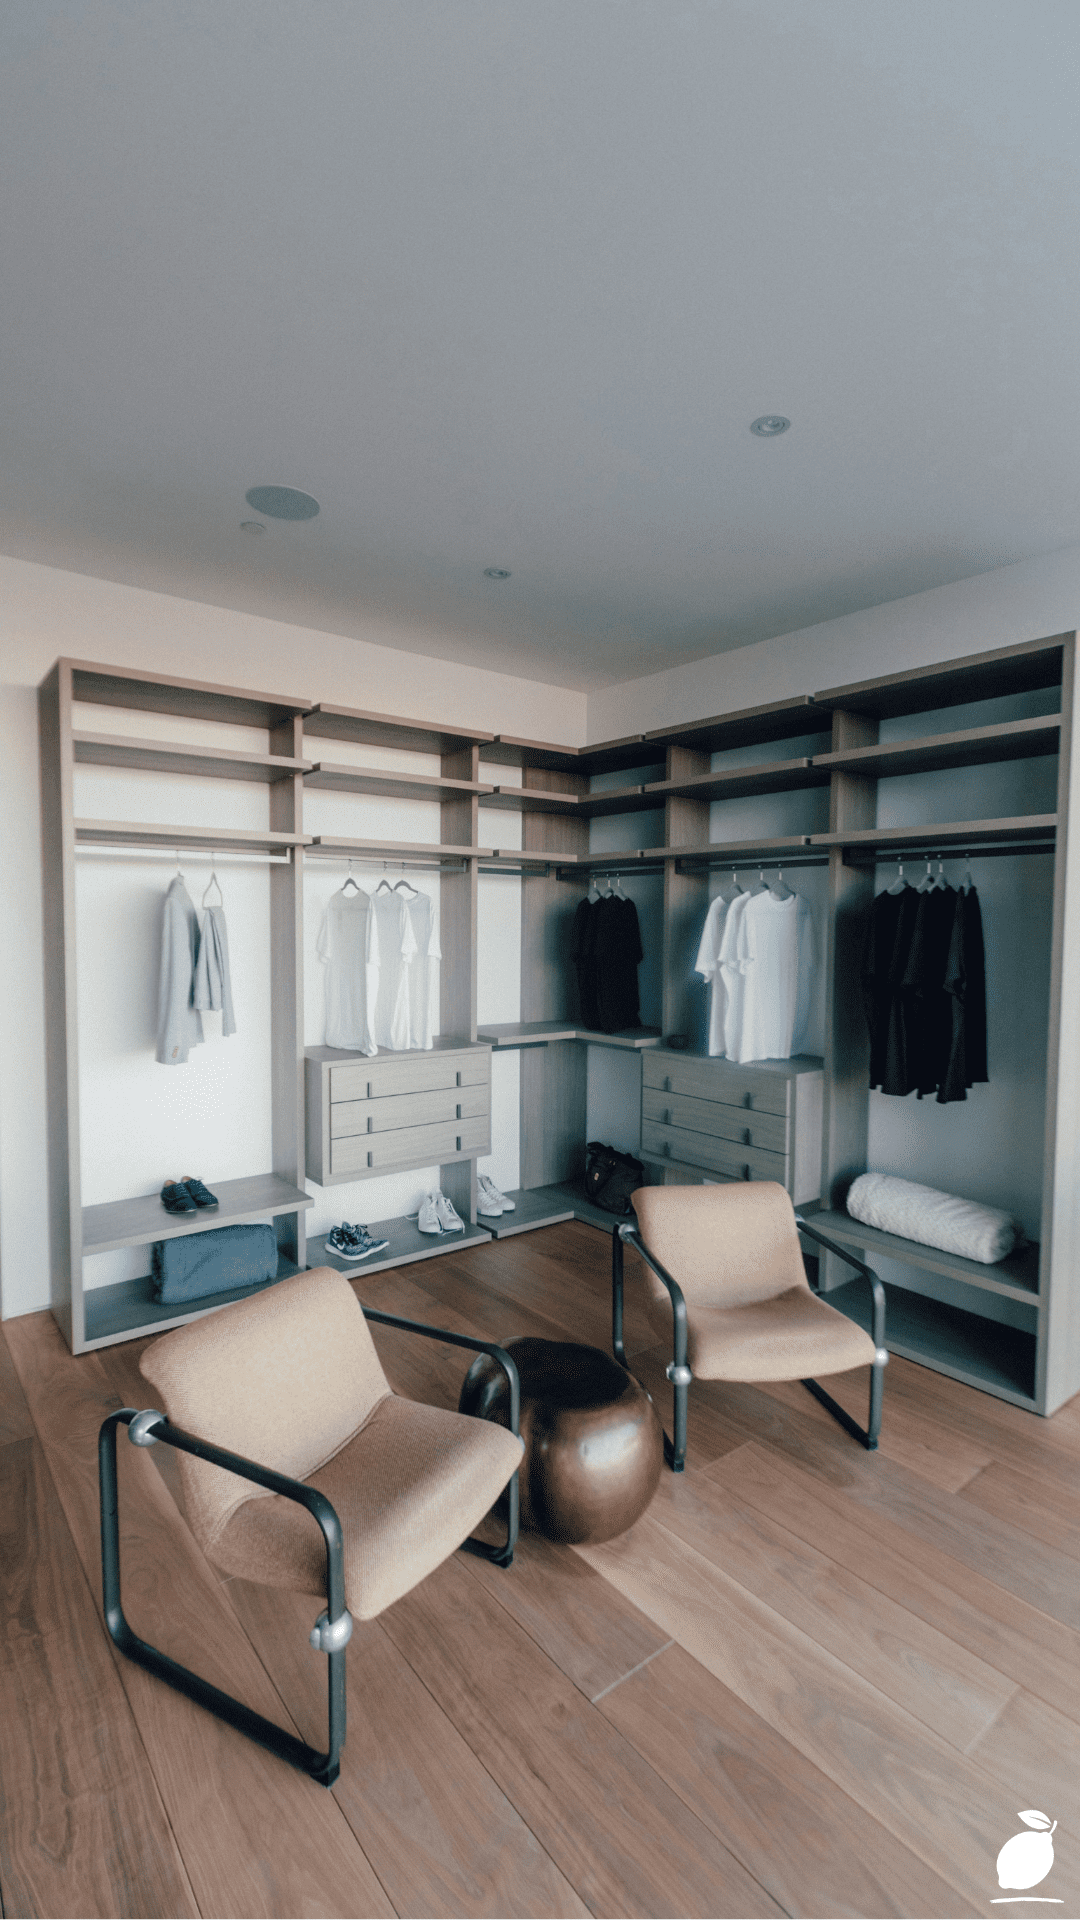
The relationship between an organized home and psychological well-being is one of the most consistently replicated findings in environmental psychology, and the custom closet is its most intimate domestic expression. Unlike a living room or kitchen, where organization is a background condition of a space used for varied activities, the closet is used twice daily in the transitional moments of the day, the minutes between waking and being ready to engage with the world, and the minutes between the end of the day and the beginning of rest. These are moments of genuine psychological vulnerability, and the environment they happen in shapes the emotional tone of what follows.
A custom closet that works that holds everything with a visible system, where items are found without searching, where the physical act of dressing is a neutral or even pleasant experience, contributes something real and daily to the quality of life in a household. The friction removed from morning dressing doesn’t disappear; it migrates into composure, into slightly more time for the things that matter, into the reduction of the ambient low-level stress that accumulates from dozens of small daily frictions that individually seem trivial and collectively are exhausting.
Easy Peasy Life Matters is built on the understanding that the home is not a backdrop to life; it is a participant in it. A custom closet that is thoughtfully designed, correctly specified, and built to serve the real patterns of the people who use it is one of the most direct investments a household can make in daily ease, mental clarity, and the quality of the shared domestic experience. The mistakes this guide helps you avoid are not cosmetic concerns. They are the difference between a custom closet that transforms how mornings feel and one that merely looks good on a moving-in day.
Frequently Asked Questions
How much does a custom closet system typically cost?
Custom closet system costs vary significantly based on size, material quality, and configuration complexity. Entry-level modular systems from retailers like IKEA (PAX series) or direct-to-consumer brands typically range from $500 to $2,000 for a standard walk-in space. Mid-range professional custom closet systems, the type shown in the featured image, typically cost $3,000 to $8,000 installed for a full walk-in configuration. Premium bespoke custom closet systems with solid wood fronts, integrated lighting, and specialist hardware can reach $15,000 to $30,000 for large master bedroom installations. The most cost-effective approach is typically a hybrid: professional design consultation to specify the layout correctly, combined with a mid-range modular system installed by a competent tradesperson.
How long does a custom closet installation take?
A standard professional custom closet installation for a walk-in space typically takes one to two days once the cabinetry is manufactured and delivered. Manufacturing lead times for custom systems range from two to six weeks from order confirmation. The full project timeline from initial consultation to completed installation is typically six to ten weeks. Self-installed modular systems from flat-pack components can be completed in a single weekend for most configurations, though complex corner units and integrated lighting add time. Allow an additional half-day for the wardrobe transfer and organization of the new system before it’s fully functional.
What is the best material for custom closet cabinetry?
The featured image’s white melamine-faced MDF is the industry standard for custom closet cabinetry: it’s dimensionally stable, resistant to minor moisture exposure, easy to clean, and provides a crisp, consistent finish at accessible price points. Solid wood custom closet cabinetry is more expensive and requires more precise humidity management to prevent movement and warping. It’s appropriate for premium installations in well-climate-controlled spaces. Thermofoil-wrapped MDF offers a seamless, handle-free aesthetic at mid-range cost. Avoid particleboard core cabinetry for custom closet applications involving heavy hanging loads or shoe storage. Its lower structural density performs poorly under sustained weight compared to MDF alternatives.
How do I keep a custom closet system organized long-term?
The most effective long-term custom closet maintenance strategy is a quarterly one-in-one-out audit: every item added to the custom closet should be accompanied by the removal of an item no longer needed. Schedule this as a calendar event for the same week each quarter rather than as a reactive response to overflow. Within sessions, a consistent return-to-place habit every item back to its designated zone immediately after use, rather than in a later tidying session, is the single behavioral change that most reliably maintains a custom closet system over the years. Labeling storage boxes and zones, as visible in the featured image’s upper shelving, reduces the cognitive effort of maintaining the system significantly.
Can a custom closet be added to a room without an existing closet?
Yes, and this is among the most impactful home improvement projects for rooms that were built before built-in storage became standard. Freestanding custom closet systems in wardrobe format require no structural work and can be installed in any room with sufficient floor space. Built-in custom closet systems can be installed along any flat wall using floor-to-ceiling cabinetry that creates the appearance and function of a recessed closet without requiring structural modification. For rooms with sufficient space, a partial room division using custom closet units creates a dressing area that functions as a dedicated custom closet zone without a full structural partition. Always check with a structural engineer before removing or modifying any wall to create a recessed custom closet space.







